Professional portrait photographer, teacher and mentor Scott Robert Lim has many years of experience photographing in studios and has mastered the art of lighting to capture stunning portraiture. Here the Sony Artisan Of Imagery shares his top 10 tips for mastering your own studio portrait session.
Scott Robert Lim is a professional portrait photographer and Sony Artisan Of Imagery. He has many years of photography experience and is a certified educator, having dedicated the past decade of his career to teaching and developing other world-class photographers. We connected with the industry leader in photography education for some of his most important tips when it comes to photographing a studio portrait session. Read below as he shares his top 10 pro tips for mastering your next studio session – learn how he manages lighting, communicates with his subjects and more.

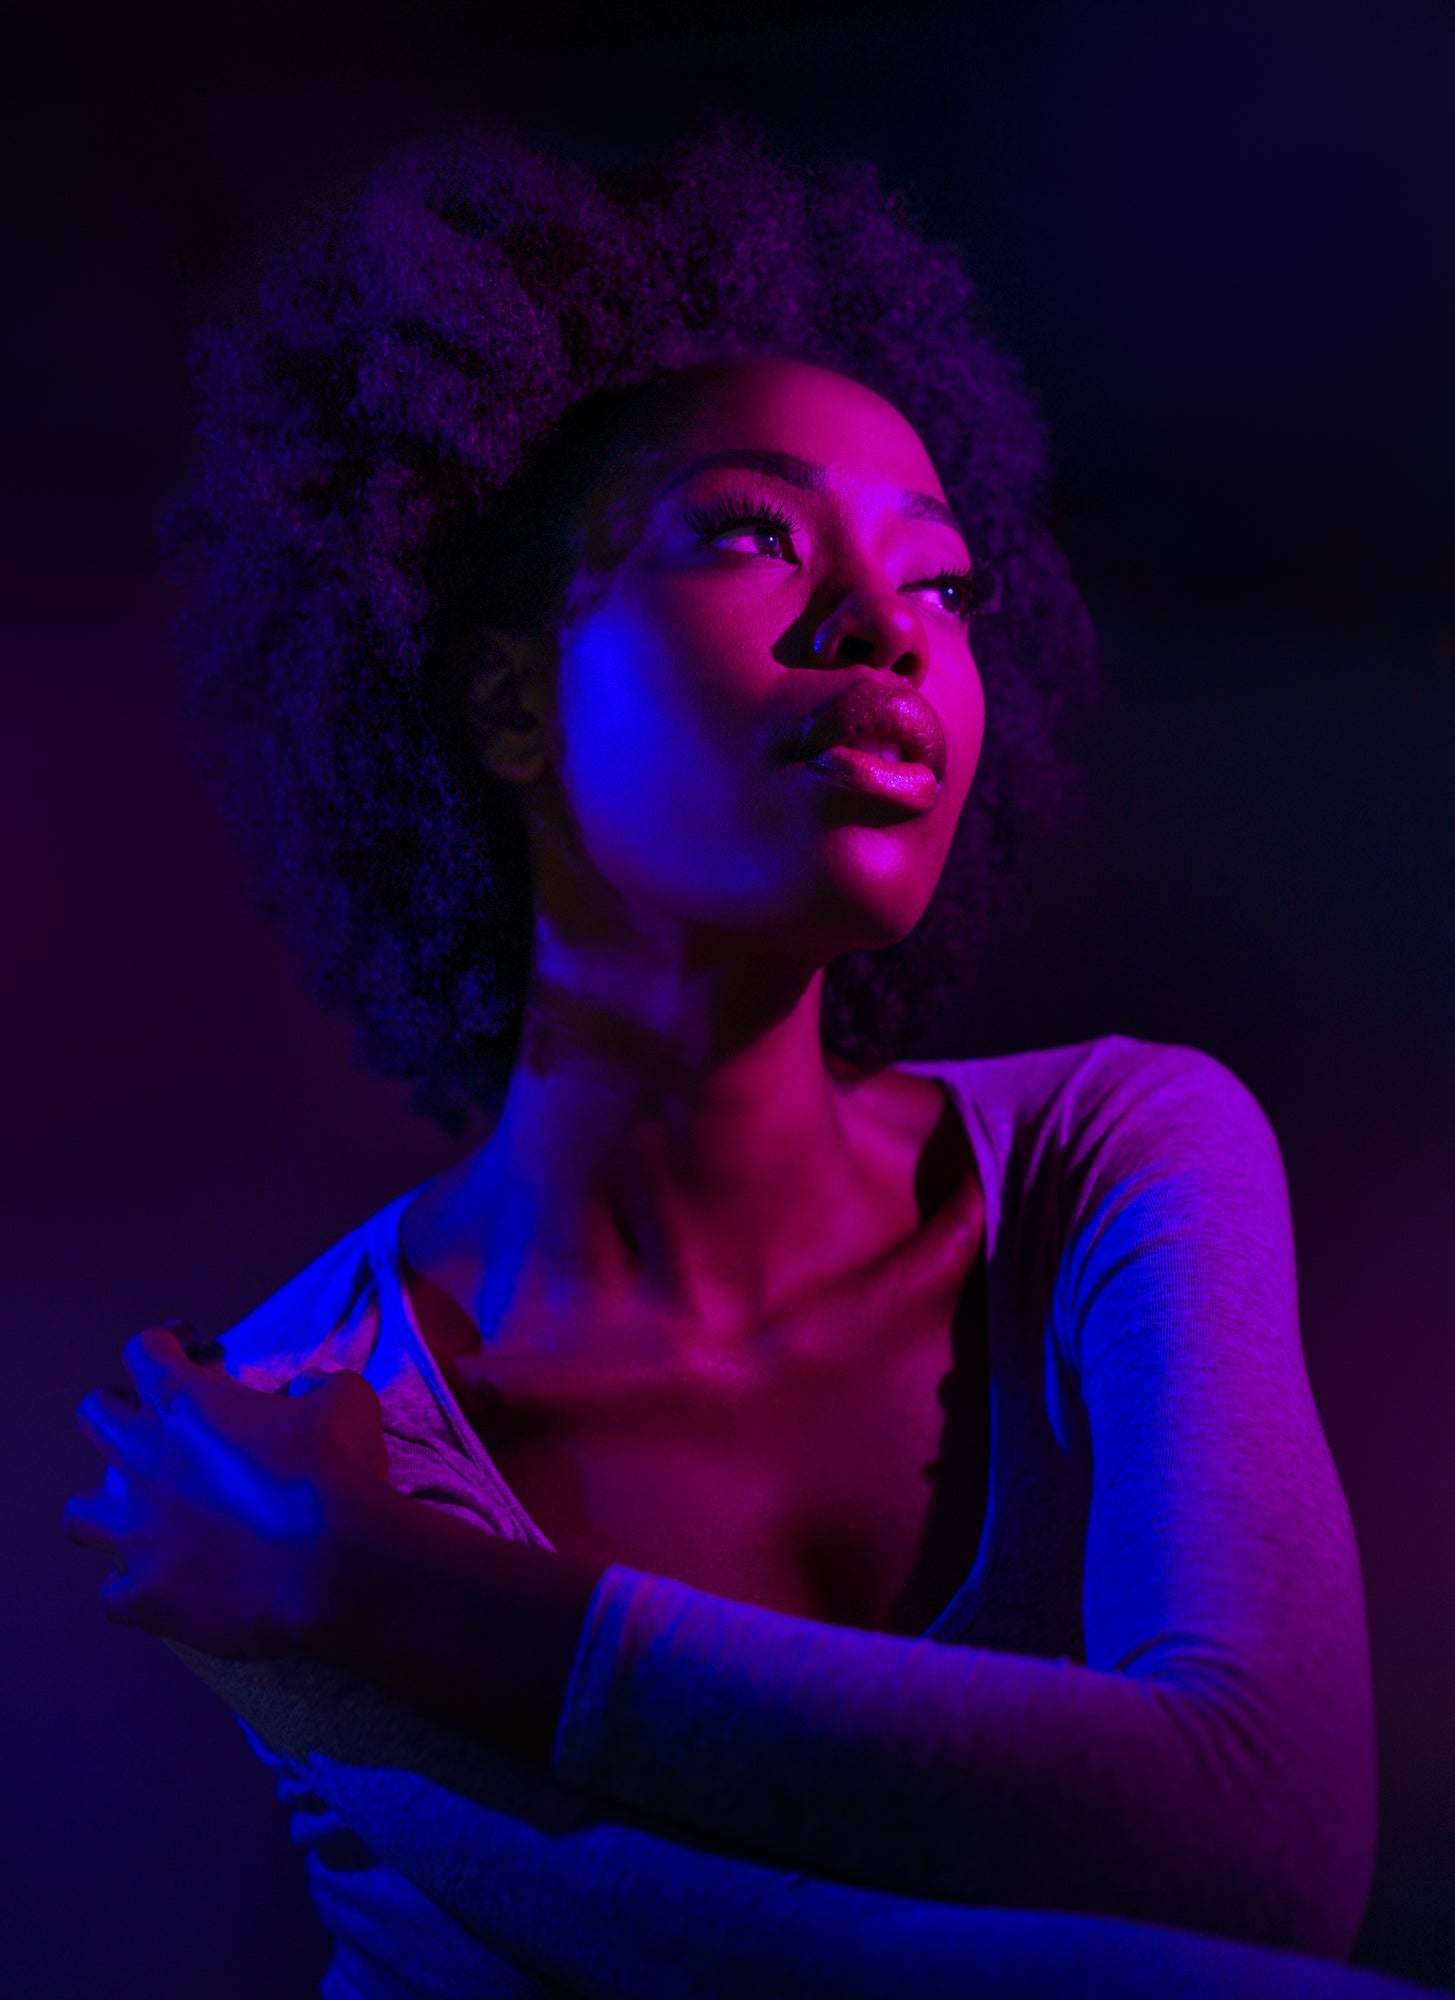
Photo by Scott Robert Lim. Sony Alpha 7R III. Sony 55mm f/1.8. 1/320-sec., f/1.8, ISO 200
Professional portrait photographer & Sony Artisan Scott Robert Lim shares his top 10 pro tips for mastering your next studio session – learn how he manages lighting, communicates with his subjects and more.
1. Master one light first, then build on top of that.
If you don’t have a solid foundation on how to light correctly and consistently, Lim says you need to start with one light and master it first. “If you can get one light down, then you can build on top of that. This kind of goes true with posing too. But if you can't master one light, then you can't expect to master more than one light and produce good studio results. It’s just adding to the confusion.”
“Once you know how to master this one light, you should learn how to create hard light and what it looks like. You should learn how to create soft light especially because that's very pleasing for portraits. You have to understand the placement and the positioning of the light. It's just not the strength of the light that you have to master, which many people think. What's harder is understanding the placement of the light and the shadows that correlate with each other. It's really about how that light can create a shadow and what that shadow does to your portrait and understanding that. And that's what you have to really workout is creating those shadows and the light positioning. What's it look like if I have the light high? What does it look like if I have it low? To the side? What about split lighting? Two thirds lighting? And so mastering all those things is probably the most important and why I have it as number one. Once you understand this one, then boom, you're off to the races and you can easily add a hundred lights after that.”
2. Use the magic formula for soft portrait light.
In order to know where to place his soft lighting for portraiture, Lim created this magic formula. “What you want to do is get this light as close as possible to your subject and the largest possible light size,” explains Lim. “So if you have a three-foot diffuser over your light, so you have a three foot wide light source, and you put it three feet or closer to your subject, you're going to get some beautiful light. And so you just remember that: a three-foot or larger diffuser, at three feet or closer to your subject is going to create that professional soft portrait look, whether you're in the studio or whether you're outdoors.”

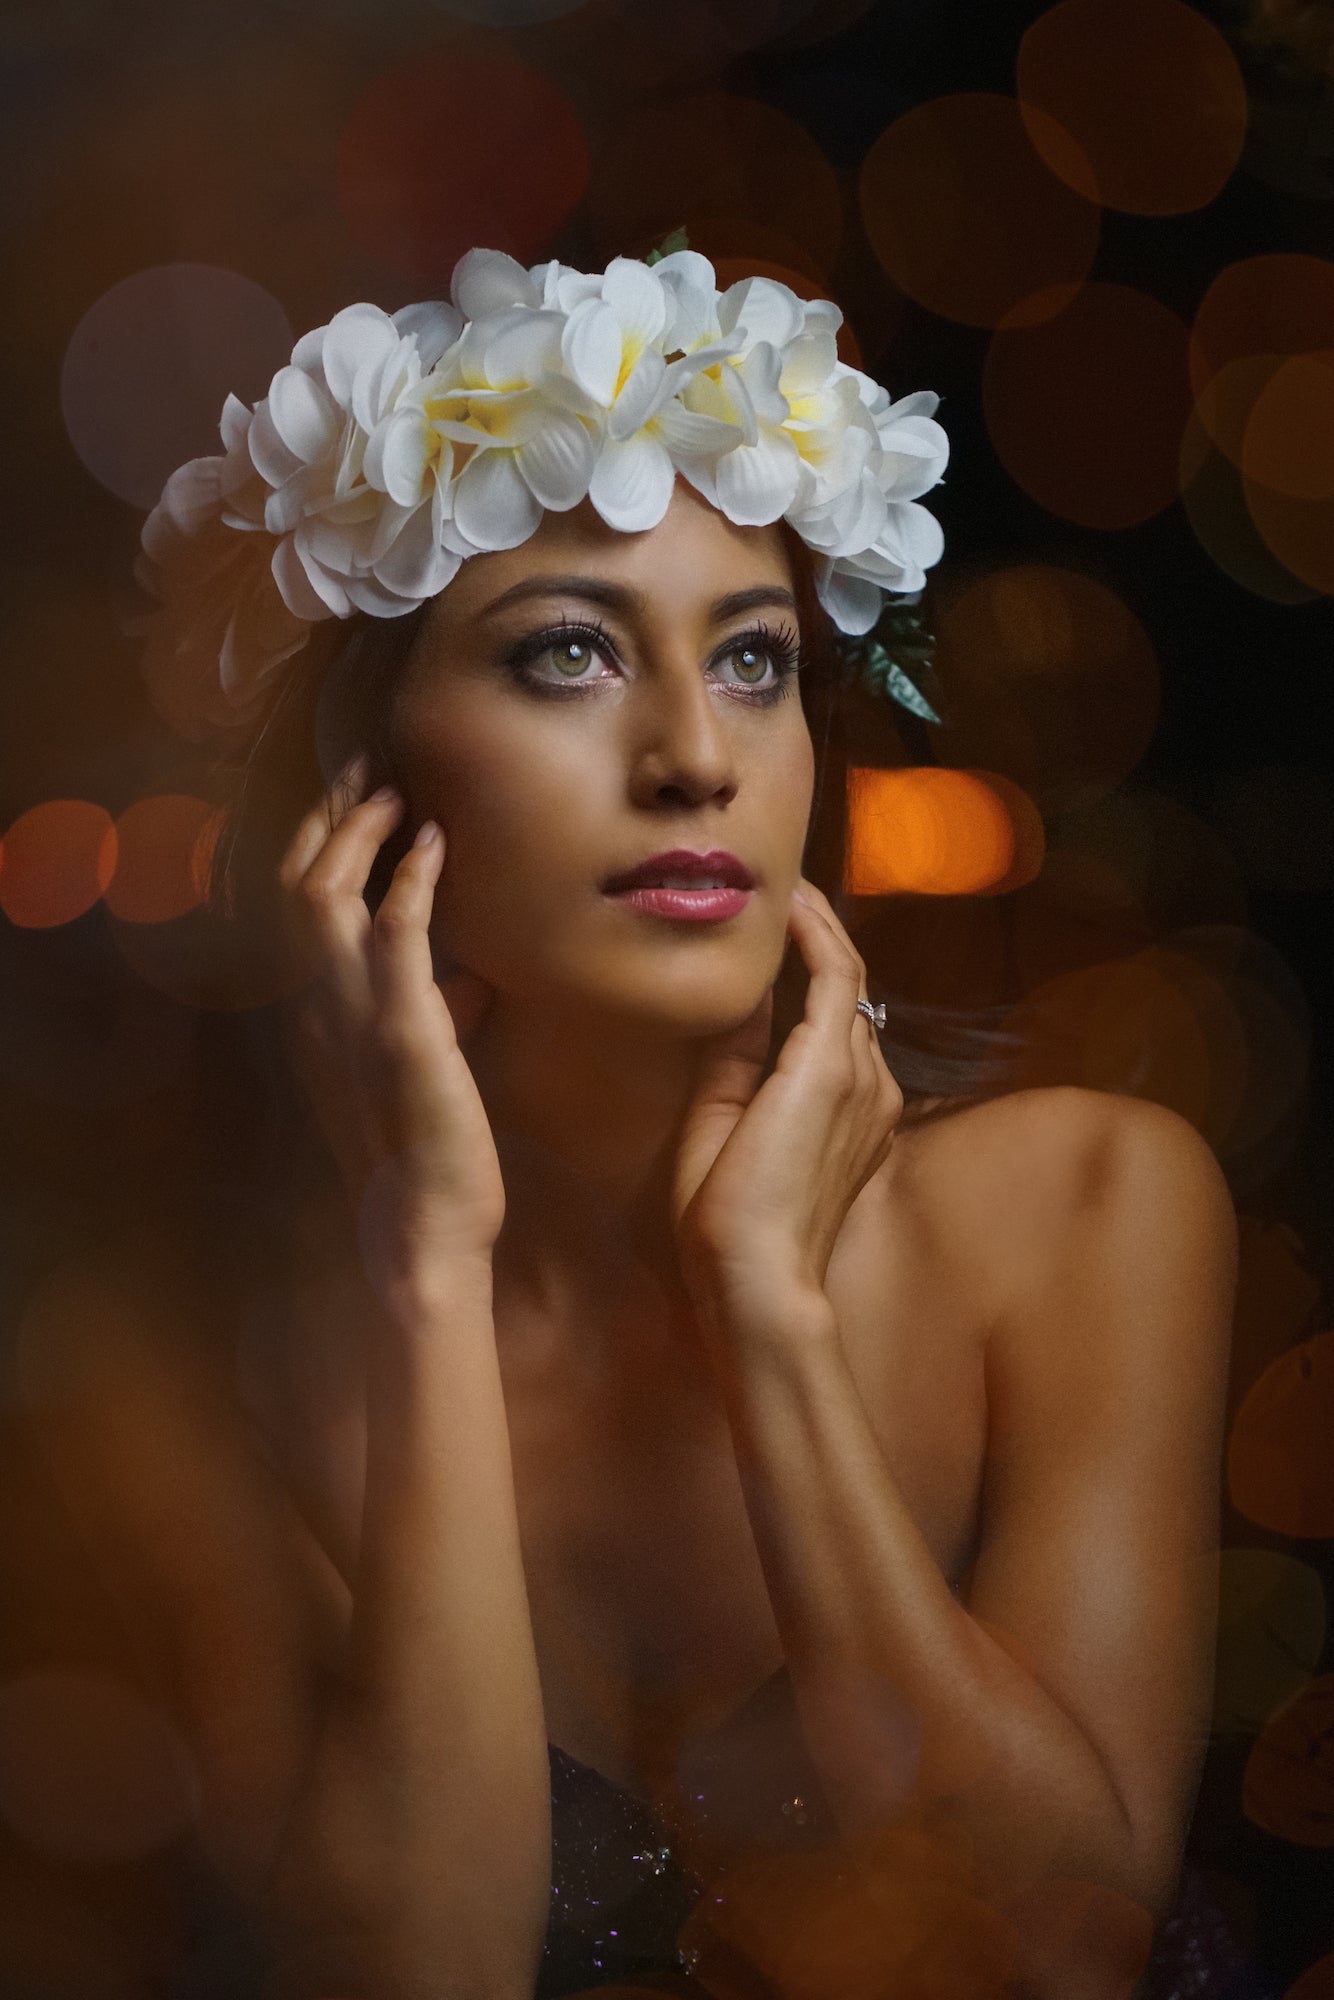
Photo by Scott Robert Lim. Sony Alpha 7R II. Sony 85mm f/1.8. 1/40-sec., f/1.8, ISO 3200
3. Independently control light on your subject and light on your background with a 1:2 ratio.
When shooting in a studio, Lim says that you need to independently control the light on your subject and the light on your background. “If you don't have enough distance between the subject and the background, the light that hits your subject will also affect the background light exposure,” he explains. “And so then you can't independently control those. So you might have your exposure set up and then all of a sudden you change and make the main light less power, then it's going to make less power on your backdrop. Then it's really hard to independently control the background, how that looks in your camera and then the lighting on your subject. So the easiest way to do that is you'd need a one to two ratio, meaning that whatever distance your light source is to your subject, you need to multiply that times two and have your backdrop that far away behind your subject. So let’s say your light source is three feet away from your subject, you need to have your backdrop six feet behind your subject in order to independently control both.”
4. Work your way up to a basic three-light setup: main, rim and background.
As you become more comfortable with lighting, Lim says to work your way up to a three-light setup. “You really need to know how to do it like the back of your hand, because as a photographer someone’s always going to ask you for a headshot. When you can master the main light on your subject with some nice separation light on the hair, and then a nice background that's nicely lit and perfectly exposed, if you could do that basic three-light setup, you can do so much just understanding that.”
“It’s an amazing foundation that you can establish a career on. It's not just like it's essential, it's that you master just something basic like that and learn to do it in anybody's office or at your studio, somebody else's office, on location, and you can set yourself up for a nice career.”
5. Work on communication with your subject.
To capture powerful portraits you need your subject to be comfortable, and to make that happen Lim says you must work on your communication skills with your subject. “Your goal is that you want to make your subject feel comfortable and be expressive with their emotions. And if you don't know how to do that, you could just literally ask them questions about themselves, and then inevitably you can see what they like talking about. Maybe it's their kids or maybe it's their career, or maybe it's a certain family member, or maybe it's something they're going through in life, their journey, anything. You can just start asking them questions about themselves, and they'll start to open up and feel comfortable.”

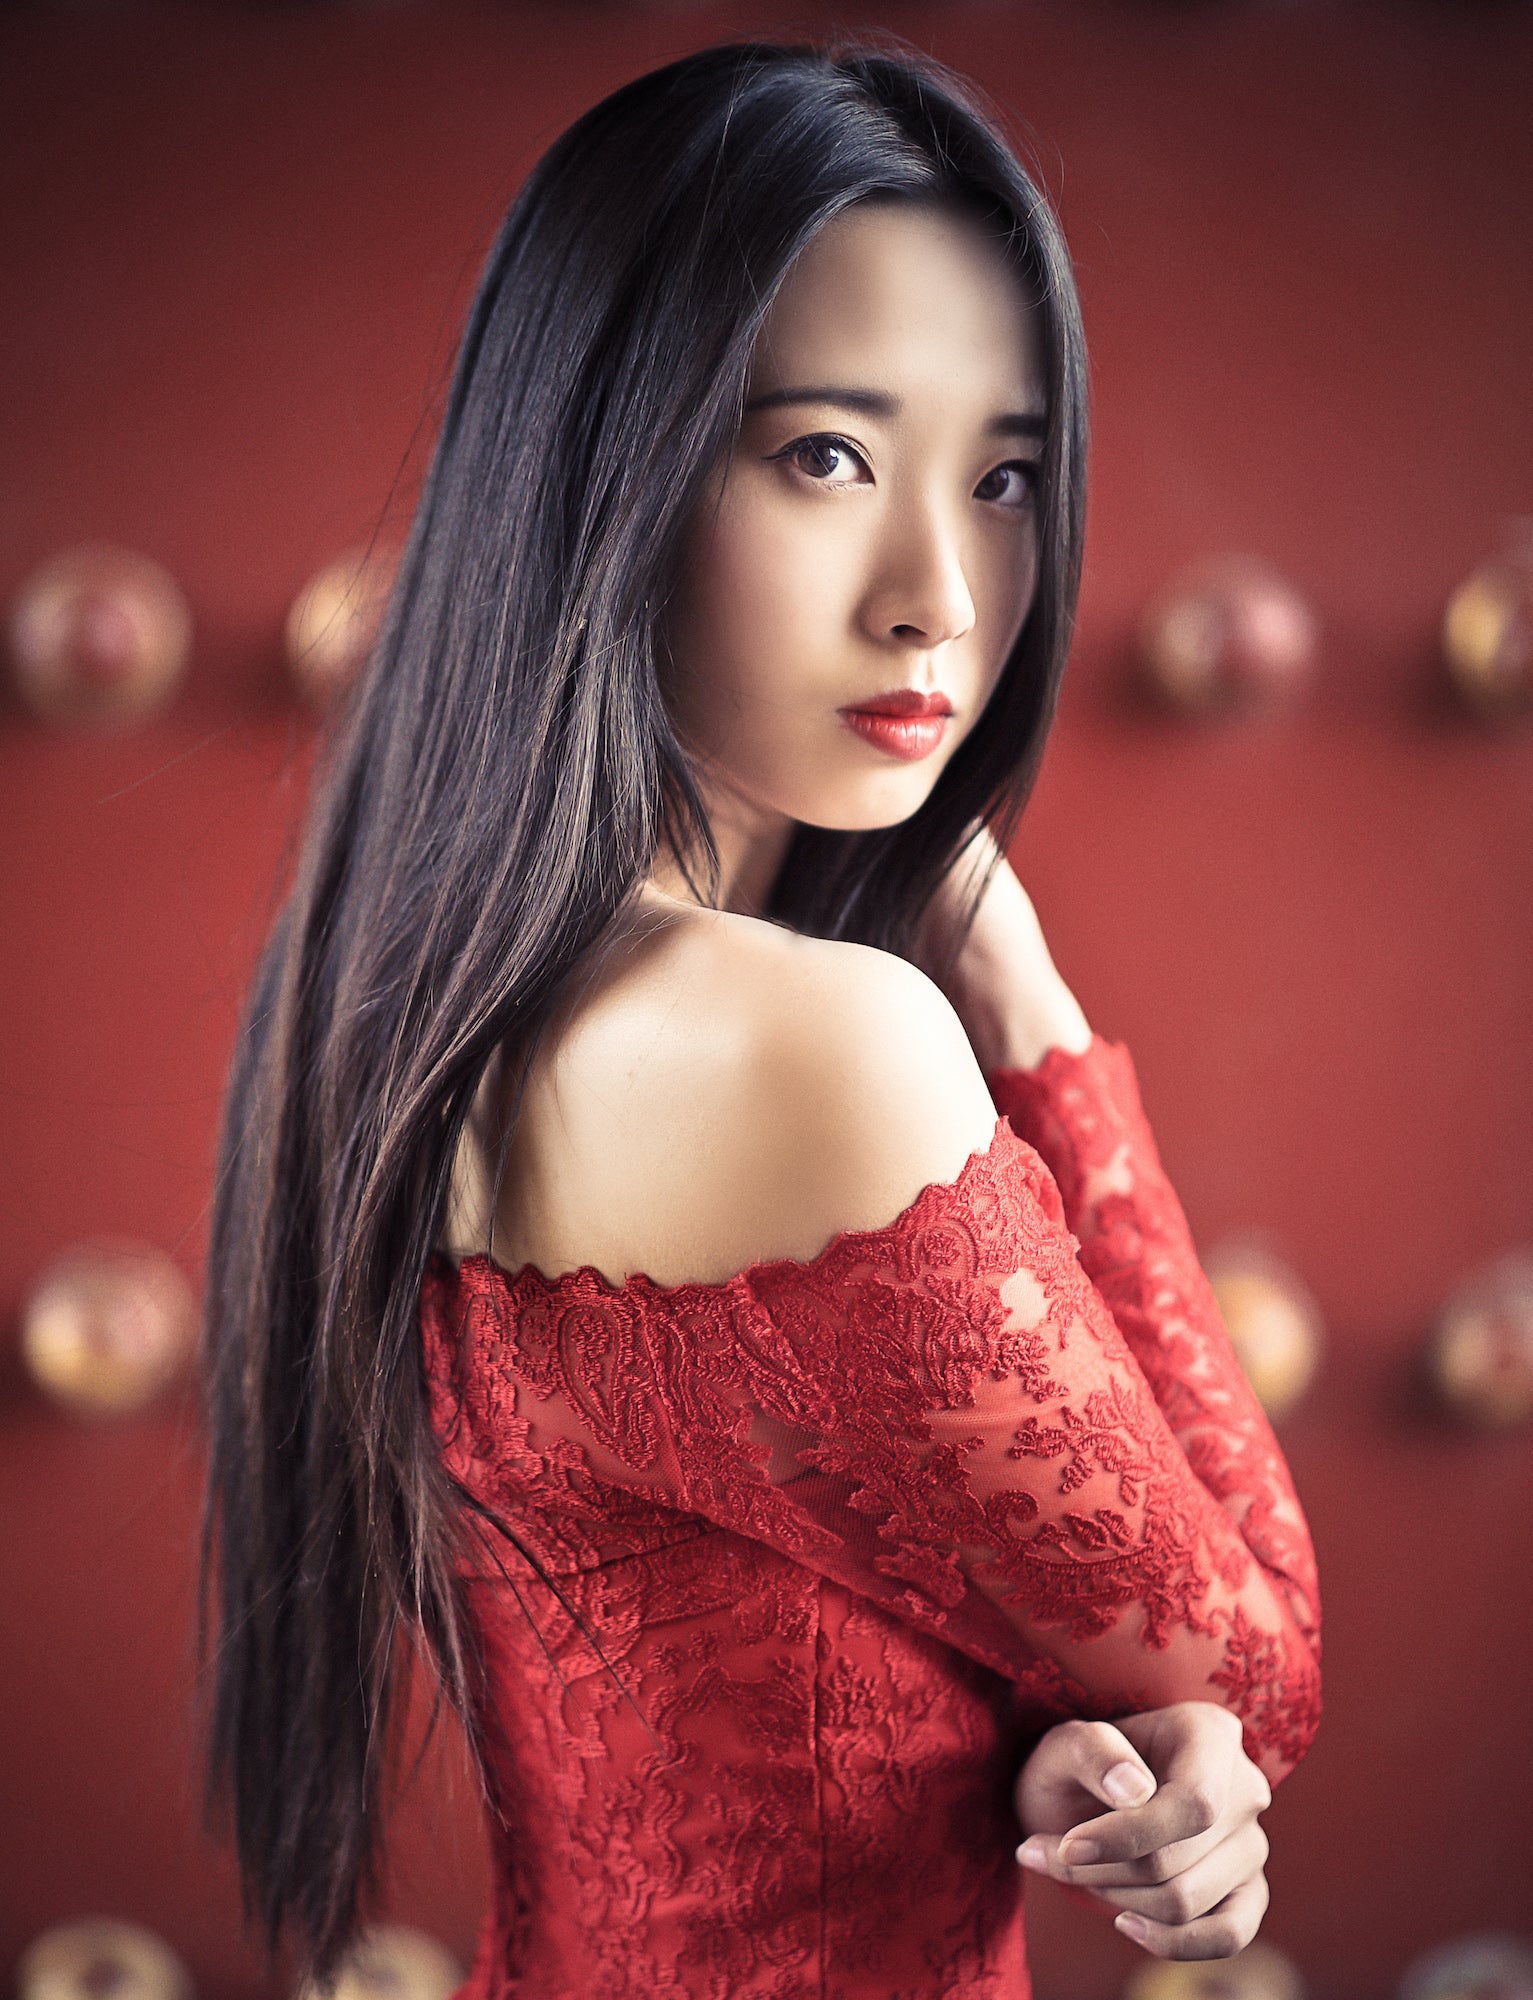
Photo by Scott Robert Lim. Sony Alpha 7S. Sony 55mm f/1.8. 1/400-sec., f/1.8, ISO 80
6. Set up your lighting before bringing in your subject.
In most studio settings, you have to be very efficient with your time. Lim always has his first lighting setup ready to go and plans to get the most important shot first. “You have to get there a little bit early, make sure the room is the right temperature and make sure all your lighting is done and mark where you want your subject to stand and do a little test shot, then you're ready to go. This way you're starting on a positive note. You have your first setup ready and then after you start nailing that and feeling good about yourself, then you can start experimenting and moving some lights around and doing some more fun stuff. But get that shot that's going to pay your bills lined up first and then bring your subject in because you don't want to bring your subject in and then be experimenting with lighting. You don't want your subject to not feel confident in your ability. If you’re ready to crank shots out as soon as they show up and are ready, they’re going to have confidence in you immediately.”
7. Think about fast primes.
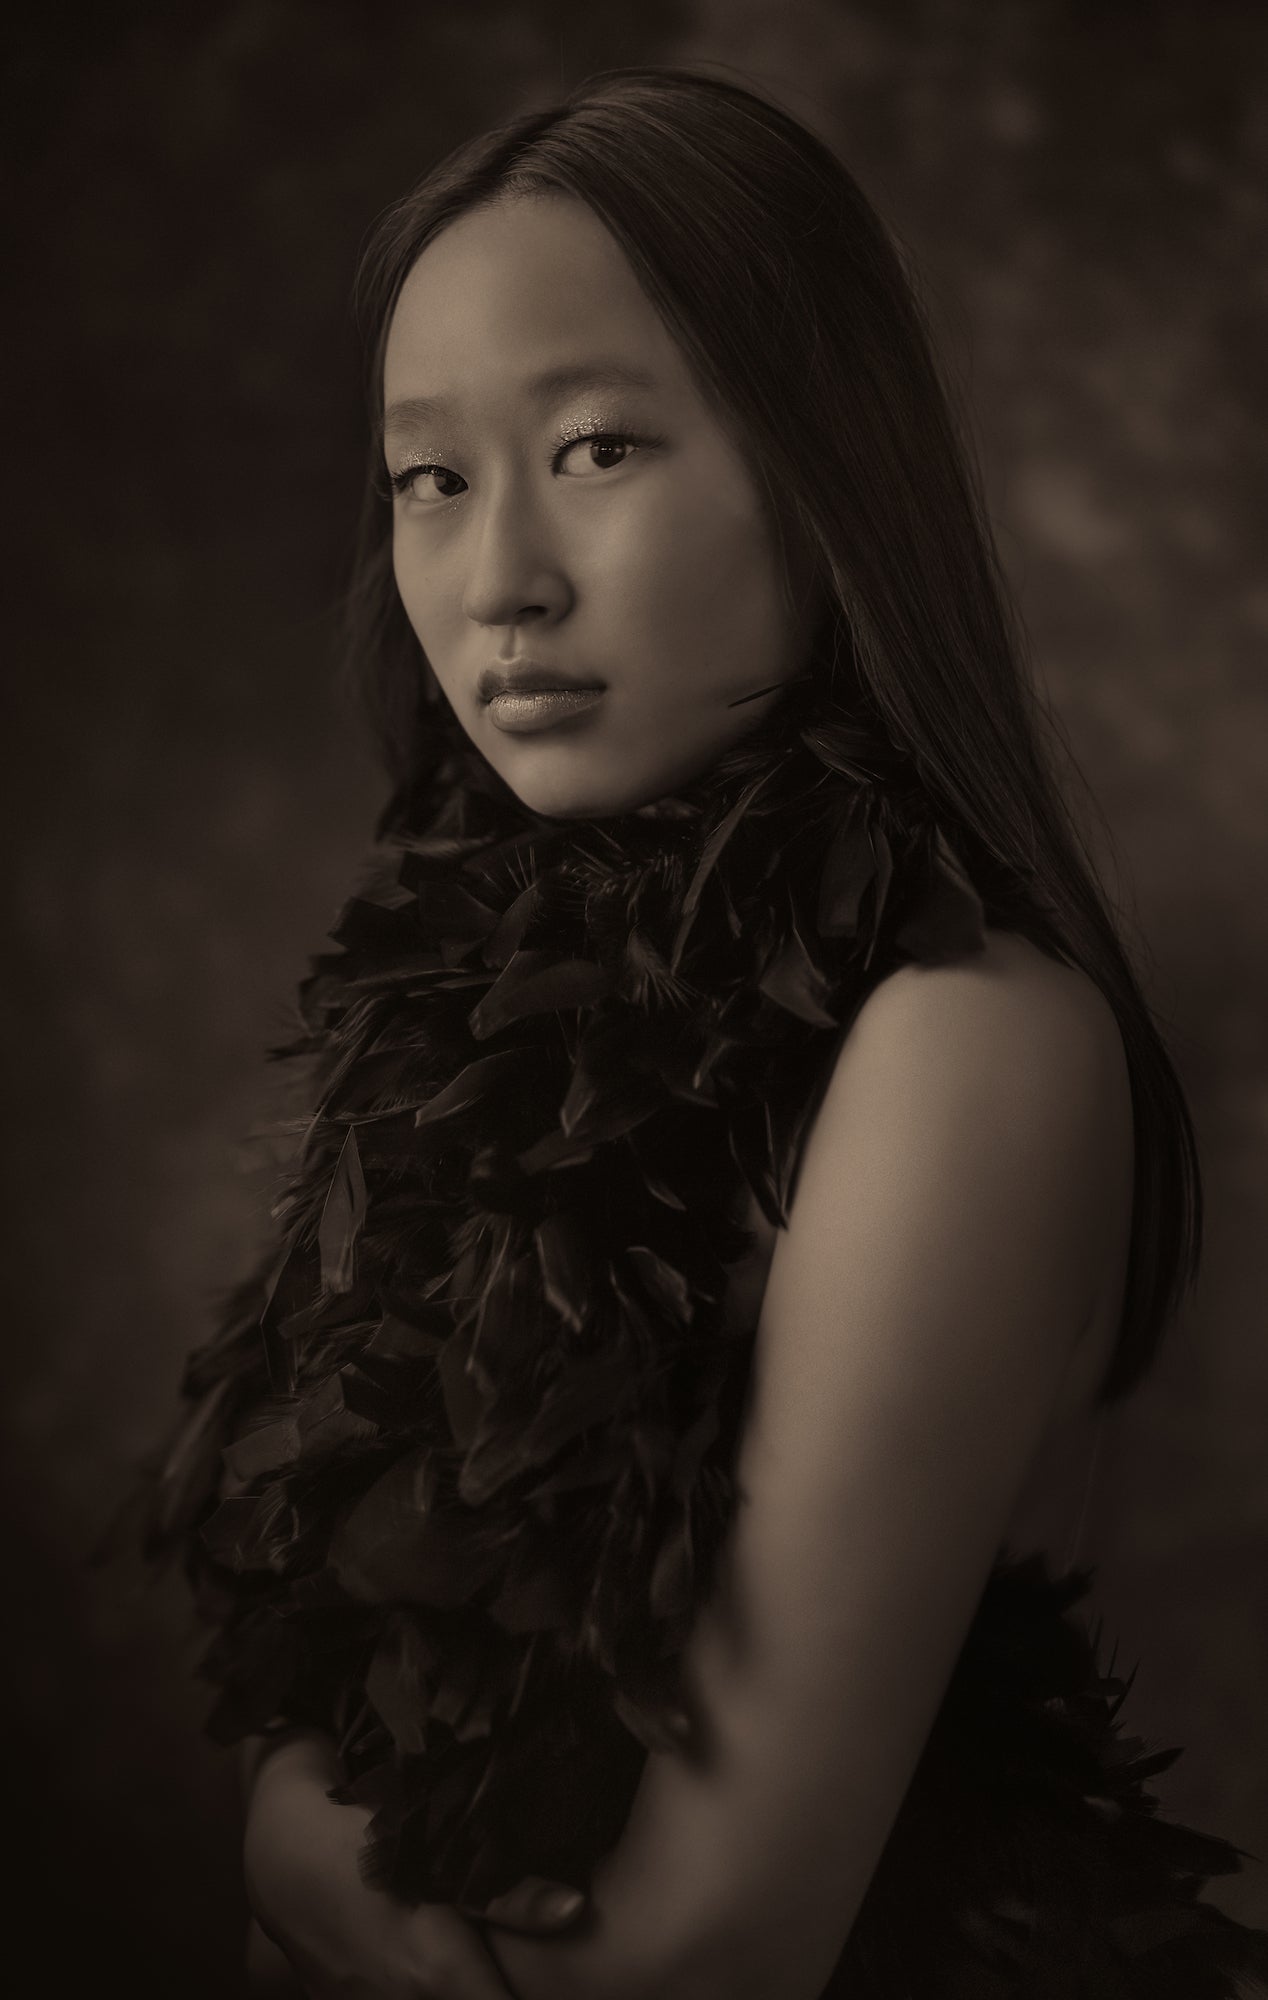
In the studio, where you have a lot of control over every aspect of the photo, fast, sharp primes have advantages. In situations where you don't have that kind of control, a zoom gives you the ability to change focal lengths and framing on the fly, but in many cases that's not the situation in the studio (of course there are exceptions). Instead use a prime's extra speed and potential to get more dramatic looks through depth of field. The photos in this article were all shot with f/1.8 lenses at f/1.8.
8. Capture a wide variety of expressions and looks.
Lim says if you want to sell more, you need more variety. Make sure you capture a wide variety of expressions from your subject during the shoot. “This is how you’re going to sell more. It's like if they give you that same look and you just capture that same look every time, you can always sell them one photo. Look at the camera, don't look at the camera, smile, laugh, be solemn, be whatever, just go through a wide variety of expressions. And hopefully when you're talking to them, they can kind of express that too, and you can just naturally capture it as they're talking.”
You also want to use a variety of framing to get a good mix of photos. “You want to shoot photos in both landscape and portrait,” Lims explains. “Then if you can, you want to capture some full-length, and then some in really tight on the eyes and face. Basically you’re just capturing a variety of different looks through the way you're framing your subjects.”

Photo by Scott Robert Lim. Sony Alpha 7R III. Sony 55mm f/1.8. 1/400-sec., f/1.8, ISO 500
9. Leave extra room around your subjects for cropping.
You want to give yourself a buffer and leave extra room around the subject for cropping when shooting. “Now I'm guilty of this too,” Lim says. “I’ll try to crop it perfectly in my camera and then all of a sudden they want it 8"x10" and that’s not going to work, I should have gone out. So make sure you've got some extra room there, because you don't know what size they want to make it, and so that's just going to be a buffer.”
10. Make sure you see catch lights in your subject’s eyes.
Lim says that to him, if you don't have catch lights in the eyes of your subject, then you really don't have a portrait. “Make sure whatever lighting you do use, or even if you just use natural light, you need to have that catch light in the eyes because that's where the magic is and the mirror to their soul is through that catch light.”

