I’ve always held a deep fascination for the stars, but more specifically the constellations and their ancient stories, so naturally when I started this journey into photography I wanted to photograph the night sky with its thousand twinkling lights in the cosmos. Let me tell you, it is so rewarding after spending a sleepless night out in the middle of nowhere to look at the back of your camera screen and see the heavens with more detail, color and light than you ever could’ve imagined.
My first photograph of these little beauties was captured on a whim, I managed to convince my husband and a friend into driving an hour and a half to Death Valley at 11 at night. I thought I knew where I was going, but as we wandered out into a desert that seemed to go on forever in complete darkness, I realized I had no idea what I was doing, needless to say we did not find the salt patterns at Badwater Basin that night. I did, however, find out what not to do, so here I am to share with you a few tips that I think would’ve made this first outing more successful had I known these then.

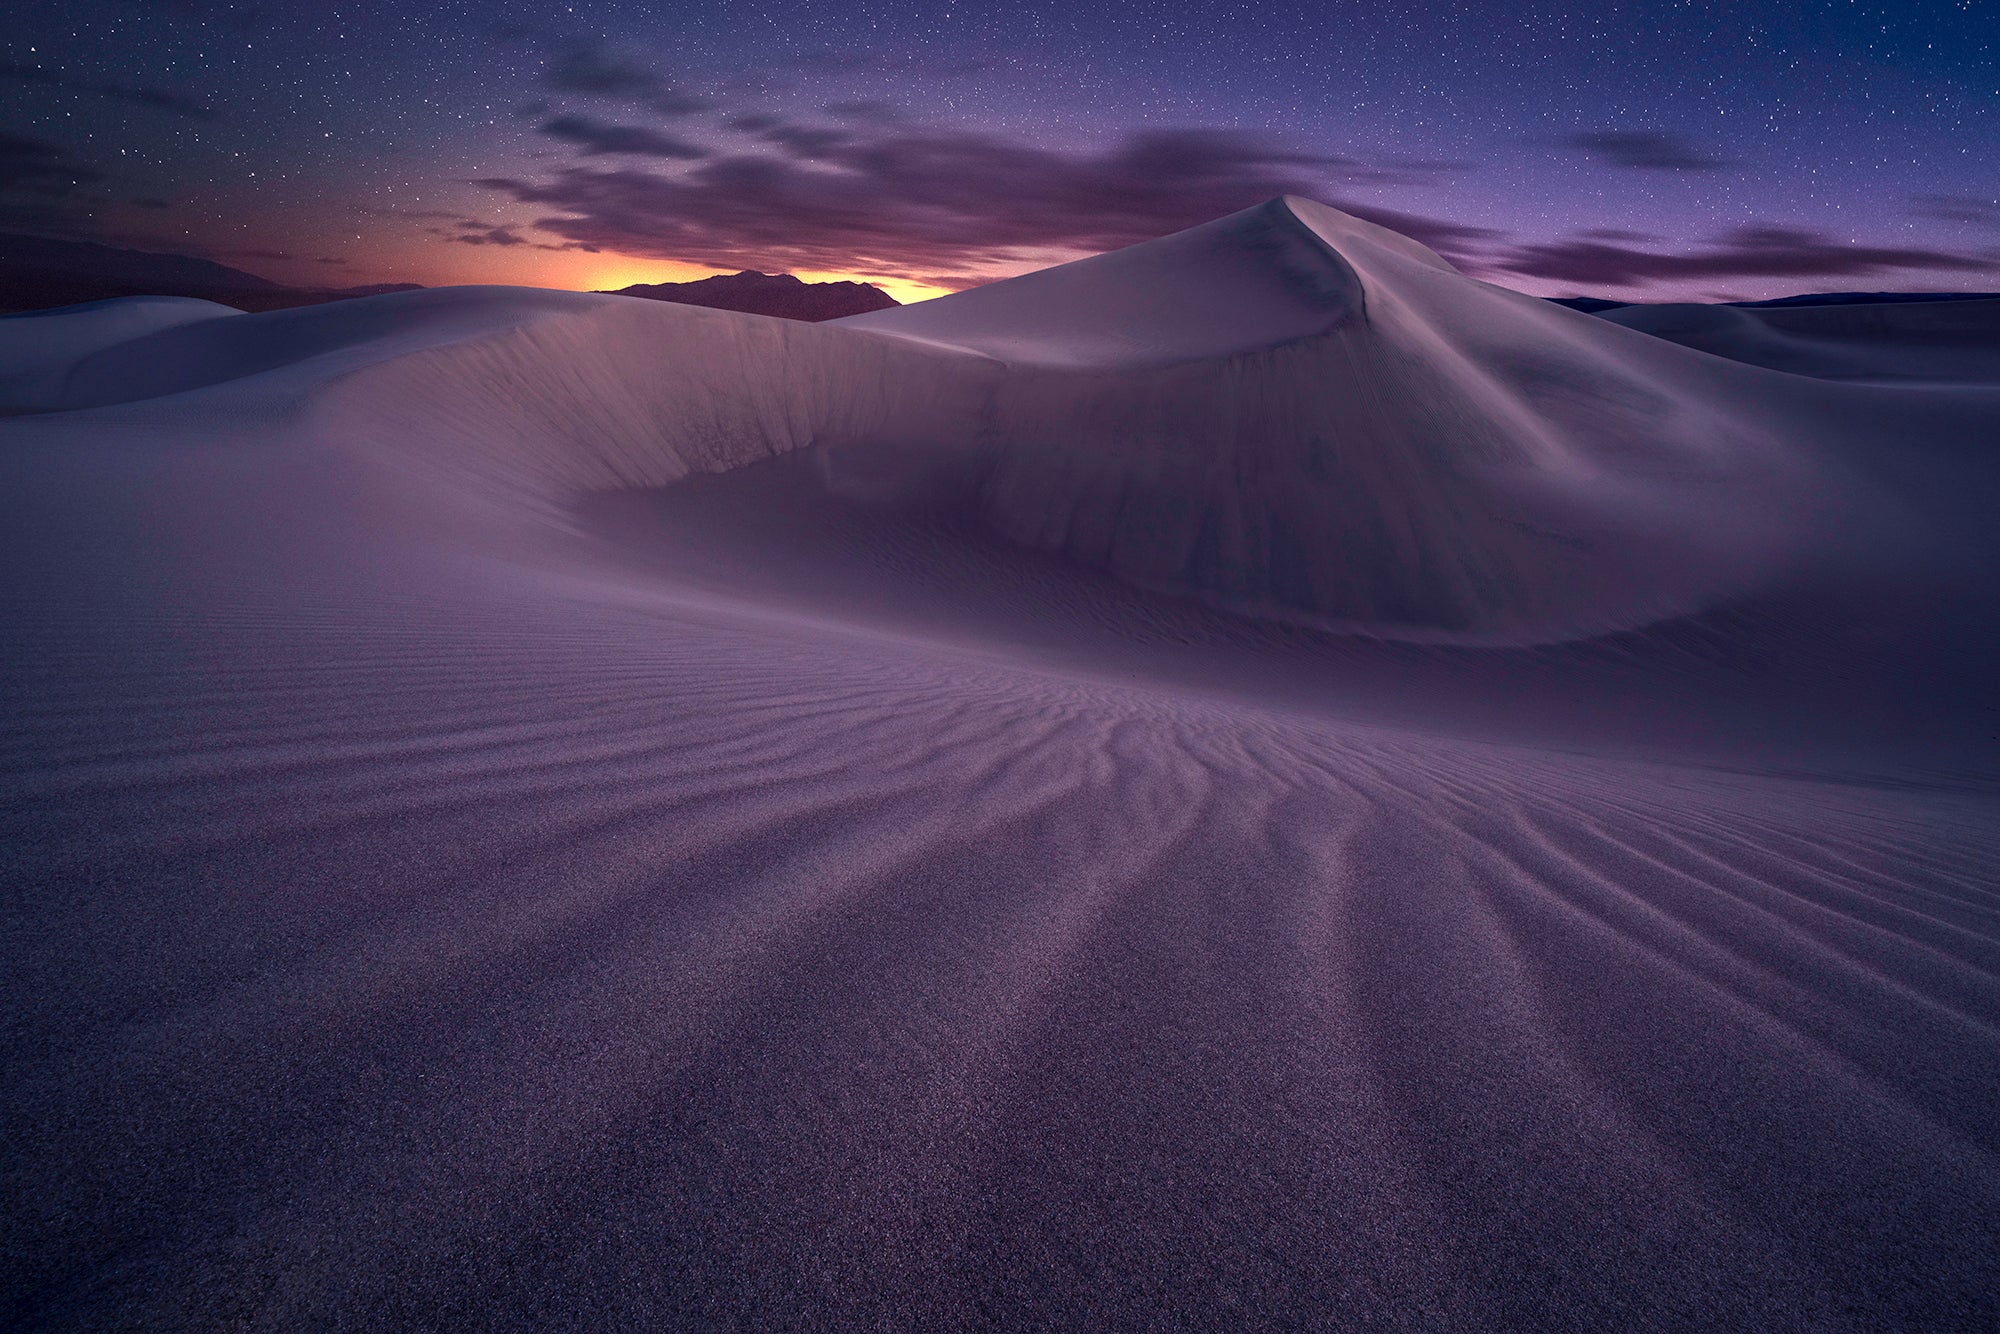
Sony α7R III with 12-24mm f/4 G lens. Foreground: 12mm, f/16, ISO 100, 5-seconds. Sky:(20 Images stacked). 12mm, f/4, ISO 12,800, 8-second exposures.
Tip 1: Find Clear Dark Skies
The first step in photographing the night sky is research to find a dark sky, a place where you can actually see the stars. I didn’t do any of this research on this first trip, I just stumbled into it face first. I suppose I got lucky then, but today I pretty much plan my whole life by the phases of the moon.
The first factor is light pollution and this plays an important role. The closer you are to city lights the more light pollution you’ll have to deal with. Light pollution makes the sky look washed out and limits the number of stars you can see. So try and find a place away from city lights and keep in mind that the larger the city the farther away you will have to travel. For me, getting away from light pollution pushed me almost two hours away from Las Vegas and into Death Valley National Park.
The second factor to consider is the moon. The darkest nights will be found during the new moon, however you may want some moonlight in your scene to brighten up your foreground. I’ve found that the best thing to do is determine a time during the new moon cycle or a night when the moon doesn’t rise during prime shooting hours (there are some great apps for this or a quick Google search will do the trick). I try to stay away from nights where the moon is full or only allows a small window of time before rising. A bright, full moon will have the same effect on your image as light polluted areas—the sky will be washed out and you’ll be able to see few stars.
Lastly, keep an eye on the weather. You need to be able to actually see the stars, so a cloudless, or nearly cloudless night is what you are looking for. I personally prefer a little bit of cloud in the sky for my star shots, so a 20% cloud cover (or less) night is ideal for me. The soft cloud cover tends to do a couple things, first it creates some bloat in the star glow and leaves the overall image having a very dream like quality. Secondly the clouds tend to pick up the diminished light pollution and create a soft pink glow near the horizon. On the other hand, you may prefer a completely clear night where the stars show as pinpoints. Whichever style you want to incorporate in the look of your image just make sure there is a low percentage of clouds so you can see the stars.
Tip 2: Use a Fast, Wide Lens
Since you will be photographing at night, sometimes in complete darkness, you want to be able to gather as much light as possible with your camera. For these purposes a lens that is f/2.8 or faster is best. I personally love the 16-35mm f/2.8 G Master, and the 24mm f/1.4 G Master. I make a lot of composite images, blending a photo of the foreground with a photo of the sky. I like to use the 12-24m f/4 G a lot for the foreground images.
If you do not have a lens this fast you aren’t completely out of luck, however you will need to adjust other settings such as ISO and shutter speed to make up for it.
I also suggest using a wide lens, around 24mm and wider. The Milky Way (and pretty much everything in the night sky for that matter) is big, and you will only be capturing a portion of it. With a wider angle, you can capture more for a dramatic photo.

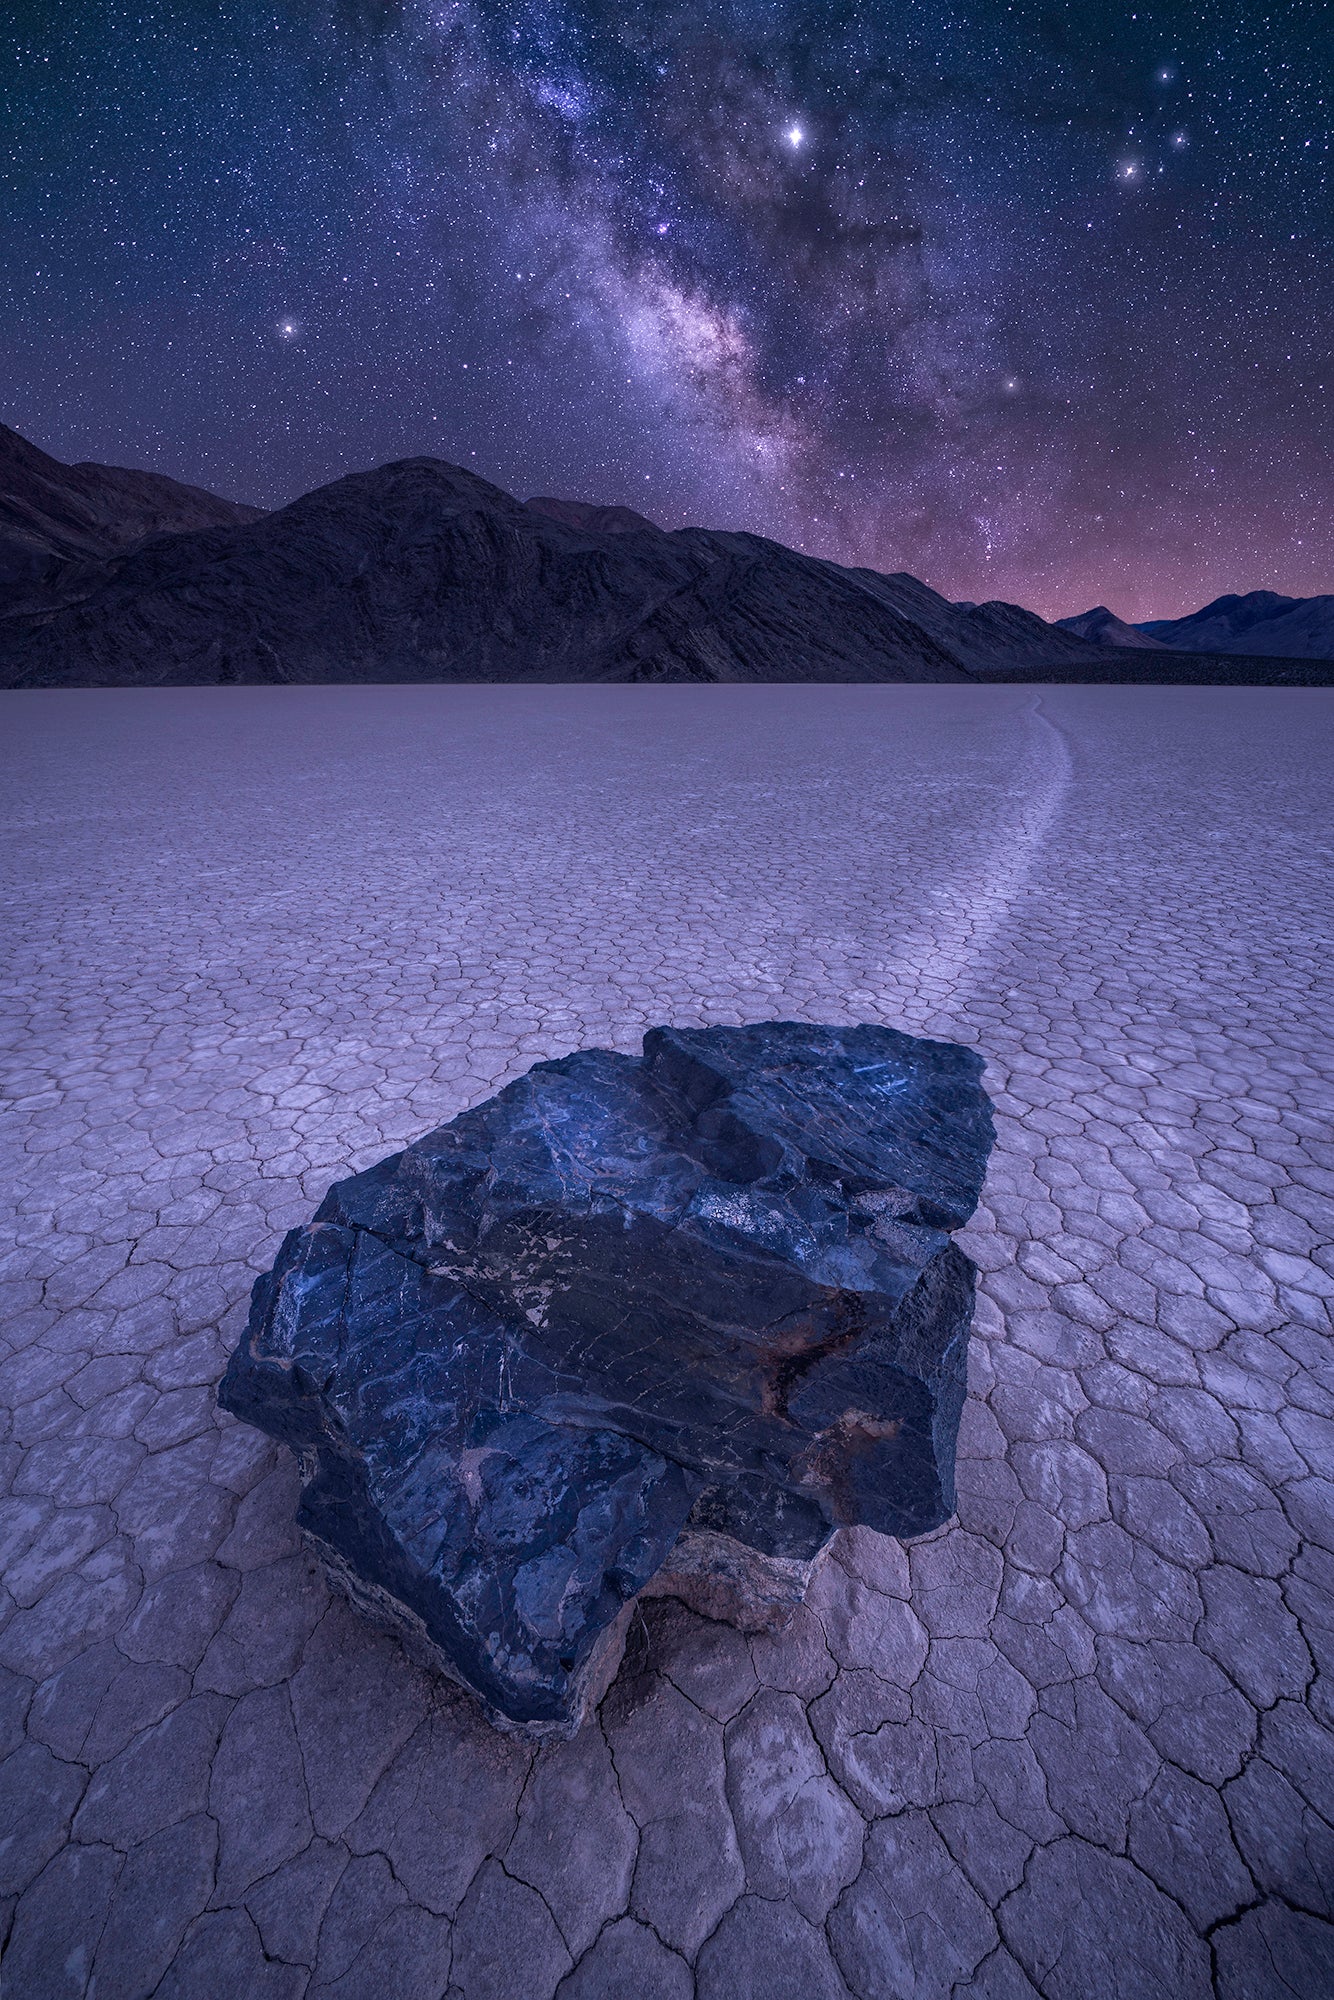
Sony α7R III with 12-24mm f/4 G & 16-35mm f/2.8 G Master. Foreground: 12mm, f/11, ISO 100, 30-seconds. Sky: (20 Images stacked) 16mm, f/2.8, ISO 12,800, 6-seconds.
Tip 3: How To Set Up The Camera
For any night photography I suggest you use Manual Focus mode. I shoot with a Sony camera so in addition to setting the Manual Focus mode, I also turn on Focus Peaking and Manual Focus Assist. For Focus Peaking I like to have the color set to red and the Peaking Level set to Mid. I find red to be the most useful for landscape photography during the day or night. Mostly because white and yellow both blend into the stars, sun or moon. I have it set to Mid because Low is not enough and High is a little too much in my experience.
Focus Magnifier is another useful feature that will zoom in on a point while manually focusing, keep in mind that you can punch in even more that the default setting which varies from camera to camera. For example the α7 III zooms to 11.7 times magnification while the α7R III can go to 12.4 times magnification.
I find that the benefit of an Electronic Viewfinder combined with focus magnifier and focus peaking can get you real up close and personal with the brightest stars to get that super sharp focus. Make sure to use the brightest star for focusing, magnify in as far as possible using Focus Magnifier and then adjust the focus ring until there is a ring of red around that star, this is the Focus Peaking telling you this star is in focus.
If you are having trouble a good place to start is at infinity focus and adjust slightly from there. If you’re still having trouble, find infinity focus during the day by focusing manually on a far away object and mark this on your lens or make a mental note to come back to that point on the focal ring at night.
Tip 4: Determine Your Aperture, Shutter Speed, ISO & White Balance
This is really a game of balance.
As we talked about above, you want to start with an aperture of f/2.8 or lower. However if you don’t have f/2.8 use your lowest aperture to let as much light into the camera as possible.
For the shutter speed you want to use the longest shutter speed possible before your start to see star trails and this will depend entirely on your focal length. There are a few methods to determine this and trial and error plays a big part, however a good place to start is with the “500 Rule” which is 500/focal length=shutter speed in seconds. For example, if you’re shooting at a 24mm focal length you would take 500 and divide it by 24 (your focal length) which would give you a shutter speed of roughly 20 seconds. Now from experience I know that at 20 seconds I’ll still get slight star trailing, so try starting at the shutter speed the 500 Rule gives you and decrease it until you no longer see trails.
For ISO a good place to start is 3200. Depending on the shutter speed you were able to get to in the previous step, you will raise or lower this to get the perfect exposure. Another thing to note is that if you are using a higher aperture than f/2.8 you will need to have a higher ISO and/or a longer shutter speed to allow more light into the sensor.
For white balance I prefer a cooler setting, my personal favorite is the “Cool White” option in the menu, but you can also set a custom white balance using kelvins if you prefer.
Tip 5: Use a Tripod & Set Your Camera For It
You’ll be shooting at shutter speeds of 10 seconds or longer, so a tripod is a necessity. I don’t know about you, but I find it utterly impossible to sit still for 30 seconds let alone hold a camera completely still for this length of time. You will want to have a steady and balanced tool to keep the camera as still as possible. Not to mention all the other great uses for a tripod: hiking pole, back scratcher, shovel, etc.
While your camera is on a tripod there are a few settings that you want to take a look at. The first is your camera’s Drive Mode. I set it to a two-second timer. This allows me to press the shutter button and the camera will take the photo two seconds later which allowing time for the movement from touching the camera to dissipate. If you simply press the shutter in single shooting mode you will introduce camera shake and this will make your stars look like strange shapes or lines.
A second option to counteract this is the Interval Shooting mode that was introduced in firmware version 3.0 for the a7R III and A7 III. You can set this mode to only shoot one shot or as many as you want consecutively. This definitely comes in handy when practicing more advanced techniques like stacking, timelapse, and star trails.
Finally make sure your steady shot function and any image stabilization is turned off. While this is a great option for handheld shooting it’s not necessary for shooting on a tripod and can sometimes cause camera shake as well.

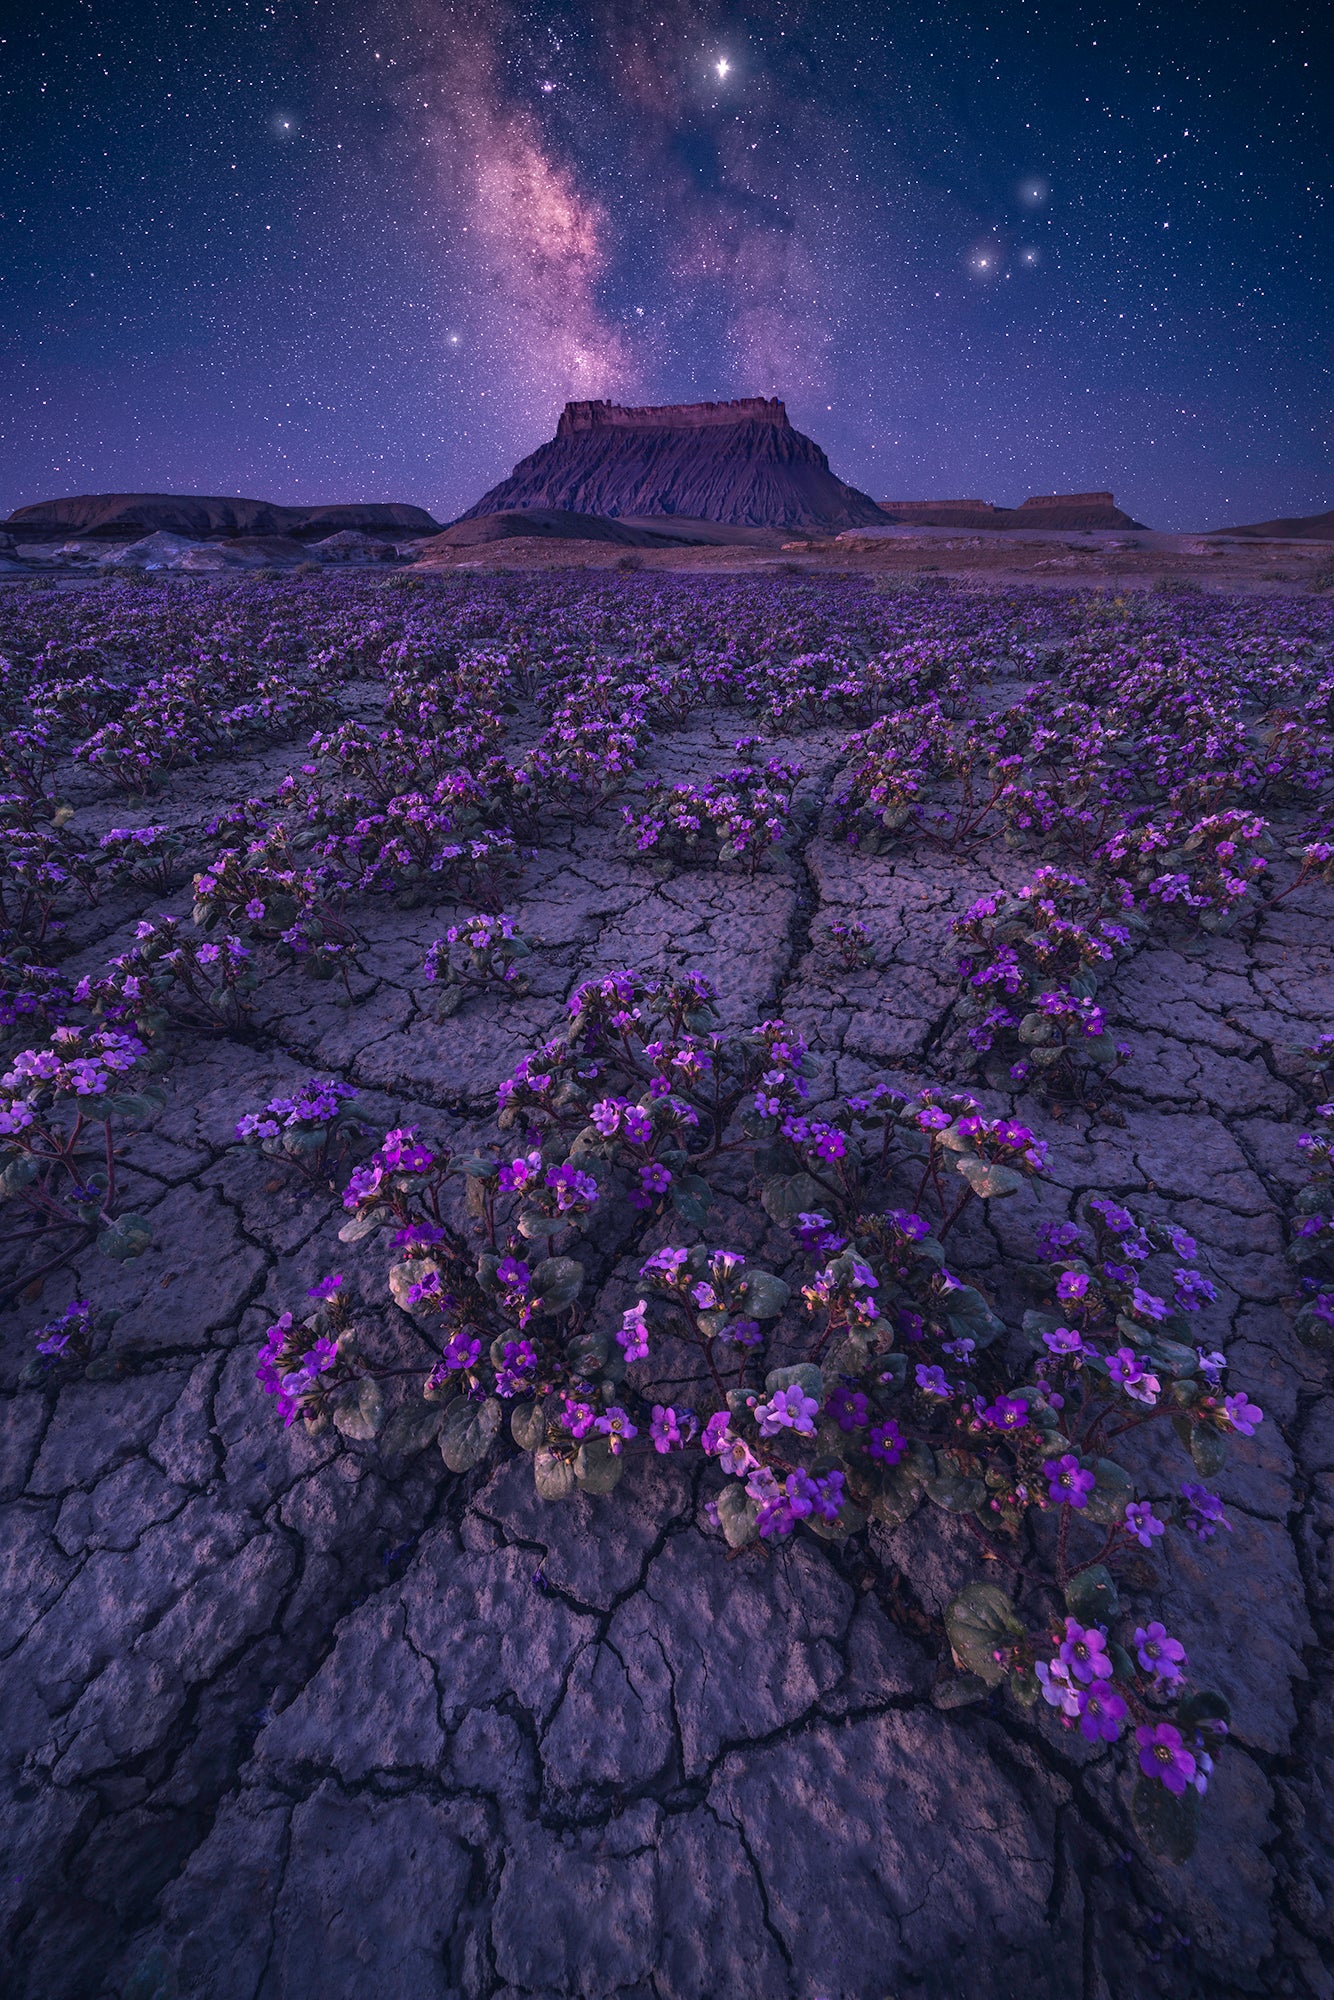
Sony α7R III, 12-24mm f/4 G & 16-35mm G Master. Foreground: 12mm, f/18, ISO 100, 1/5-sec. Sky: (20 Images stacked) 16mm, f/2.8, ISO 12,800, 8-seconds.
Tip 6: HAVE FUN!
We take photos and explore the night sky to experience and capture these special moments in time. So the biggest tip of all is to have fun, enjoy the process, don’t get caught up in perfecting every single capture. There will be struggles in the learning process but that’s all part of the growth. So get out there with a great group of friends and go stare at some stars, and maybe take a few photos while you’re out there!
Follow #AICdoesNewZealand to see what Jess and other members of the Alpha Collective capture as they explore New Zealand’s South Island.

