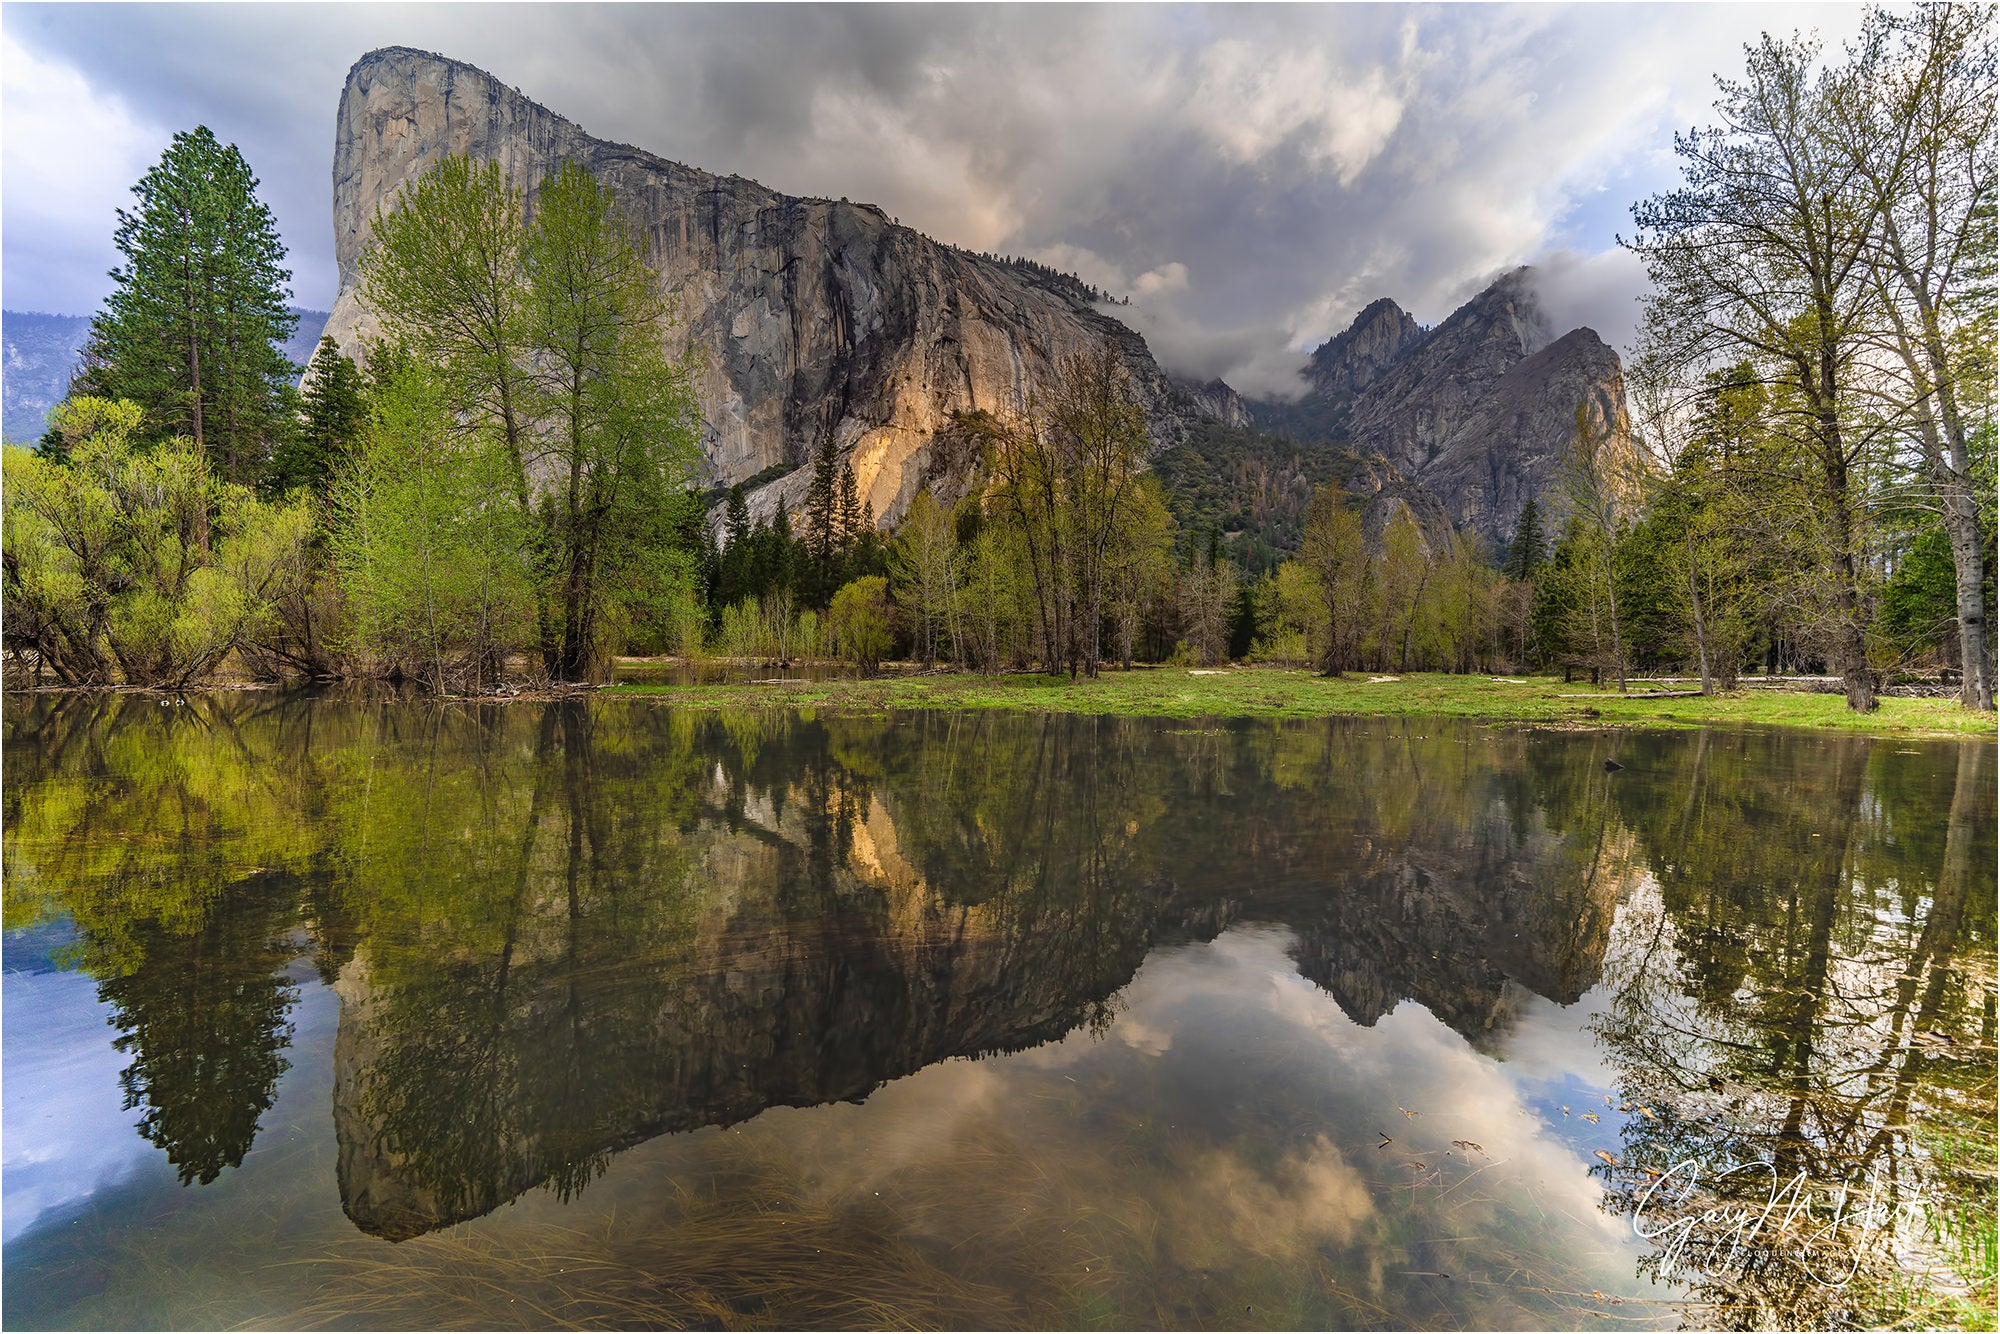
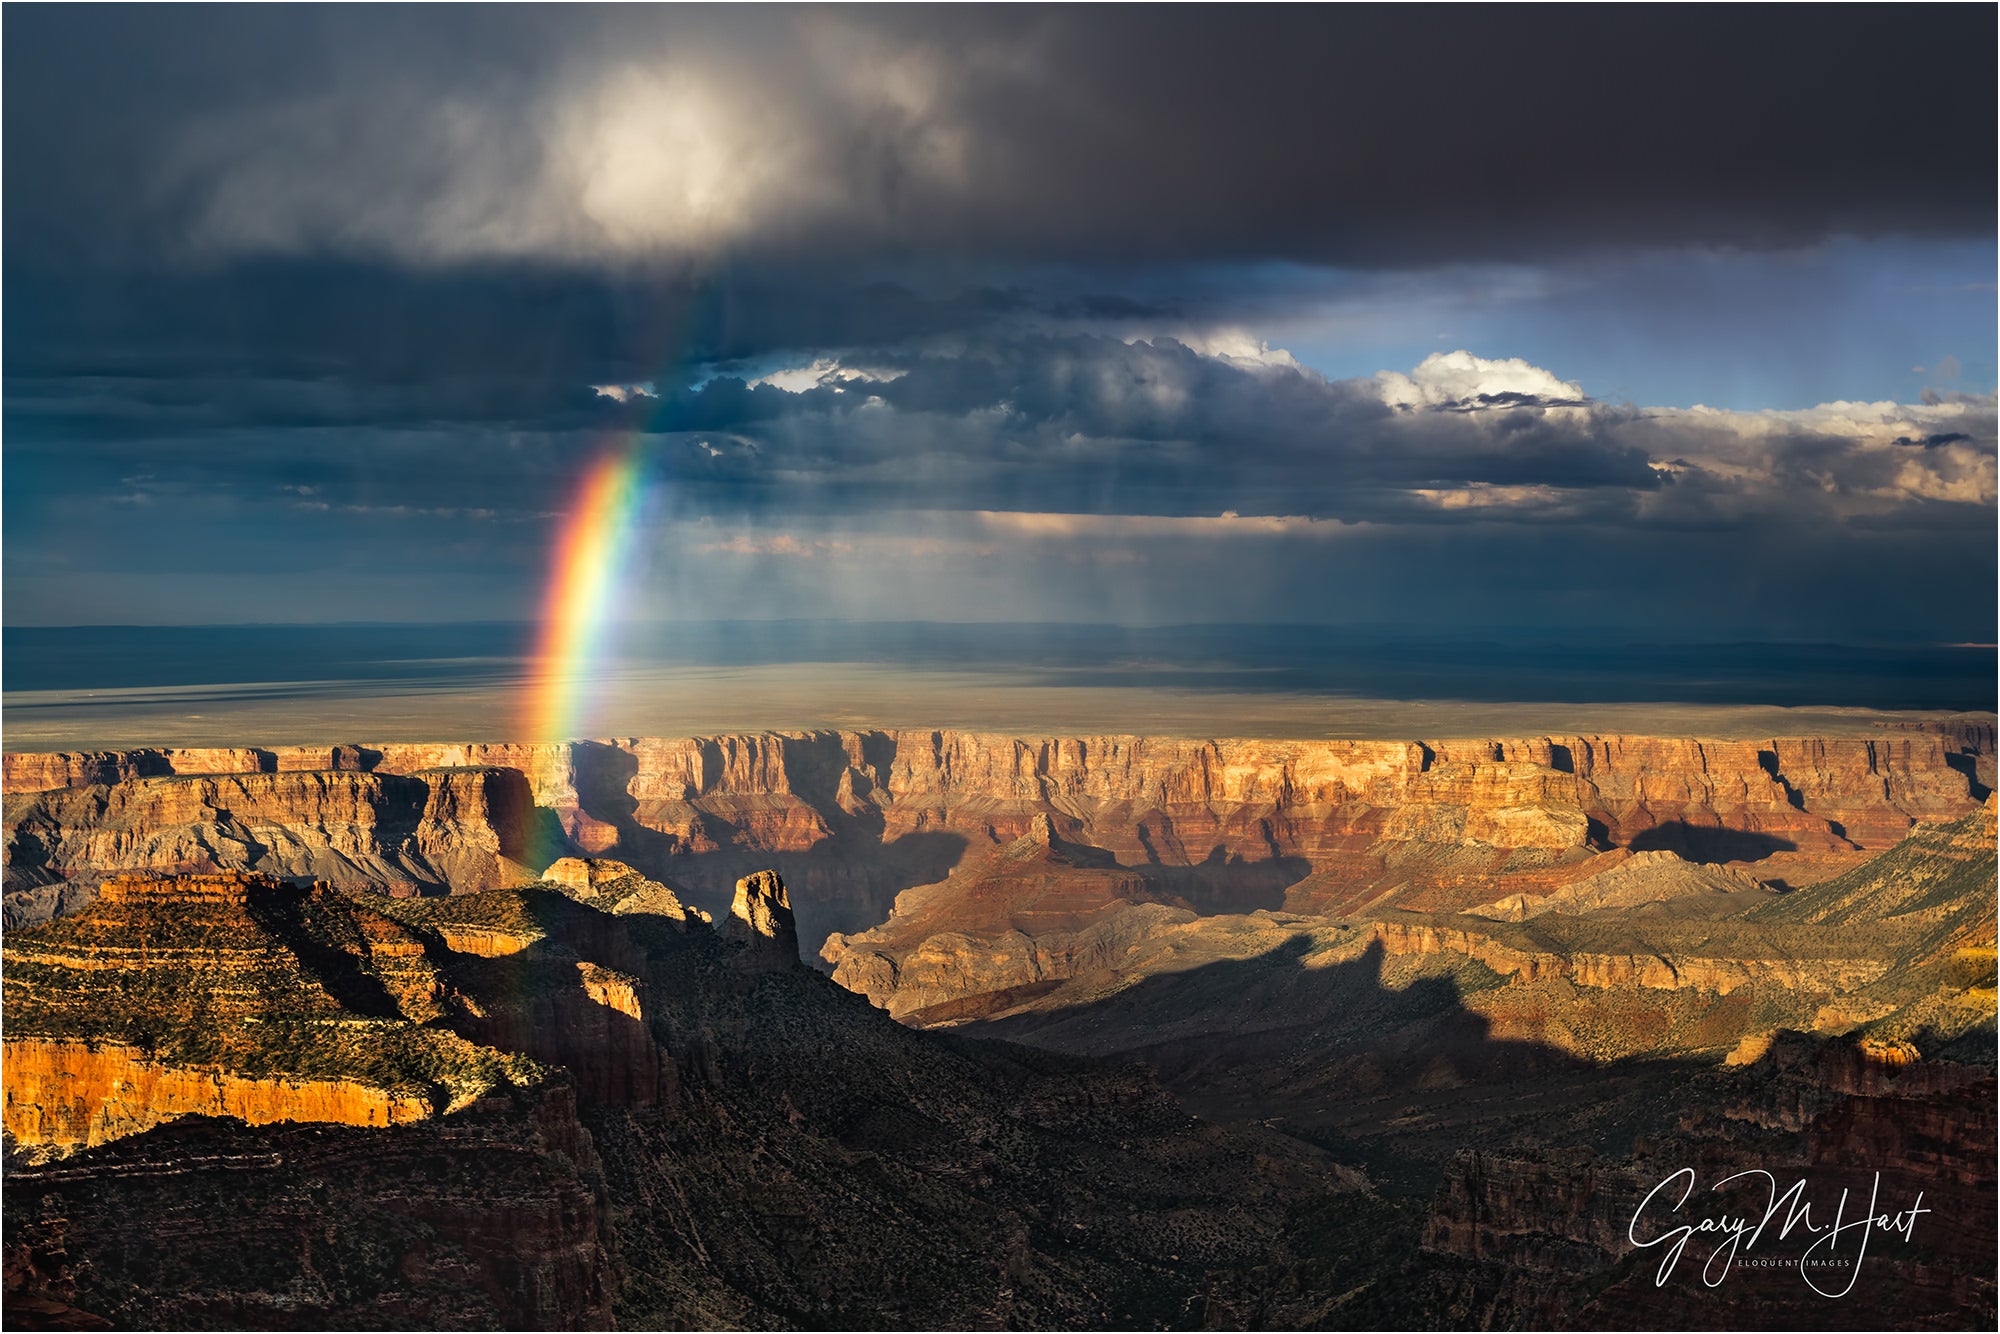
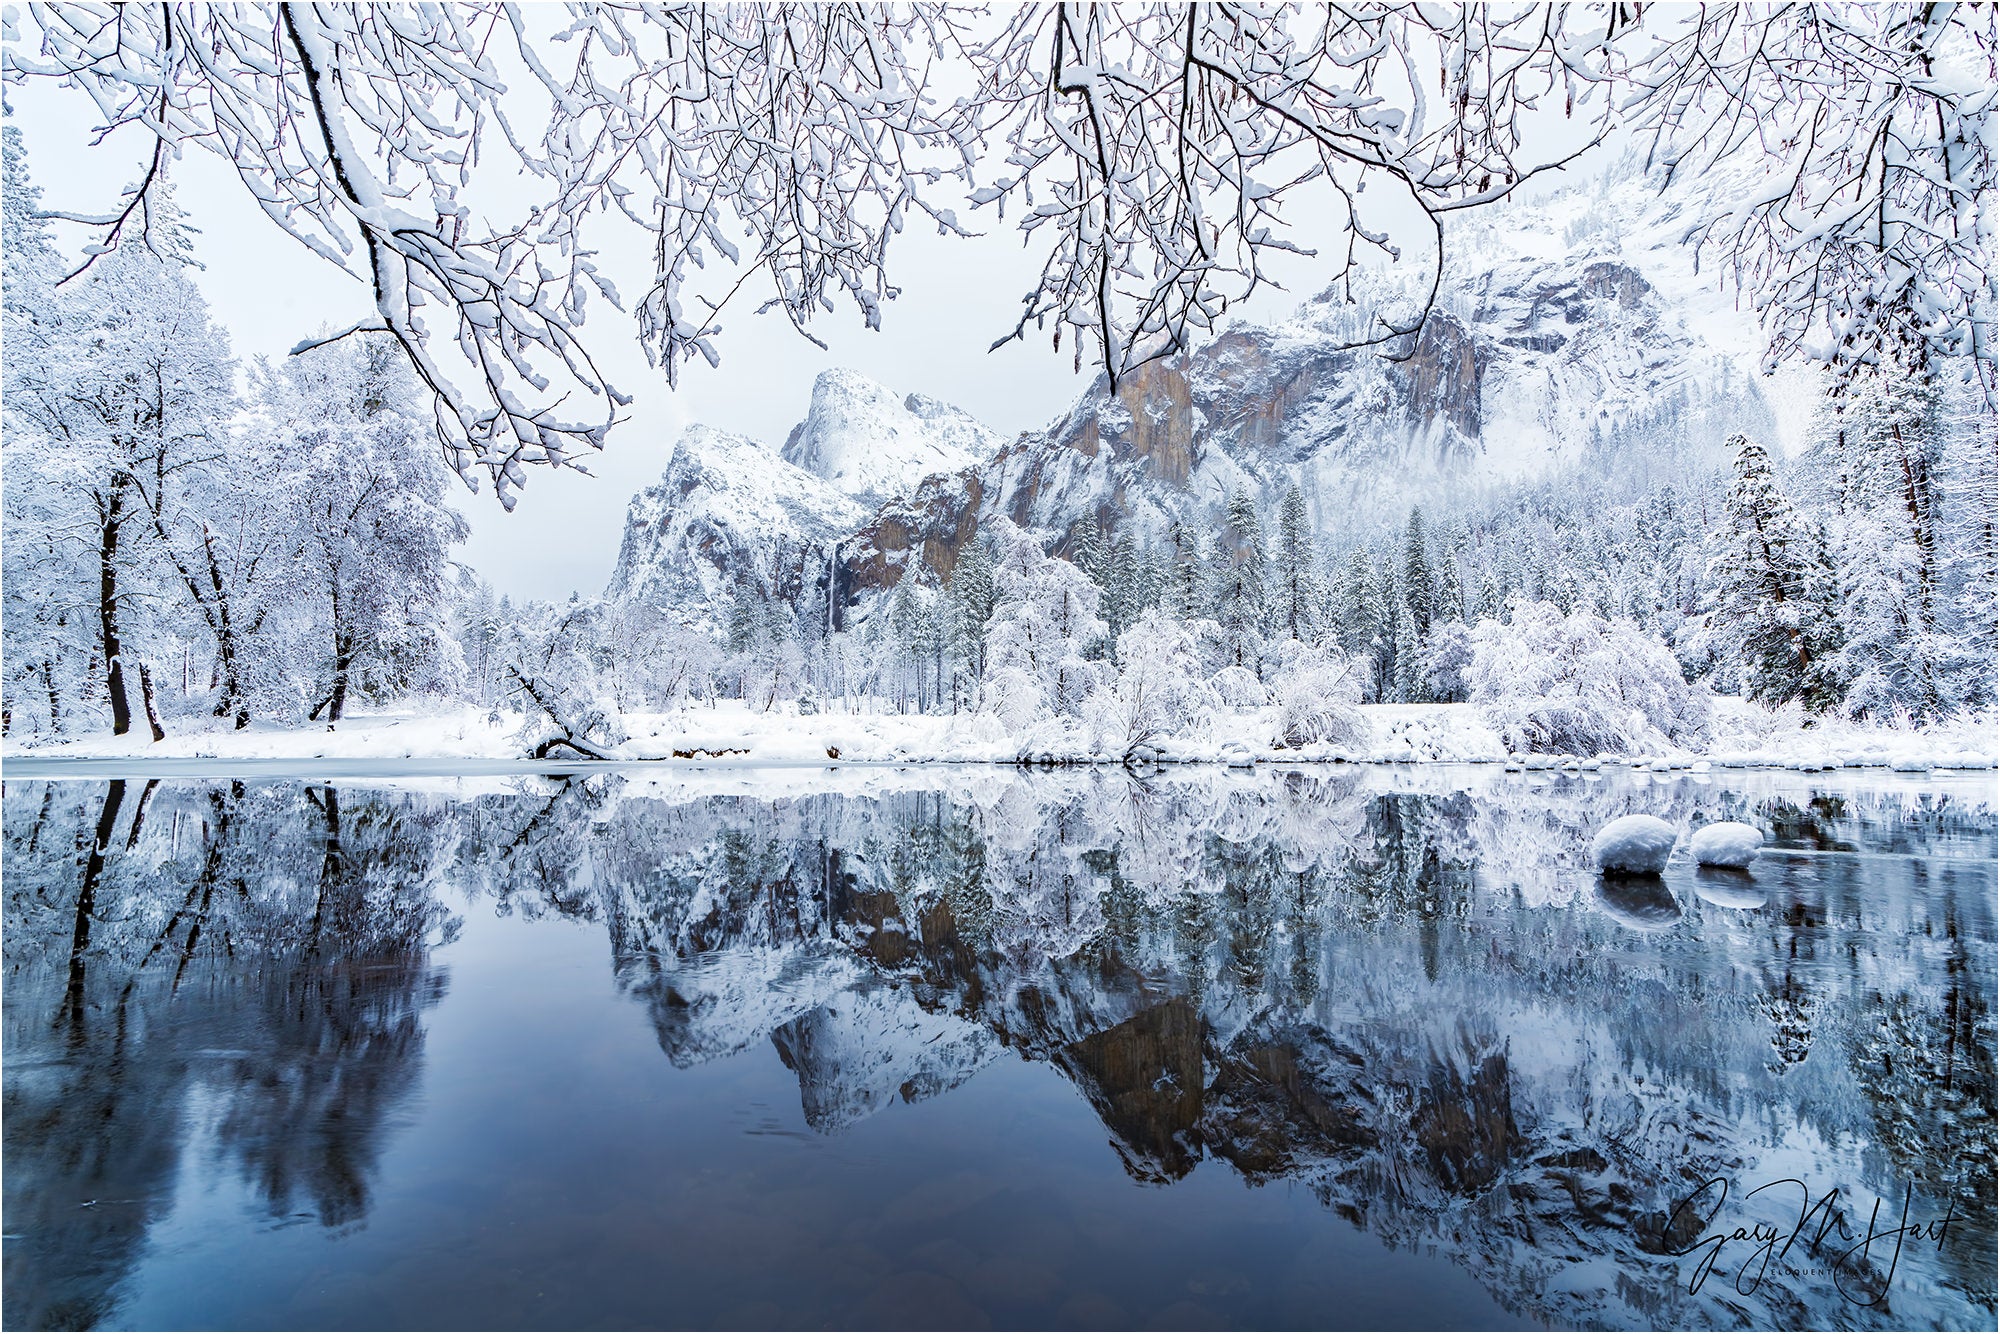
In this article we connect with Sony Artisan Gary Hart for some of his camera setup tips when photographing landscapes.
Professional landscape photographer and Sony Artisan Gary Hart has many years of experience photographing landscapes all over the world. His expertise makes him an excellent teacher, and he leads photo workshops throughout the year in popular places like Yosemite and Grand Canyon National Parks. Over time, Hart, who has previously shot with the Alpha 7R III and now the Sony Alpha 7R IV, has determined a few ways to set up his camera that makes capturing landscapes easier for him. Below he shares his 10 camera setup tips that help him prepare when shooting landscape photography.

Photo by Gary Hart. Sony Alpha 7R III. Sony 12-24mm f/4 G. 1/125-sec., f/10, ISO 100
Professional landscape photographer and Sony Artisan Gary Hart shares his camera setup tips for creating beautiful landscape imagery.
1. Use A Tripod
Before worrying about camera settings, you want to make sure you have a sturdy tripod to safely stabilize your camera. “If you're a landscape shooter, there's no excuse for not being on a tripod,” Hart says. “Obviously, that's a generalization. I'm sure there are a few situations where you wouldn't want to be on a tripod. But when your subject is stationary, you really want to take motion out of the equation and the tripod is what does that for me.”
2. Set Your Back-Button Autofocus For Seamless Transition
Hart has a specific way he sets up his Back-Button Autofocus so he can easily switch between manual and auto while out in the field shooting, “You want to make sure that your back-button focus is set up the right way so it runs seamlessly. Being able to switch seamlessly between auto-focus and manual focus is very important for a landscape shooter.”
How exactly should you set it up? Hart explains the process in depth HERE.
3. Shoot RAW
When Hart is capturing landscapes, he sets his camera to shoot uncompressed RAW. This allows him to capture as much information as possible and also takes some of the pressure off when you’re out in the field. “I shoot uncompressed RAW. Compressed is probably fine 99% of the time, but storage is cheap and you never know when that 1% might creep up. I’m all about increasing my margin for error. In general, when a photographer shoots RAW, they're giving themselves a greater margin for error because they're getting more information. That's number one.”
He continues, “But number two, and this is something I don't think people really appreciate completely, is it's easier in the field. You have to make fewer decisions at capture when you're shooting RAW than when you're shooting JPEG. When you're shooting JPEG, the output is going to be a processed file and it's going to be compressed so information gets thrown out. So you have to make all of these decisions regarding white balance, contrast, sharpening, because they get applied to the JPEG. When I’m shooting RAW I just have my camera set to auto white balance because it doesn’t matter. I will have enough information to set it to whatever I need it to be in post as well as all of the other stuff like contrast and saturation.”

Photo by Gary Hart. Sony Alpha 7R II. Sony 16-35mm f/4. 1/60-sec., f/11, ISO 100
4. Bright Monitoring
Hart makes sure he sets one of his custom buttons for Bright Monitoring so he’s easily able to change it. This setting doesn’t brighten the screen, it brightens the exposure in the viewfinder/LCD but not in the resulting image, making it easier to compose and focus. “Bright Monitoring is an important feature to me. It basically brightens the exposure for if I’m composing in a dark setting. For example, if I’m shooting at night or maybe just the blue hour and there are some really dark shadows. The Bright Monitoring option in the Sony menu is helpful here and so I customize that to my CF4 button so it’s easily accessible.”
5. Customize Your Zebra Settings
If you’re shooting in RAW and using the default Zebra Settings, Hart says there’s a way to customize it so you can ensure you’re gathering all the possible information available in the photograph. “I always customize my Zebra Settings. I go into those settings where it says Zebra Display and Zebra Level. The Display is just a toggle, but if you go into Zebra Level you can customize it. You can turn it up to 100, and then after 100 there’s another option to customize it. If you go select that, an arrow appears and I can select a range. I bump it all the way up to 109.”
6. Declutter Your Display Screen
Sometimes the amount of features on your display screen can clutter up your view as you’re trying to compose. Hart says to clean it up for a better view. “I don’t like a bunch of stuff on my screen when I’m trying to compose a scene,” he says. “I recommend that landscape photographers clean up their menu display screen on their camera. If you hit the Disp Button, there are quite a few screens to cycle through and if you’re in a hurry and miss one, you have to go through them all again. I’ve got my display simplified to just three screens. You can find this setting on the same page as the Zebra Setting in the menu. It’s the Disp Button setting and then you can go in and set it up for the monitor and the viewfinder. It gives you a ton of monitor options but I only have three boxes checked – No Disp Info, Histogram and Level. Those are the only things that matter to me.”

Photo by Gary Hart. Sony Alpha 7R III. Sony 16-35mm f/2.8 G Master. 1/4-sec., f/14, ISO 50
7. Set Your Best ISO
Hart teaches his students that when they walk up to the scene, you want your ISO to be at 100. “You want to be at the absolute best ISO for the camera, which, for my camera, is ISO 100. When I say the best, it's the cleanest. There's the least noise and the best information.” Hart also says it's OK to deviate from that, for instance when motion in the scene requires a faster or slower shutter speed that can’t be achieved at ISO 100.
8. Set Your Aperture Between f/8 & f/11
How you want to capture your scene will play a part in determining your aperture, but Hart says between f/8 and f/11 is a good default. As you evaluate your scene you might decide to add or limit your depth of field, so you can make the decision to go outside of that range, but 80% of the time between f/8-f/11 is where you want to be. “You want to be at what I call the best f-stop,” he explains. “And most of the time, unless depth of field is a concern, you're just taking a picture and there's a pretty scene out there, everything in the scene is at infinity. That’s when I usually choose an f-stop between f/8 and f/11, that's my default. If I get much smaller than f/11, I have to start worrying about diffraction, which is a whole different subject. It softens an image. And then when you get really extreme with the f-stops, all the way wide open, like f/2.8, or stopped all the way down to f/22, lenses tend to be less sharp. It's just an optics thing. Sony does a really, really good job and Sony lenses really are the sharpest lenses I've ever used. But there are sharper f-stops than f/22, and f/2.8, so I try to avoid those extremes.”
9. Control The Light With Your Shutter Speed
Once Hart determines the ISO and aperture, he controls the amount of light with his shutter speed. “I'm not using the f-stop or the ISO to control the light. I'm just using my shutter speed to control the light. If I were shooting sports or wildlife, that's a whole different equation because suddenly shutter speed becomes more important than depth of field. But in most landscape situations motion isn't a factor.”
In order to control the light with his shutter speed, he uses the histogram. “This is one of the things I absolutely love about mirrorless,” he explains. “I pop the histogram up in my viewfinder or on my LCD screen, and I just keep adjusting my shutter speed until my histogram looks good, and then I'm ready to click.”
On the rare occasion when motion does become a factor in landscape photography, Hart will then turn to the ISO to get the shutter speed he needs. “When motion does become a factor, let’s say I’ve got a waterfall or a flowing creek, or waves – that’s when I start adjusting my ISO because I’ve got an aperture that the scene calls for,” he says. “I always try to go with the ideal aperture that's going to be what gives me the depth of field I want, but also where I get the sharpest results. I don't want to compromise my f-stop, and I'm not going to compromise my shutter speed. Then I need a specific shutter speed to get the motion effect I want, whether it's to freeze motion or blur it. So the compromise I’m going to have to make is bumping my ISO until I get to the shutter speed that I need. The only time I'm adjusting my ISO off 100 is if there's motion that I can't control any other way.”
10. Set The Timer Function
No matter how carefully you press the shutter button on a camera, there’s going to be some vibration from the action. You can use a remote to trigger the shutter, but the timer function is a good substitute if the remote isn't available or convenient to use. Hart prefers to use the two-second timer function on the camera to avoid any vibration affecting the image. “The two-second timer allows everything to settle down. I push it, and then I take my hand away, and so there's nothing touching it. If I’m shooting at 600mm or even longer with a teleconverter, sometimes I’ll go to the five-second timer just because the longer focal length exaggerates the vibration.”
See more of Gary Hart's work on his Alpha Universe Profile and on Instagram @garyhartphoto.

