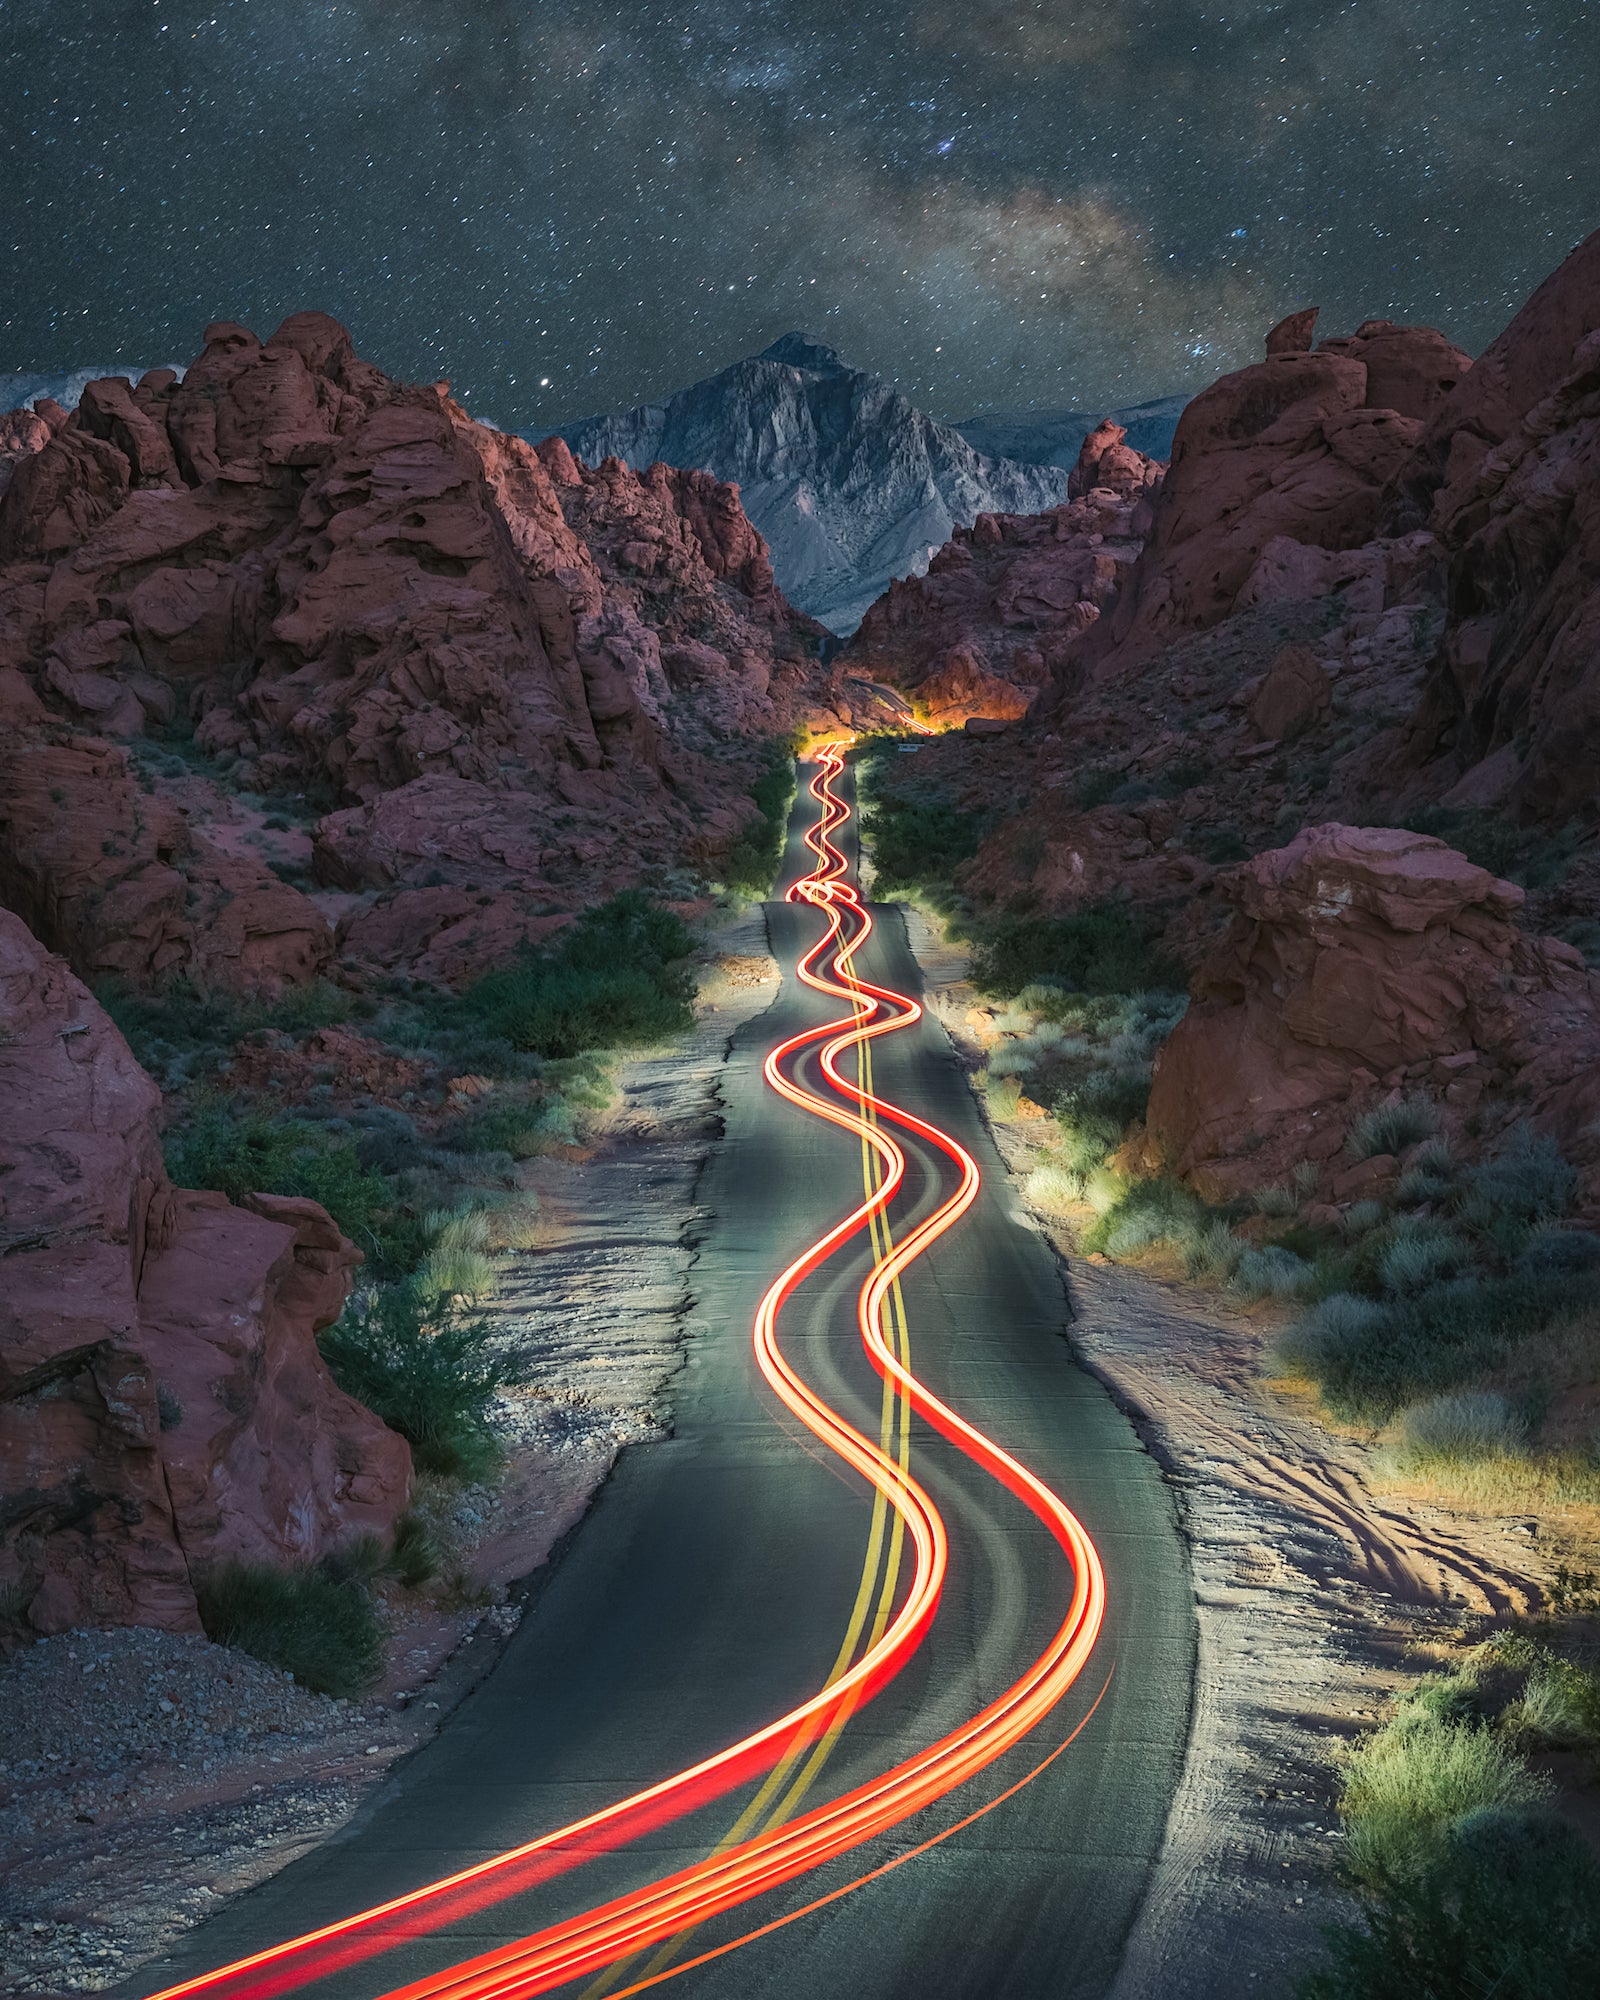
Cody Conk (@codyconk) is a travel content creator based out of the Bay Area in California. After tagging along on an adventure with a friend who was into photography, he instantly became hooked too. "I travel somewhere new almost every weekend," Conk says. "Over the past year I’ve been to 15 different states, along with 15 different National Parks and drove across the country. I recently stopped working my corporate America job to pursue my dreams of being a full-time content creator.” The Alpha Universe team came across this light trail long exposure image he created and we wanted to learn more about the story behind the shot. See how he captured the image using his Sony Alpha 7 III and Sony 24-70mm f/2.8 G Master.

Photo by Cody Conk. Sony α7 III. Sony 24-70mm f/2.8 G Master. 30-secs, f/10, ISO 250
This photographer gave up a corporate job to pursue photography full time. See how he made this long exposure light trail with a Sony Alpha 7 III & 24-70 GM.
The Scene
This photo was taken from Valley of Fire State Park in Nevada. Originally, I had met up with a longtime friend of mine (@ethghill) in Zion National Park to shoot sunrise. After sunrise we discussed our next destination for sunset, learning toward heading to Valley of Fire or staying in Zion. Luckily, we agreed on Valley of Fire, as we both shot Zion a lot recently and wanted to attempt "the shot" that we had both been planning. Keep in mind, it was summer and by noon it was almost 100 degrees out. Once we arrived in Valley of Fire, it got about 10 degrees hotter, and there was a 45-minute wait to get inside the park. After finally getting inside, we drove around to scout the area to see which composition we wanted. Afterwards, we tried to be active and check out some other areas, but it was so hot out, we endede up just finding some shade to sit down.
About an hour before sunset, we headed to our spot and claimed our position. The composition is for sure the most popular one from the park, but we hadn't really seen many people attempt to get light trails, and we knew that was the shot we wanted to capture. Striving to always be different from the "typical" shot is something that I am always looking to do. With the internet being full of content creators, you have to do things to help you stand out. We knew that the photo itself could be difficult to capture, depending on how many cars were in the park, and trying to get the streaks throughout the entire road. But, because of our planning prior to this trip, everything worked out perfectly.
The Gear
To capture this photo, I used a Sony Alpha 7 III body, and my 24-70mm f/2.8 G Master lens. The Alpha 7 III has been my go-to camera and does a tremendous job in low light situations. I decided to go with the 24-70mm as I wasn't sure at first what focal length I wanted to go with and I wanted to keep my options open with the limited time we had.
How I Got The Shot
The settings that I used on my camera were:
- 30-seconds
- f/10
- ISO 250
- 70mm focal length
- 5-sec. shutter timer to prevent camera shake
I needed to have my shutter speed at 30 seconds to try to get the light trail effect throughout the entire road. I went with f/10 to have adequate depth of field for the mountain in the distance and to make sure that I had as much detail in the shot as possible. I also used an ND filter to help keep the exposure down.
Once we got to the location, we hiked up some rocks onto a little overlook and set up our tripods. To create the light trails, we used the lights from a car and had it continuously moving to create the effect. Most of the time with long exposure photos like this, there's some trial and error and I figure it out as I go. But even after the first attempt, the camera settings were perfect and the RAW file was incredible.
Just to be safe, we recreated the shot about three times before we called it a night. Still to this day, this is probably my best RAW file ever, and the moment I saw it, I knew it was going to be a big hit. Communication was also very key in creating the shot. We set up a five-second delay timer on our cameras to reduce any shake, and to get the car in the specific spot of the composition that we wanted at a certain speed. If you attempt to try a photo like this, be safe and make sure no one else is on the road and watch your speed.
Post-Processing
When I opened up the RAW file in Lightroom, as mentioned before, It was so good that I honestly didn't have to do much editing. I made some simple adjustments to brighten the photo, bring up some shadows and brought back some of the highlights. I was so excited to post this photo on my IG, and this was my first of three viral posts I had in 2020.
See more of Conk's work on his Instagram @codyconk.

