Making new and compelling landscape images can be challenging. In the age of social media, it sometimes feels as though all the landscapes have been documented and shared. That’s why when we come across a fresh landscape photograph, we stop and take notice. We came across this image in the shortlist of the Astronomy Photographer of the Year competition and connected with photographer Filip Hrebenda @filiphrebenda to learn more about how he captured it. We were fascinated to learn of his time-blending technique, multi-step editing process, the Sony cameras and lenses he used in harsh, cold conditions, and how he composites new and compelling astro-landscape images. Keep reading as he shares the story behind the shot in his own words.
Product Preview – In This Article You’ll Find:
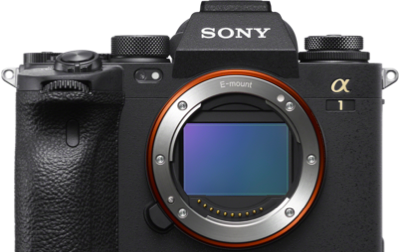
-Sony Alpha 7R III
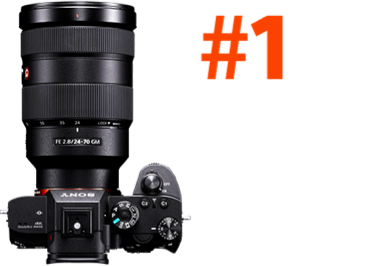
-Sony 16-35mm f/2.8 G Master

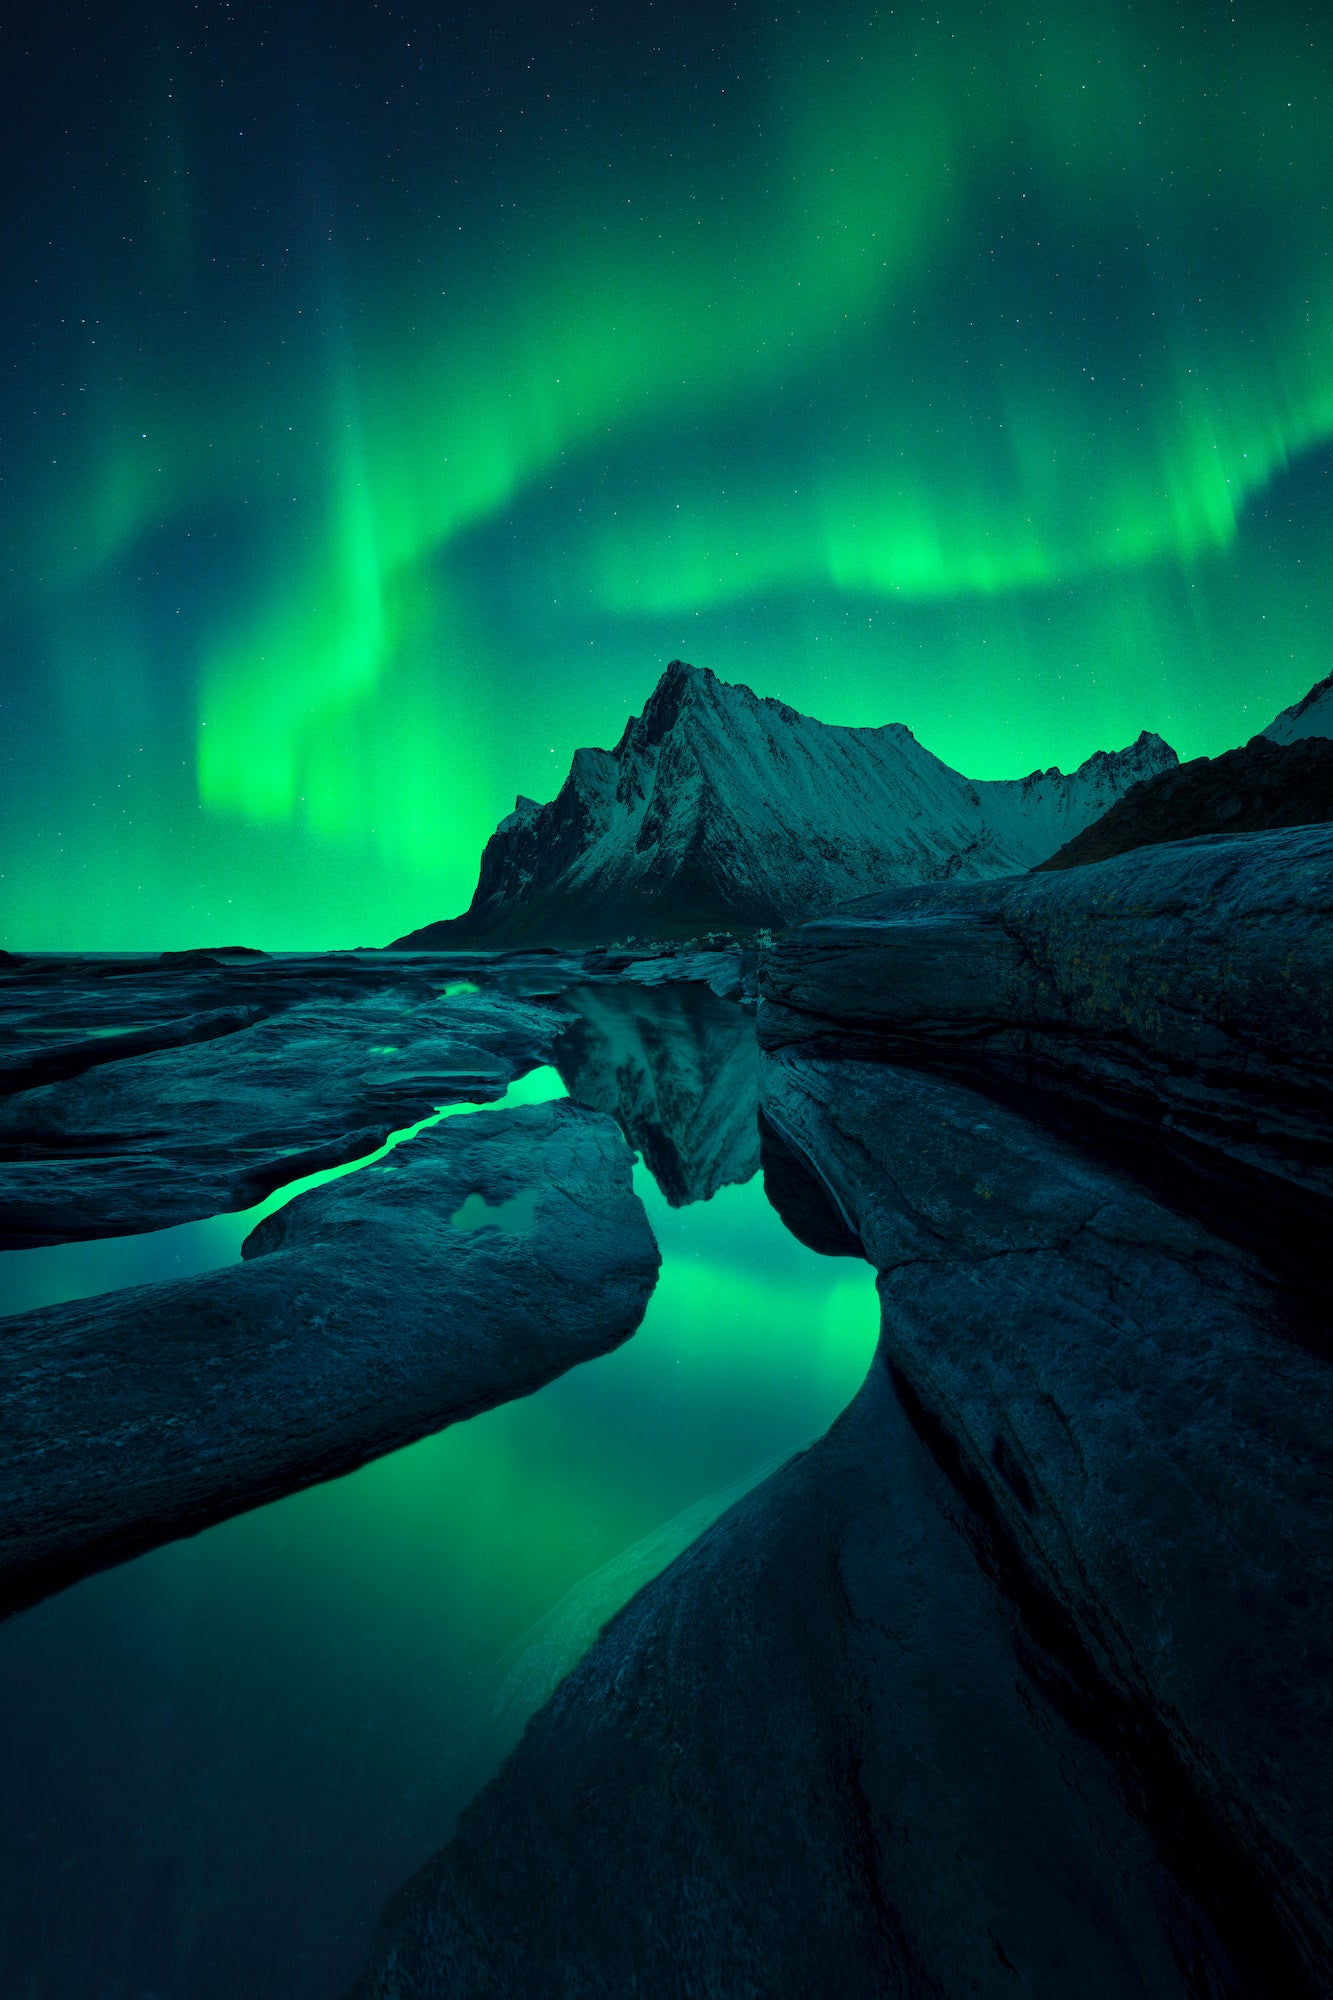
Photo by Filip Hrebenda. Sony Alpha 7R III. Sony 16-35mm f/2.8 G Master. Foreground: 6-sec., f/8, ISO 100. Aurora: 3-sec., f/2.8, ISO 4000.
A contender for Astronomy Photographer of the Year takes us through his multi-exposure aurora technique using a Sony Alpha 7R III & and Sony 16-35mm f/2.8 GM.
Building An Image In Your Mind
The northern lights, or aurora borealis, is a natural phenomenon that I believe everyone should see at least once in their lifetime. If you're a landscape photographer and you haven't photographed the aurora yet, I urge you to add it to the top of your list. During my photo expeditions, I have witnessed and captured this breathtaking phenomenon many times. Even after years of experiencing the aurora borealis dance above my head, I still feel as mesmerized as I did the first time I saw it.
I made this image during a clear winter night on a photo tour I organized in the Norwegian Lofoten region in February 2023. The area had been experiencing continuous rain for several days, resulting in mostly moody images with rain clouds and dark skies. One day, the weather cleared up a bit so we decided to venture out to one of the lesser-known Norwegian beaches to hunt for the aurora borealis. Our goal was to photograph the northern lights with a prominent peak in the background and possibly capture some interesting reflections that occur at the ocean's edge during low tide. It’s important to have a clear idea in your mind of what you want to photograph, then when you find a good location, you can let yourself be drawn to what makes that scene interesting and incorporate it into your goal shot.
Throughout the evening, we discovered several great compositions. Among them, what caught my attention the most was a small "pond" that created captivating leading lines, guiding the viewer's gaze towards the main motif of the scene - the prominent mountain in the background. I promptly set up my camera on a tripod, preparing to capture the forecasted aurora borealis that was expected to appear that night.
Gear That Can Handle The Elements
I have been using Sony gear for many years. This equipment has never let me down in any of the extreme situations I have encountered. My equipment often faces extreme cold, exposure to salty sea water, the heat of volcanoes, and more. For this expedition, I chose the gear that has proven itself to me – the Sony Alpha 7R III camera body and the Sony 16-35mm f/2.8 G Master lens. There are several reasons why I prefer this combination of photo equipment.
The Sony Alpha 7R III camera body, along with all newer models in this series, is perfectly sealed against water and cold. In the past, with some other camera brands, I experienced issues where the display or other controls stopped working when taking pictures at night in the cold. However, I have not encountered anything similar with this model. That's why I trust it completely after all these years.
When it comes to night photography, having a lens with a good aperture is crucial, and the Sony 16-35mm f/2.8 G Master lens fits the bill perfectly. Like the camera body, this lens is also well-sealed against the weather, so I don't have to worry about it failing me in the middle of the night. Additionally, the f/2.8 aperture is more than sufficient for capturing the aurora borealis.
The Time-Blending Technique
The first important step was to position the camera just a few centimeters above the ground to achieve a creative composition and then secure it in place to prevent any movement. The Sirui R-3213X tripod was instrumental in helping me with this.
The next step involved the actual photo shoot. Since I always aim for the highest possible image quality in my photos, which comes from using top-notch photography equipment, I often composite night photos from multiple images. In this particular case, I utilized the time blending technique. This technique involves capturing the scene at the end of the blue hour with a low ISO setting to minimize noise in the image. Then, I kept the camera fixed in the same position, allowing a few minutes to pass for a darker environment and the appearance of the aurora borealis. I then combined these two images so that the resulting photo would accurately represent what I witnessed on-site while maintaining maximum image quality, free from noise, and with maximum sharpness.
For the foreground, which I photographed at the end of the blue hour, I used the following settings: 6-sec., f/8, ISO 100, (captured in 4 focus stacking shots). As for the aurora photograph, I used the following settings: 3-sec., f/2.8, ISO 4000.
Editing To Enhance Emotion
Post-processing is a crucial part of my work. I use it solely to maximize image quality and enhance the emotions I experienced during the photo shoot. I typically process photos in Adobe Photoshop with the following steps:
1) The first significant step is combining all the pictures taken into one. To achieve this, I start with focus stacking, which ensures the entire scene is perfectly focused. I then blend the sharply-focused foreground photo with the background shot taken a few minutes later as the aurora borealis began to dance overhead.
2) The second step involves harmonizing the colors of both photos to ensure they complement each other. I usually accomplish this by working with layers and CameraRAW.
3) Next, I highlight essential elements in the photo, such as the main motif, which in this case is the mountain in the background, and the leading lines that naturally lead the viewer's eye towards it. I also perform this step using CameraRAW on separate layers.
4) To avoid distracting the viewer from important elements, I de-emphasize less critical areas by adjusting the "texture" and "clarity" sliders in CameraRAW.
5) The final steps of my post-processing involve light and color correction, which ensures the photo has the right brightness and color contrast, providing depth and the desired atmosphere. I accomplish these adjustments using the "Levels" and "Color Balance" tools within the Photoshop environment.
The resulting photo, titled "Green Snakes," was shortlisted in the prestigious photography competition "Astronomy Photographer of the Year." Filip had previously achieved first place in the "Aurorae" category in the same competition last year. We are thrilled to see that his impressive photographic and editing techniques are receiving the recognition they deserve.
This is one of the many fascinating places that Filip enjoys taking you to during the photo expeditions he organizes. You can find currently available expeditions HERE. And keep up with his work and adventures on Instagram @filiphrebenda.

