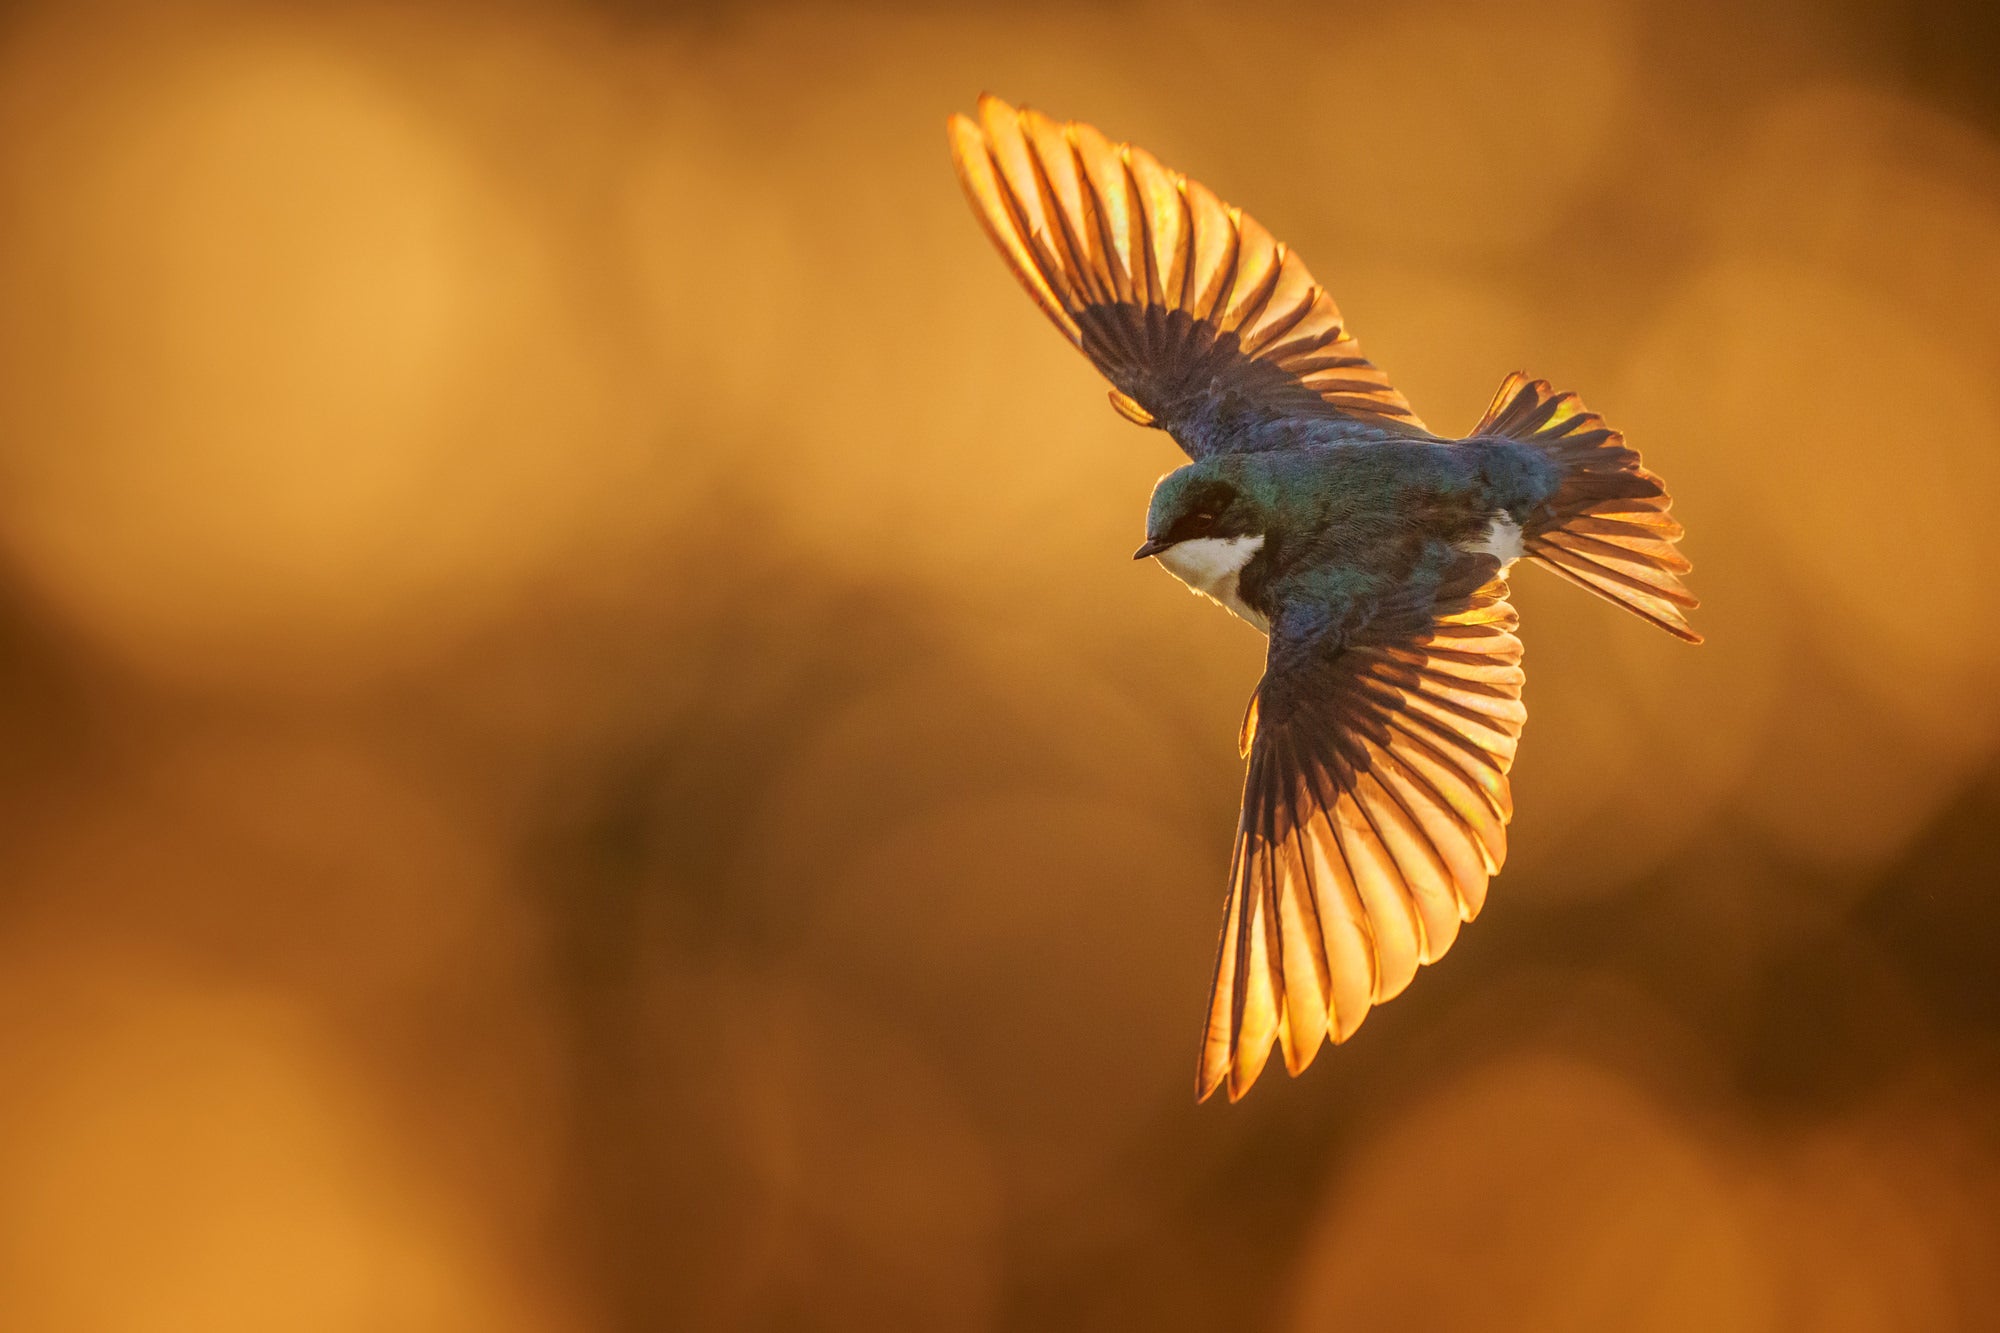
The Audubon Society recently released the top 100 highly honored images from their 2023 Audubon Photography Awards. The first image on the list was made by hobbyist photographer Nick Stroh (@nickstrohphoto). We were mesmerized by the golden light, the beautiful bird and the stunning moment. By using the Sony Alpha 1 paired with the Sony 600mm f/4 G Master, Story goes beyond a classic bird in flight shot, to an elegant and emotive capture. We sat down with Nick to learn more about the story behind the shot, the gear he relies on, and more.
Product Preview – In This Article You’ll Find:
–Sony Alpha 1
–Sony 600mm f/4 G Master

Photo by Nick Stroh. Sony Alpha 1. Sony 600mm f/4 G Master. 1/2500-sec., f/4, ISO 1250
I'm Chief Technology Officer (CTO) at a small software firm, photography is a side passion of mine. With three young kids at home, I'm only getting out to shoot about once a month on average, so I do a lot of planning and research beforehand to maximize my chances of getting a portfolio shot out of my sparse outings. I have a habit of turning my hobbies into jobs and side-businesses, but with photography I've consciously tried to keep it as pure as I can and avoid trying to earn any income from it. I really love all forms of photography: landscape, wildlife, macro, etc. It just so happens that in the Northeast and eastern Maryland where I am, we don't have any of the big mammals and by far the most abundant wildlife are birds. So I find myself really, gravitating toward them when I find time to shoot. I find wildlife photography more exciting and challenging than landscapes in general, so unless I find a really compelling landscape scene, my default is to go find some birds.
Visualizing The Scene & Then Working For It
I was driving home from photographing wading birds one day on Maryland's Eastern Shore. The landscape of the Eastern Shore is amazing, just lots of marshland and tidal pools. I was looking out over the marshes on my way home, probably an hour after sunrise, and I noticed wing flashes over the marsh. When a bird's wing is back lit by the sun, you get dramatic flashes as they fly by. It turned out to be kind of a colony of tree swallows. I immediately started envisioning the possible shots from this field - backlit flying tree swallows against dark distant trees with glowing marsh underneath. I think the best images that I've ever produced have been the result of these kinds of vision shots, where before you're anywhere near getting the shot, you can envision what you want the shot to be.The hard part is usually having the follow-through to pursue them.
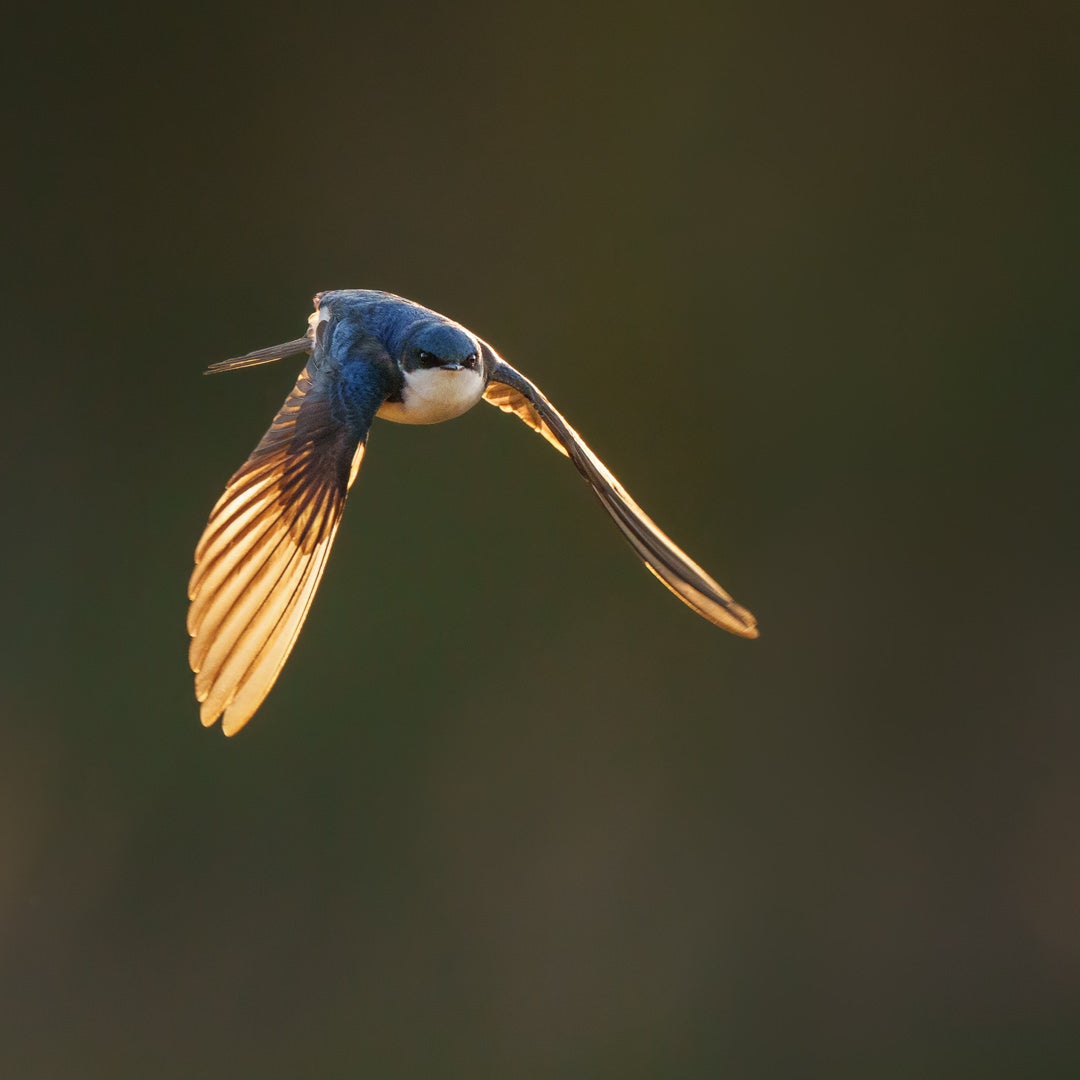
Tree Swallows are notoriously impossible to get in flight because they're so erratic. They're out there chasing bugs and making unpredictable turns and flying fast, but there were enough of them around in a fairly contained area, I figured it was worth going for. I decided to dedicate a lot of time to it. I would return to the spot several times a week for several weeks and just put in a lot of shots. I started to get some clear flight shots back lit with some glowing wings (example below), and I thought that those were great, but I saw more potential. The background is a little boring; you kind of get a solid color, either kind of a marsh grass color or a green from the trees.
Thinking about how the morning light was playing out each day, I noticed that there was about a five-minute window as the sun was coming through some distant trees that the light was filtering through the leaves, and from experience I knew that can result in some great bokeh effects. I realized I've got a window here to really take the shot to the next level. And so from then on, I focused on pretty much only that five minute window, getting prepared for it, knowing where the sun was going to come up (literally which trees were going to be lit up), and trying to put myself in the position to have the greatest chance to get a fly by in front of the background I wanted, and at the right distance from the trees. So there's a lot of nuanced consideration to it. Tens of thousands of shots later, I finally got this frame, which to date is my favorite shot I've ever taken.

Photo by Nick Stroh. Sony Alpha 1. Sony 600mm f/4 G Master.
Camera Setup Through Trial & Error
I made this image with the Sony Alpha 1 and Sony 600mm f/4 G Master. I also used the Benro 48CXL tripod with Wimberley WH-200 head. Ever since upgrading to the Alpha 1 and 600mm f/4 GM combo, it has been my go-to for wildlife and birds. When I first used this setup, what really blew me away was the speed and accuracy of the autofocus. Compared to my old DSLR, I could really be sure that the birds in flight were sharp, allowing me to focus on other aspects of photography, like framing and background. That’s partially why I ended up being successful here, I had my focus dialed in, so I was free to be in the moment. The other reason I was successful was my sheer determination and willingness to try again and again.
My camera settings were: 1/2500-second, f/4, ISO 1250.
Through trial and error using different autofocus modes, I found expanded spot with tracking to be the most reliable for these very small birds. I also turned off eye detection, since the focal plane at these distances easily covered the entire bird, and I didn't want the camera wasting processing time trying to find the eye in each frame.
I was shooting in Manual mode with Auto-ISO. Auto-ISO was really important since the birds were flying quickly from black backgrounds to literally in front of the sun, so the exposure was regularly changing by 5+ stops in fractions of a second.
Getting The Shot You’ve Been Dreaming Of
Once I had the camera setup, I just needed to set myself up. The most important decision for this shoot, unsurprisingly, was to set up in the right place. It was a classic example of, "Don't set up where the wildlife is, set up where you want it to be, then wait,” which is a rule that is both very true and very hard to follow in the field.
Once I found the right spot to maximize the chance of getting the subject in front of my desired background, I set up my tripod and just put in the hours. What's important when you're waiting for wildlife like this is to stay vigilant and maintain focus. If you glance at your phone or become distracted for even a few seconds, it can easily be the difference between getting nothing for the morning or getting a portfolio shot. I usually avoid tripods at all costs, preferring to handhold when possible, but this shot required long periods of standing at-the-ready, and handholding just got too shaky toward the tail end of the shoots.
Final Touches During The Edit
I used Adobe Lightroom and Adobe Photoshop to edit the photo. The most important consideration for backlit photography is not to blow the highlights, since you're often shooting right into the sun. When you expose that low, your subject is often a silhouette, so having the dynamic range to pull the shadows up enough to see the subject is critical.
The dynamic range of the Sony Alpha 1 was really key here; this is not a shot I could have gotten with my previous setup. I used Lightroom for cropping, raising the shadows, and fixing the white balance which had a strong blue cast out of camera (common in shadow regions of an image). In Photoshop I applied some mild noise reduction and added some dodge/burn effects to focus the viewer's attention on the subject.
To see more of Nick’s work, follow him on Instagram @nickstrohphoto
To join the conversation with other Sony creatives, join the Sony Alpha Universe Community Forums!

