My name is Matt Leccadito (@delightful_happening) and I work full-time as an electrical engineer in Hawaii on the island of Oahu. I recently got into photography during COVID, when I needed something to turn off my brain from work, yet still be creative. I originally wanted to start a vlog, because living in Hawaii is awesome, and I feel like I live a unique lifestyle and there are so many beautiful things to photograph! So as any person would do, I turned to YouTube. I did a lot of research and noticed that many YouTubers were using the Sony α7 III, and the Sony 16-35mm f/2.8 G Master. So naturally, I bought them both. I found myself seeking out photography challenges and was determined to master this camera. I started slowly with portraits, then street photography and finally I got a great landscape shot. I wanted to use the 16-35mm GM to its fullest potential. Given the low light performance of both camera and lens, I was destined to get a shot of the Milky Way.
From camera settings to post-production, "I just took a chance, and hoped for the best, and could not be happier." -Matt Leccadito (@delightful_happening)

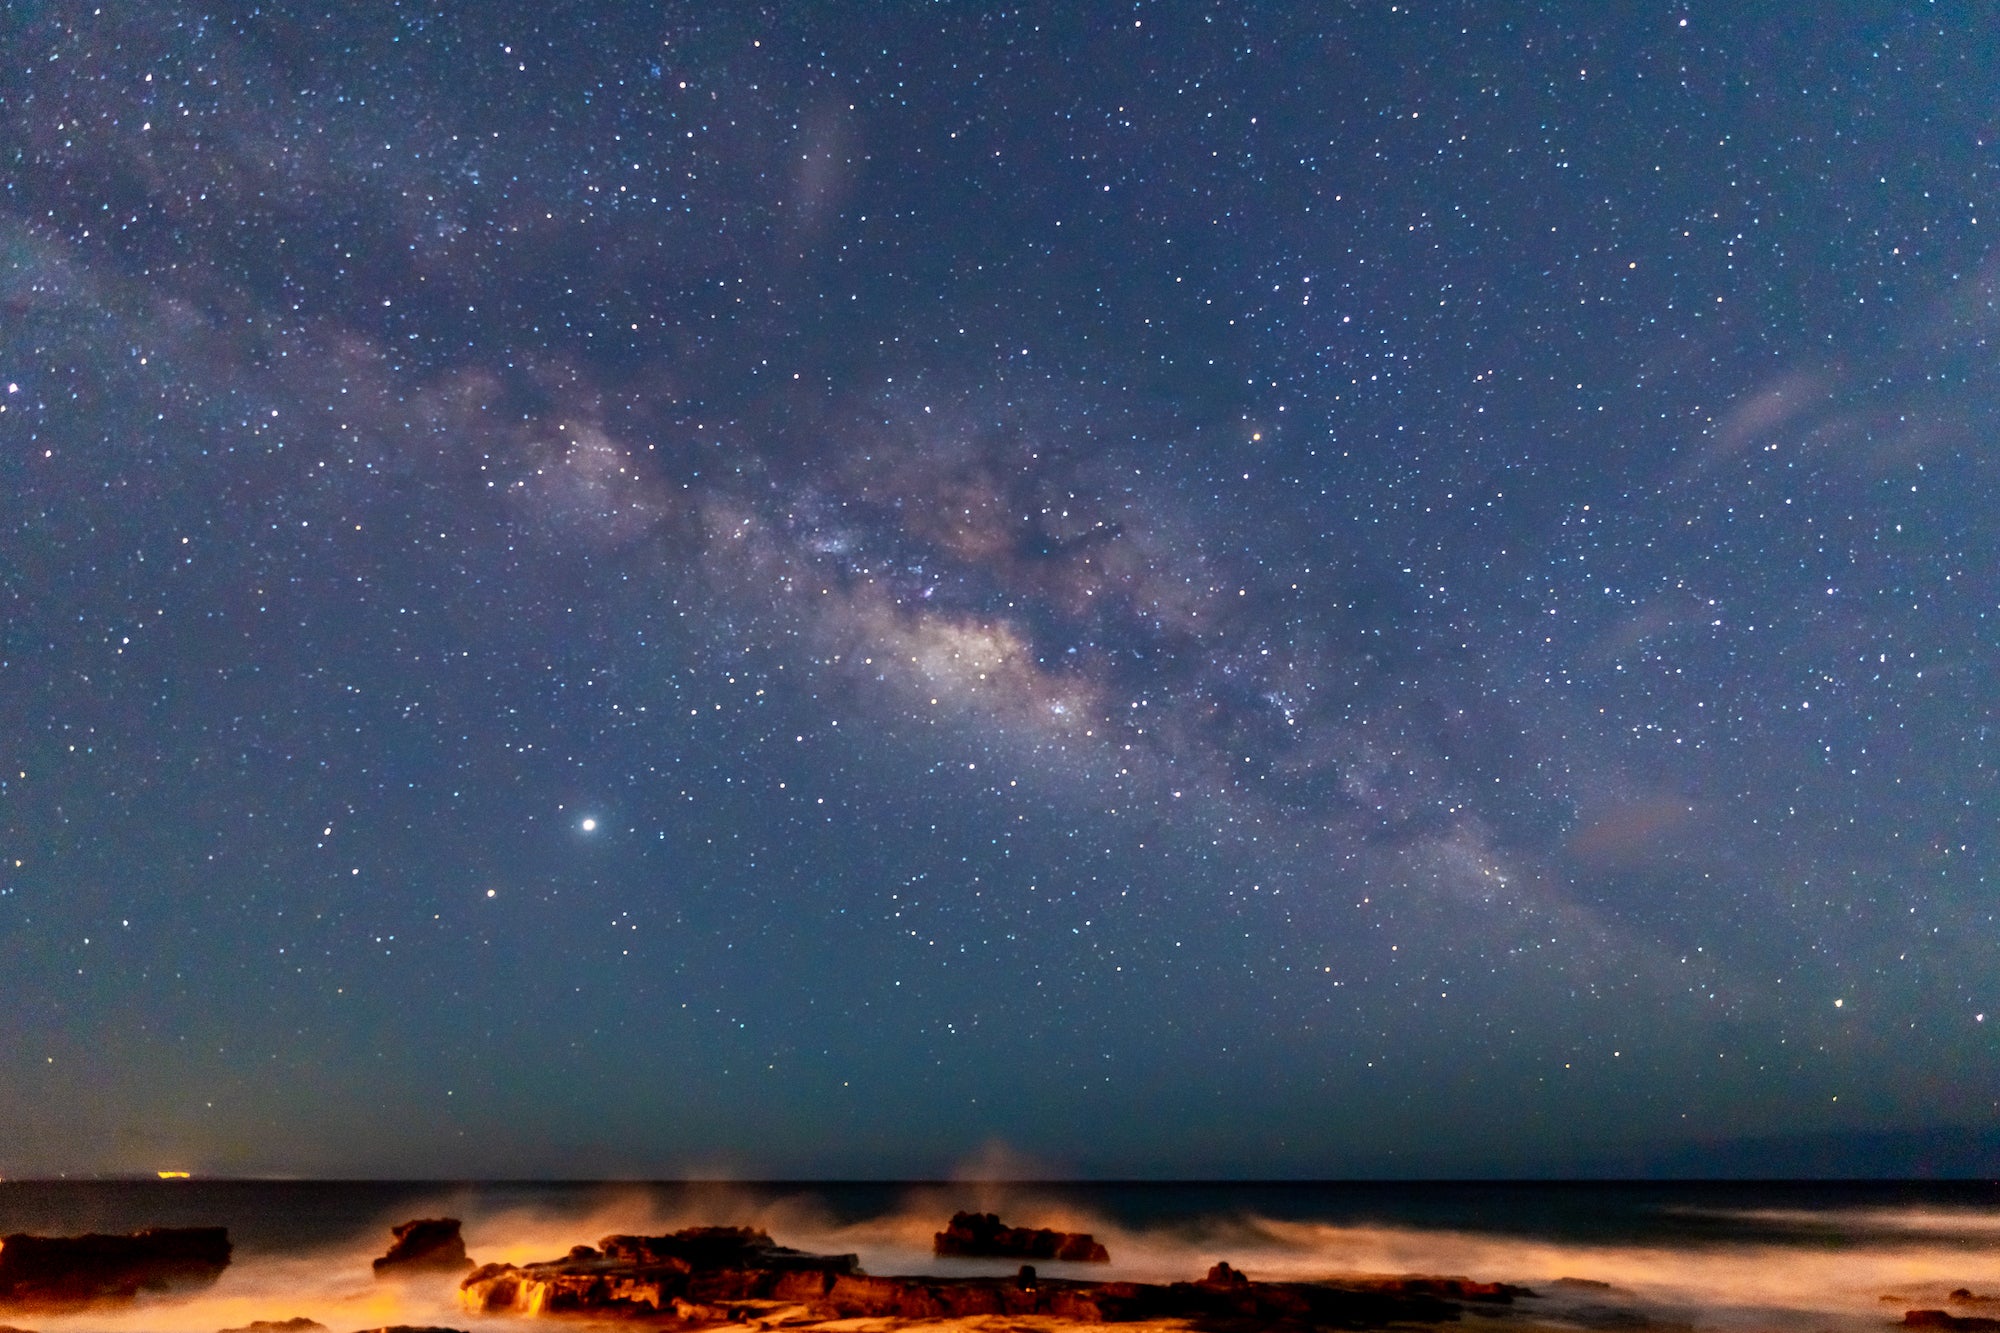
Photo by Matt Leccadito. Sony α7 III. Sony 16-35mm f/2.8 G Master. 15-secs., f/2.8, ISO 1600
Determining Location & Conditions
It was a wet, rainy night in Kakaako (where I live currently), not too late, around 8:00 PM – I couldn’t sleep. I looked at my weather app and it said it was supposed to be a clear sky that evening. I don’t know much about the moon and the stars, so I've been Googling everything I can about astrophotography. Still, I did not realize how much the environment had an impact. It felt like every condition needed to be near perfect to get a good shot. Being so new to everything, I had no idea what to do or what to even look for. I knew I wanted to get a shot of the Milky Way, but it can be very difficult to see with the naked eye, so I took a chance and grabbed my Sony α7 III, 16-35mm GM, and my tripod, and headed off to the eastern point of Oahu.
As I drove east, I noticed the clouds slowly started to scatter and the closer I got the more stars I could see. I am still relatively new to the island and I usually don’t drive outside of “town” unless I have a reason too. Once you live in Hawaii, you realize that where you live determines your lifestyle, mostly because of traffic and almost nowhere to park. As I approached the Lanai lookout on the eastern part of Oahu, I felt like I could see every single star in the sky. I was so excited that I didn’t even care if I caught the Milky Way – this alone was good enough.
Finding The Correct Camera Settings
As I pulled into the lookout there were about five other people in chairs with their tripods attempting the same thing, but more experienced and super friendly. I just walked up and started asking about what they were doing, how they did it, and in which general direction the Milky Way was pointed. I went to my car, set up my tripod, and did what they said, which is what every online article says to do: open the aperture all the way, set your focus to infinity, use the 500 rule for shutter speed, press the button and wait.
As I continued to stand (I didn’t realize I needed a seat) and wait and play around with the settings, I was in a toss-up between longer exposure vs higher ISO. It’s also difficult to see anything in the viewfinder, since to determine if it’s a good picture, you really need to do some post-processing on it. I chose to go with a higher ISO because at the very least, I didn’t want any chance of star trails. In the shot I was going for I wanted the stars as clear as possible, so I decided to boost the ISO. I arrived at a sweet spot of 16mm focal length with a 15-second shutter speed, f/2.8 aperture and 1600 ISO. I know this is a personal preference, and for me in this case, it provided the perfect amount of brightness to the Milky Way and enough darkness to drown out most of the shadows from the light pollution.
Creating An Interesting Composition
After I successfully captured a shot of the Milky Way, I was still craving more. I wanted it to be unique. I needed a composition and the sky just wasn’t enough – there was no unique perspective. I got back in my car after a couple of hours and went right down the road to Sandy Beach. At this point it was about 11:30 PM, and there were a couple of cars in the parking lot, but I needed to get away from the light. I grabbed my gear, took off my shoes, and started walking out toward the beach into the darkness to look for some rocks because I love the way water looks on a long exposure when it’s crashing against rocks.
After about 10 minutes or so of walking on the beach, I found a spot. Dark and creepy – and yes I was a little afraid that something would come out of the bushes. I was alone, but determined. I moved my tripod all over the rocks, and took tons of photos. I tried to take multiple photos in the same spot with various settings, but I was constantly accidentally hitting the tripod. I tried the tripod in the water and on the beach. I pointed at the sky and looked for a mountain. Then it hit me, “How about I lower the tripod all the way down and get as much of the sky that I could capture with the rocks at the bottom?” The composition just sort of came together at that point and I was able to capture the water hitting the rocks and the Milky Way all in one shot. I finally accomplished what I came for.

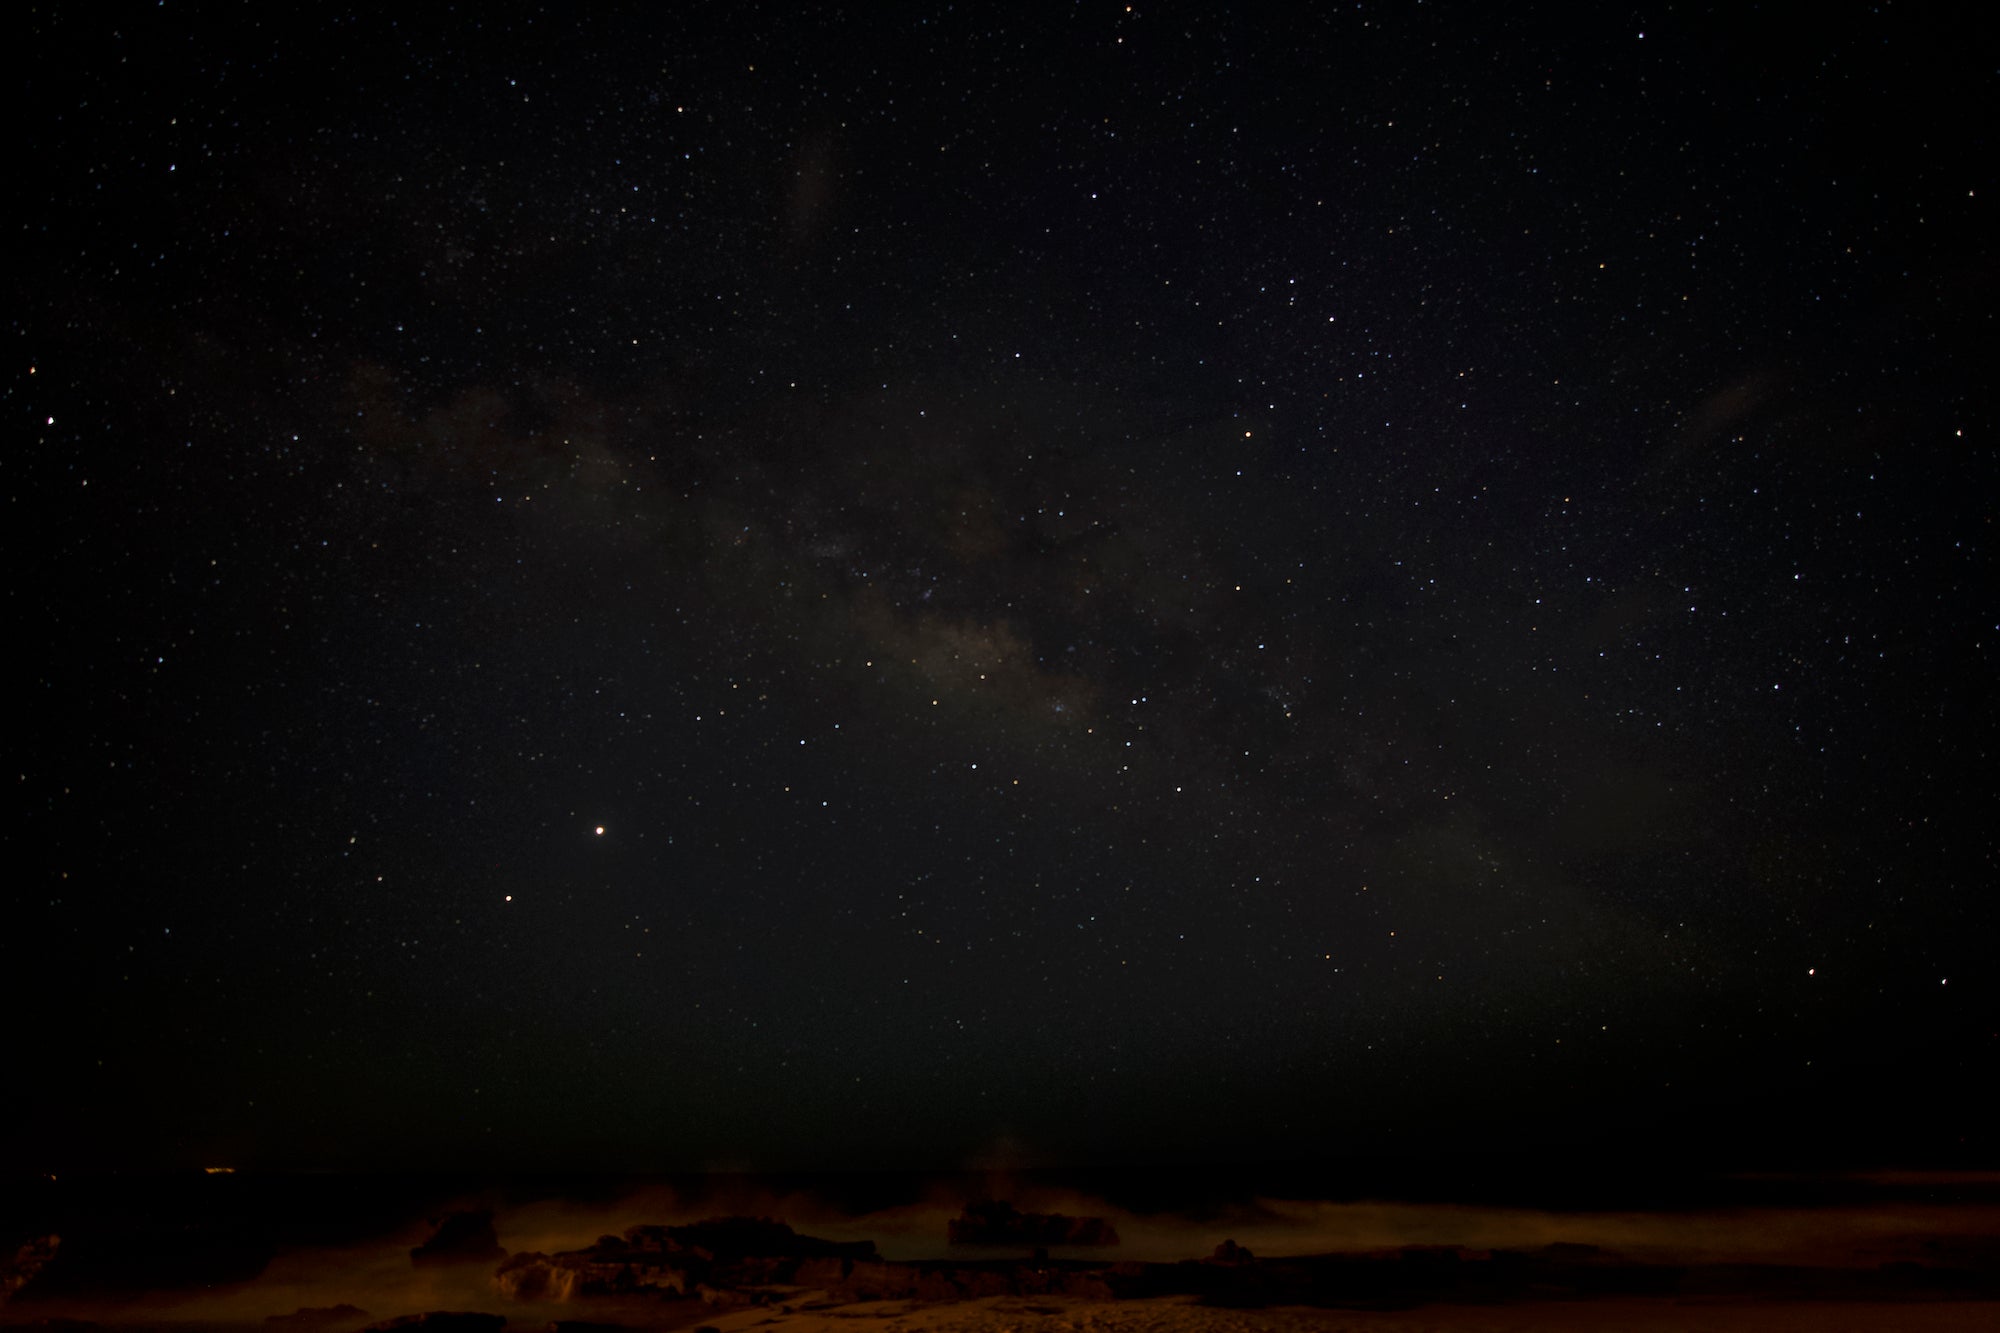
Original RAW photo by Matt Leccadito. Sony α7 III. Sony 16-35mm f/2.8 G Master. 15-secs., f/2.8, ISO 1600
Post-Processing
After I returned home, around 2:00 AM, despite being tired and barely able to open my eyes, I started the process of downloading all the photos. Once I finally found a good photo it was on to post-processing, and this is where things began to shine. I use Lightroom. I love it because it allows me to provide my own creative unique experience. All my life, I assumed that photos I had seen of the Milky Way were an exact replication of what you would see in the sky. Newsflash: The colors are almost always brought about in post-processing. As an engineer, this is probably the part I enjoy the most, because creativity does not come naturally for someone like me. I am a problem solver. I think logically. I need to optimize something! But in all seriousness, I love playing around with all the options. I have never been a huge fan of presets, but when I do use them, I typically just use them as a starting point.
Like clockwork, when I open Lightroom to edit a photo, I start with increasing the exposure, lowering the highlights, and bringing out the shadows. Not too much with the shadows though, because the light pollution lives in the shadows. It was a little difficult because now that I had the rocks in the picture I could only do so much, but totally worth it. Adjusting the temperature cooler helps bring out the blues. I love a slight purple tint, it just makes it pop. Lastly, apply some noise reduction and add the lens correction and remove chromatic aberration, and voila! My shot of the Milky Way.
For me, this whole experience was an adventure of going into the unfamiliar territory of not only astrophotography, but also exploring Hawaii. I did not know exactly what I was looking for but I knew it was the Milky Way. But then how do you find something you’ve never really seen? I did not know when the right time to go out was, I wasn’t even sure I would see any stars, I was worried that I needed more resolution just to be able to crop in; I was convinced I would never get a shot of the Milky Way. I just took a chance, and hoped for the best, and could not be happier.

