Alex Harris (@siralexharris) fell in love with photography after his first trip to Yosemite National Park. Harris is a trained jazz musician originally from the UK and now lives an hour outside of New York City, where he previously lived working as a musician and mentalist. He became fascinated with photography after his trip out West and began doing street photography in the City and everywhere he traveled. After moving out of the City and finding he no longer had any street photography to shoot, he turned to nature and has captured incredible wildlife and bird photography. We came across this flying eagle photo on his Alpha Universe Profile and connected with him to learn more. Read to see how he captured the shot using the Sony Alpha 7R III and Sony 200-600mm f/5.6-6.3 G and create your own Alpha Universe Profile for your chance to be featured HERE.

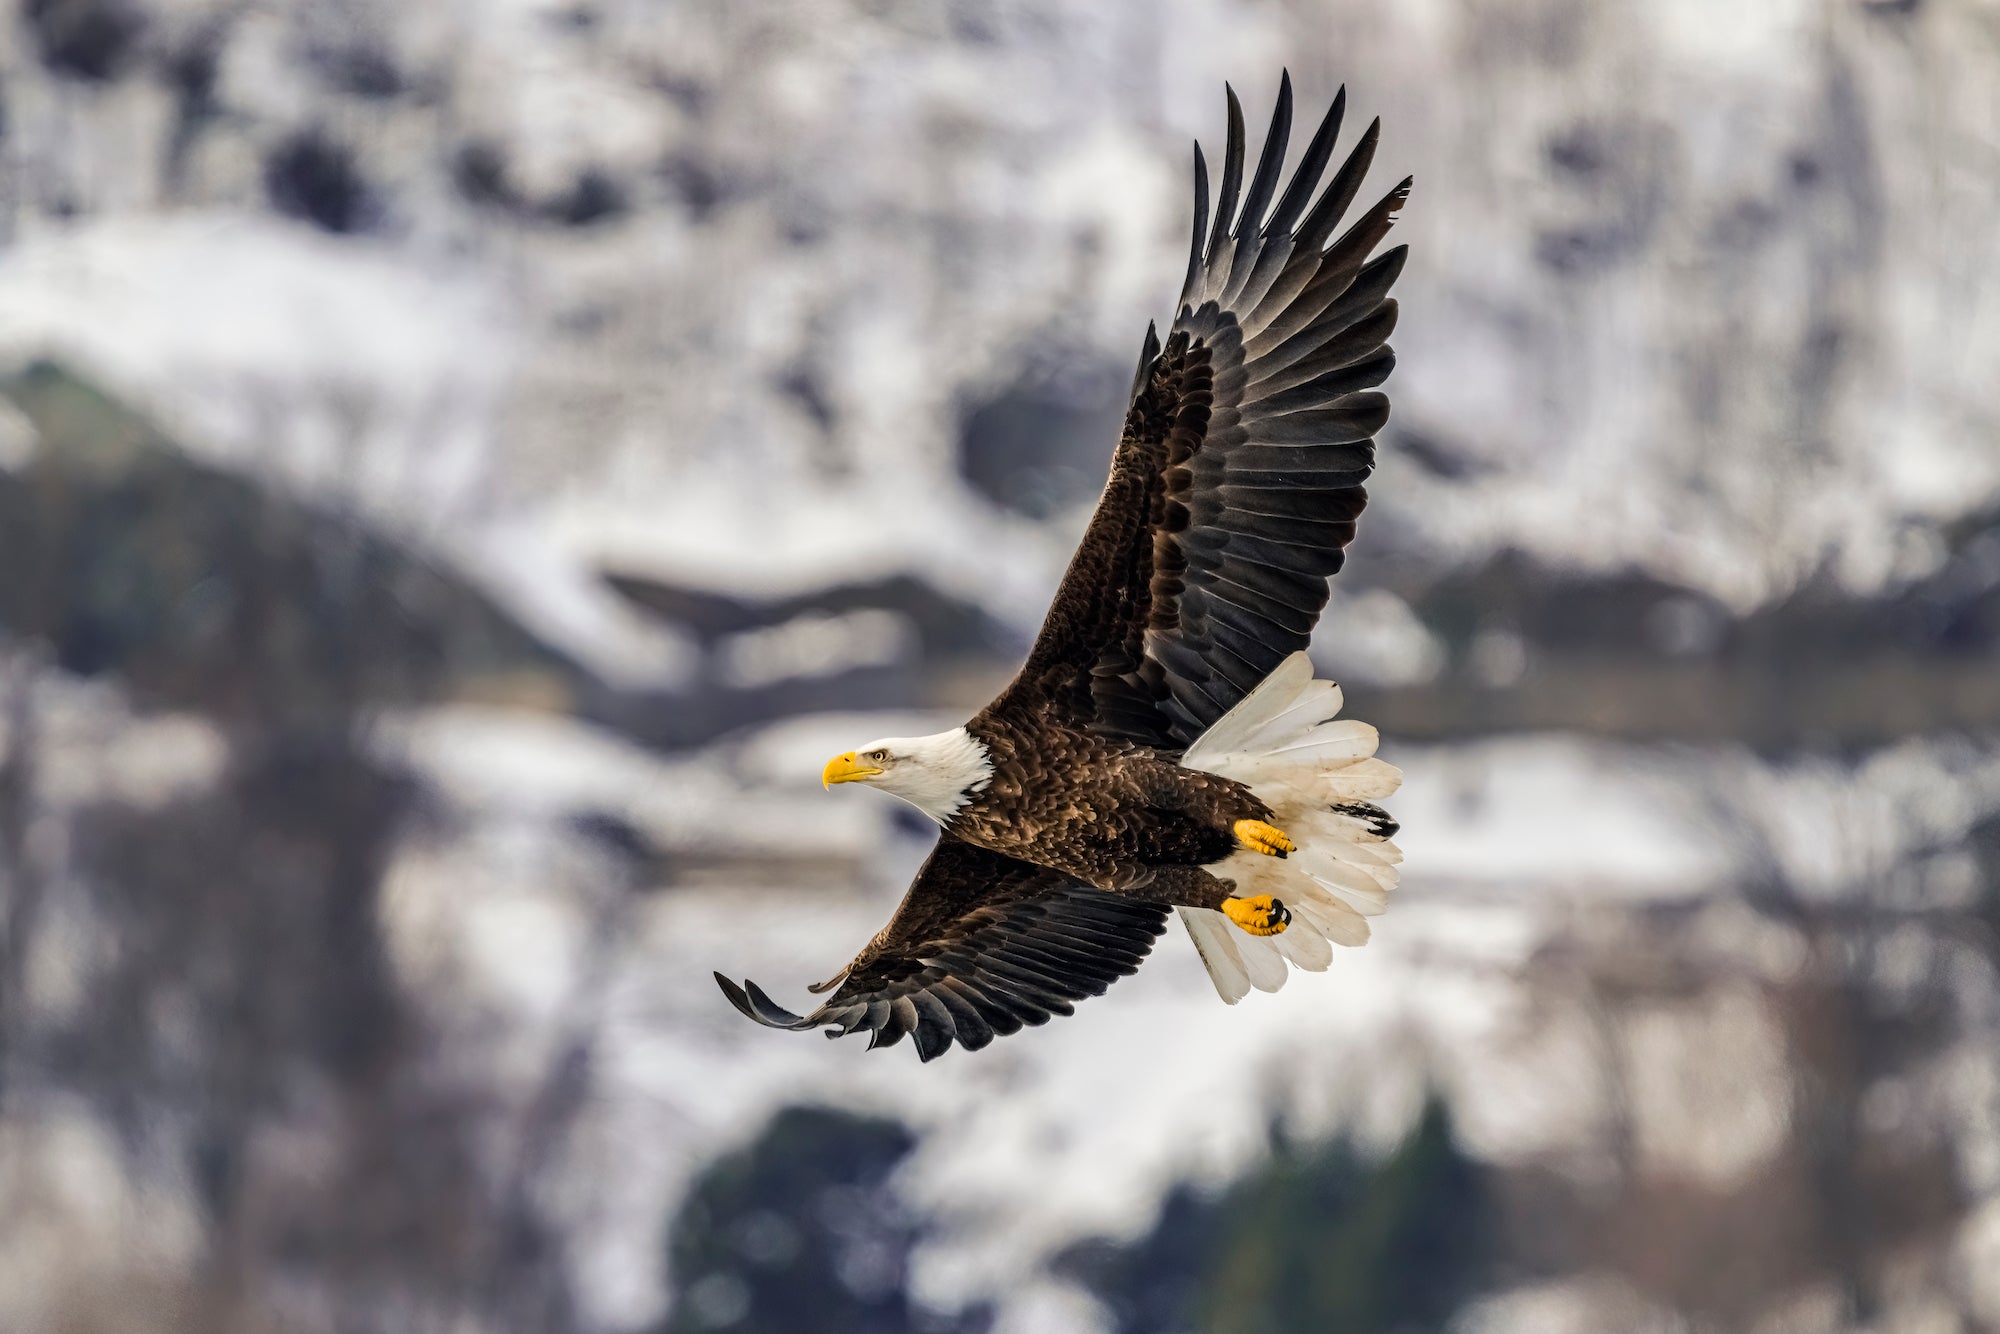
Photo by Alex Harris. Sony Alpha 7R III. Sony 200-600mm f/5.6-6.3 G. 1/2500-sec., f/9, ISO 500
Wildlife photographer Alex Harris shares how he captured this flying eagle shot using his Sony Alpha 7R III and Sony 200-600mm f/5.6-6.3 G.
The Scene
Harris drove about a half hour from his home and stumbled upon an area in Peekskill, New York by the Hudson that happened to be the perfect place for bird photographers. “I didn't know this at the time, but it was a bit of a known hotspot for bird photographers during the winter months because the eagles fly down to fish where the water isn't frozen.”
“There's a great lookout spot there at Charles Point that’s sort of above the water and I wanted to try to get a shot from there of an eagle at eye level instead of the normal classic shot up into a tree or into their airspace. There wasn’t much activity going on at first, but then a gull pulled a fish out onto the ice and that usually means there will soon be eagle activity, because they just know. Even though eagles fish a lot, they also steal a lot of fish from gulls.”
Immediately five or six eagles came very close, about 50 feet in front of Harris. He snapped a bunch of photos of the whole scene, and snagged this eye level shot of one of the eagles. “In this specific shot, the eagle did a fly-by before it came back down to finally steal the fish. This is basically what I was looking for – that beautiful spread out eagle at eye-level photo.”
Bird Photography With The Sony Alpha 7R III and Sony 200-600mm f/5.6-6.3 G
When photographing birds, Harris typically has the Sony 200-600mm f/5.6-6.3 G attached to his Sony Alpha 7R III for a high-resolution combination. “You'll notice there are a lot of people that use the α7R-series because of the resolution. When you're doing wildlife, you want to be able to punch in, to crop in. The Alpha 7R III has 42 megapixels, whereas most full-frame cameras are 24 megapixels, so it means that I can crop in without really losing a ton of resolution.”
“The Sony 200-600mm f/5.6-6.3 G lens works really well and in my opinion is really underpriced. It’s just a phenomenal lens. I was also using the 1.4X extender for this photo. I know a lot of people complain about using extenders and they say it makes it difficult to get crisp and clear images, but I think once you learn how to use it the photos speak for themselves. It’s definitely possible to do it.”
Using Zone Autofocus Area & Priority Set In AF-C To Get The Shot
Using the Sony Alpha 7R III and Sony 200-600mm f/5.6-6.3 G combination to photograph eagles, Harris shoots handheld and starts with standard settings. “Whenever I'm out, I always have the camera set on 1/2500-sec – that’s usually my go-to setting. And then when you have the extender on, your minimum is at f/9.0. So it kind of limits you in terms of light a little bit. So I pushed up the ISO to 500 for this shot, which is obviously great with the Sony cameras. You can push the ISO as much as you want really – they’re so good at that.”
“Then I was using zone tracking, which I have come to prefer over using the lock-on AF,” explains Harris. “Sometimes the background in my photos can interfere with the locked AF so using a central zone to track has been really reliable. I use back-button focus a lot for street photography, but with bird photography I’ve found that I prefer to have the focus set on the shutter button so that I don’t miss anything. Then the other thing that I think is really helpful is to have the auto focus priority on so that the camera will only fire when it’s focused and you’re not missing shots. I set the camera to prioritize shots in focus so I have a higher rate of good shots and not a ton to go through and delete.”
Post-Processing
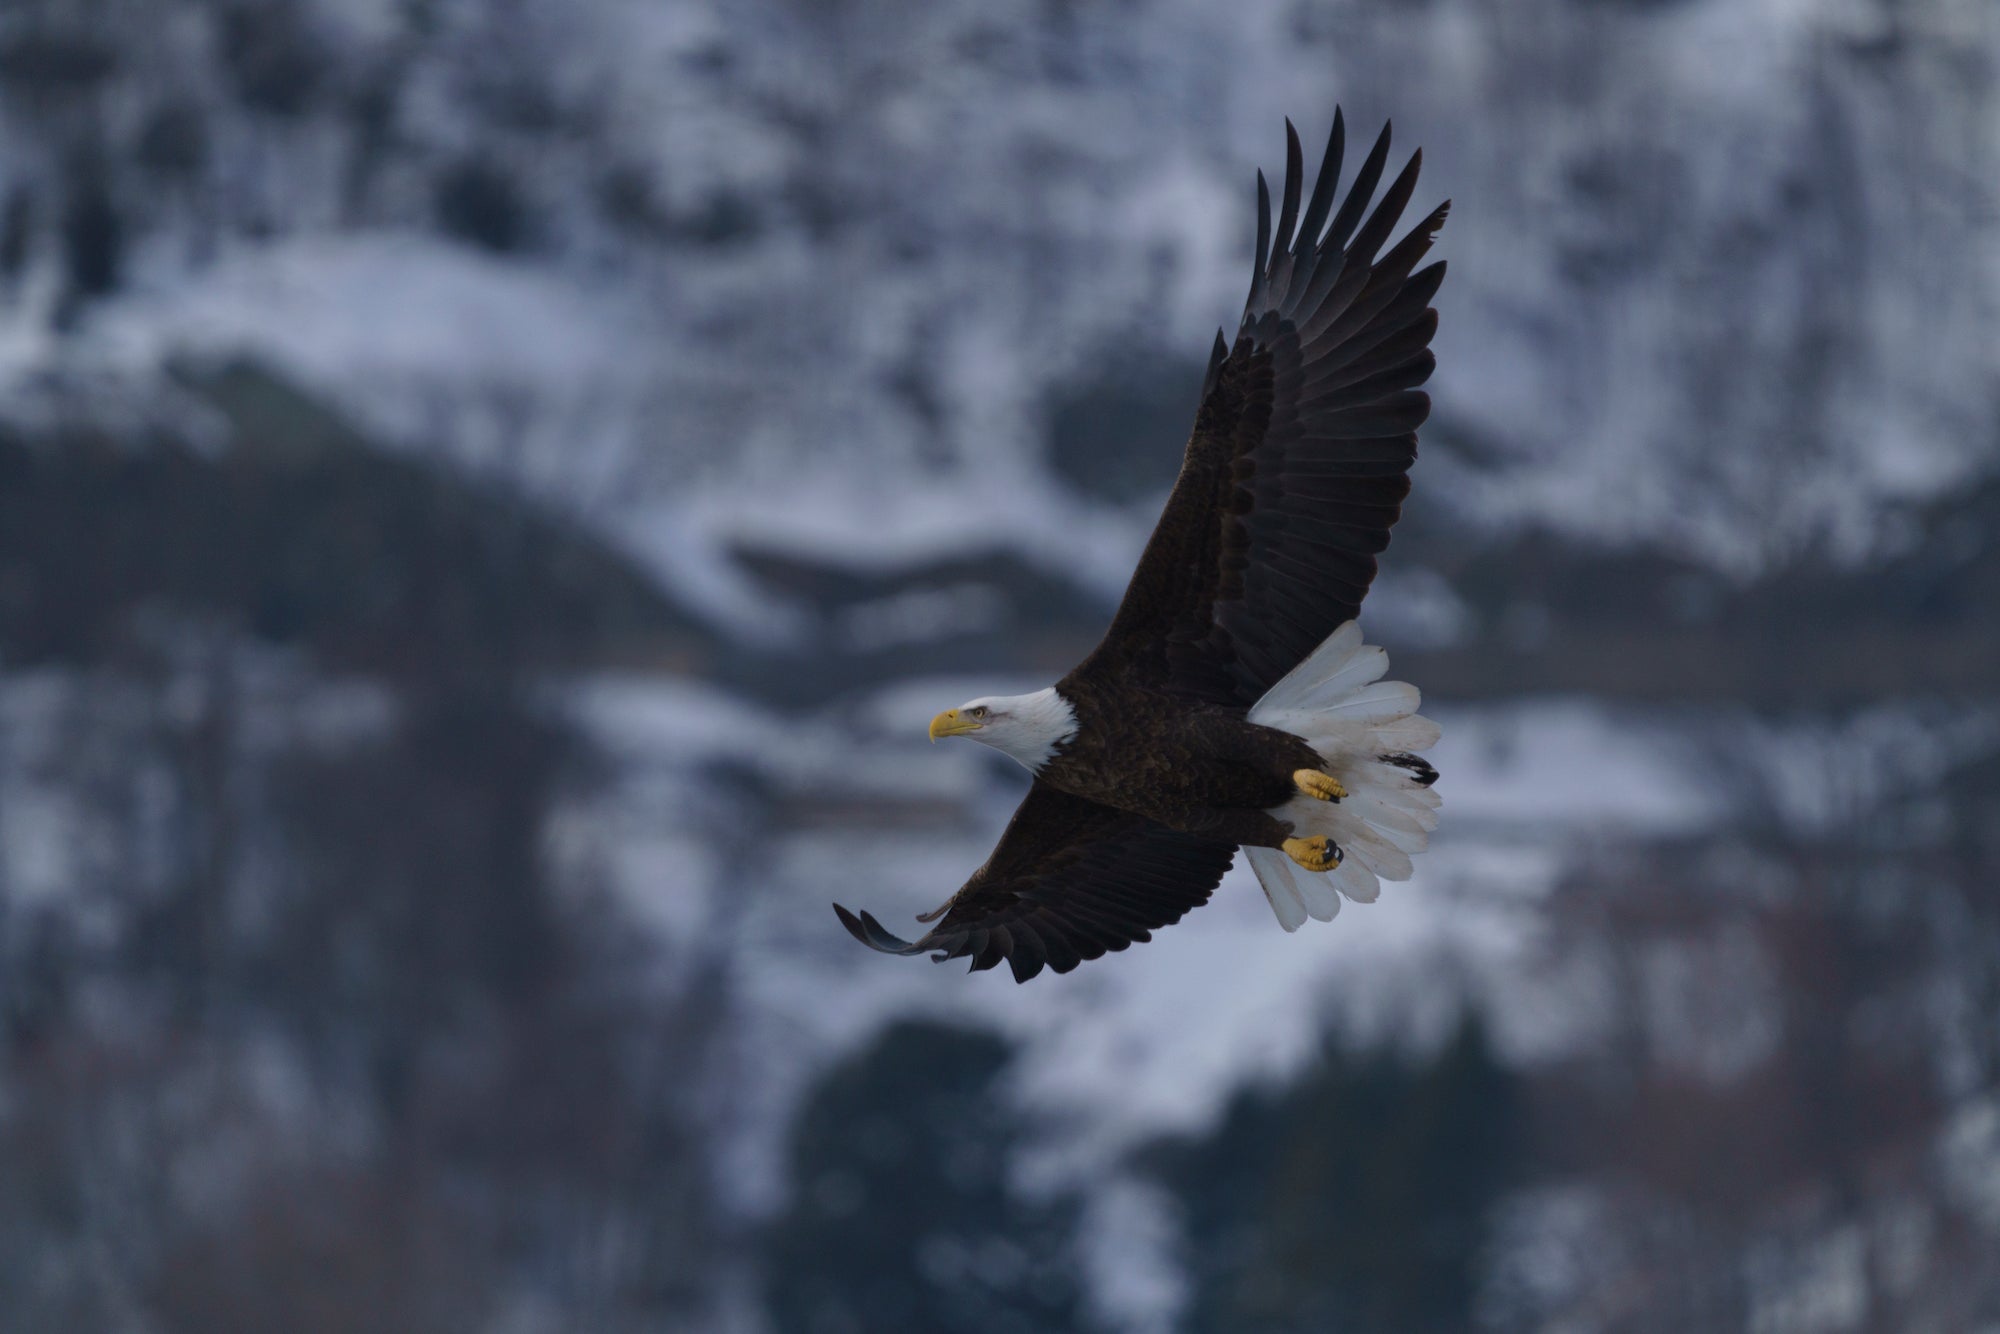
When it comes to post-processing his bird photos, Harris uses Lightroom to make adjustments. “I usually end up pulling up the shadows in the photo a lot because when I’m photographing a bird I’m using multi-metering on the camera to give an average of the light on the screen and it doesn’t always expose the beautiful feathers the way I want them to be exposed.

Before Post-Processing. Photo by Alex Harris.
“Then I denoise the photo using Topaz DeNoise, which is a really amazing piece of software that I think is way better than the denoise in Lightroom. That’s really all that I do. There’s this thing with wildlife photography about keeping your photos as natural as you can, so I generally don’t do too much to mine in post.”

After Post-Processing. Photo by Alex Harris.
See more of Alex's work on his Alpha Universe Profile. Join Alpha Universe and complete your public profile. It’s free and you’ll have a chance to be featured on Alpha Universe! Click here to learn more.

