Astrophotography can be very rewarding when you see the end result of a great composition and exposure staring back at you through the LCD screen on your camera. Shooting the stars successfully requires the right camera settings along with the ability to manually focus on the stars. To get started, you need a camera with the ability to shoot long exposures and a sturdy tripod. In this article, I will explain the camera settings I used with the Sony α7R III during the Alpha Imaging Collective Arizona trip in the spring. The settings might be in different areas of the menu depending on your camera and firmware.
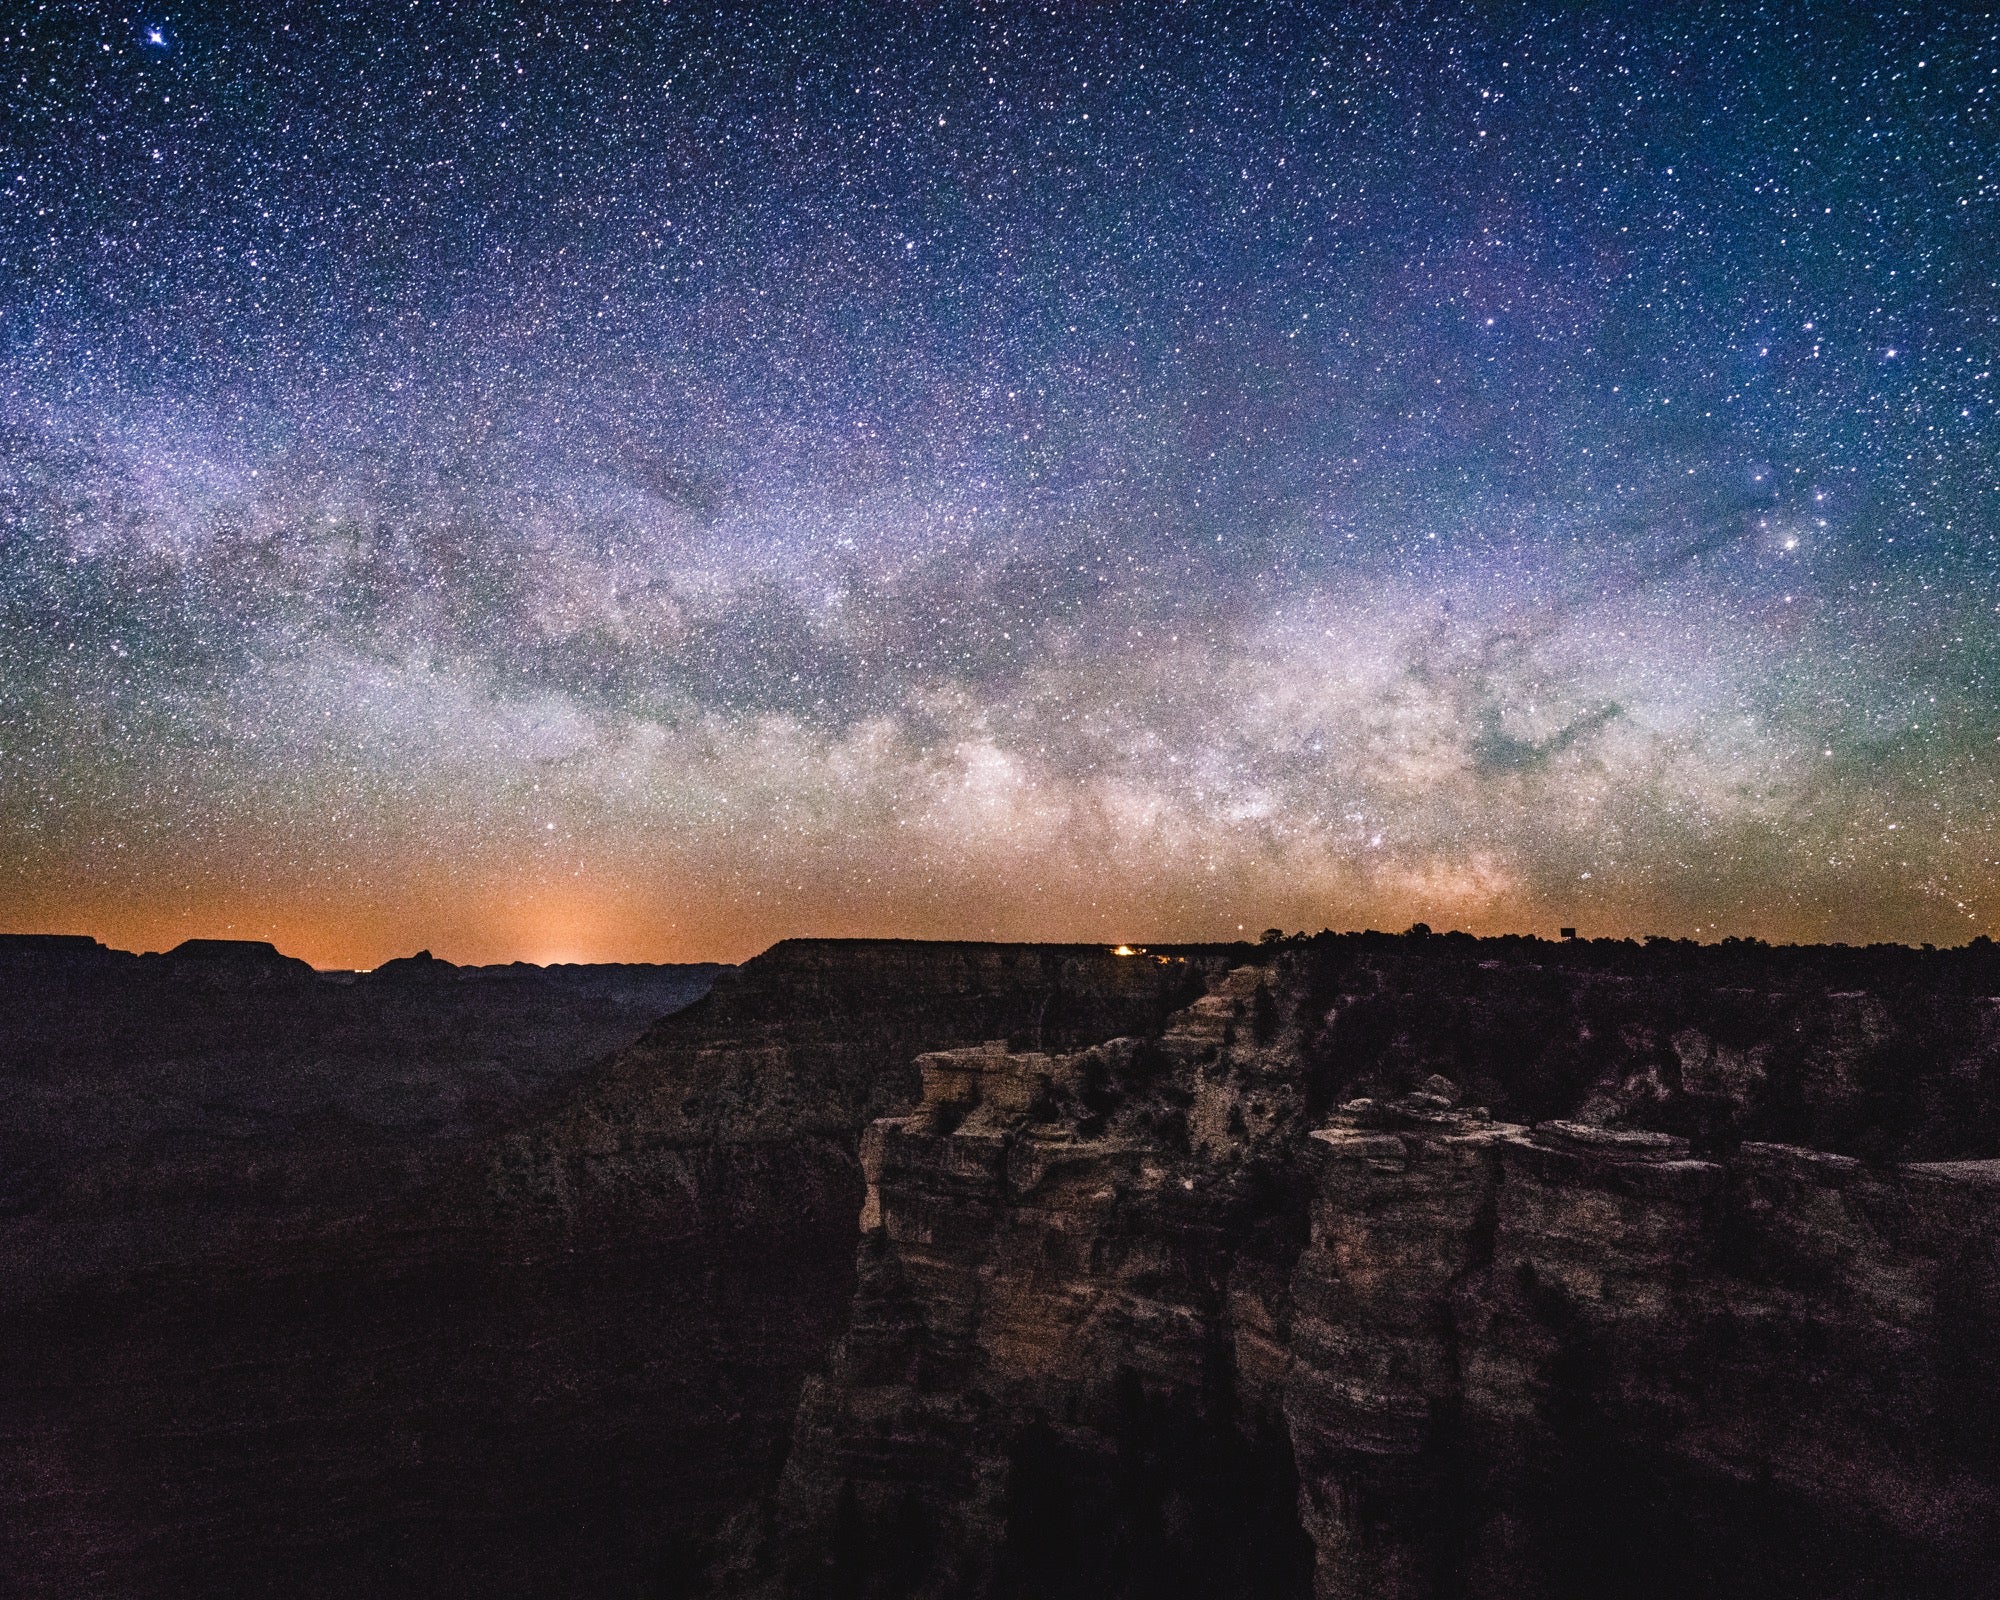
Mather Point, Grand Canyon, AZ. Sony α7R III, Sony 16-35mm f/2.8 G Master lens. 20-sec., f/2.8, ISO 10,000
Shoot RAW
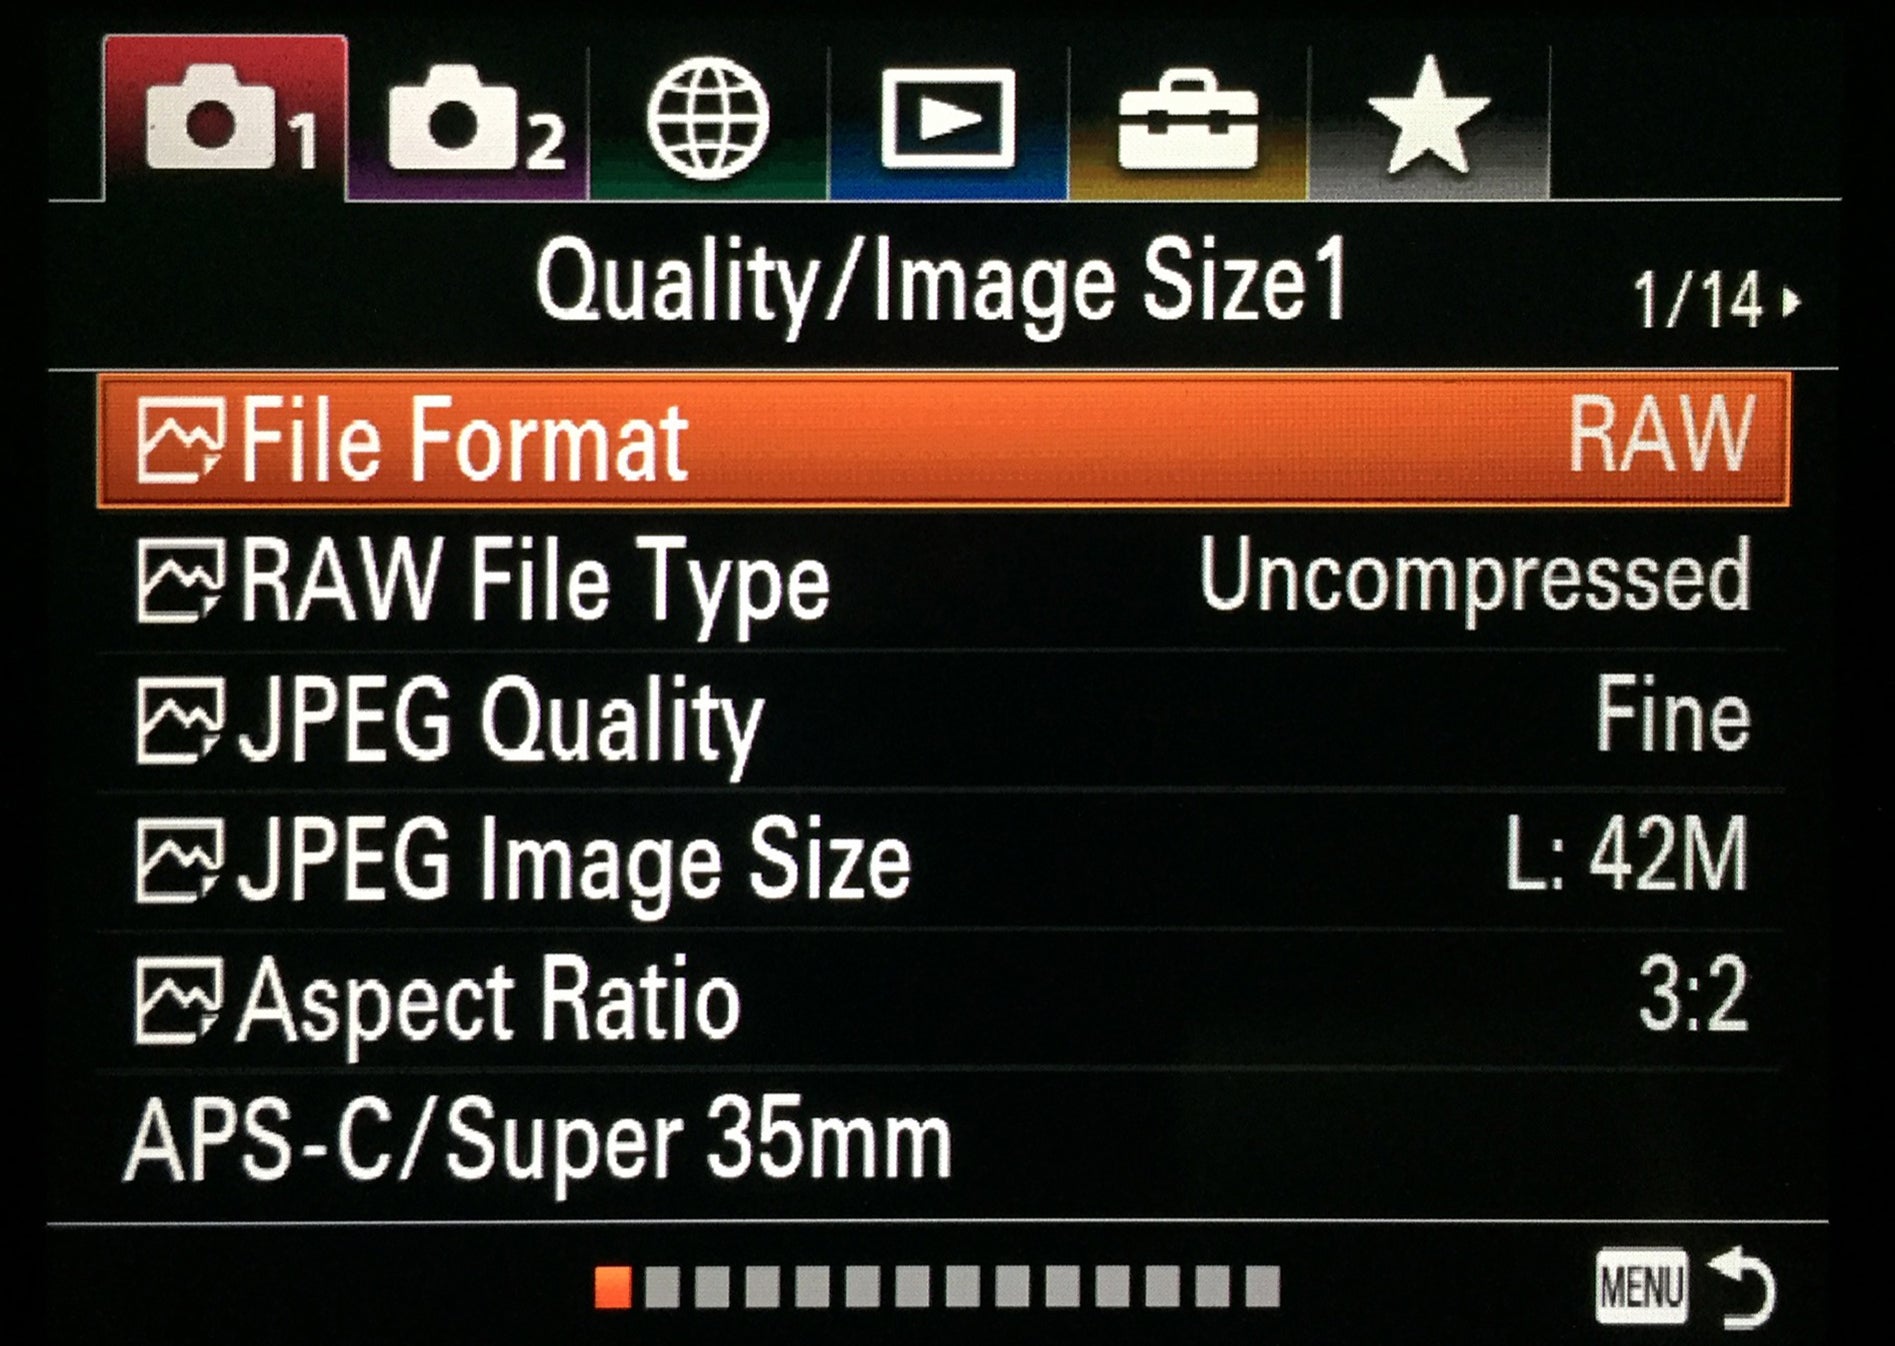
I always shoot astro in RAW as there really isn’t any good reason to shoot them in JPEG considering you will always need to do some post processing for the best final images. I typically select Compressed RAW because the file sizes are considerably smaller especially with the α7R III, but you’re more than welcome to use uncompressed if file size doesn’t concern you.
Long Exposure NR
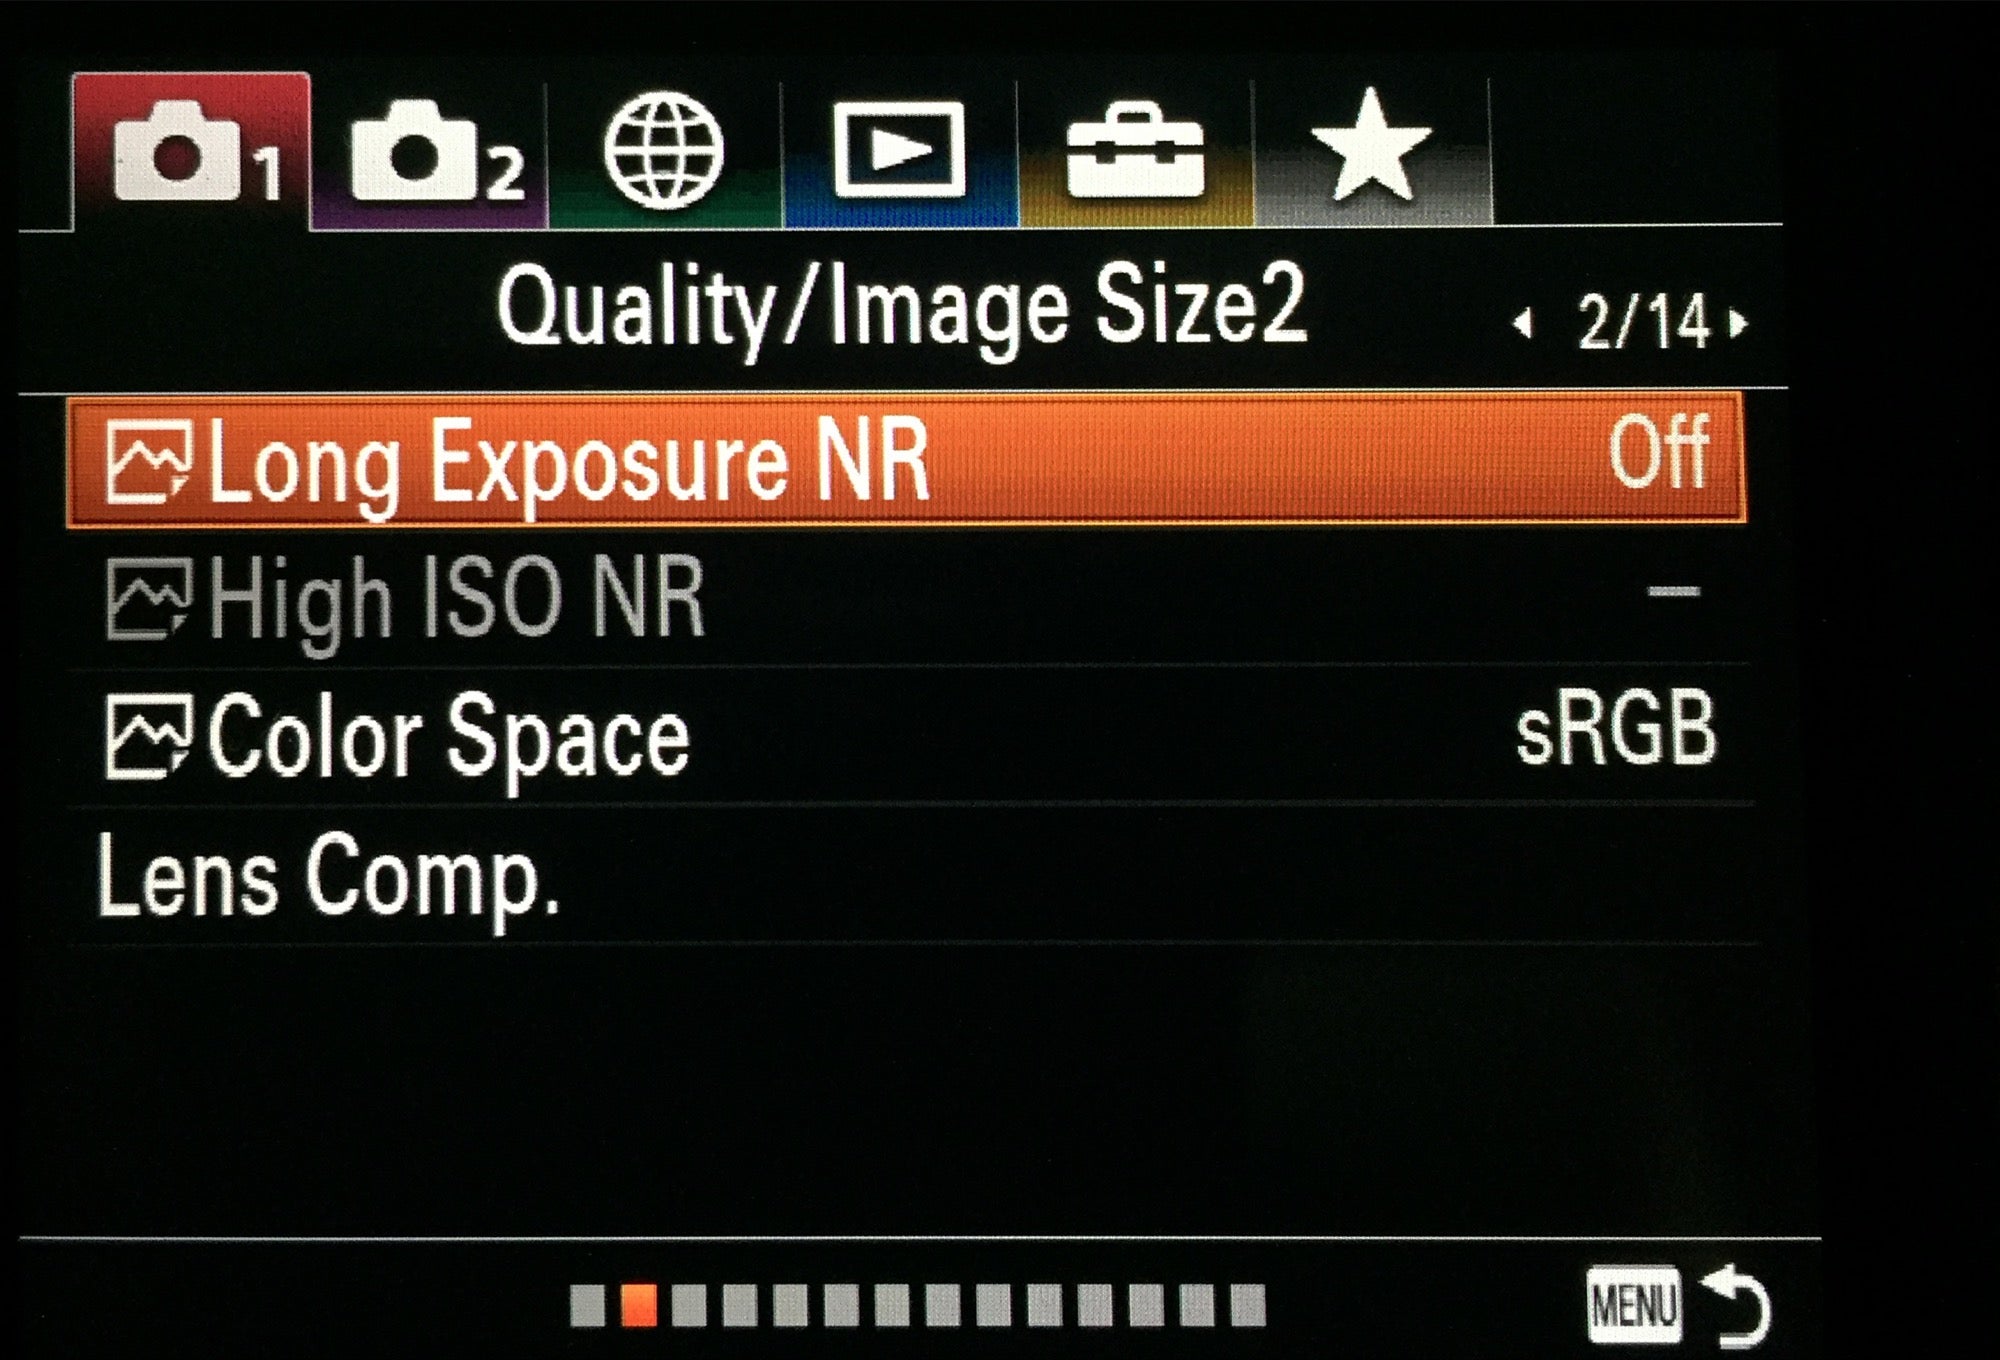
I typically turn the Long Exposure Noise Reduction setting off, but I’ve found that it does have benefits in extremely dark night skies. My reason for turning it off on most nights is to avoid waiting the extra time between shots and to ultimately be able to take more exposures in a given night. My rationale is that I can add noise reduction in post processing to compensate and the post-production noise reduction works really well in my opinion. That said, I have noticed when shooting in extremely dark places (for example when I was shooting in Lassen National Park during the new moon with my α7 II), that it was actually helpful to turn the Long Exposure Noise Reduction setting on for those images.
Self Timer
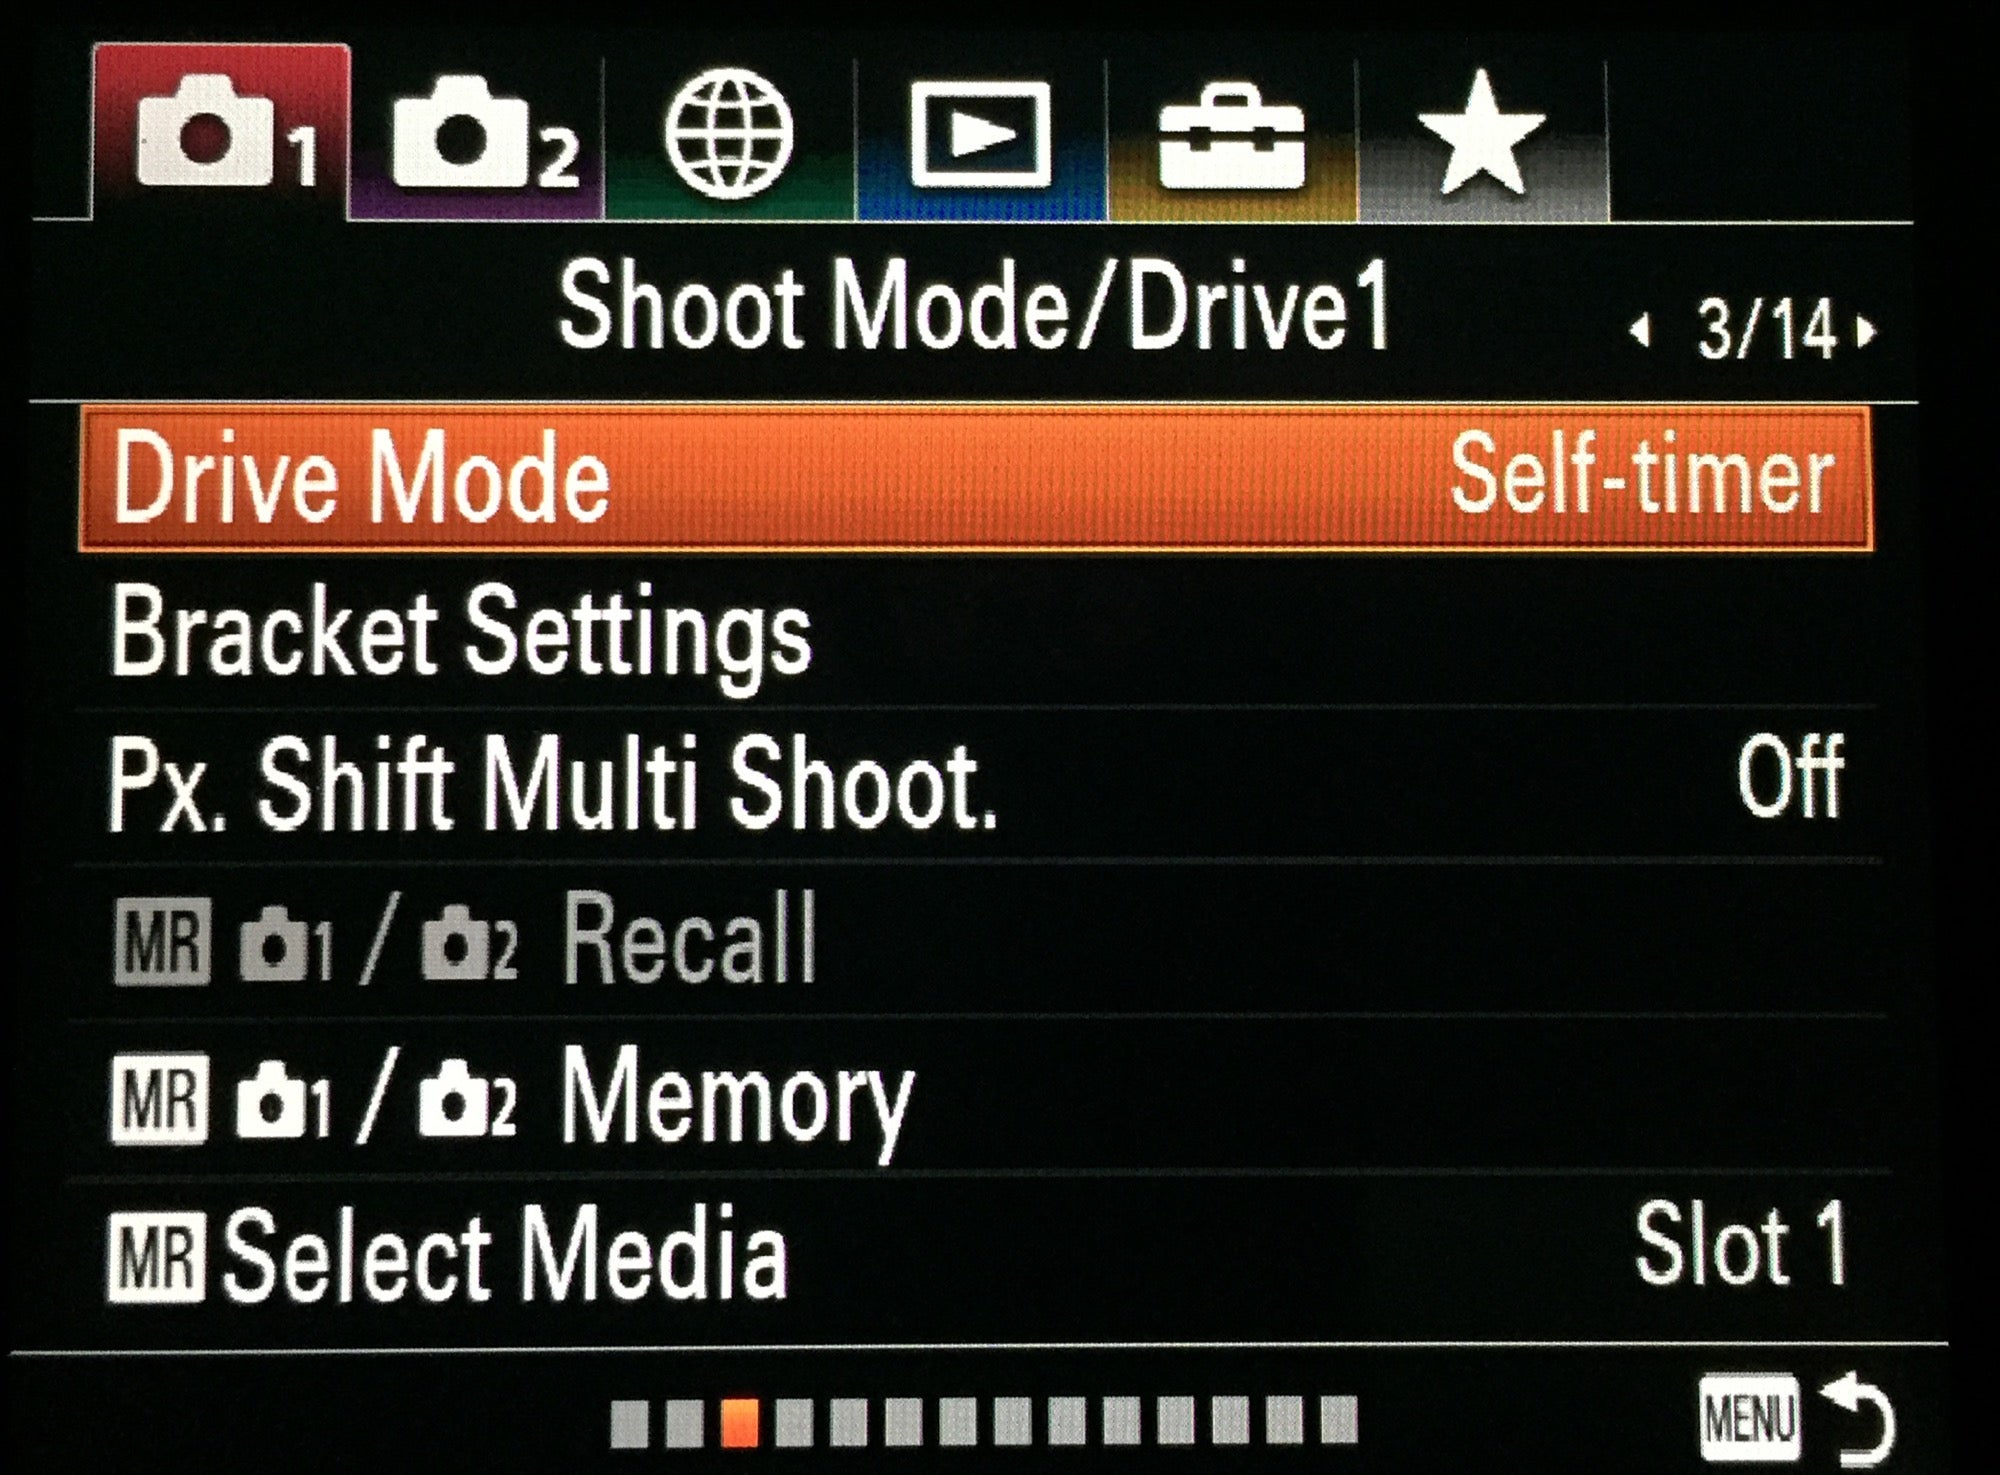
Using a timer is a key precaution in my opinion to be able to capture sharp images more often. I select the ‘Self-timer: 2 seconds' option in Drive Mode because this two-second delay will allow my camera to steady out after pressing down on the shutter button. You could also use the 10-second timer if you want to give yourself time to run into the frame for an epic selfie under the stars.
Focus Mode, Focus Assist, Focus Peaking
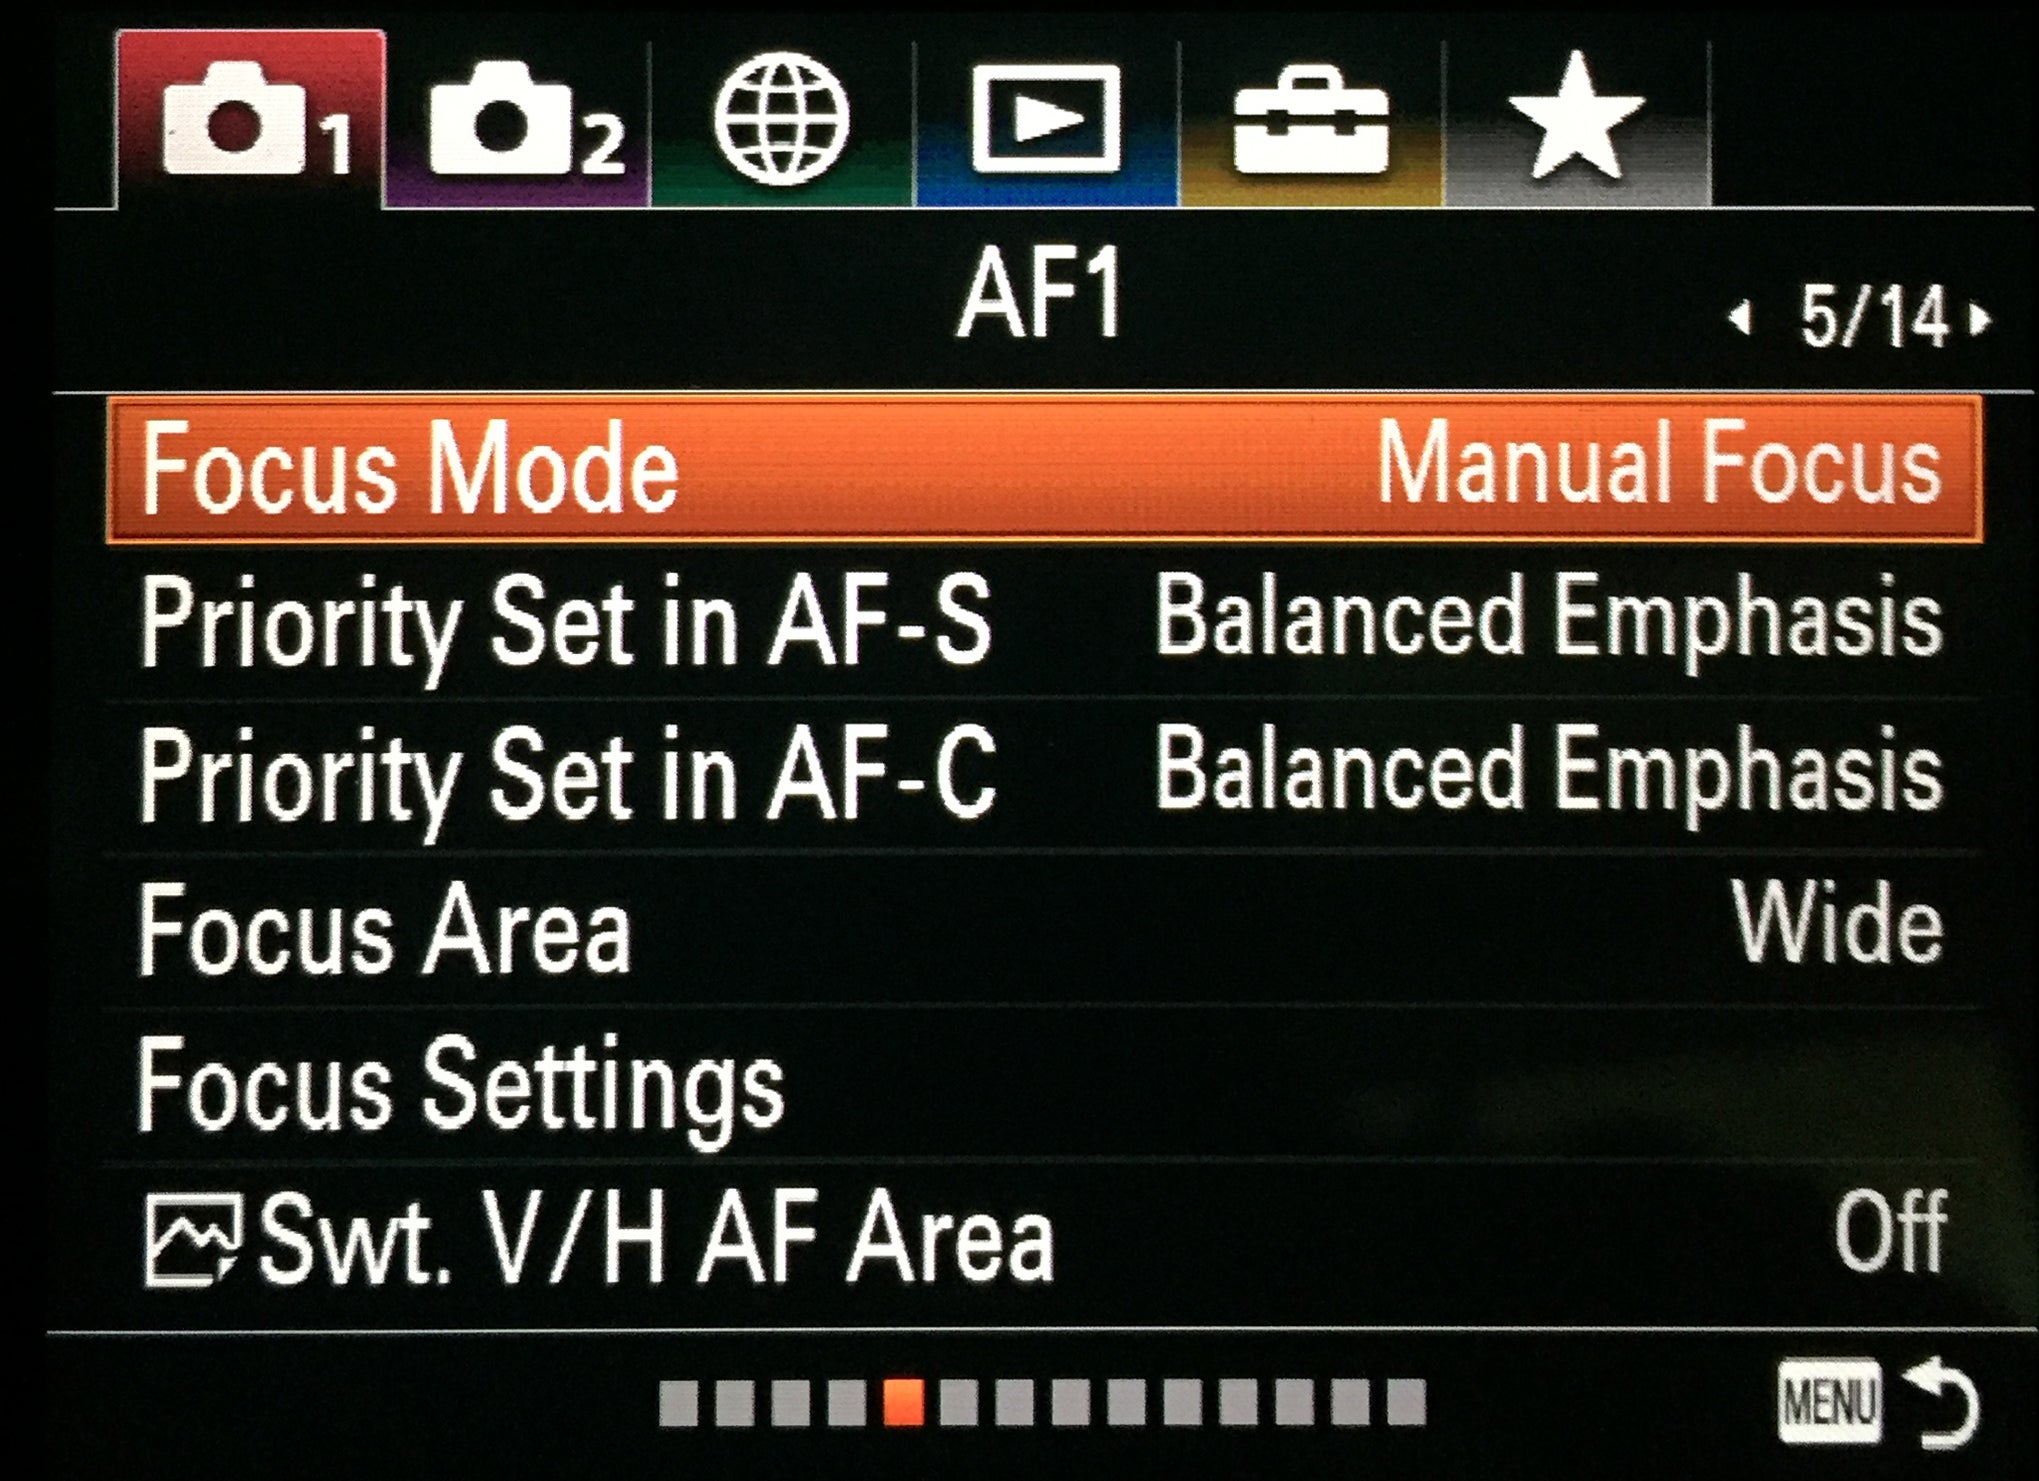
Manual focus is the only way to go if you want the best image and it can take time and patience to get it dialed in.
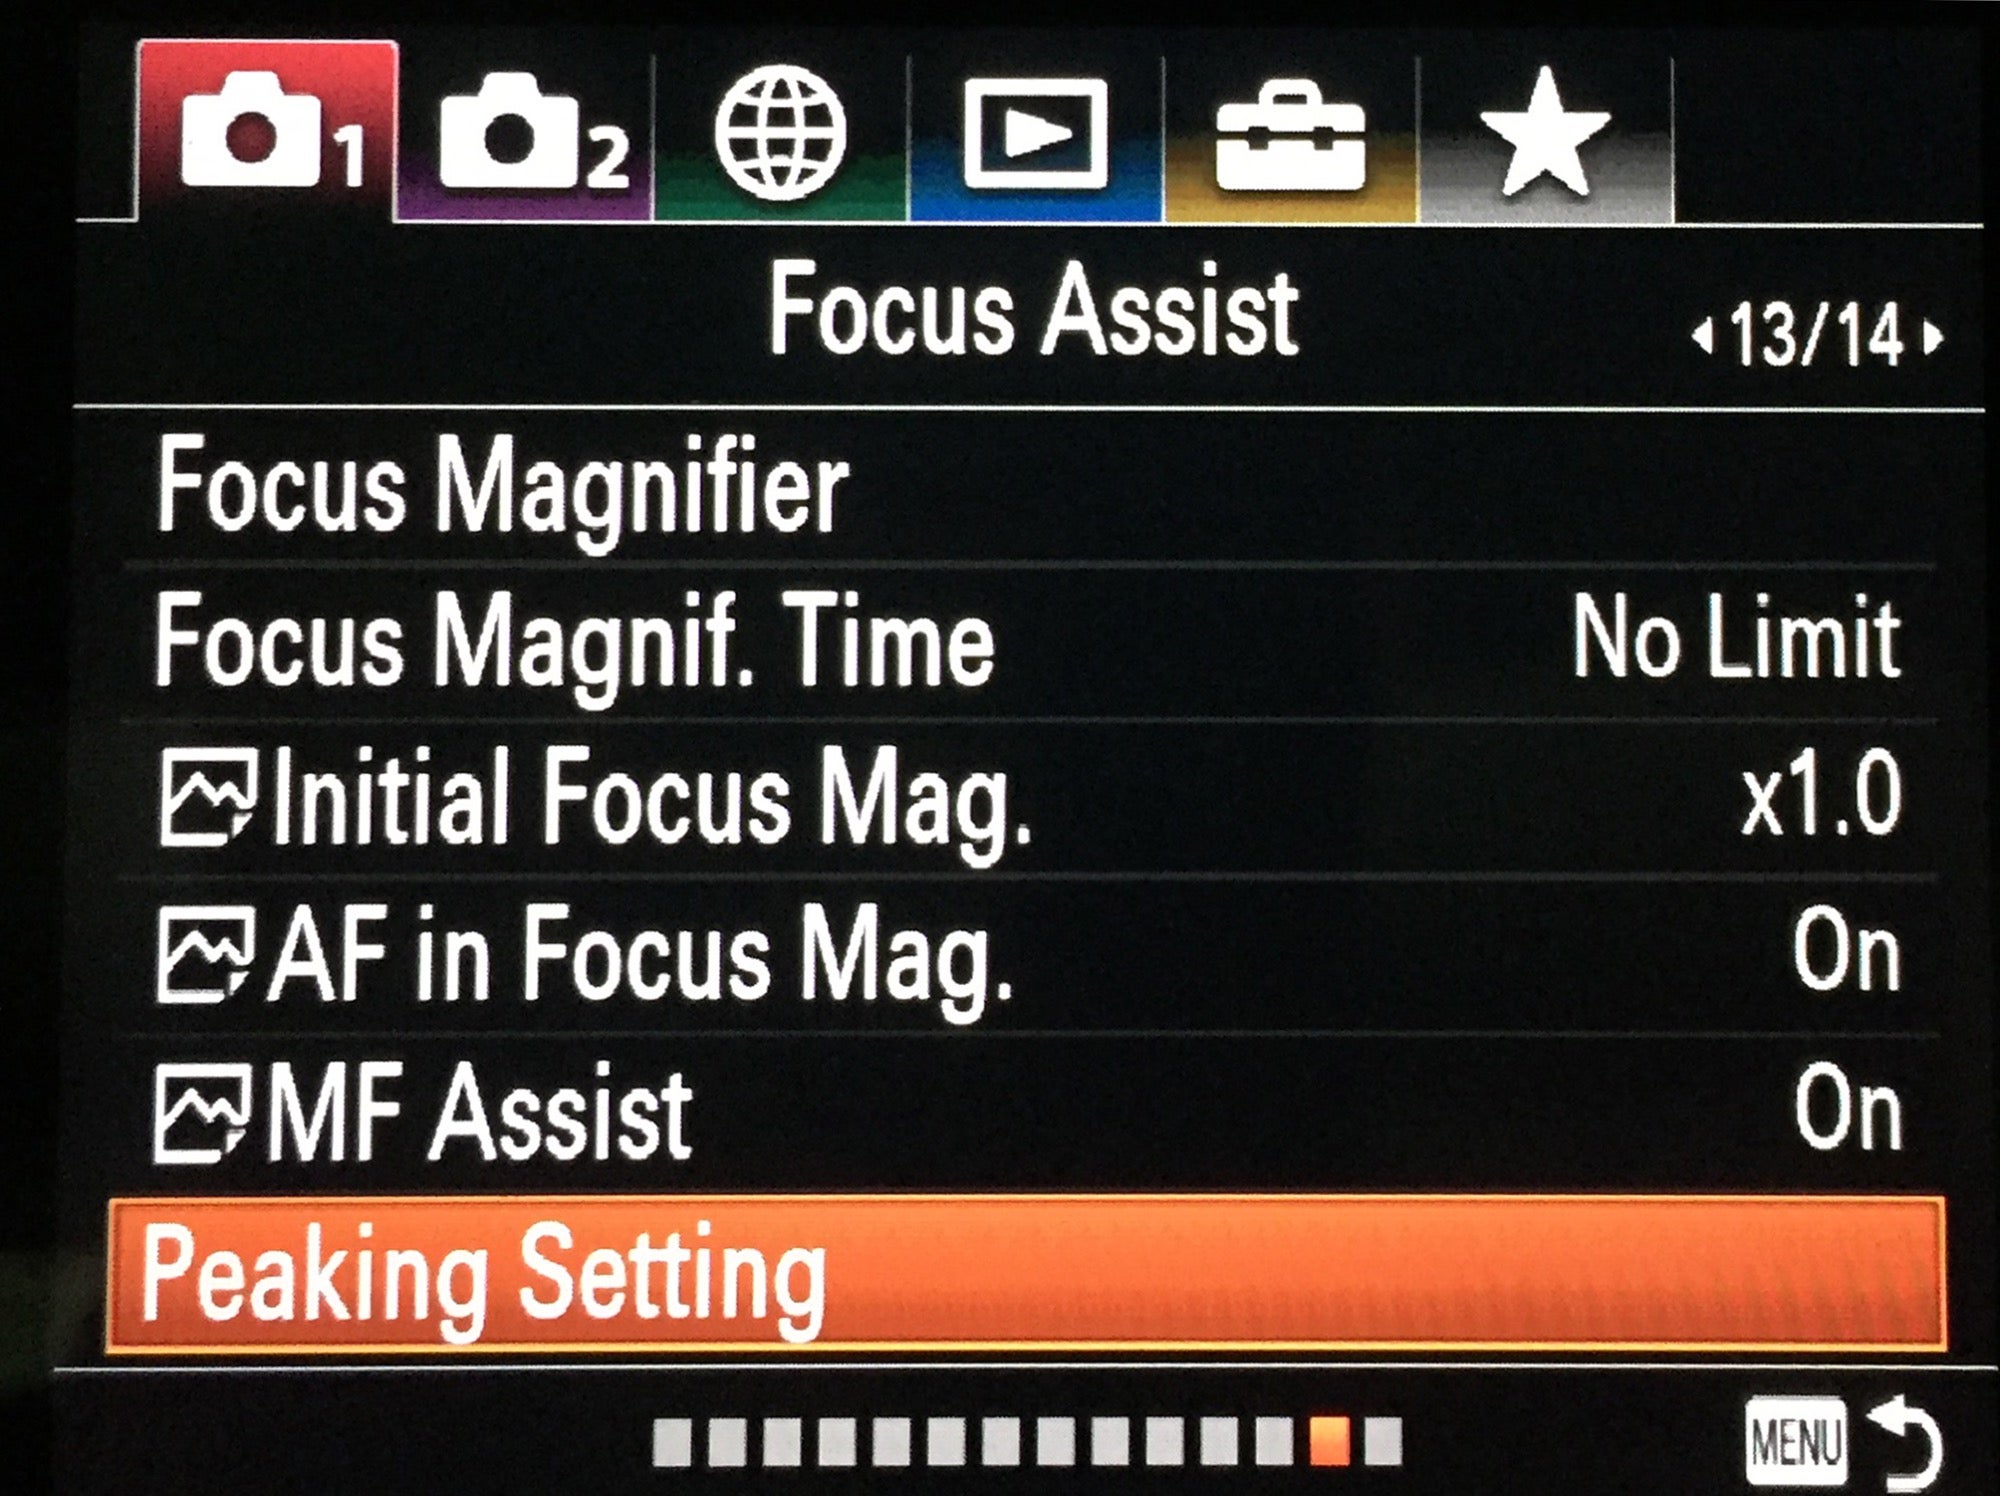
You will also want to turn on the MF Assist feature and then go further into the Peaking Settings.
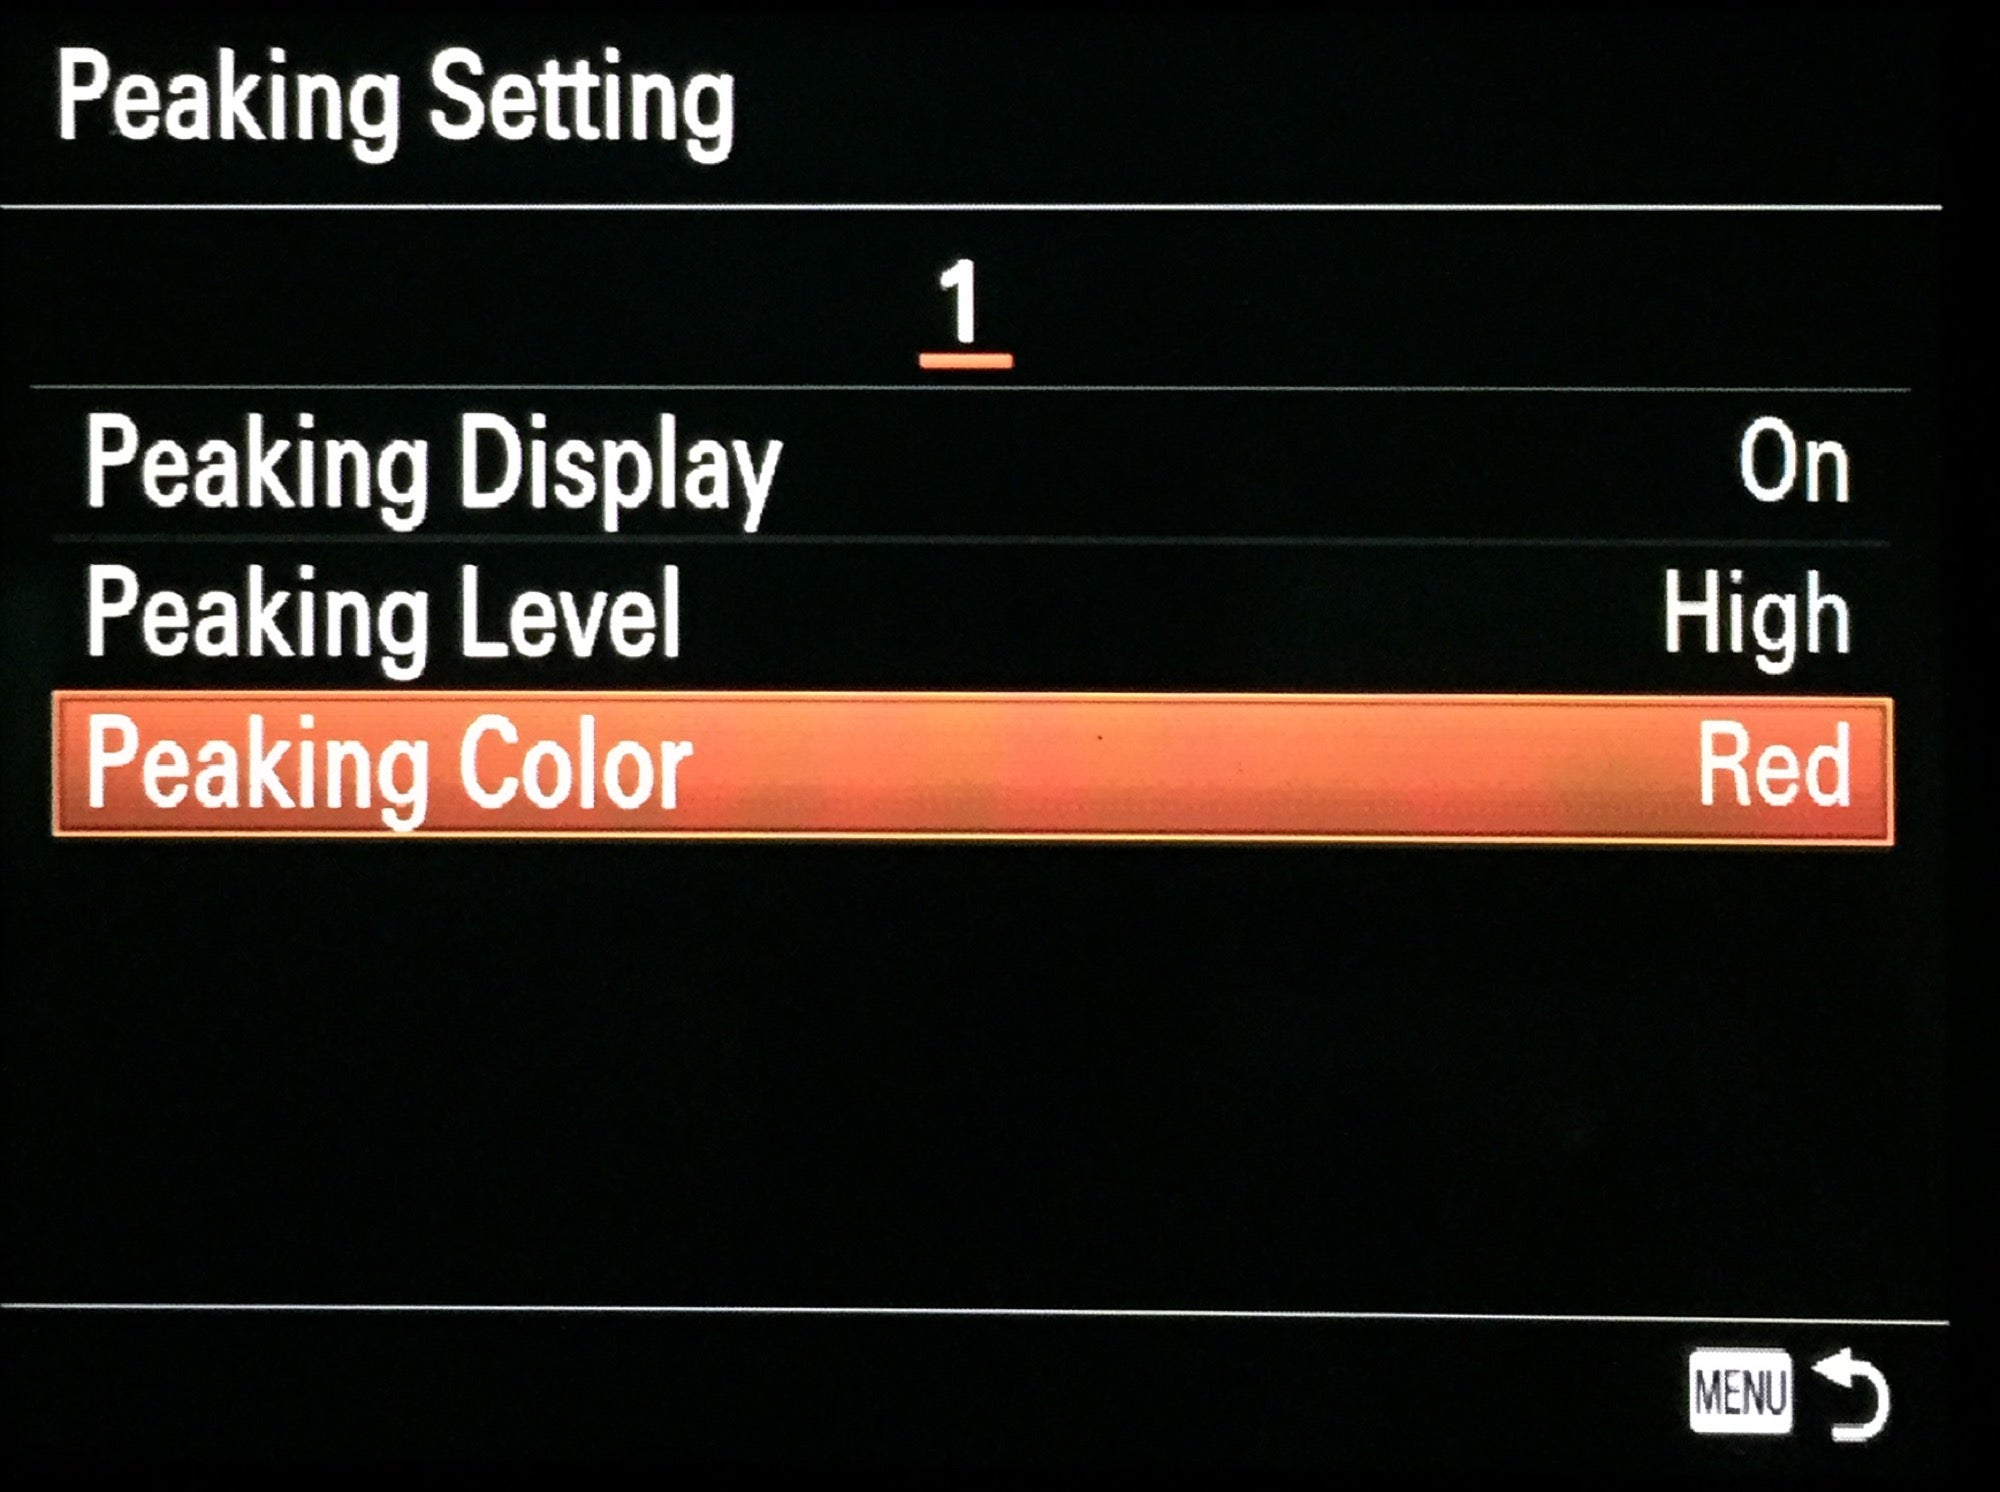
Turn on Display, turn Level to High and my preference is Red for Color, but Yellow and White are also an option. These settings will allow you to manually focus on the brightest star or planet in the sky on any given night and the α7R III has a really nice zoom-in feature using the Control Wheel button. It may take a few shots and some tinkering to get the focus correct so that the stars are sharp and don’t have an oval or egg shape to them. But the nice part is that when you do finally get the focus right, it will usually stay that way the rest of the night unless you happen to move it at all.
White Balance
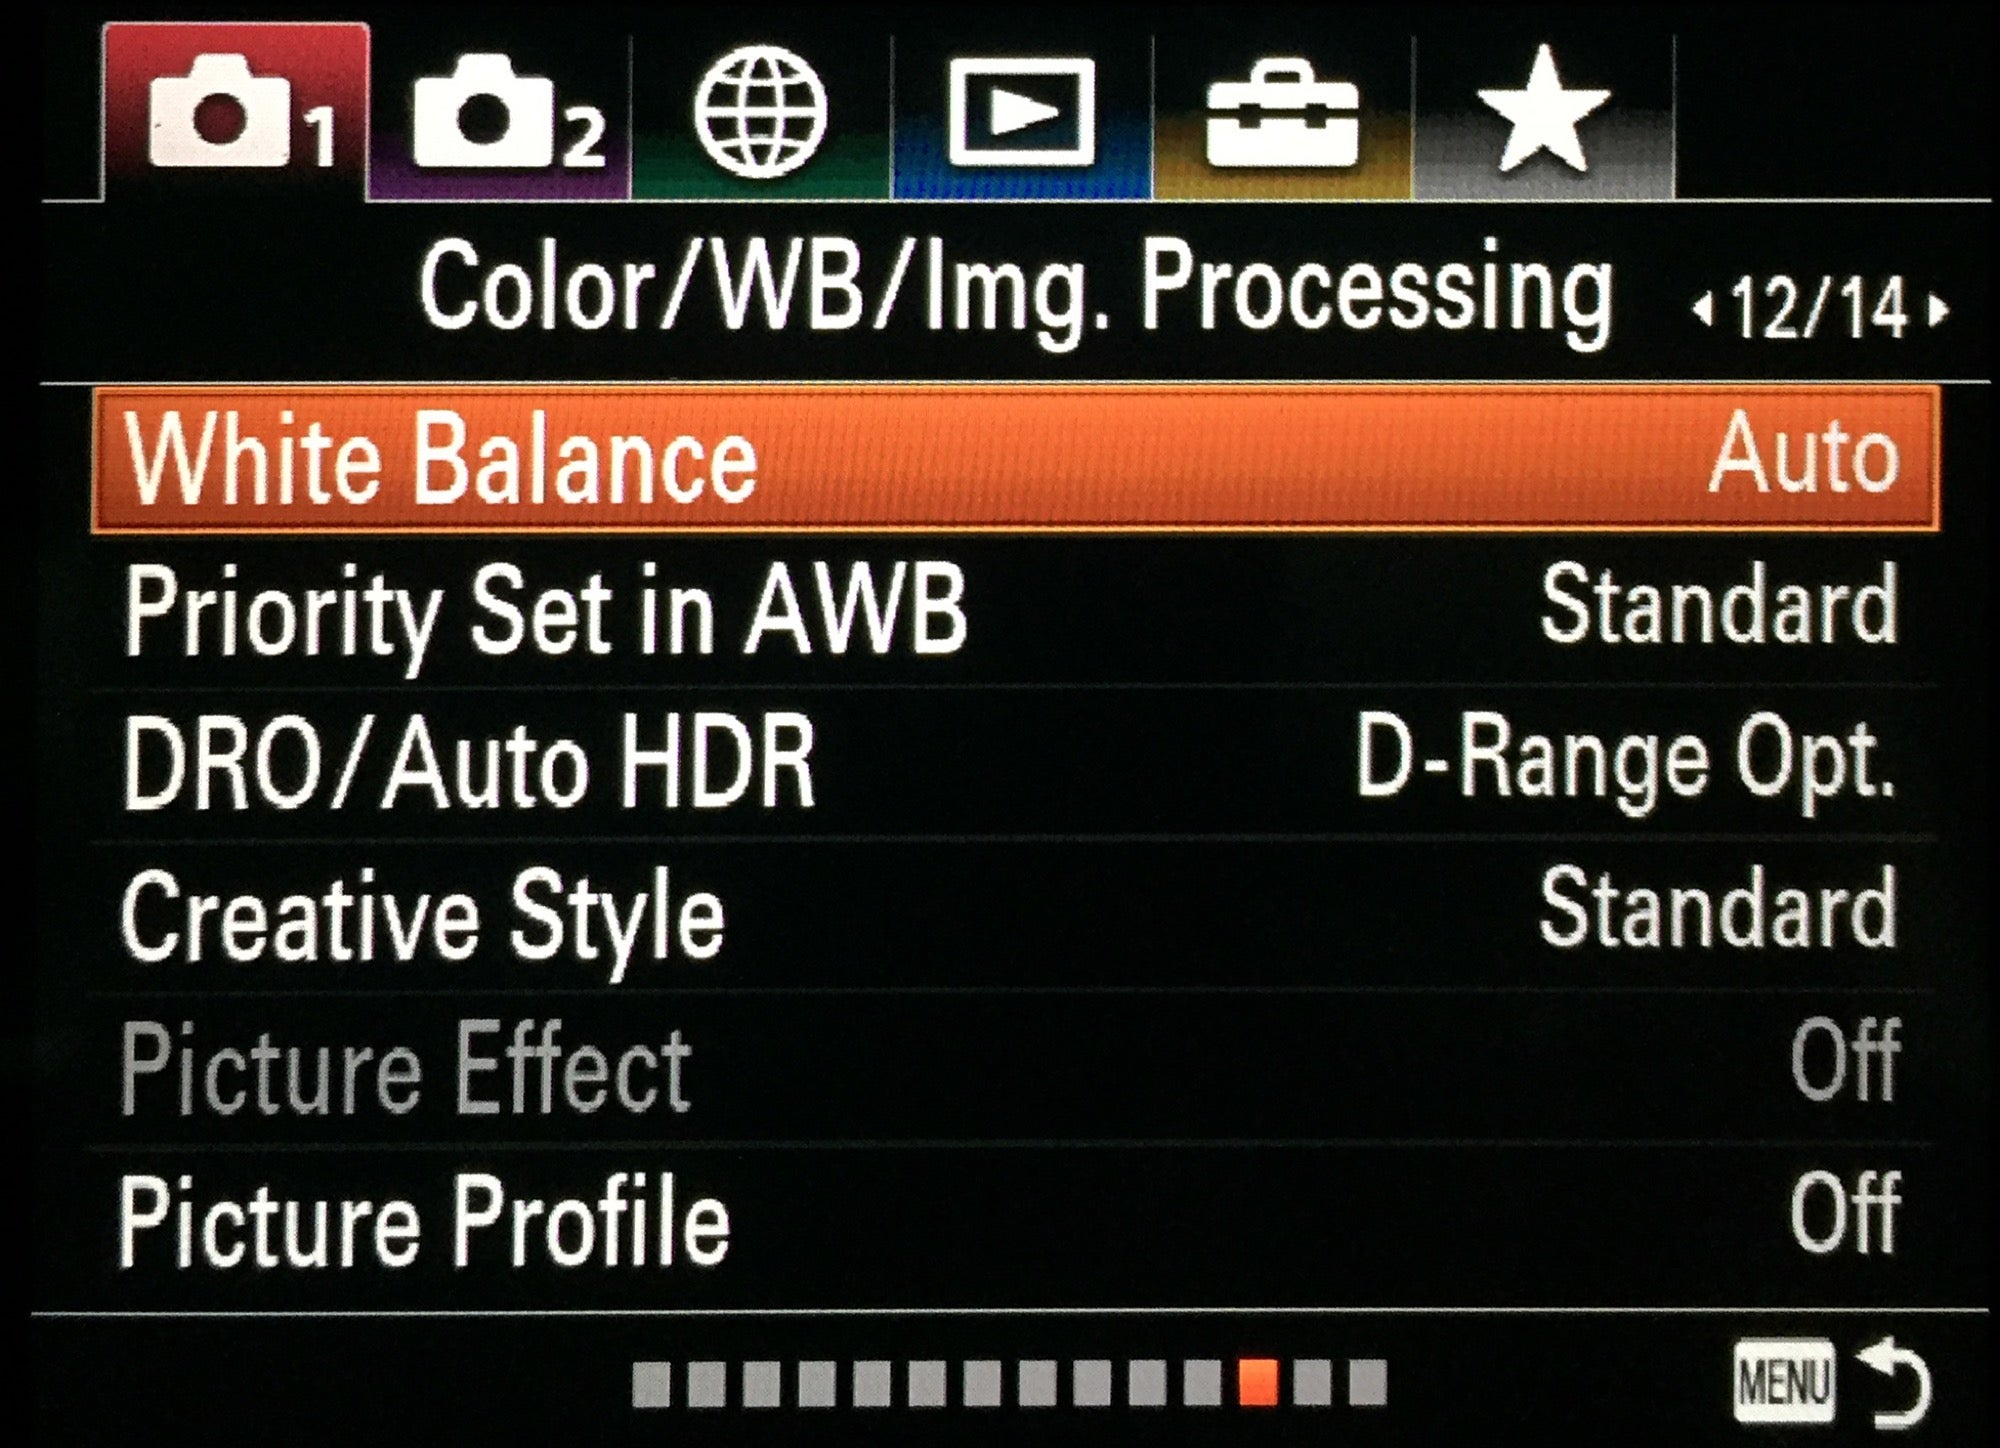
The majority of my astro shots have been taken with Auto White Balance because I can always adjust the photos the way I prefer when shooting in RAW. But there are certain times that I experiment with Incandescent White Balance, especially when there is more light pollution present. These images are warmer by default because of the extra light, so offsetting that with the Incandescent WB is sometimes helpful.
See more from the Sony Alpha Imaging Collective trip to Arizona on Instagram #AICdoesArizona
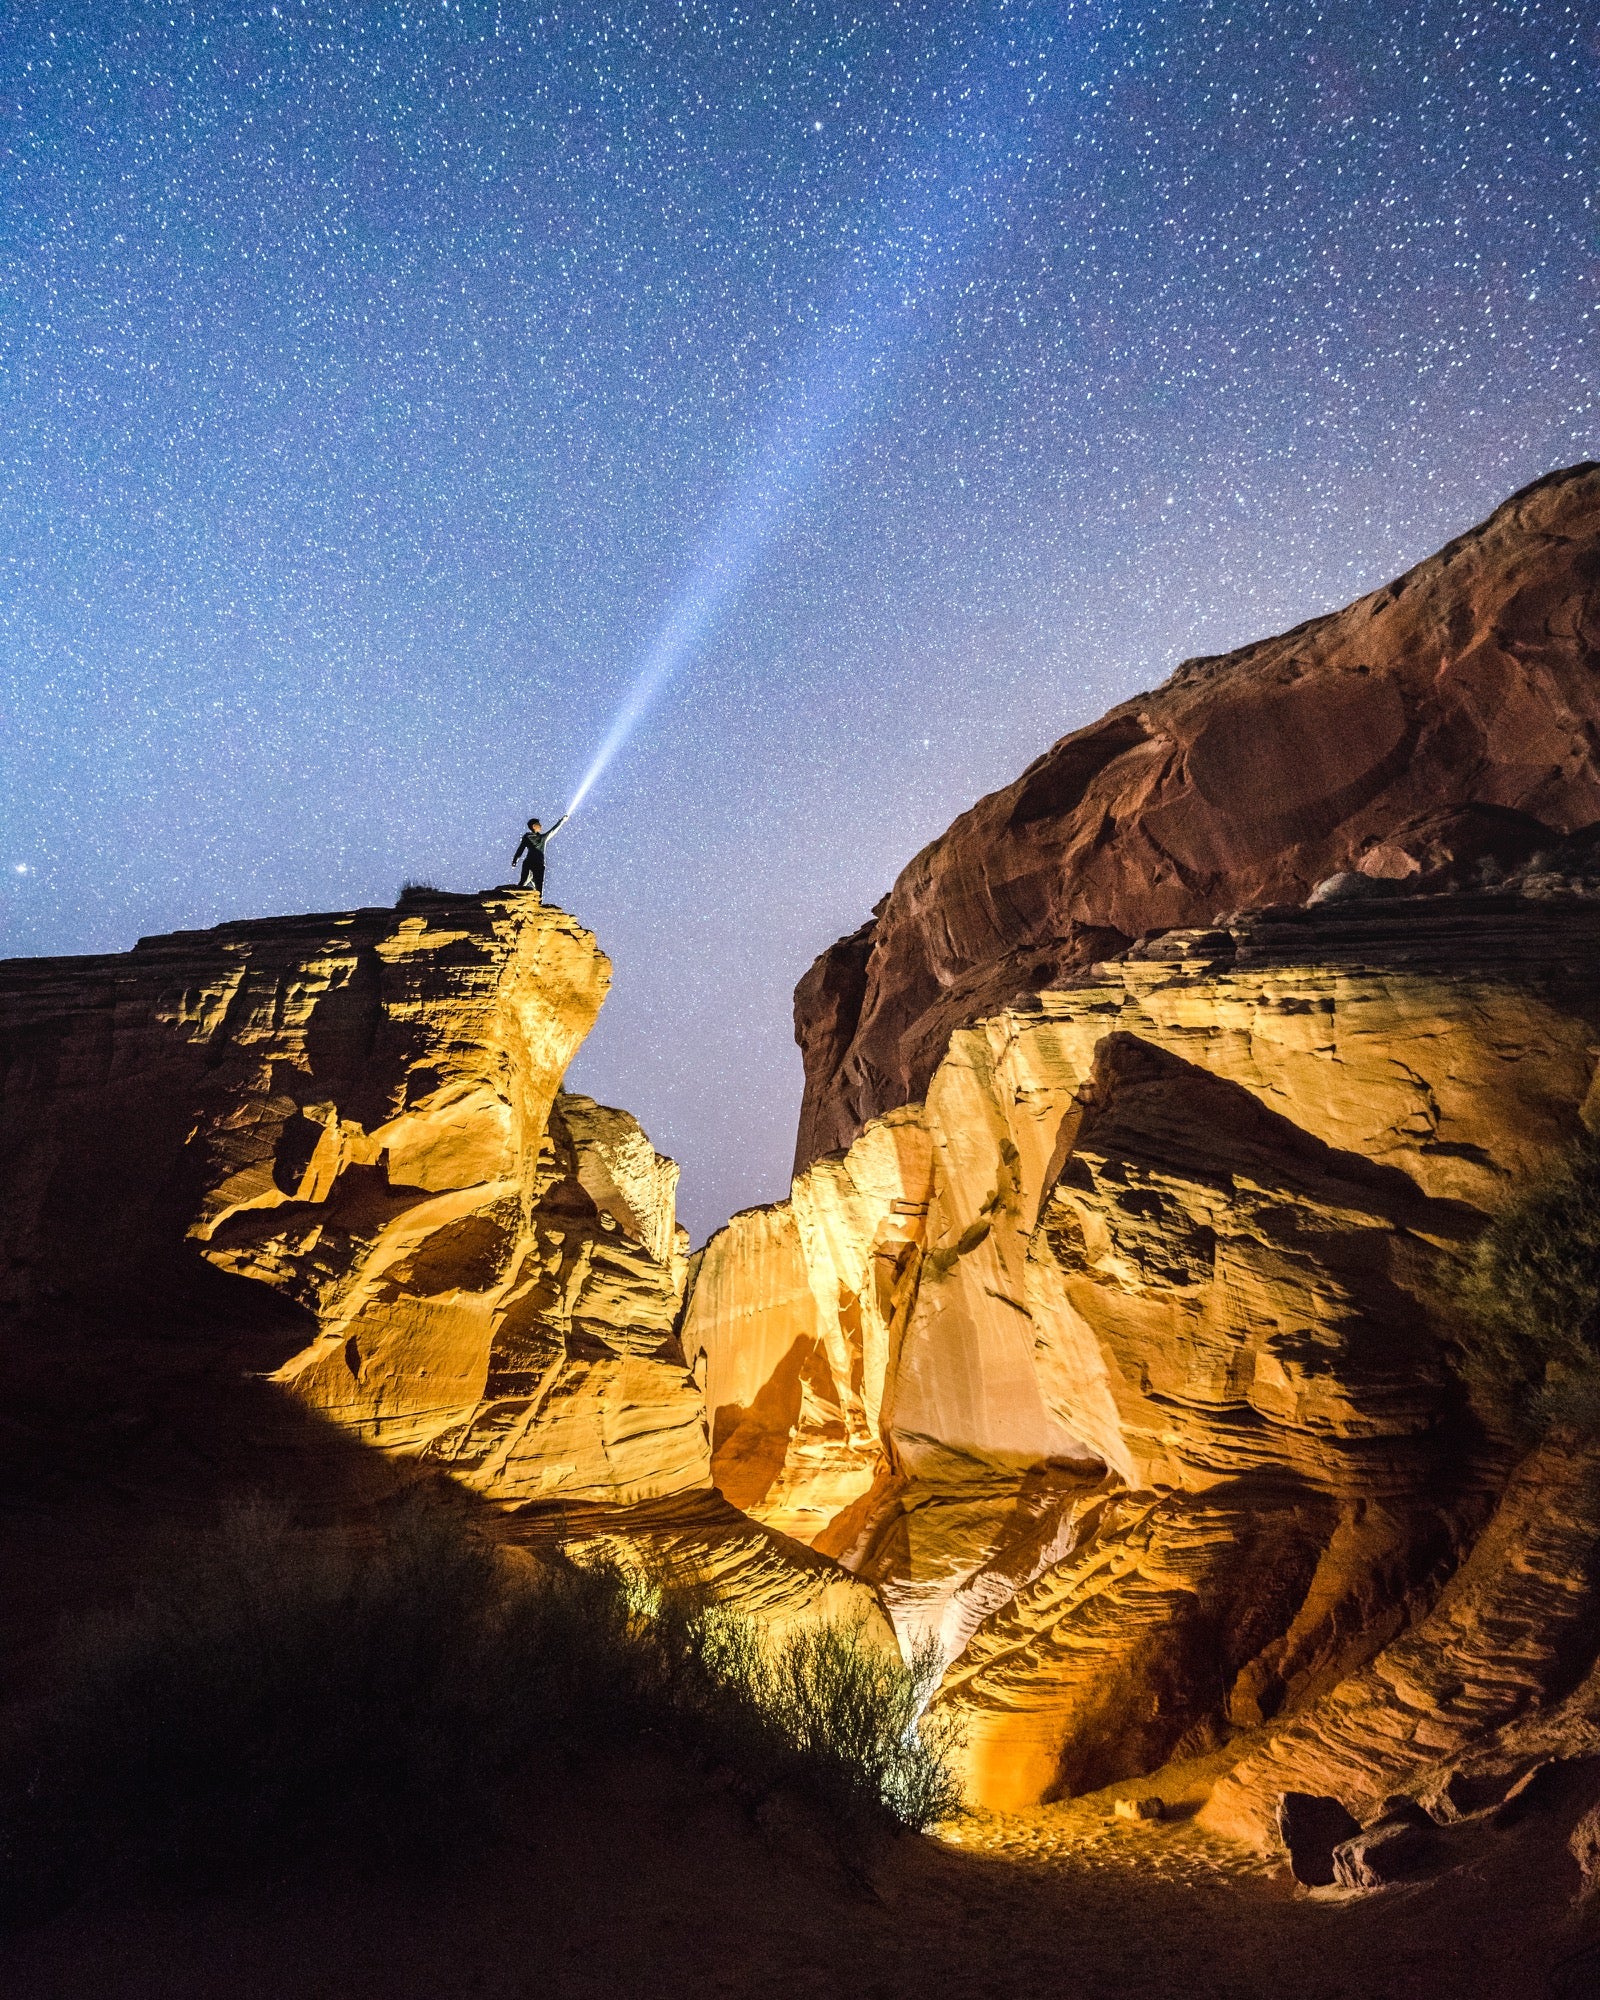
Horeshoe Bend Slot Canyon, AZ. Sony α7R III, Sony 16-35mm f/2.8 G Master lens. 20-sec., f/2.8, ISO 6400

