When it comes to street photography, the environment can be unpredictable and rapidly-changing – and you want to have a camera that’s properly set to help you keep up. There are certain settings in your Sony camera that are great for street photography and will help you get the shot you want at just the right moment. Here are some of the settings that I use when out capturing the streets. Note that the setting locations in your menu may vary depending on your camera and firmware.
I use Eye AF all the time for all type of portraits and for me it might the best feature of Sony mirrorless cameras for street photography.
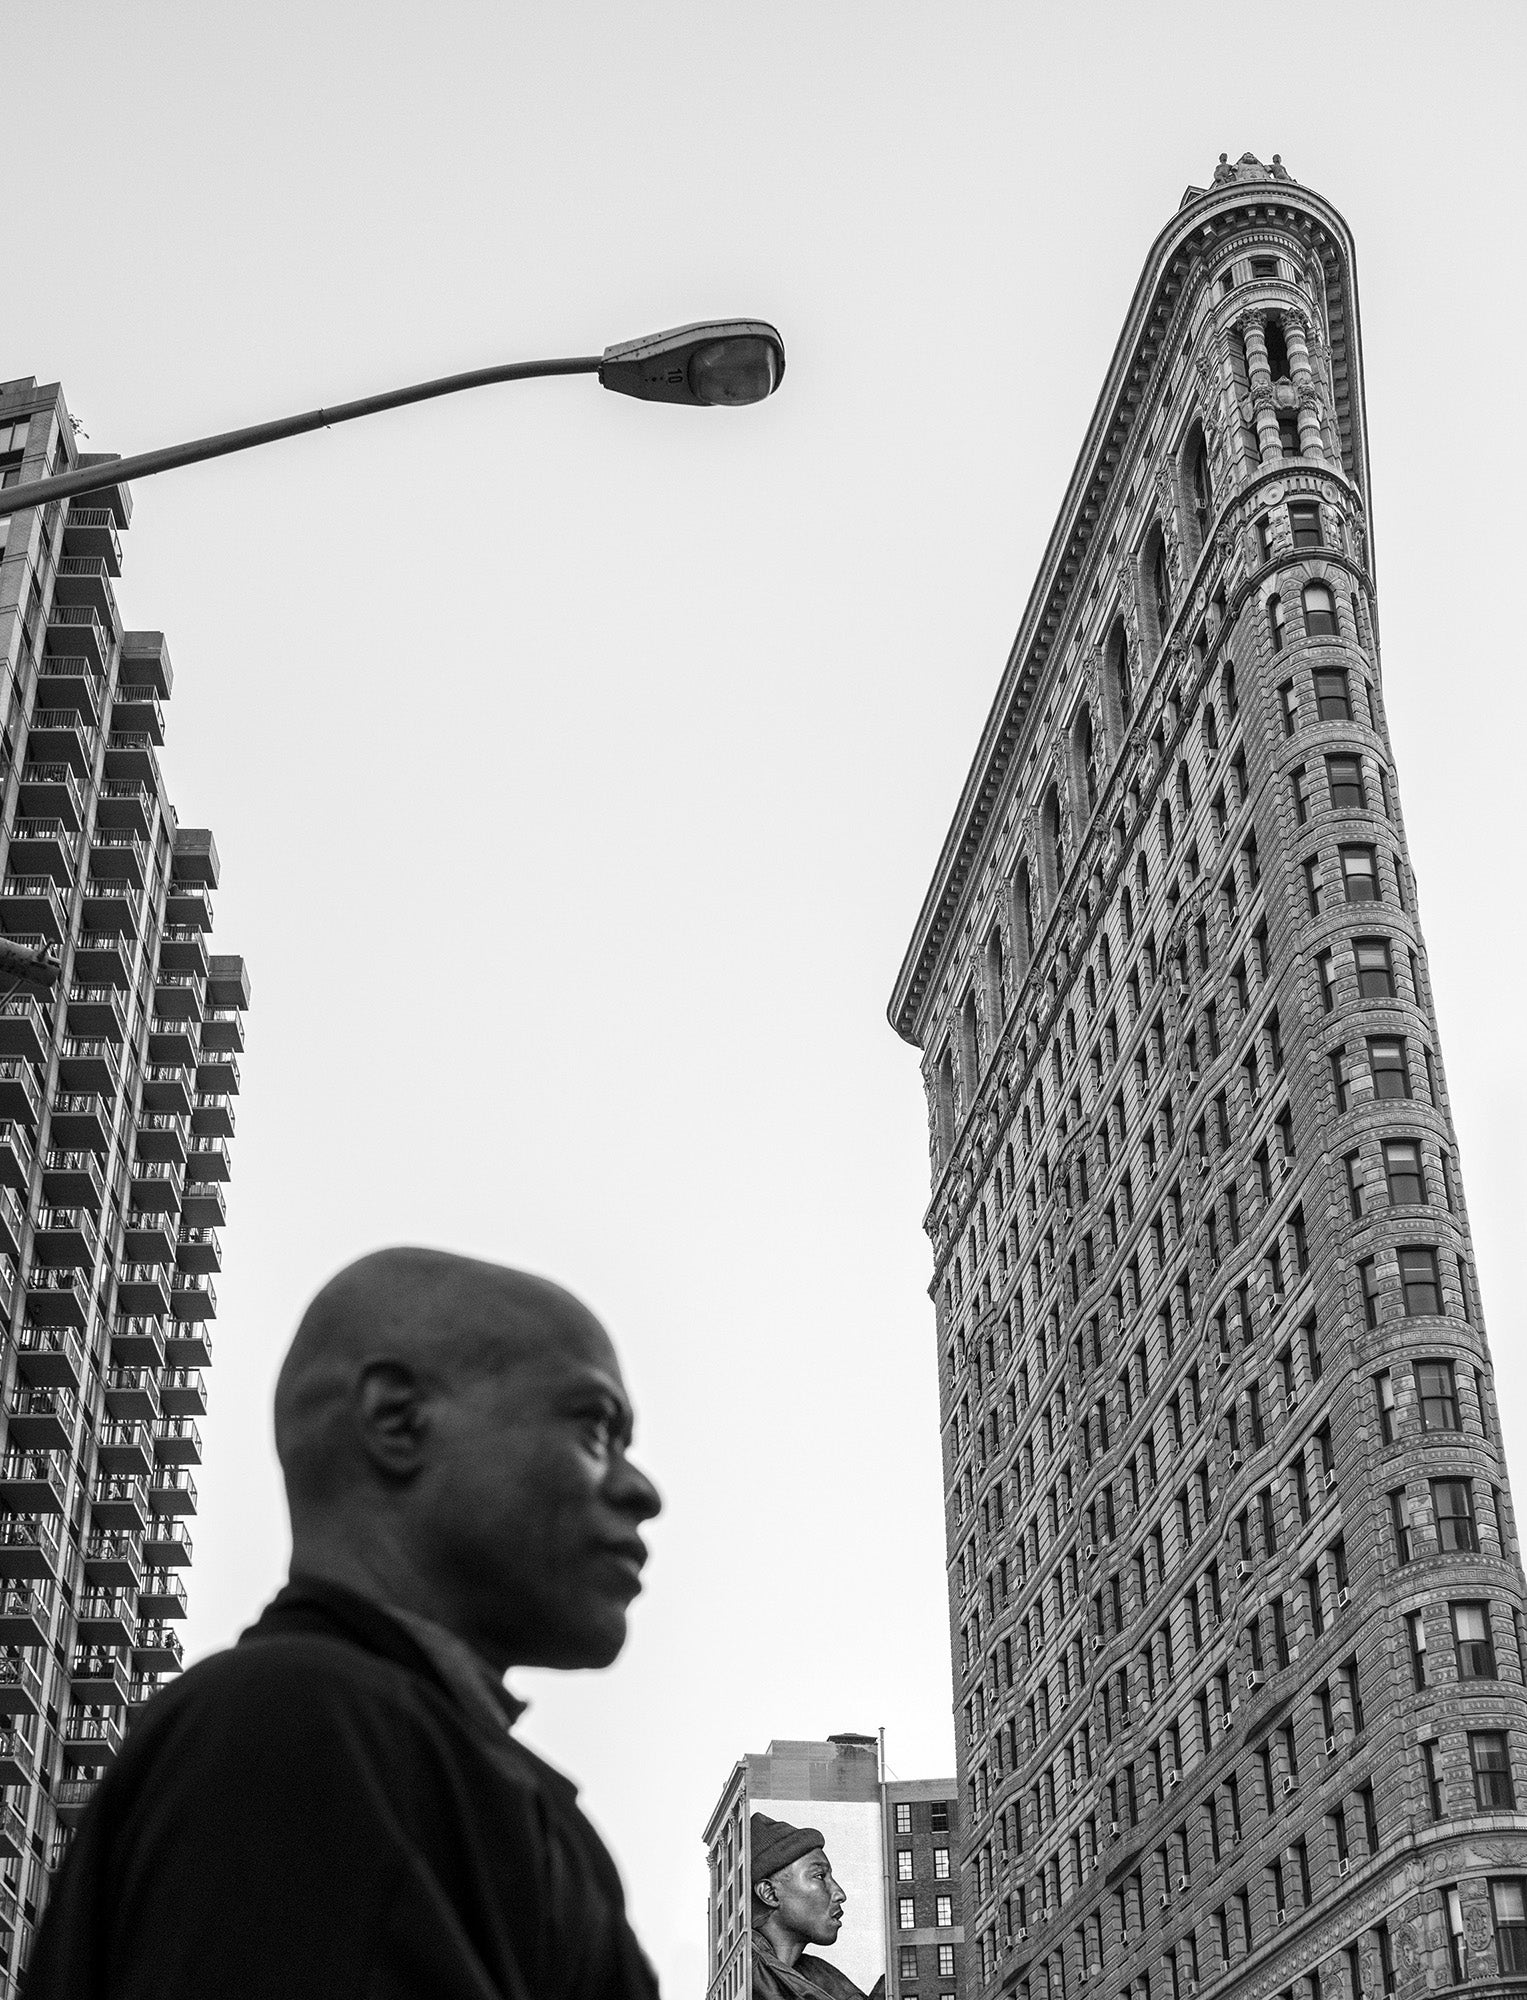
Sony RX1R II. 1/60-sec., f/5.6, ISO 800
Eye AF
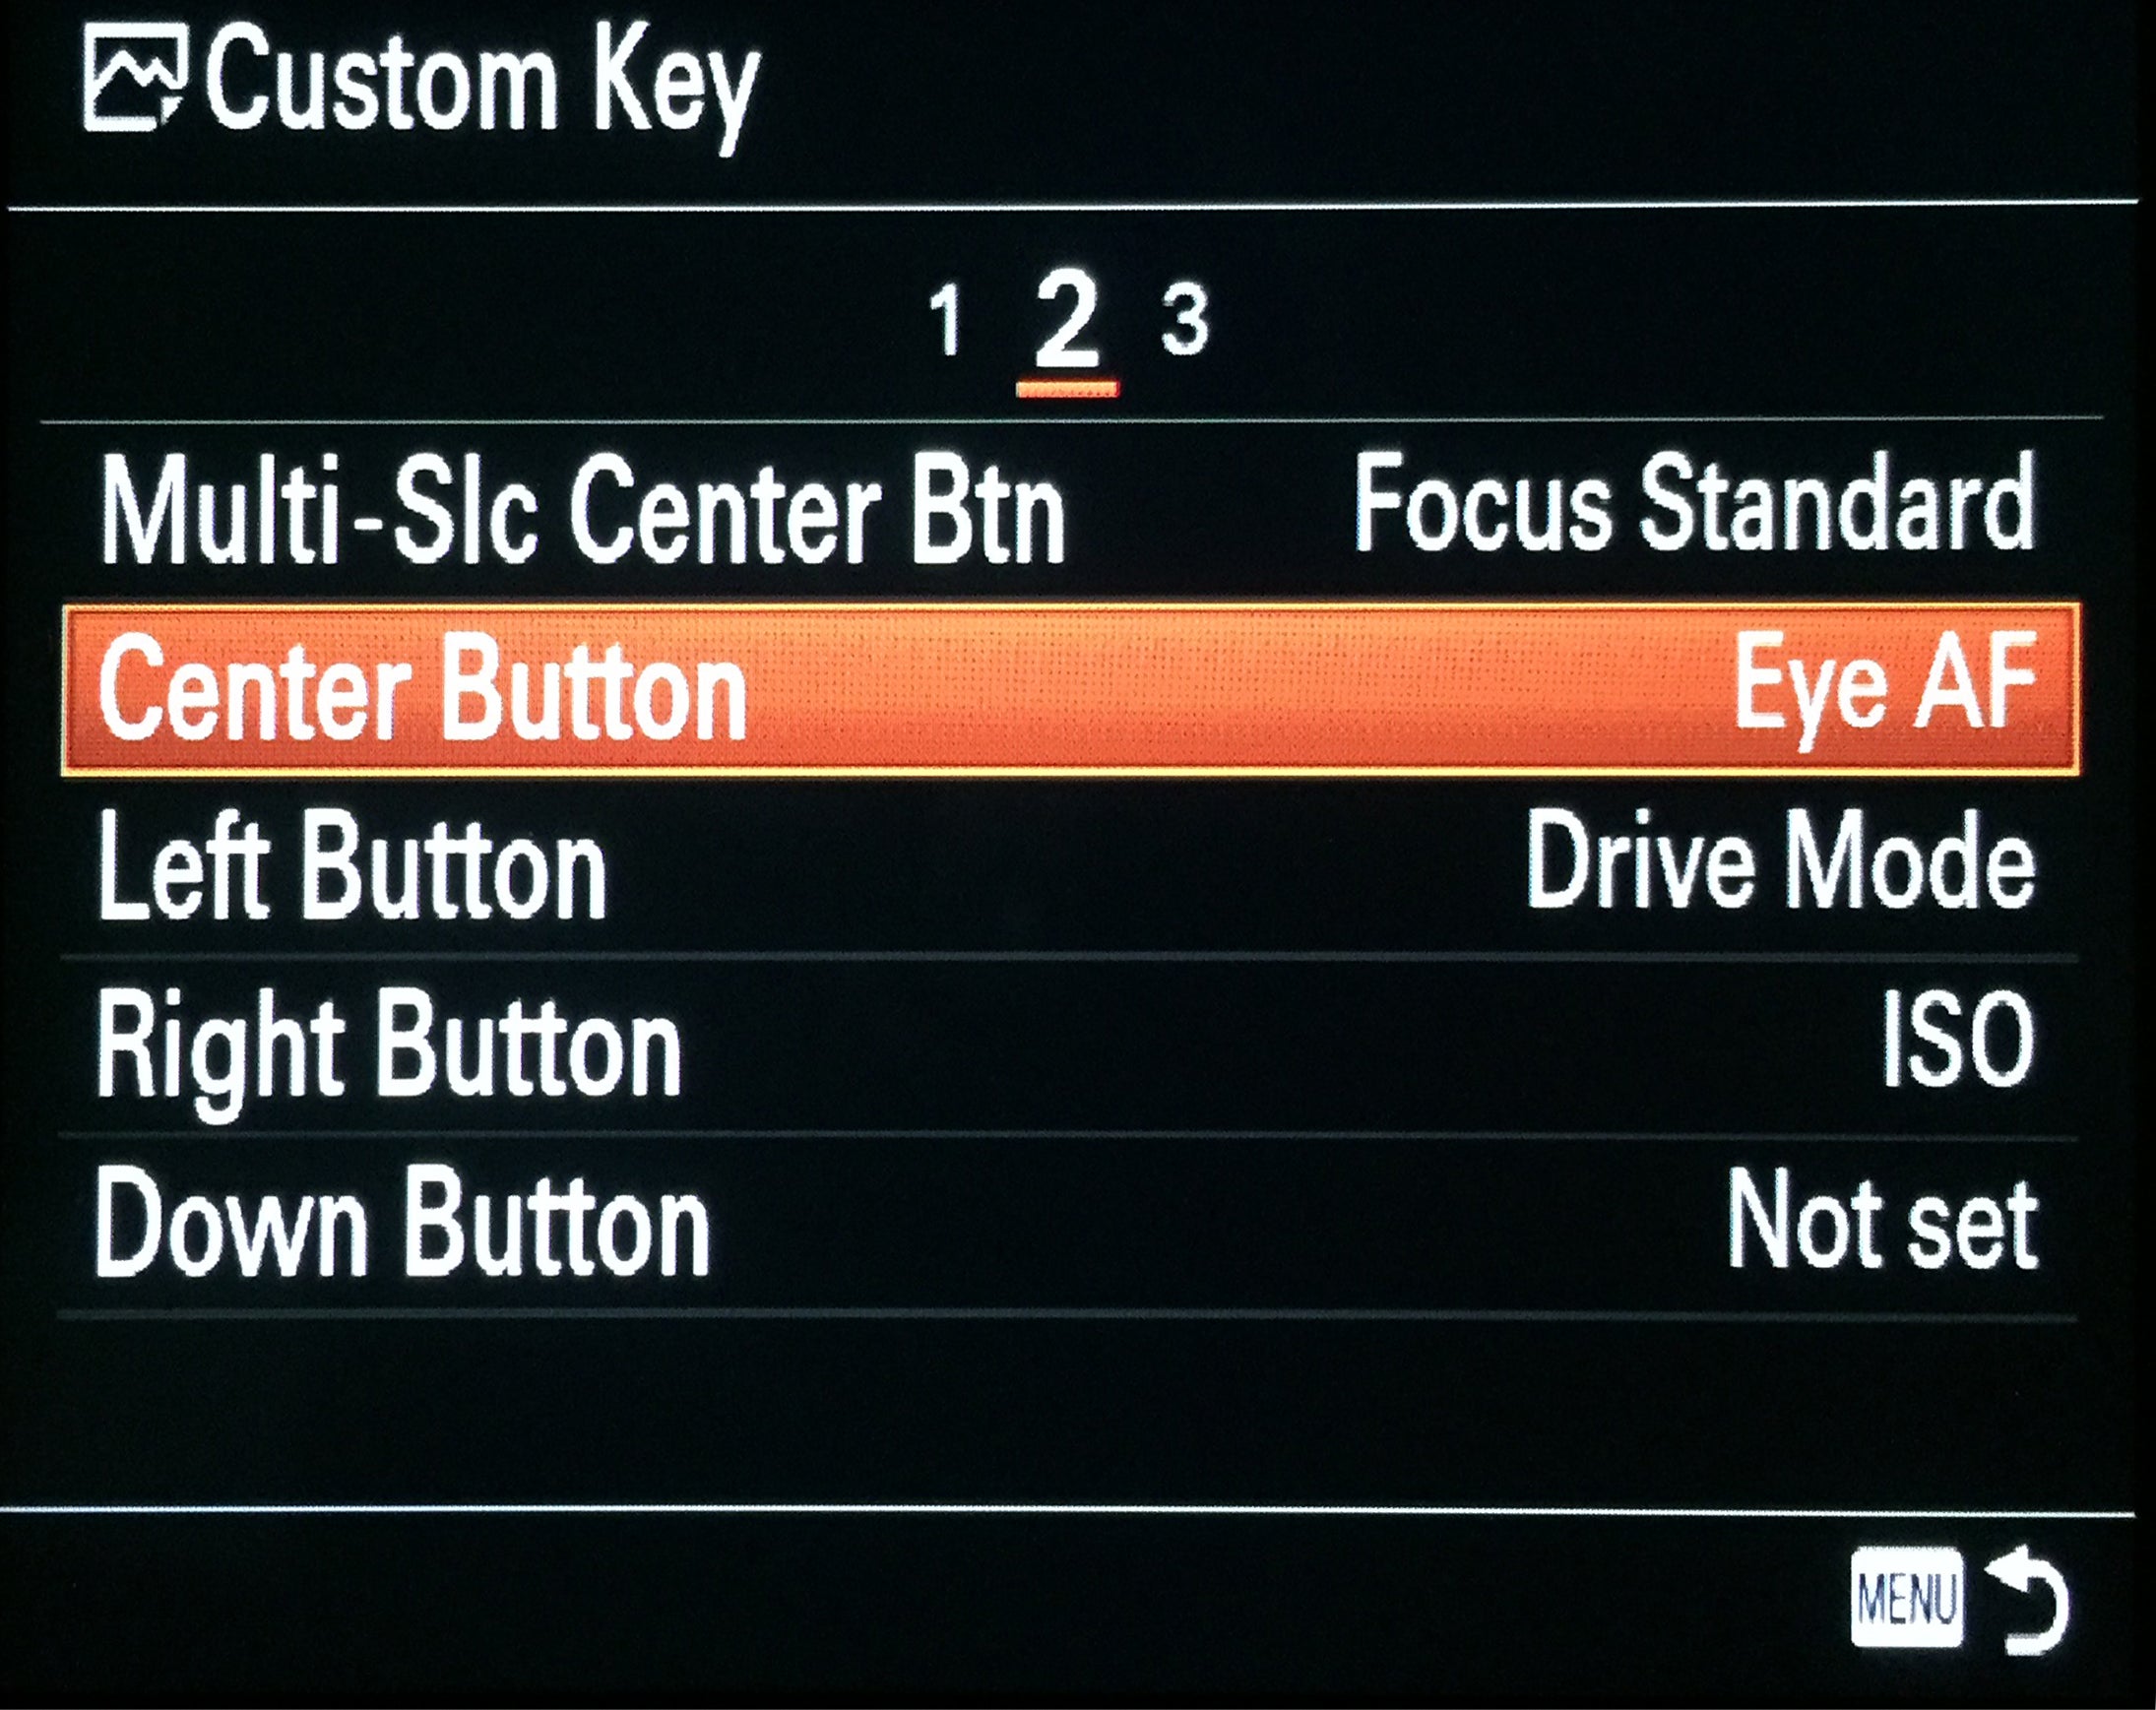
I use Eye AF all the time for all type of portraits and for me it might the best feature of Sony mirrorless cameras for photographing people in general and for street photography in particular. For street shooting, I have my cameras set for it on the Center Button. This puts Eye AF where I can get to it fast without looking or taking my eye from the viewfinder. Some photographers set Eye AF to the lens button which is also a great place, but because I sometimes shoot with a lens that doesn't have a button, I have it on the Center Button.
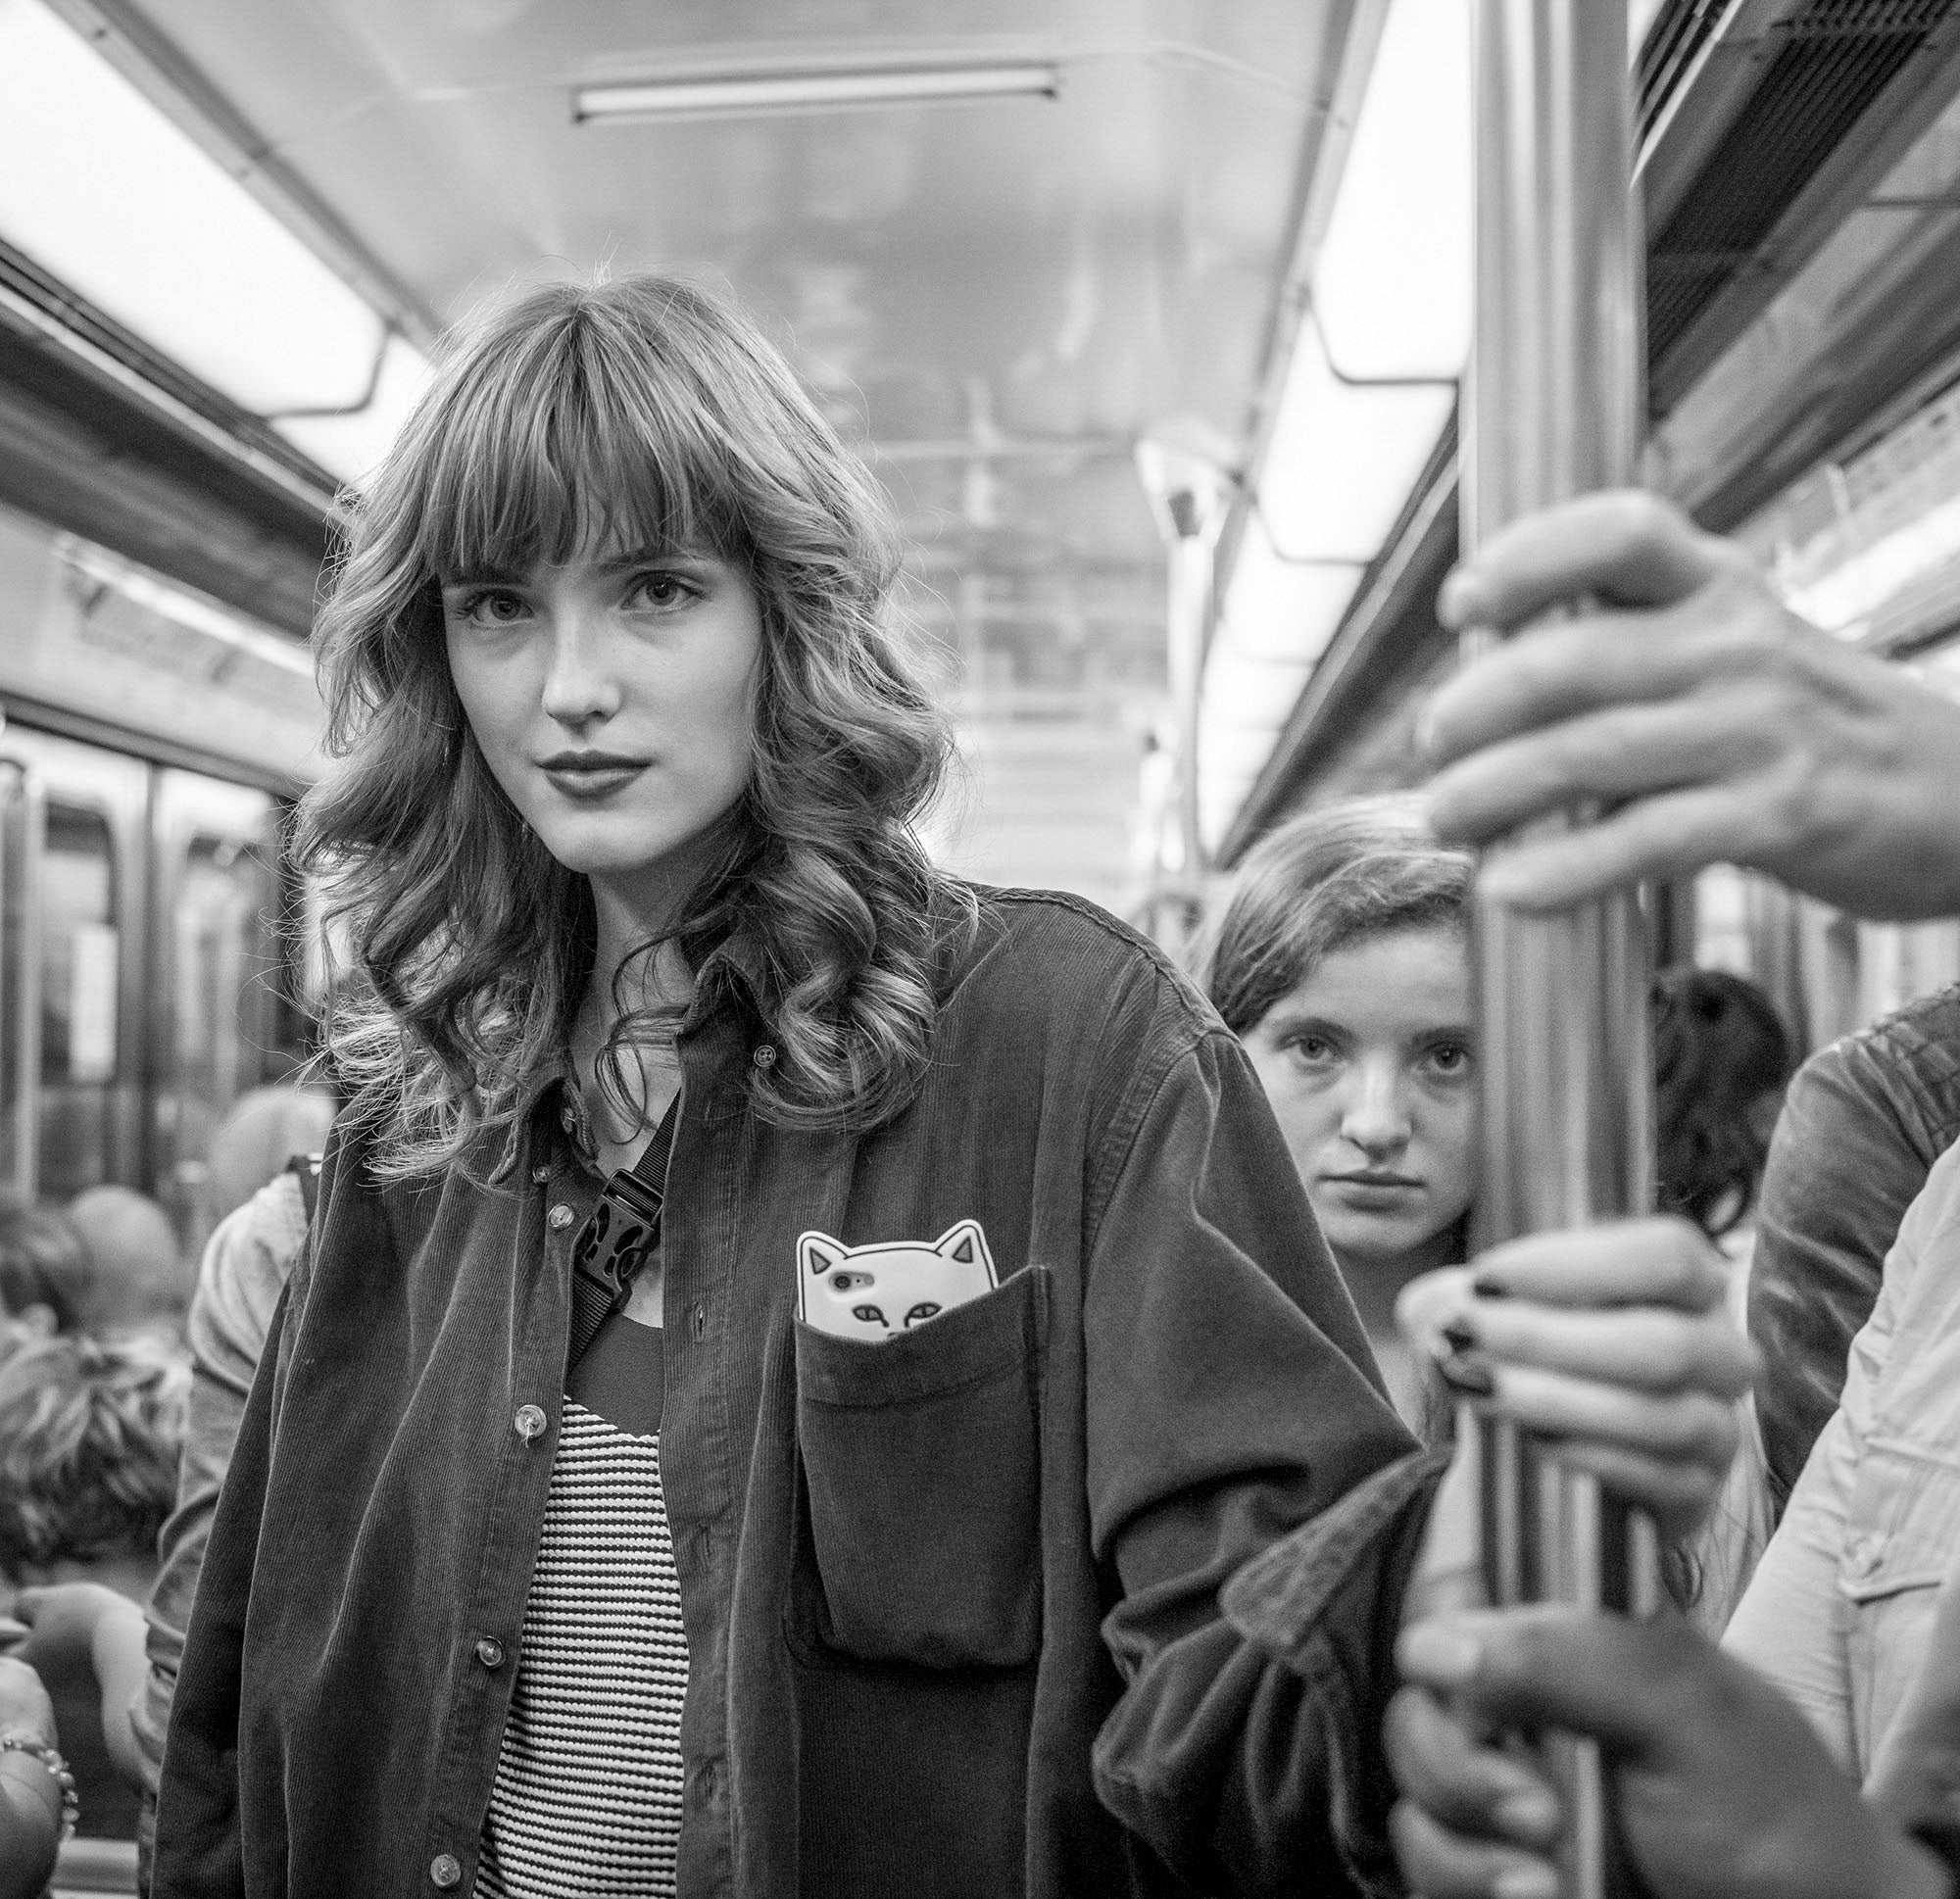
Sony RX1R II. 1/320-sec., f/2.8, ISO 2000
Live View Display
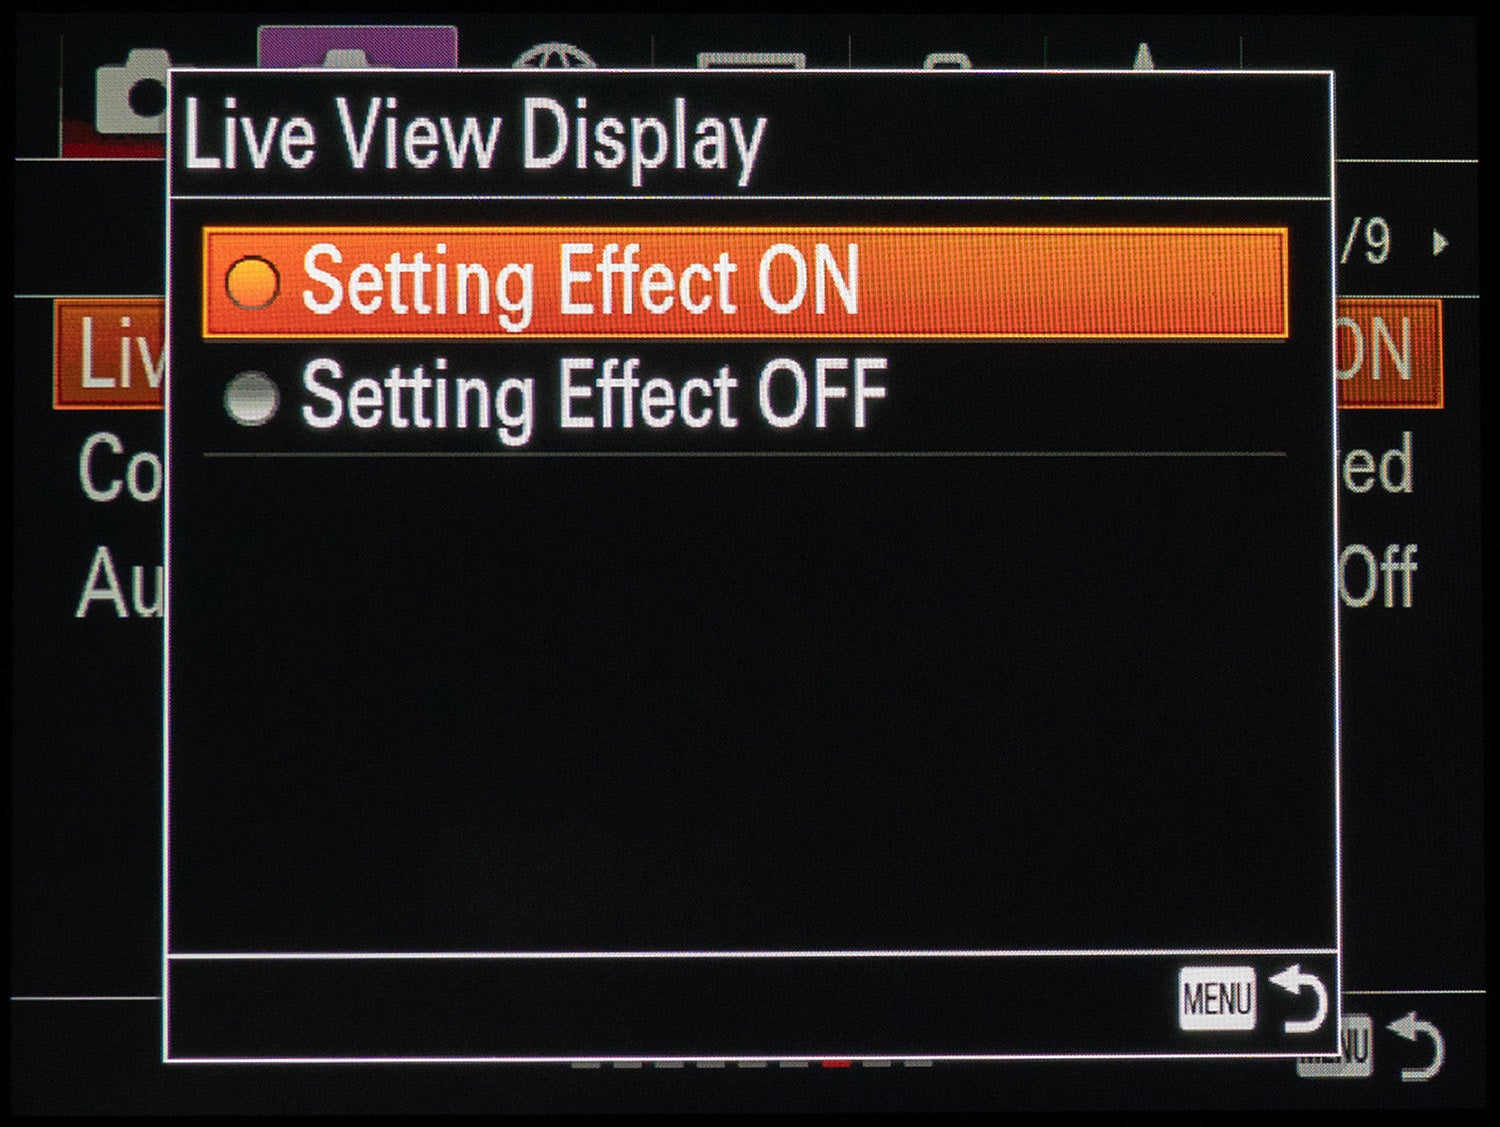
What’s nice about Sony’s electronic viewfinder is that what you see, is what you get. Any of the settings that you apply to your camera can be communicated to the viewfinder so you are able make adjustments on the spot. In order to see any changes made to my exposure or settings through the electronic viewfinder, I always make sure that I have my Live View Display Setting Effect ON. If I’m out on the streets and notice an image is going to be too light or too dark, I can compensate for that by adjusting my settings and those changes will show through my viewfinder in real time. With the electronic viewfinder being a direct readout from the sensor, I’m ensured that I’m getting the exact shot I want.
Creative Style
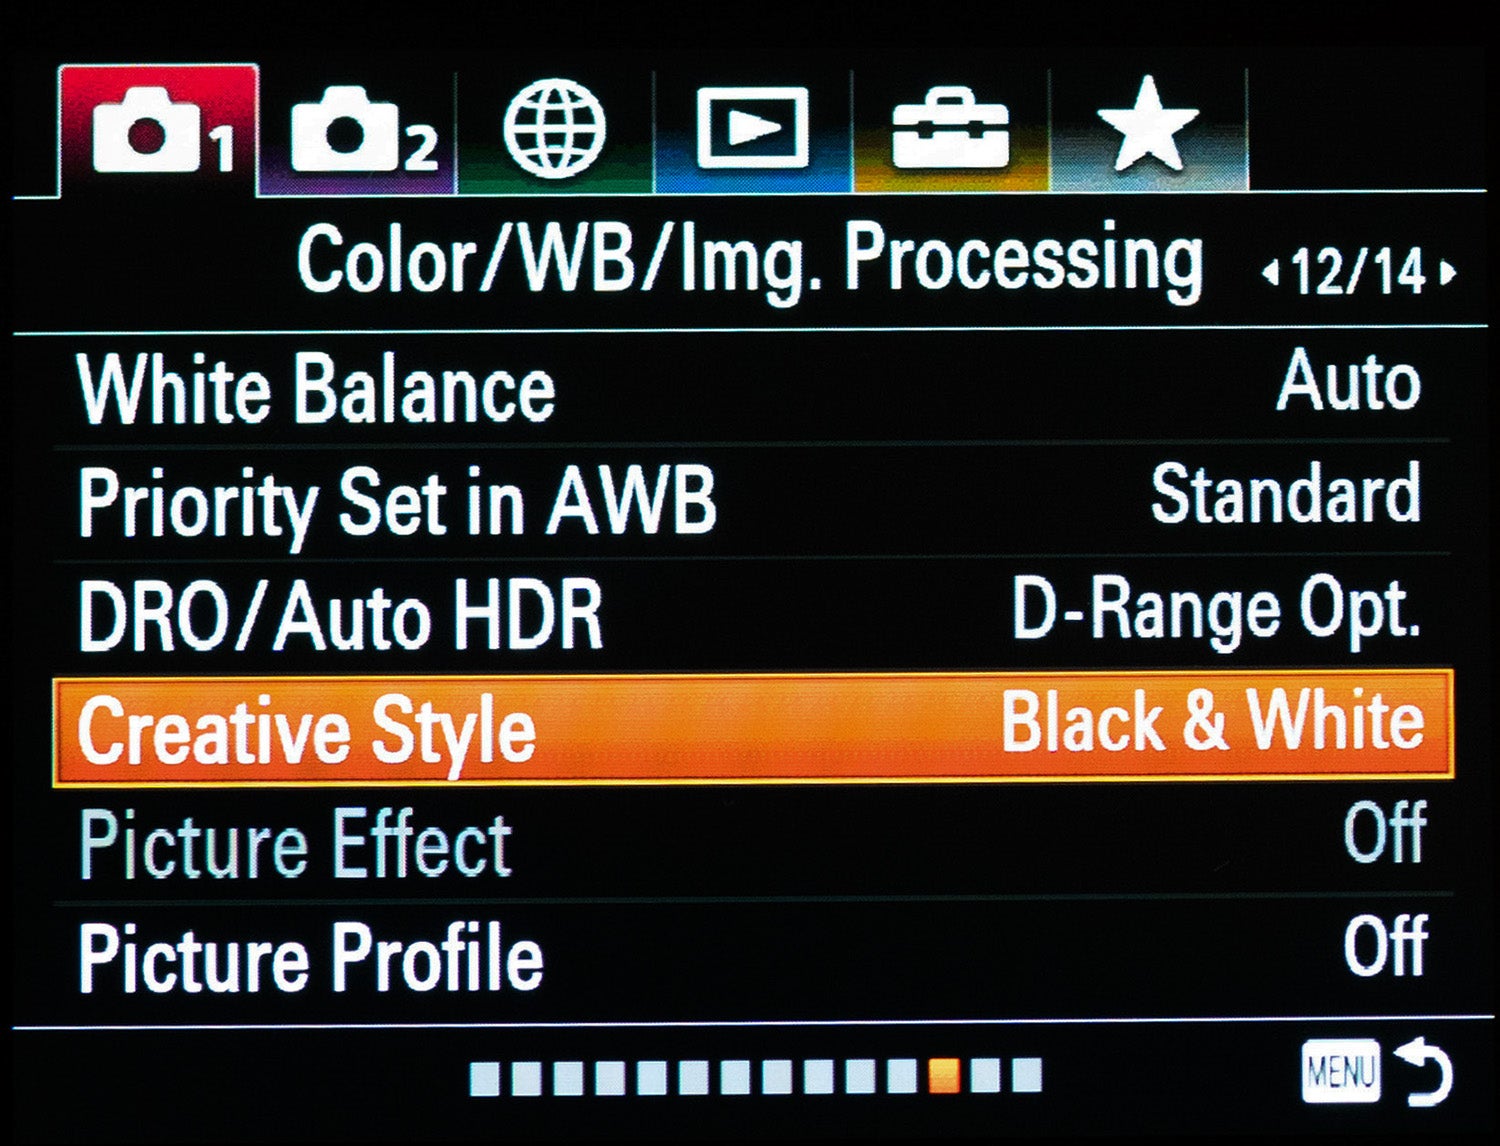
Another setting the viewfinder will show is your Creative Style. You can choose to have your photos in styles like sepia or black and white, and that’s exactly how you’ll see it through your viewfinder. For street photography, I like the look of black and white so I usually set that Creative Style which allows me to see in black and white as I shoot. I shoot RAW & JPEG so I will still have a full-color RAW file for post-processing (see more about RAW & JPEG below).
Shoot RAW & JPEG
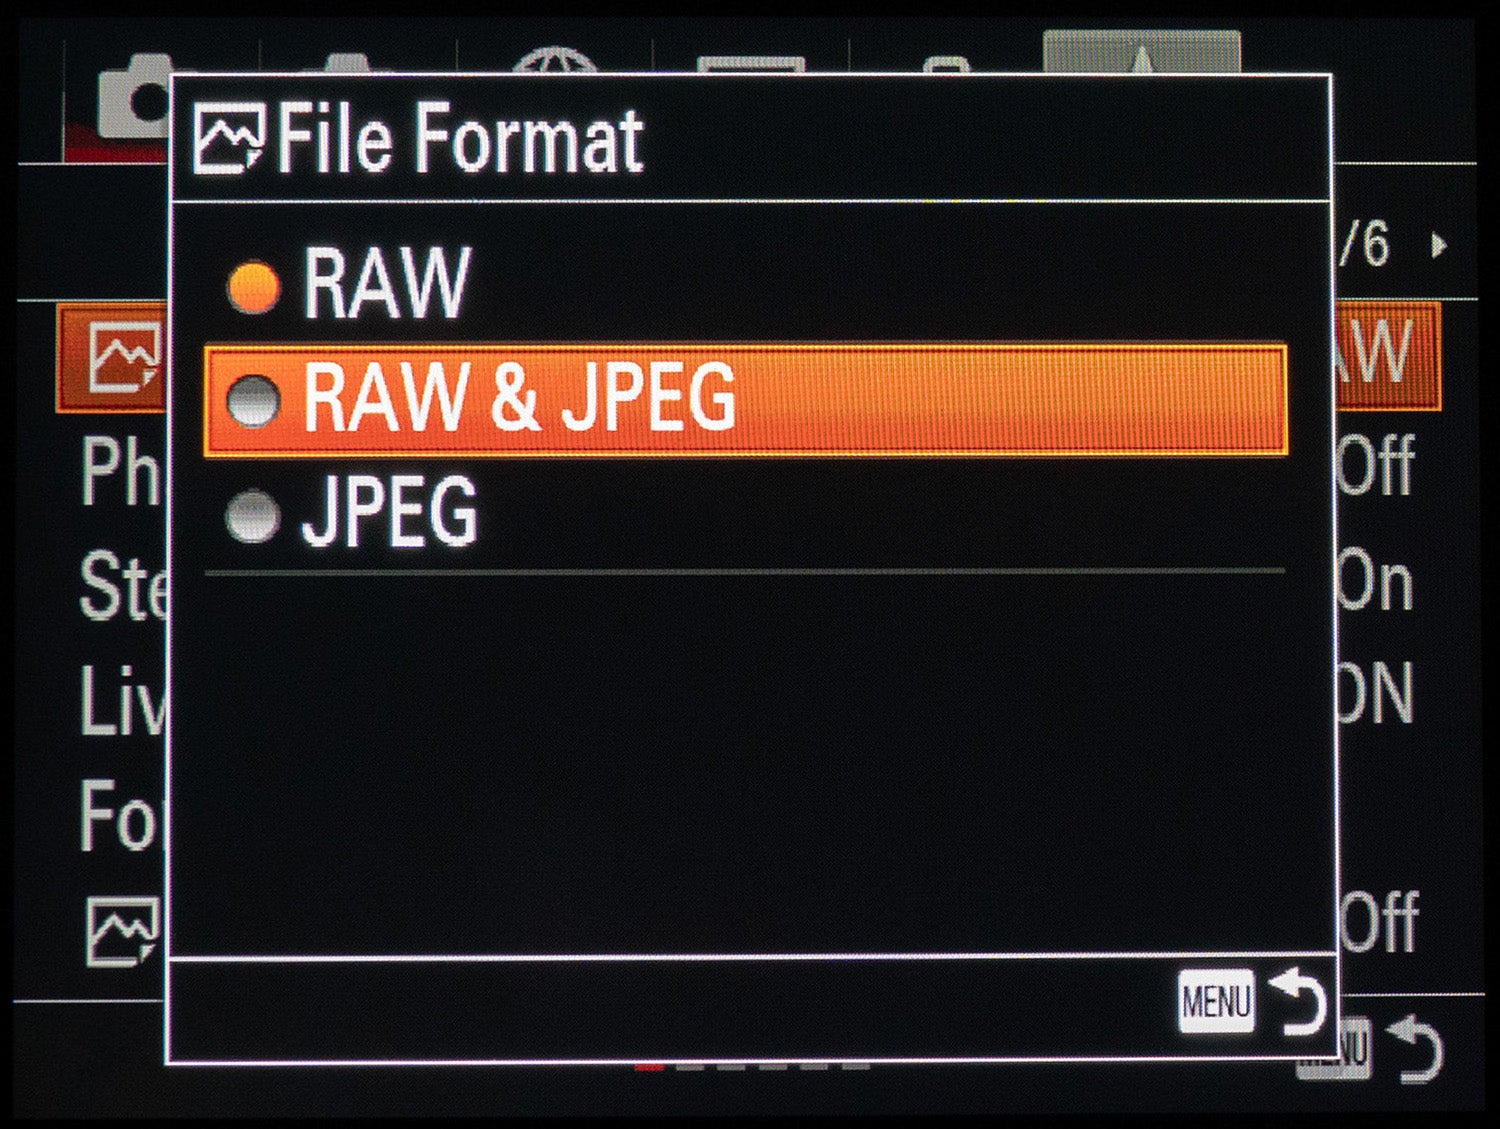
I always recommend to shoot street photography in both RAW and JPEG. When using the black and white Creative Style, the JPEGs will process with your creative style applied to it, while the RAW photo will still be in color. This way you can decide afterward if you want to go with the photo in color or in black and white. I think you’ll be impressed with the way the Sony camera processes the JPEG, and you’ll find that being able to see what it looks like as you’re shooting it makes a big difference than processing it after the fact.
RAW File Type
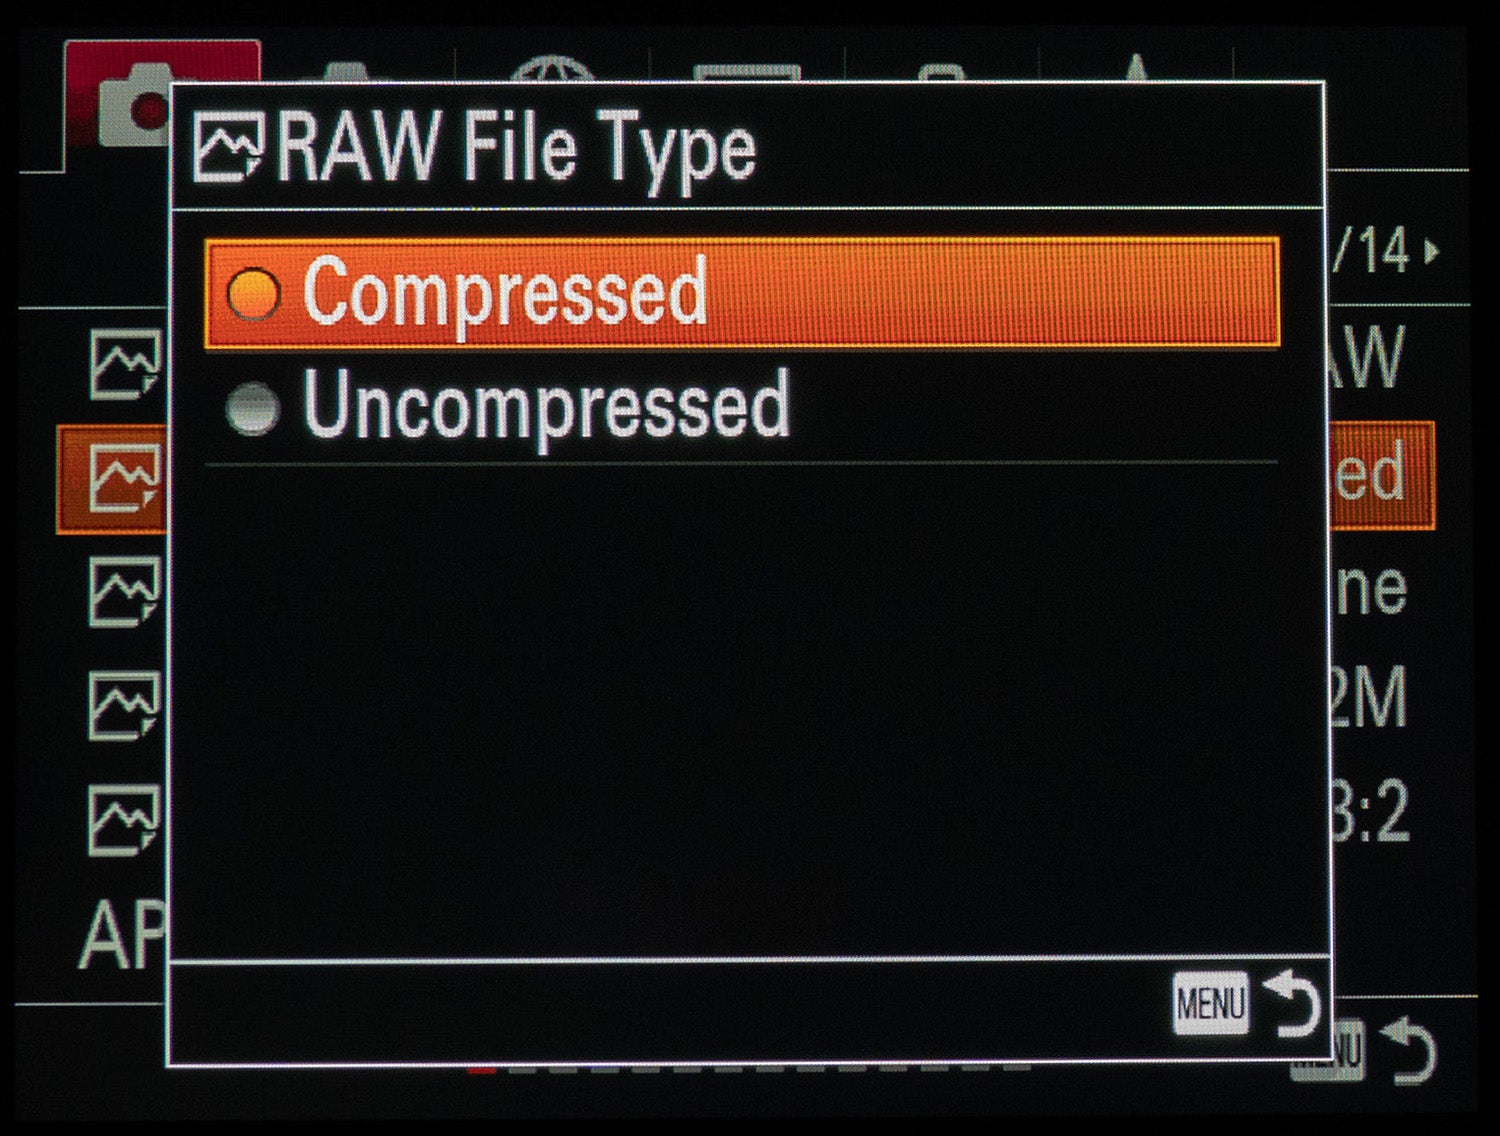
When I shoot RAW, I always shoot it compressed because I don’t really see a need for it to be uncompressed. Sometimes if I’m shooting landscapes or something I’ll change it, but even then I don’t really have a problem with keeping it compressed.
JPEG Quality
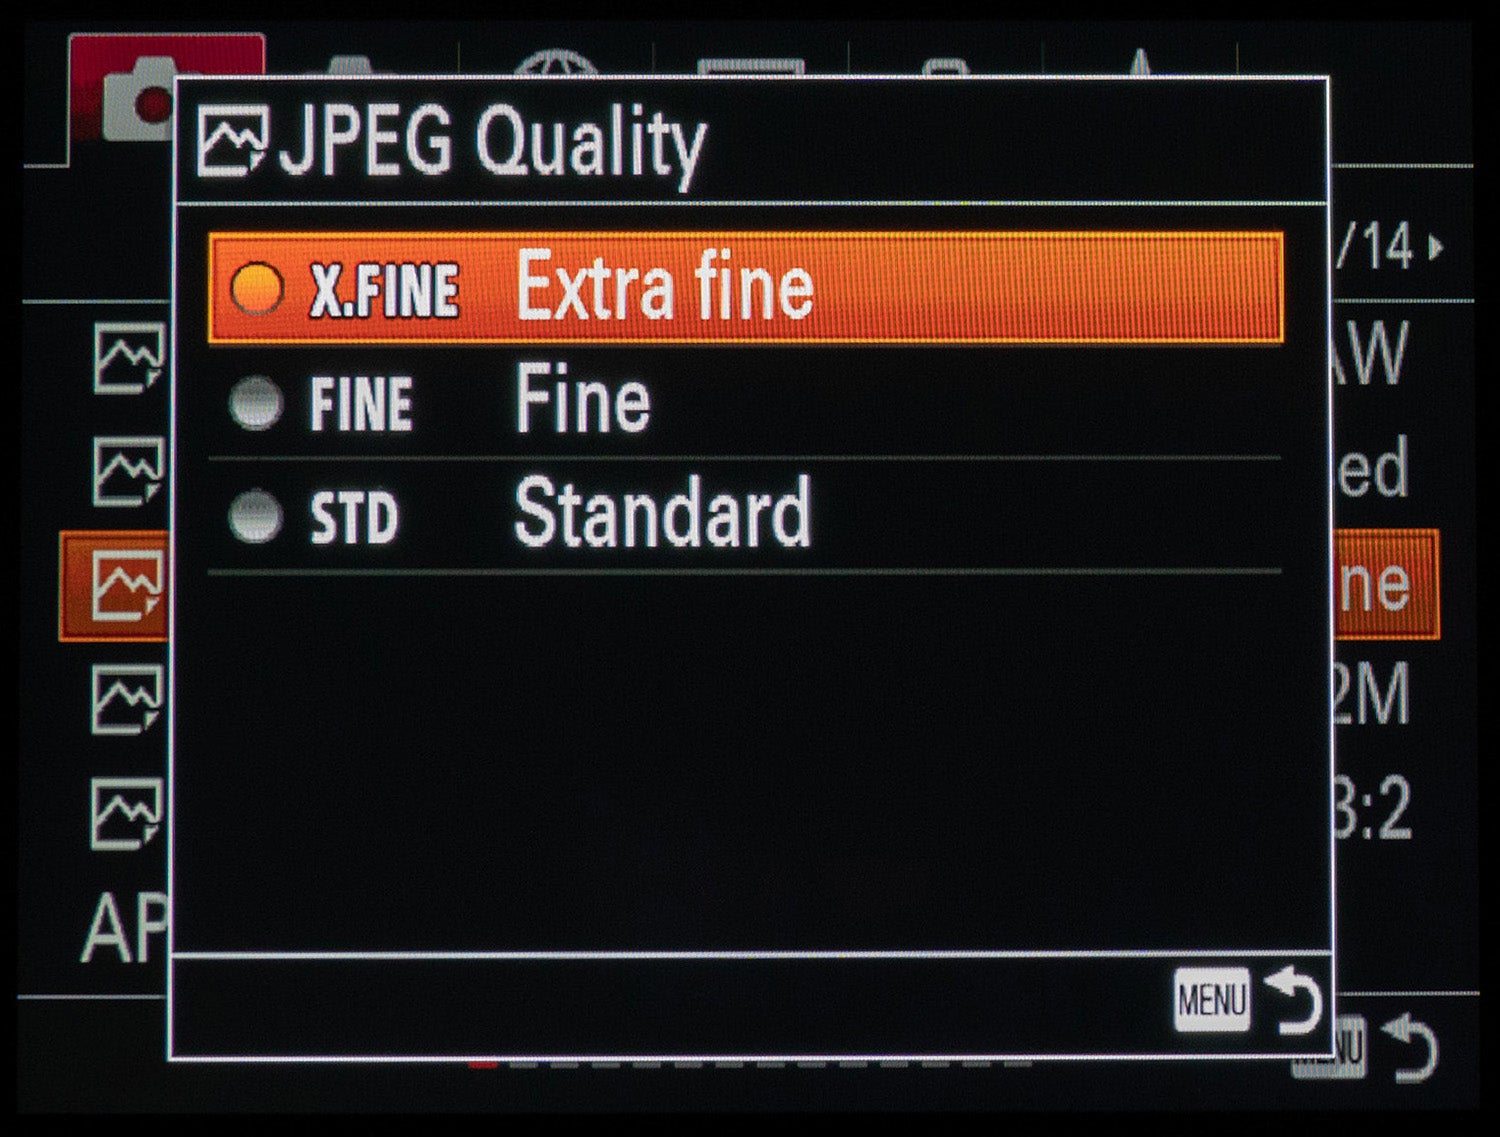
I set the JPEG Quality to Extra Fine. With this setting, the image is compressed in the JPEG format and recorded using a higher quality.
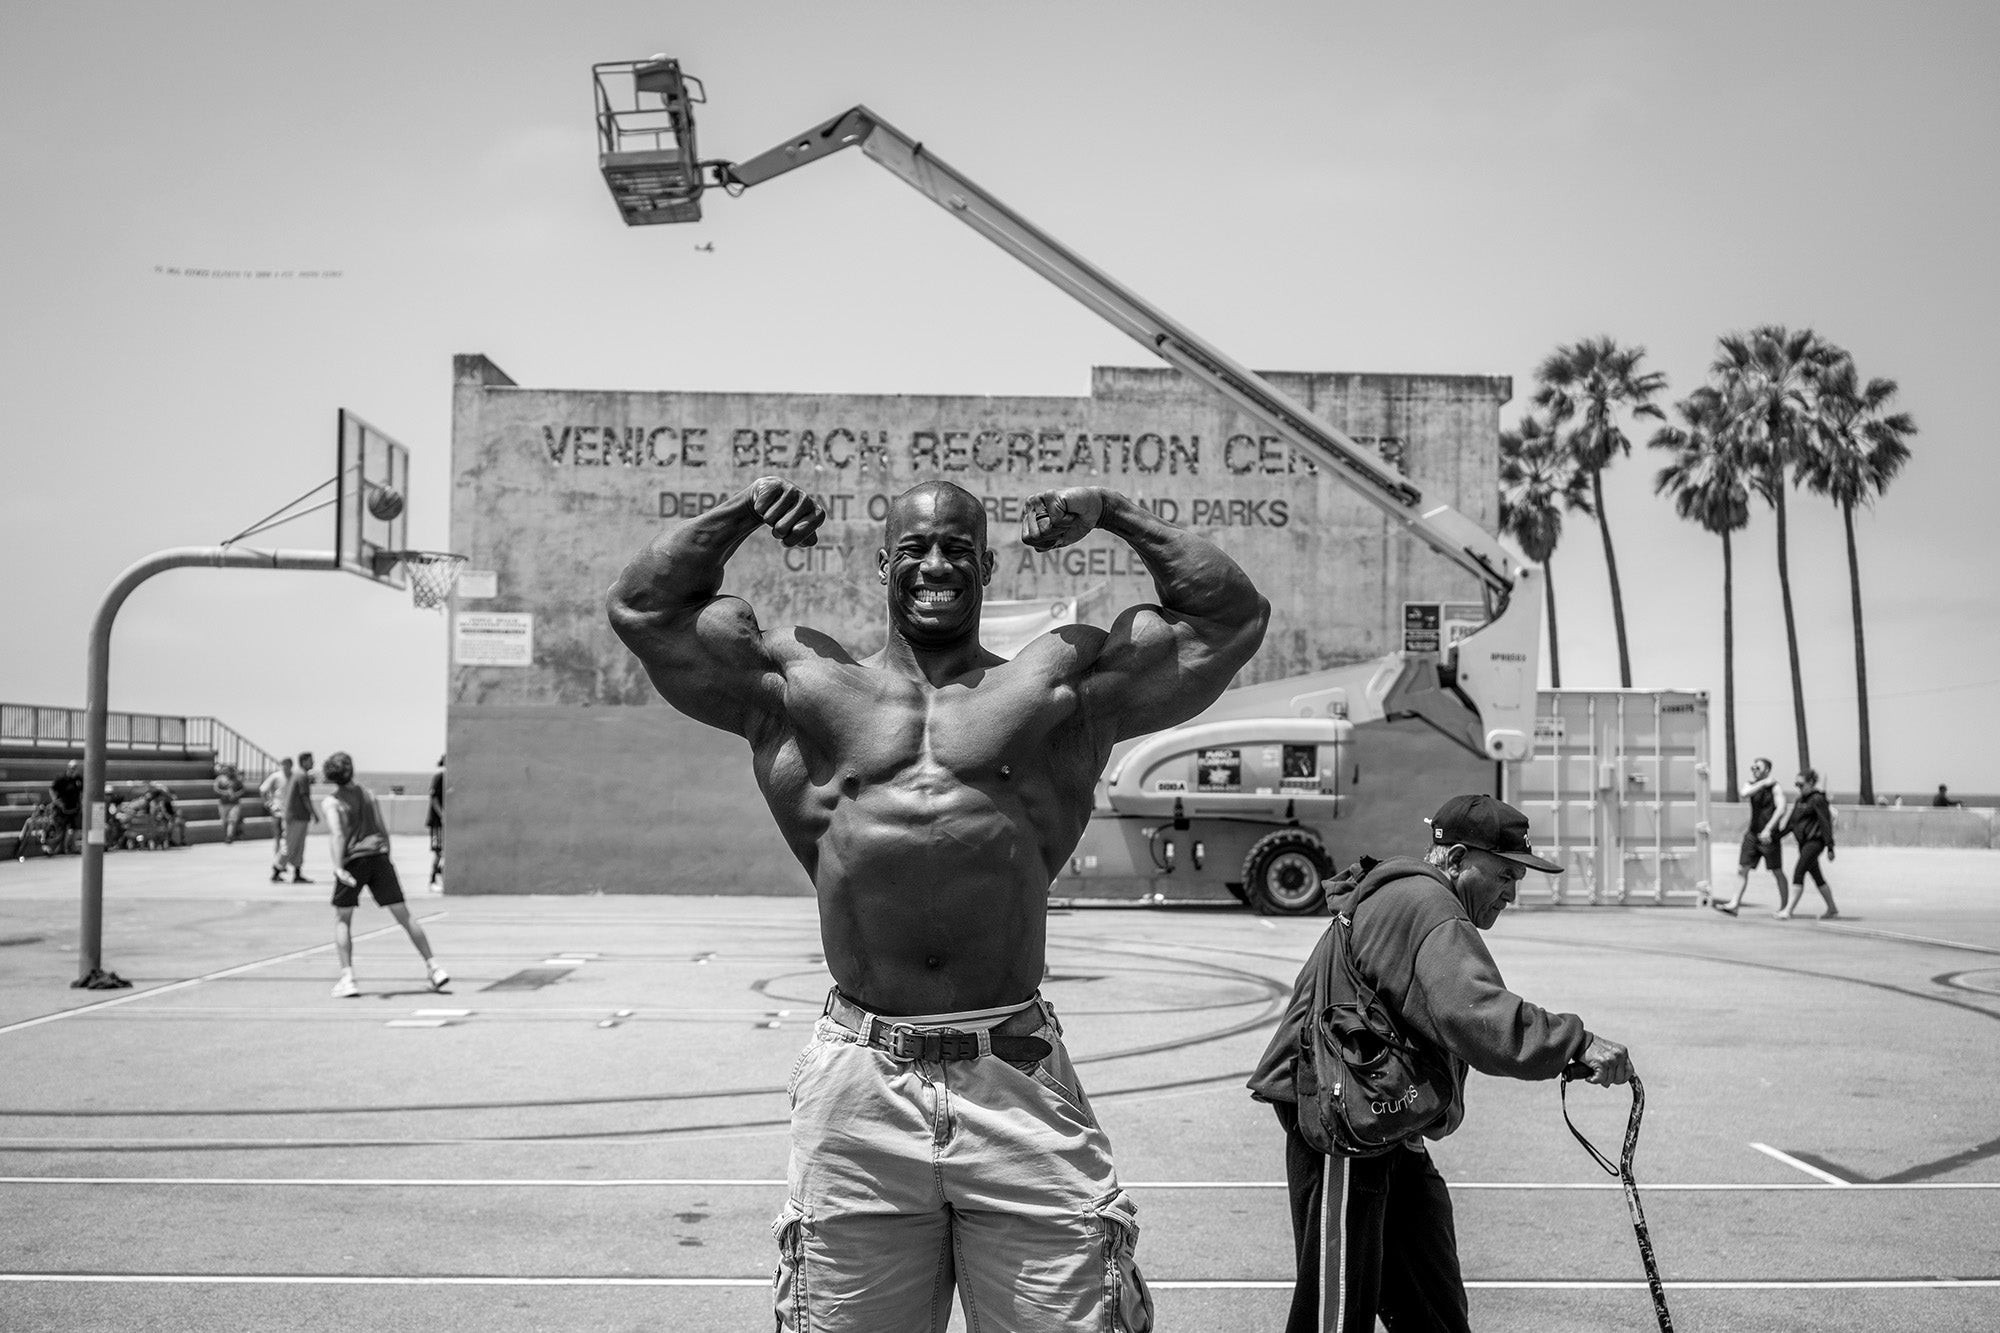
Sony α7R III. Sony FE Sonnar T* 35mm f/2.8 lens. 1/2500-sec., f/4, ISO 100
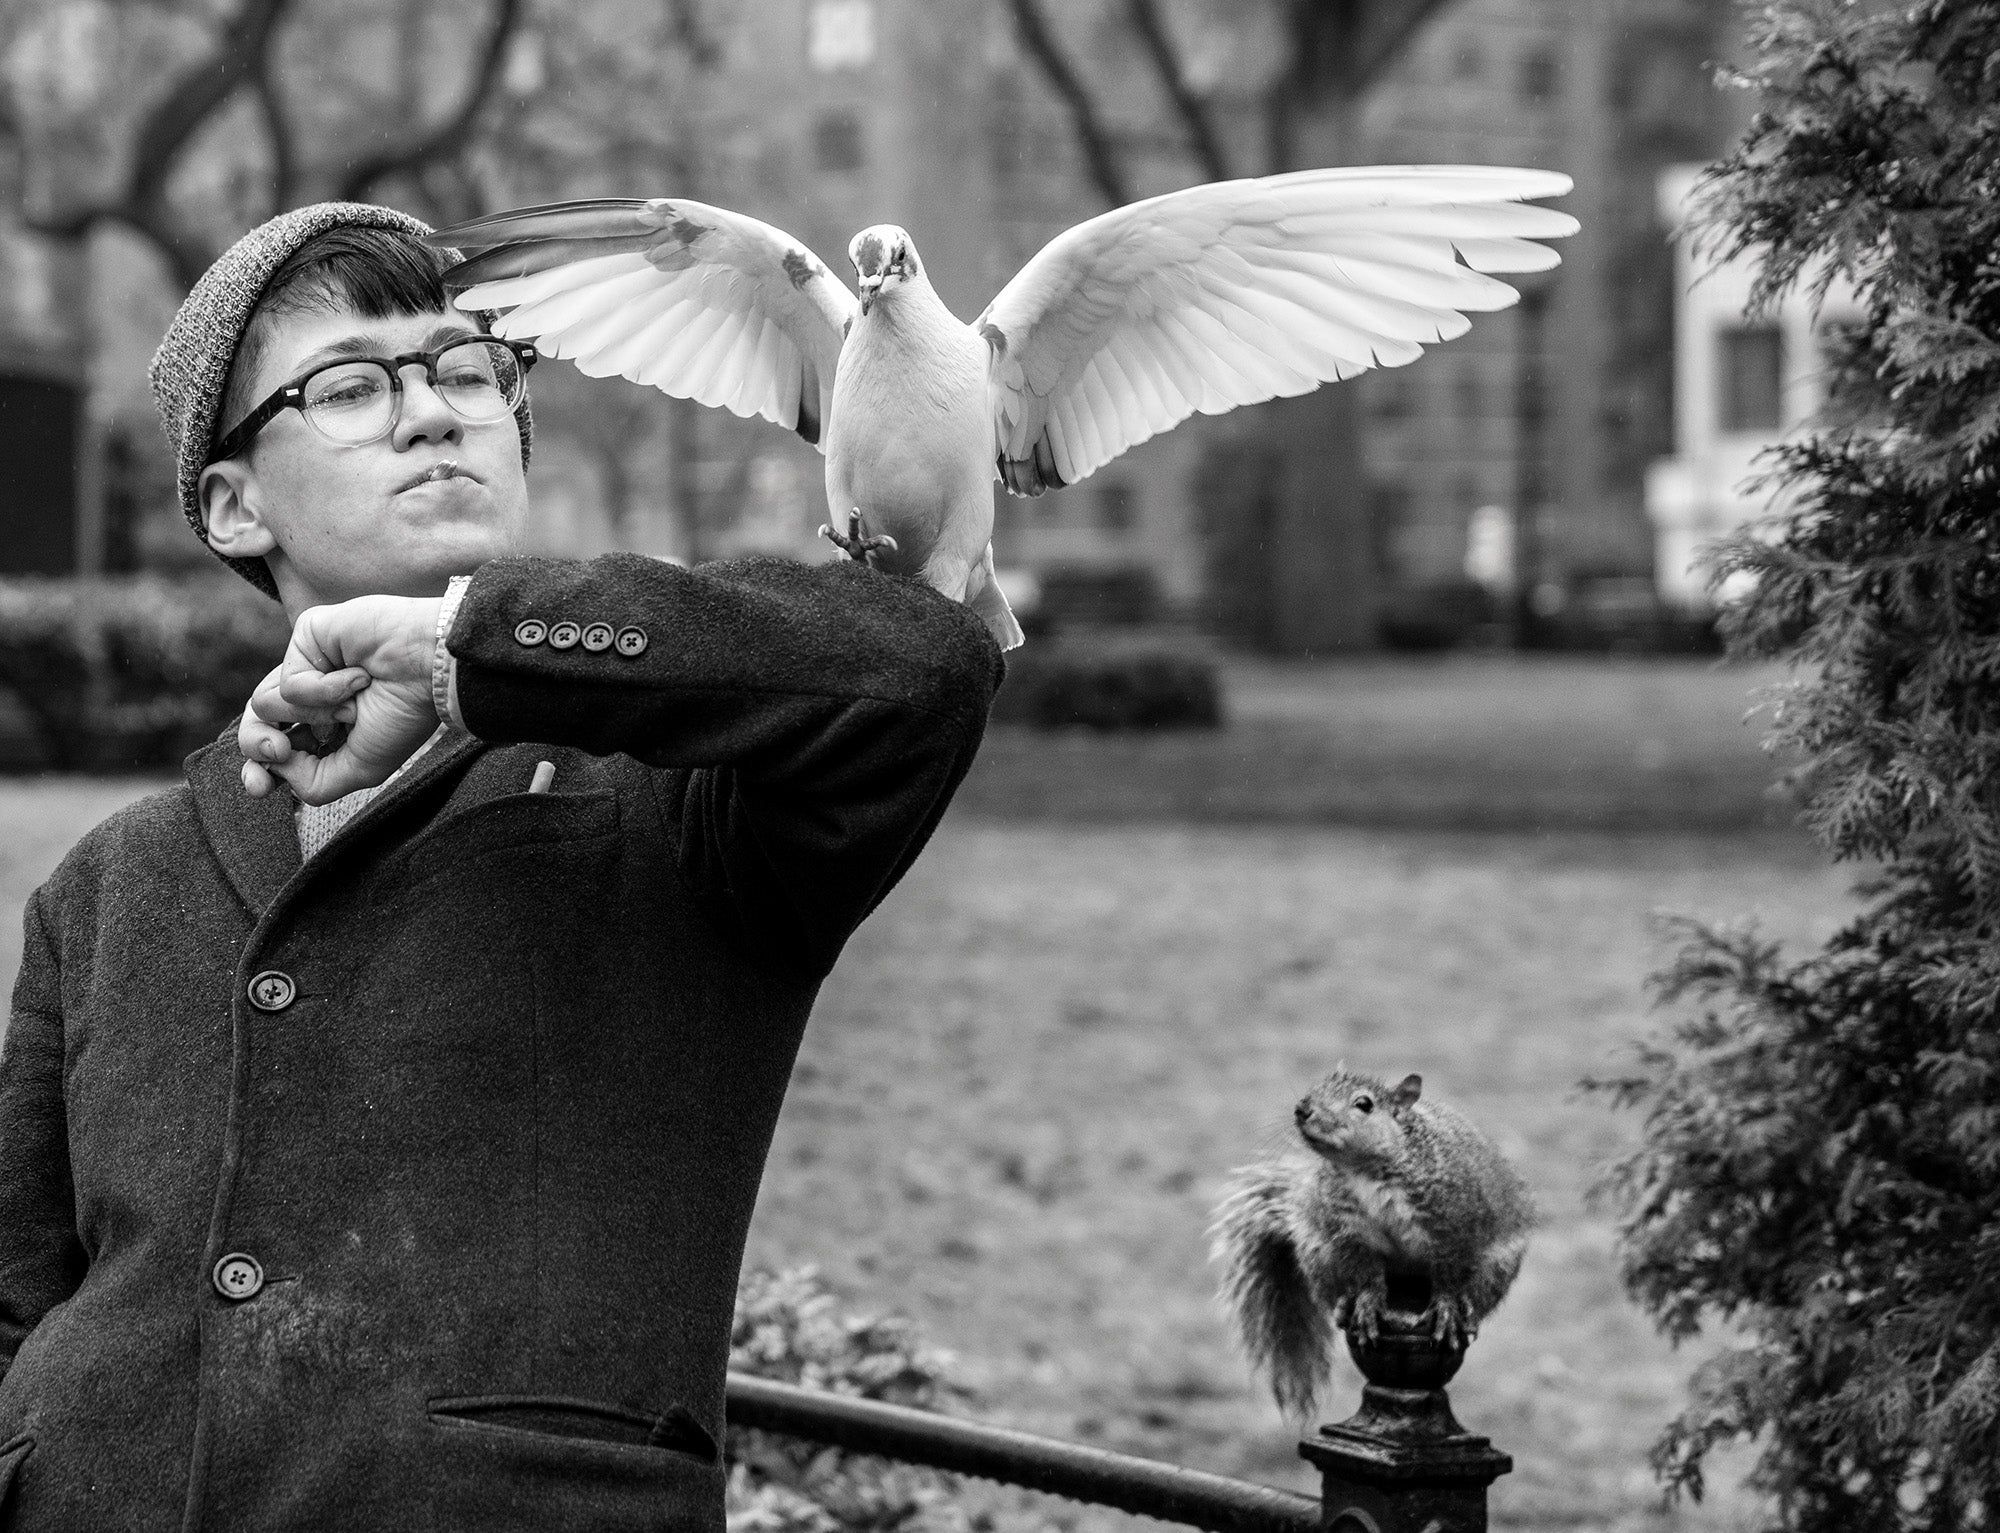
Sony α7R III. Sony FE 24-70mm f/2.8 G Master lens. 1/640-sec., f/3.5, ISO 640

