Editor's Note: Be forewarned, converting a camera to infrared isn't for everyone and typically voids the manufacturer's warranty. That said, if you have an old camera that you're not using or if you're thinking about moving from your α6000 to an α6300 like Don Smith did, instead of listing on eBay, consider the IR conversion to give yourself a dedicated IR camera that you can have some fun with.
I have finally gotten my first camera converted to infrared by Life Pixels – my Sony α6000 – and I can already see that I am going to have a blast! I own the Sony α6300 and found I was simply not using the α6000. The conversion costs $275.00.
Life Pixels offers digital infrared camera conversion service. You have the choice of 5 IR filters, along with a UV-Vis-IR full spectrum filter, H-alpha Astro filter & UV ultraviolet filter.
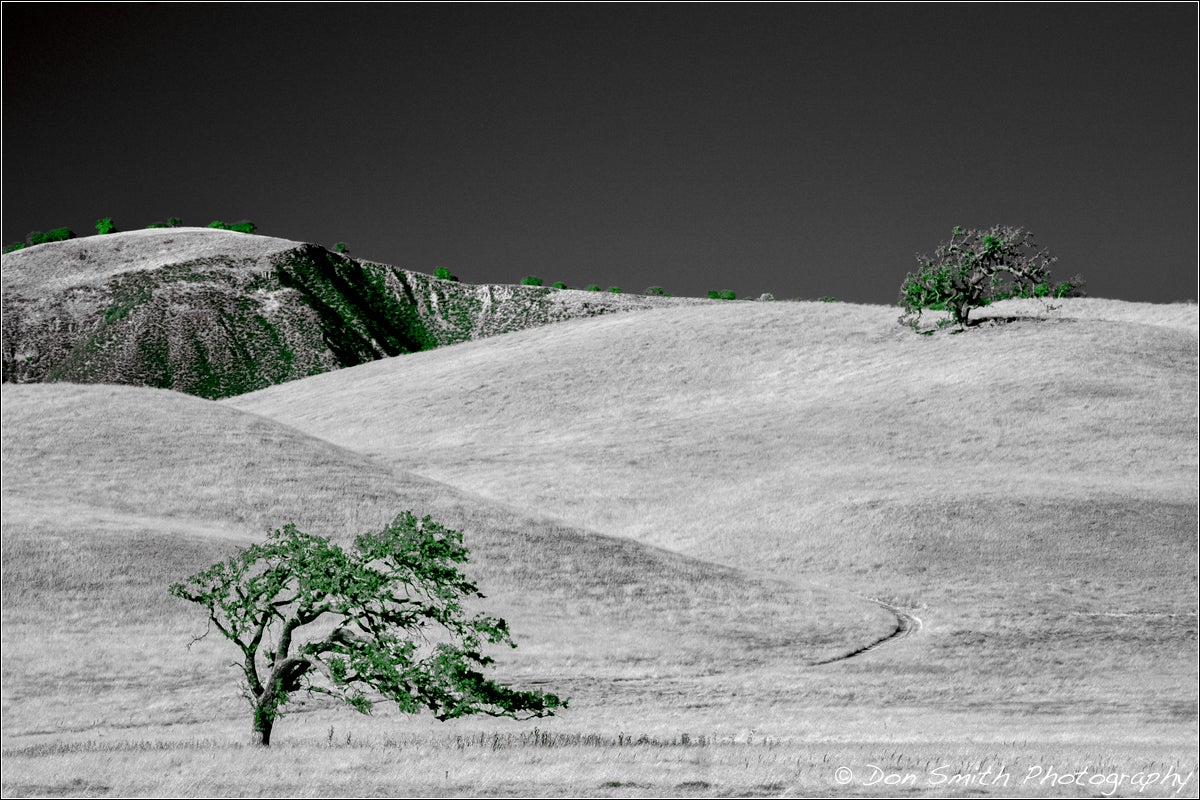
I opted for Super Color IR that allows me to mask in what I want in color and what I don’t. This image (above) is an amalgamation of various layers, masks, Channel swapping, Hue and Saturation adjustment and masks created by Color Range in Photoshop. I also ran the image through the following third-party filters: Perfectly Clear, On1 Photo 10.5 and MacPhun to stylize the look even more.

Oaks along Highway 25, San Benito County, California. Sony α6000 (converted to infrared), Sony 70-200mm f/4, 1/500-sec., f/6, ISO 100.
Essentially, when a camera is converted to infrared, the infrared blocking filter is removed and an infrared passing filter is inserted. A standard IR conversion would have meant black-and-white IR only – we have come a long ways! By adding a Super Color IR filter, I now have far more creative options to play with.
Mirrorless cameras are far easier to work with than standard DSLR’s because you can see what the camera’s sensor will record. I set my White Balance to 2500K and got a good idea of what the image will look like converted to straight black-and-white. If I left my White Balance set to my standard AWB setting, or even Daylight, the image looks red.
In the opening image is an oak that I have always loved but have never captured a color image that I liked in the past. That all changed this past Sunday as I was driving home from Pinnacles National Park on Highway 25 in San Benito County.
NOTE: You may be questioning my ISO and aperture choice but I had to stop quickly along the Highway and handhold out my window. I wanted my settings to capture a sunstar, thus I opted to put the camera in Aperture Priority and these are the settings the camera selected. I was using Auto ISO. The sunstar image never materialized but I just kept on clicking.

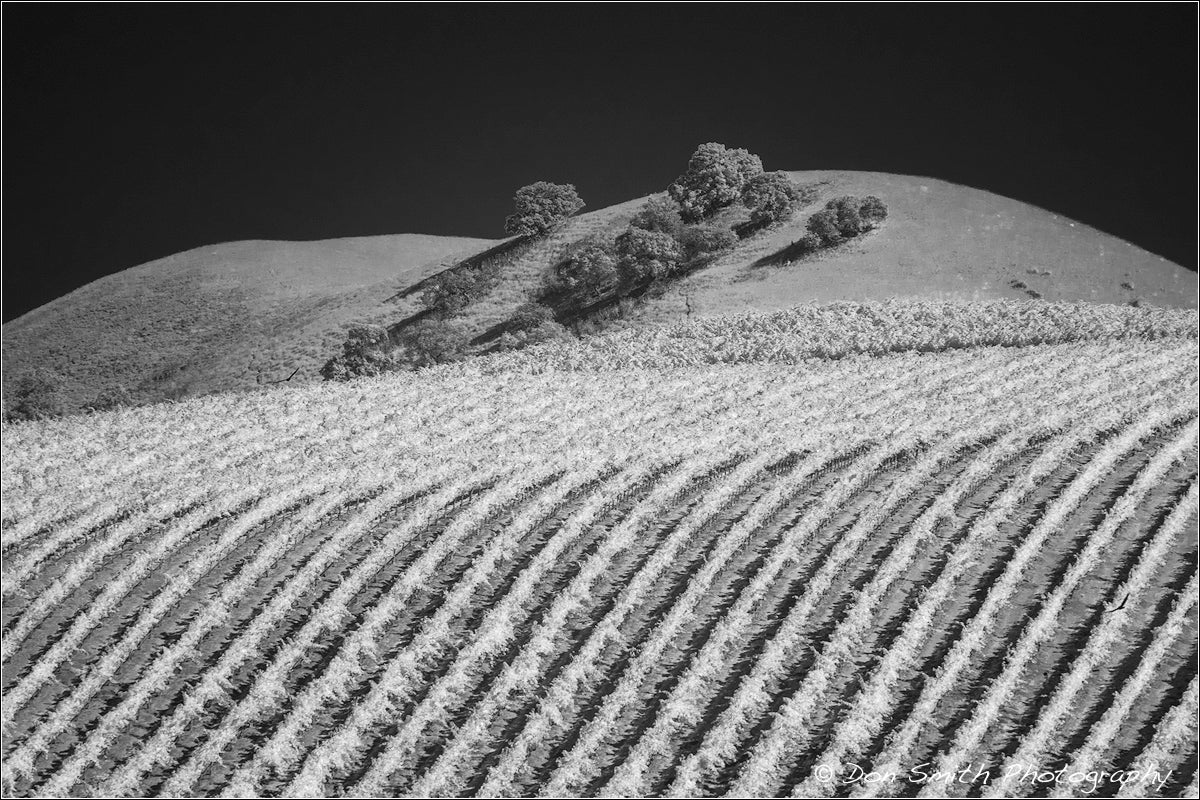
Vineyards, San Benito County, California. Sony α6000 (converted to infrared), Sony 70-200mm f/4, 1/40-sec., f/14, ISO 100. Singh-Ray LB Polarizer.
The beauty of IR photography is that it works best during the time of day that most photographers would consider “bad light.” The more contrast a scene has, the better the resulting image looks. I captured this image about 2 hours prior to sunset on a clear afternoon and desaturated the color in Lightroom. I then played with the Black-and-White Adjustment sliders to dial in the look I wanted.

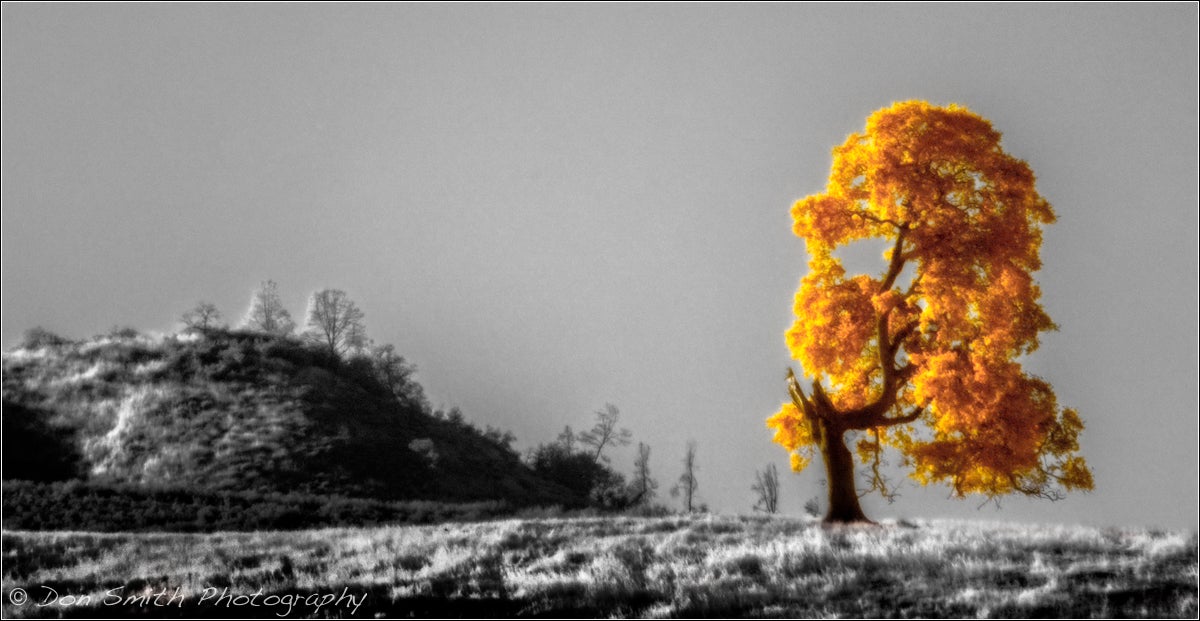
California Oak, Highway 25 near Pinnacles National Park, California. Sony α6000 (converted to infrared), Sony 70-200mm f/4. 1/320-sec., f/22, ISO 2500
I know I’m going to have a lot of fun when the light gets contrasty. Instead of putting my cameras away, I will be reaching for my IR camera and keep shooting!

