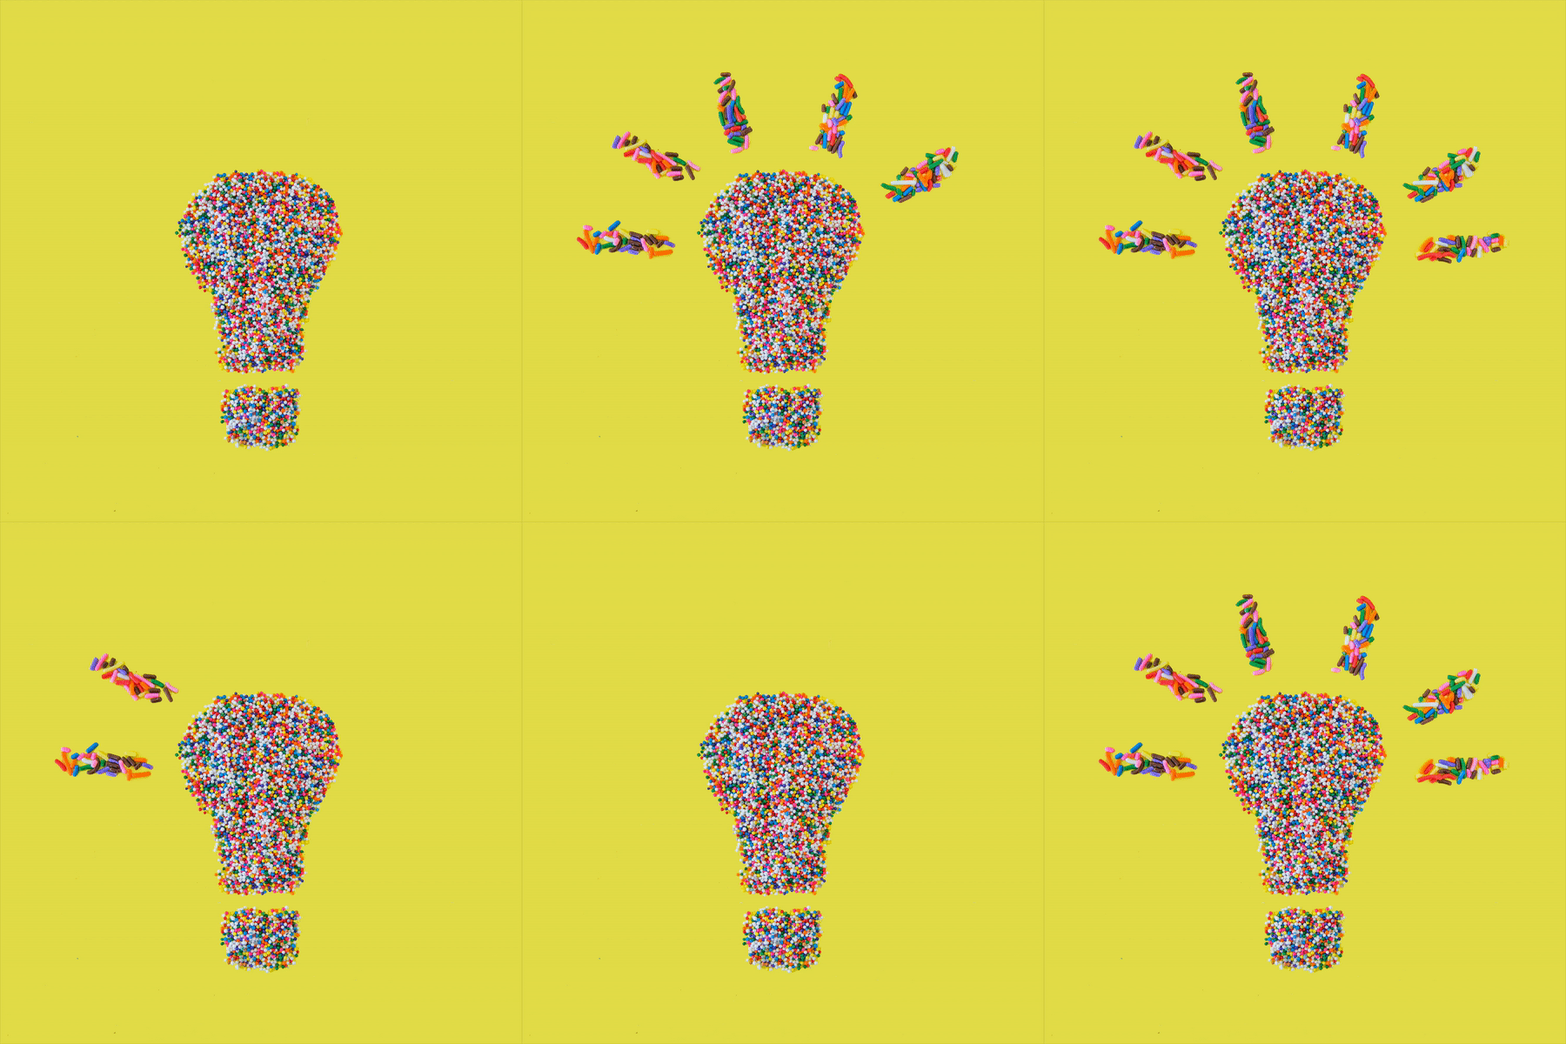
Professional stop-motion artist and Sony Alpha Female Colette Peri is on a mission to help people unlock their creativity and find magic in everyday life. While stop-motion is definitely a creative art, it’s also extremely technical. Stop-motion is like magic— and while magicians usually never tell their secrets, Colette is happy to share hers.
In this quick guide, Colette Peri shares her five pro tips & techniques for shooting stop-motion animation. Be sure to check out her Stay-At-Home Stop-Motion Challenge this week and see how you could win a Sony α7 III, Peak Design Tripod and a mentorship session with Colette.
Come Up With A Concept
My favorite part of my job is coming up with ideas for stop-motion. I get to use my imagination and think, “How can I bring this scene to life?” When brainstorming a concept, think about all the possibilities for your subject.
For example, the above idea was that a paper airplane could fly into a cup of matcha… and turn green when it emerges out of the cup! Sure, that could never happen in reality— but remember that with stop-motion, anything is possible.
Start With The Right Gear
- Camera: I have used and highly recommend the Sony α7 III and the α7R III (I haven't used the α7R IV yet). I like to shoot with my Sony 24-70mm f/2.8 G Master lens. It’s super sharp and gives me great flexibility for any scene.
- Tripod: When shooting stop-motion, it’s imperative to use a tripod so that the camera stays still between each frame shot. This creates the illusion of movement from frame to frame. My favorite is the Peak Design Tripod! Once you set up, you won’t want to touch your camera the entire shoot, so make sure your batteries are charged and focus is set.
- Remote: Since I don’t touch my camera while shooting stop-motion, I use a bluetooth shutter remote. You can use a Sony Wireless Remote Commander, or whichever is compatible with your camera.
- Dragonframe Software: Pro stop-motion animators use a software called Dragonframe. Some benefits of shooting stop-motion with Dragonframe are that you can tether your camera to see a live view + manipulate your settings, see an “onion skin” layer of your previous frame, watch your animation strung together in real time as you’re shooting, and use their bluetooth controller.
- Lighting: I like to light my scenes using continuous, LED lighting. It’s best to block out all natural light when shooting a stop-motion so that you have full control of the scene and don’t get any flicker from frame-to-frame.
For more specific gear recommendations, check out my full kit here on Alpha Universe.
Light the Scene

As I mentioned above, lighting is important because there is a common mishap in stop-motion called flicker. Flicker means that the light changes from frame to frame, causing a flickery effect when your frames are strung together into a video. To avoid this, block out all natural light.
Another pro-tip is to wear grey when you animate. If you wear white, the light may bounce off of you into your scene. If you wear black, you may cast a shadow onto your scene which also causes flicker.
Camera Settings
Here's how I set up my Sony cameras for stop motion:
- Manual Mode: When shooting stop-motion, the camera must be in FULL MANUAL mode. This includes manual focus (toggle on your lens and in-camera) and choosing a custom white balance (I usually set to 5600k and adjust in post). Also be sure to set your camera to Single Shooting (not Continuous) mode.
- Shutter Speed: Since your camera is on a tripod, you’re able to use a slower shutter speed. The slower the shutter, the better chance at reducing flicker in your stop-motion video. I like to shoot at 1/30, keep ISO as low as possible and f-stop as high as possible.
- Secure the scene: Be sure to sandbag your lights and tripod, tape down your backdrop and use putty for any items that need to stay put.
Editing The Video

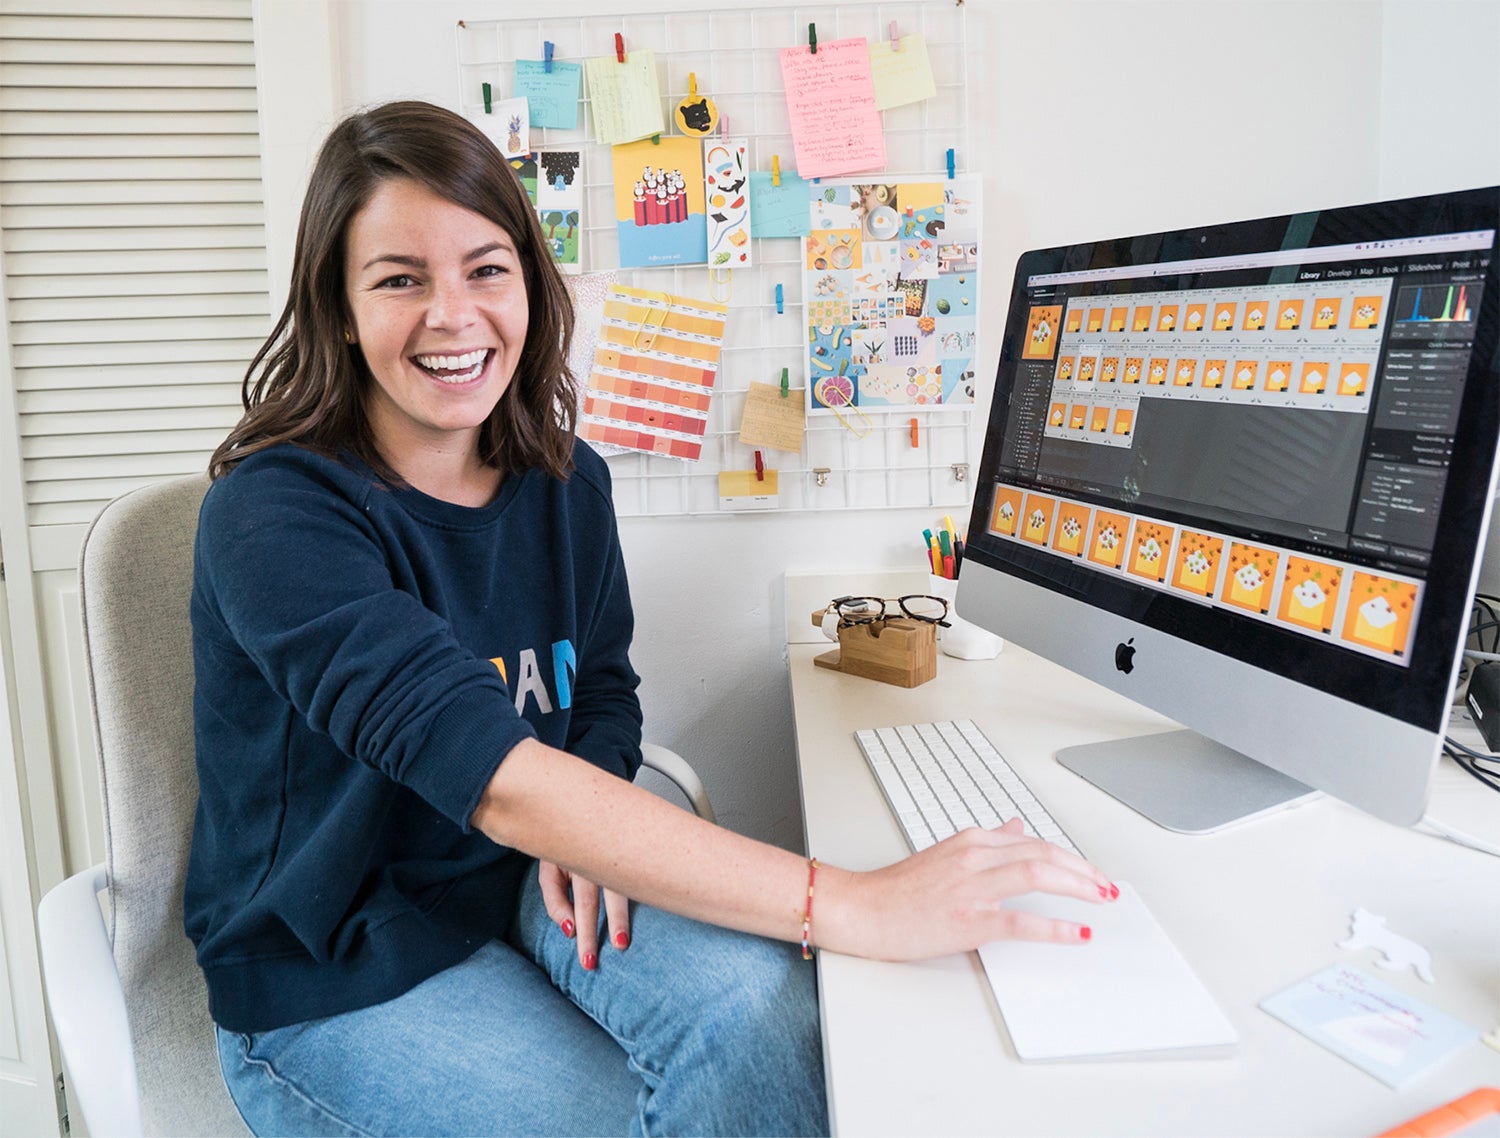
The post-production process can be relatively simple. I shoot in RAW and then import my images into Adobe Lightroom. From there, I batch edit them to my liking and export. I then import these images into Adobe Premiere Pro. Next I choose timing for each image to play out at (I like 12 frames per second, i.e. 00:00:02). Then I’ll reverse the frames if needed, create holds, boomerang the video, add sound/music, etc!
Want extra insight into how to win the Stay-At-Home Stop Motion challenge? Learn more at https://coletteperi.com/

