It’s always a pain to ask someone to take pics of you, especially when you travel by yourself. You have to find someone willing to do it, then you hand over your precious camera and, literally, walk away from it in hopes that you trusted the right person and that they understand what you’re trying to capture. Well here are a few helpful to tips get away from all of that and get that incredible “selfie” by…well…yourself.
I use three different tools to help me take the perfect selfie
- The Self-Timer
- The Smart Remote Control App
- The Time-lapse App
The first option is easy. Just access your camera’s self-timer function, set the timer on 2, 5 or 10 seconds, then quickly run to your spot in the frame. Give yourself more time than you think you’ll need to get into the right spot so you can be careful as you move into position. Landscapes can have some rough terrain and you never want to fall and injure yourself because you rushed. The downside to this method is that you do have to get in place quickly and you have to go back to the camera to see the shot to make sure it’s what you wanted.
The second option, the Smart Remote Control camera app, is a great one because you can control all of your settings within the accompanying app on your smartphone.
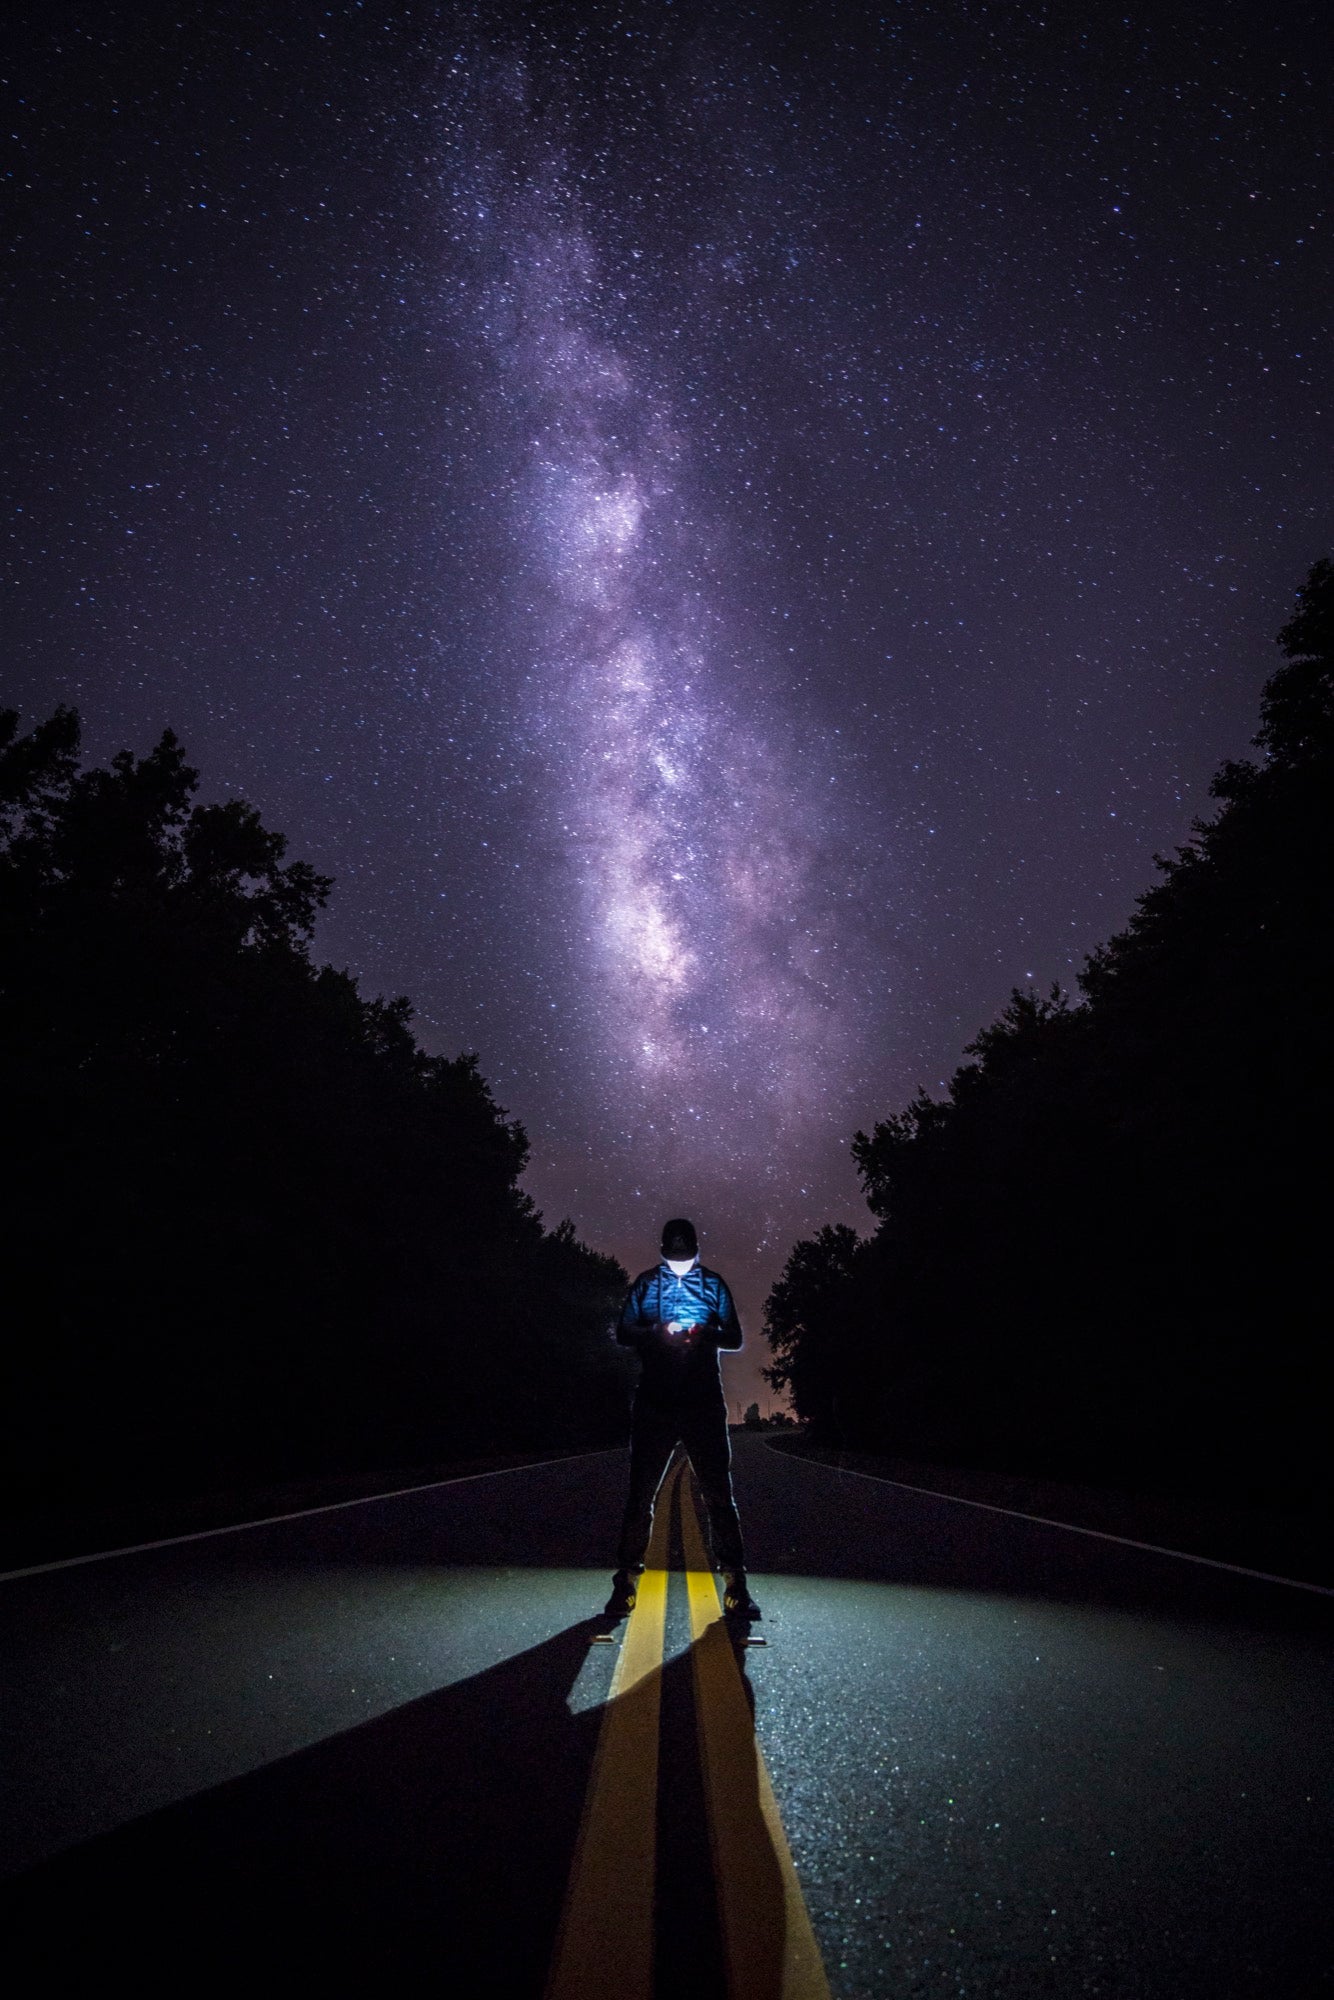
Sony α7R II. Sony 16-35mm f/4 lens at 16mm. 30-sec., f/4, ISO 3200. A Milky Way selfie taken with the Smart Remote Control camera app. Notice how the smartphone screen was used as a light.
Once you have both apps downloaded on your phone and camera, follow the instructions to connect them. You can connect manually or via QR code. Here are a couple of quick tutorials that show the process.
iOS device (iPad or iPhone):
Android device:
With an Android smartphone, you can also connect with NFC if equipped. Click here for more details and connection information.
Once you’re using the app on your smartphone, you’ll be able to control ISO, shutter speed, aperture and many other settings. I suggest you make sure your settings are set for RAW files as the app defaults to JPEG.
One of my favorite features of Smart Remote Control app is the touch-to-focus option. On the smartphone screen, just touch where you want the camera to focus. Having the option to focus exactly where you want while standing in the frame makes a huge difference if I’m shooting wide open and looking for that pretty bokeh. Another feature I love is that photos shot using the application will be automatically sent to your smartphone for on-the-spot review and sharing. A helpful tip is to be aware of how far you are from your camera as it will lose connection at roughly 50 feet.
This third option is to use the PlayMemories Time-lapse camera app. I used this technique when I traveled to Alaska with several members of the Alpha Imaging Collective. The app will continue to take snaps for as long as you set it to do so. A helpful tip is to set it for the maximum number of pics since you can always manually stop it and you might not know just how many pictures you want to take.
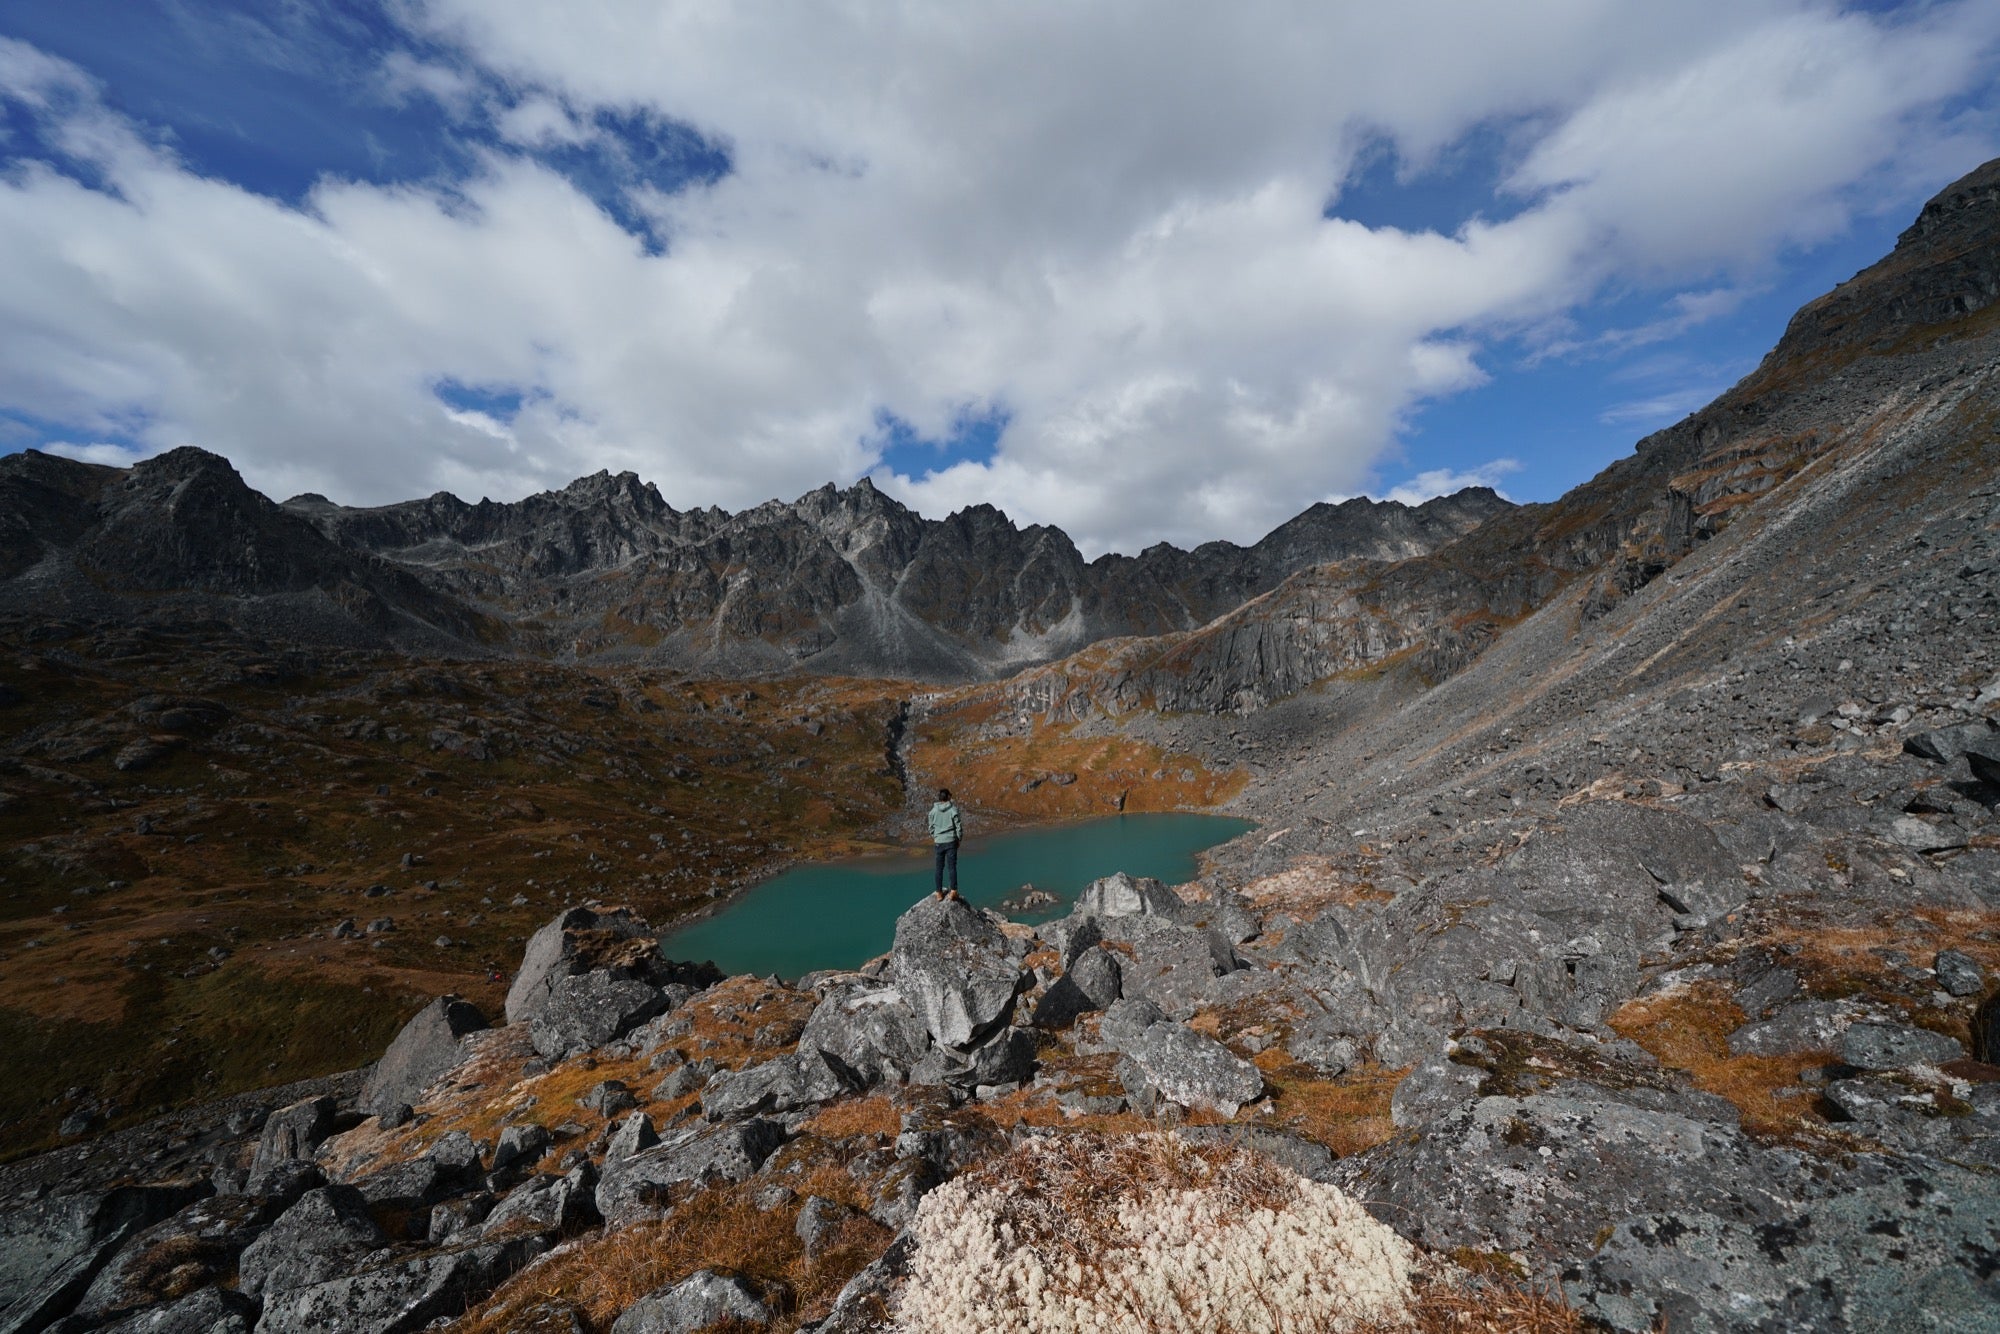
Sony α7R II. Sony 12-24mm f/4 G lens at 12mm. 1/1000-sec., f/7.1, ISO 250. A selfie from the Reed Lakes in Alaska from the recent Alpha Collective trip taken using the Time-lapse camera app.
Once you’re in this app on your camera, set the proper settings for exposure. I love the Time-lapse app as it will come with settings preset for night, sunrise, sunset and custom. You also have an option for stills, video or both. Make sure you select both so you can get a good video and pick the stills that you like. This is the best option as it continuously takes pictures with no distance restrictions.
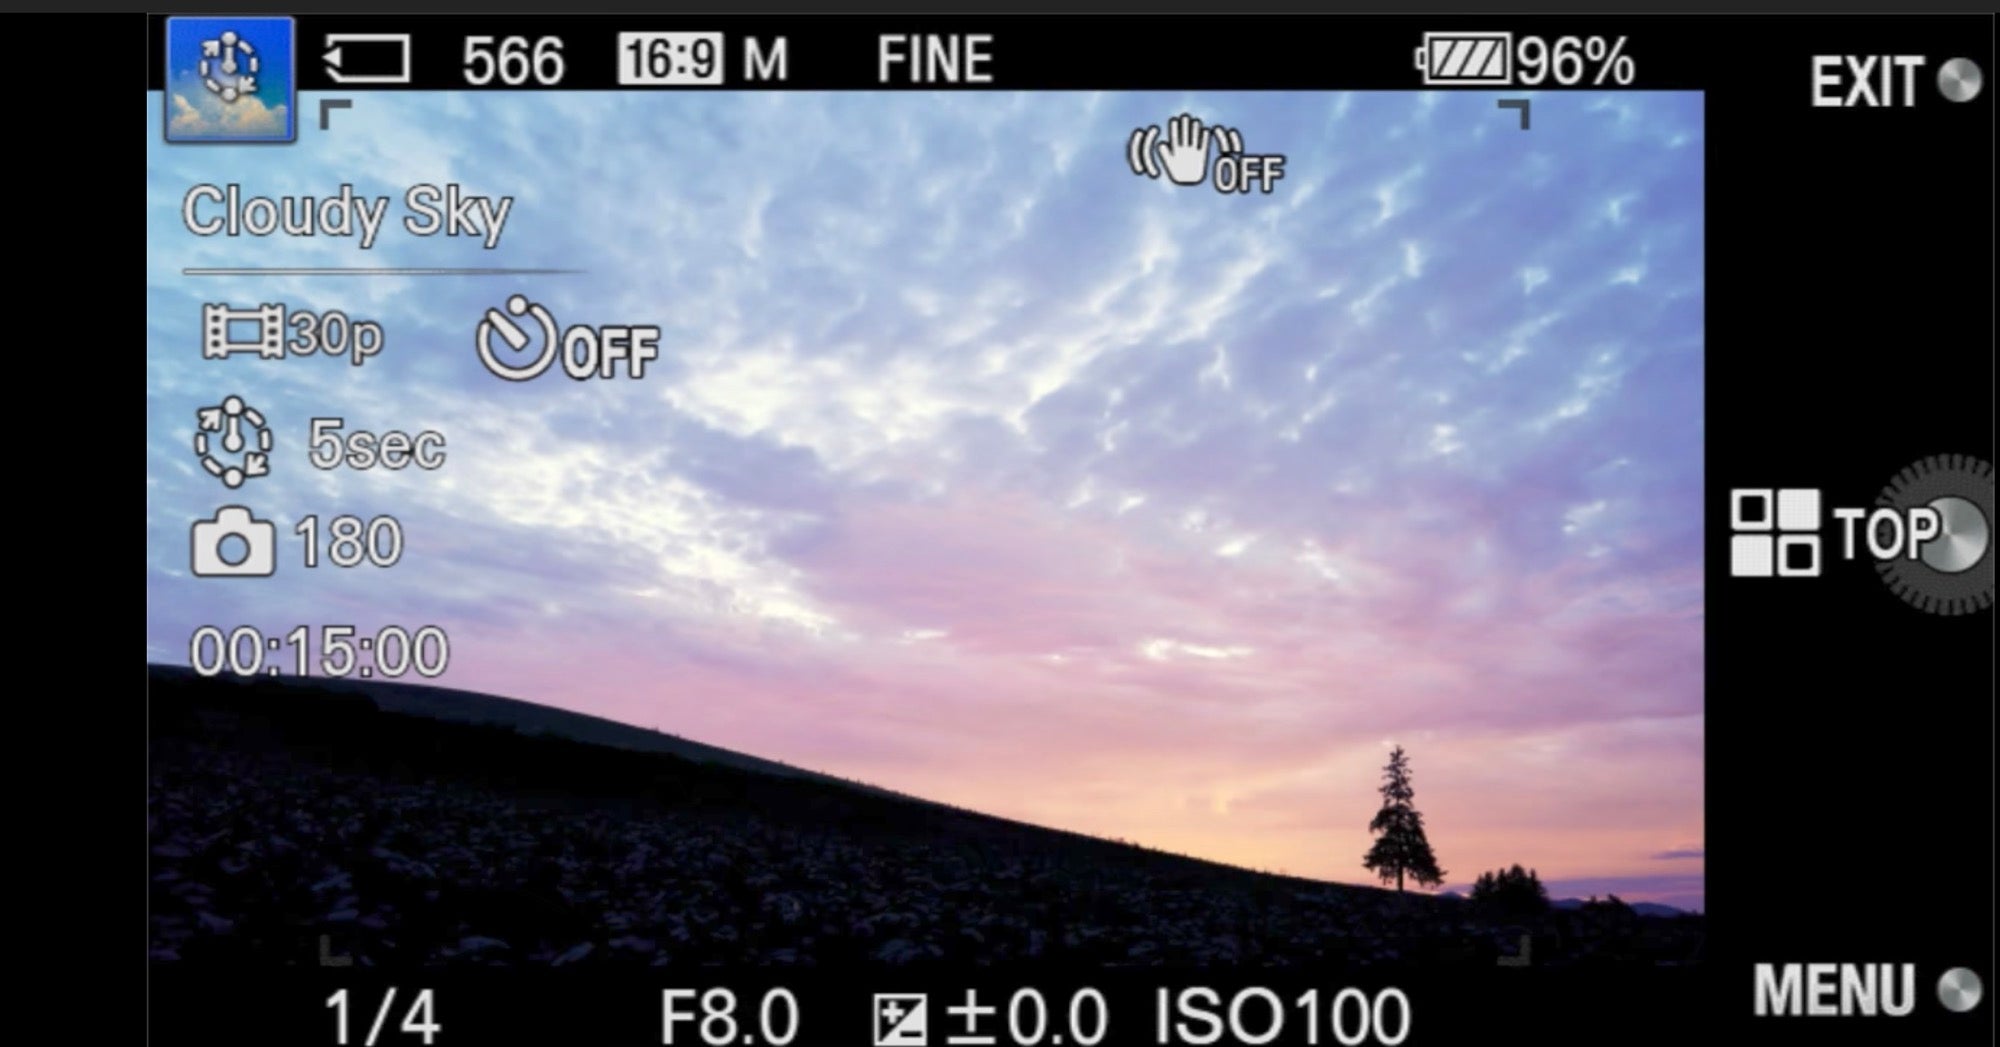
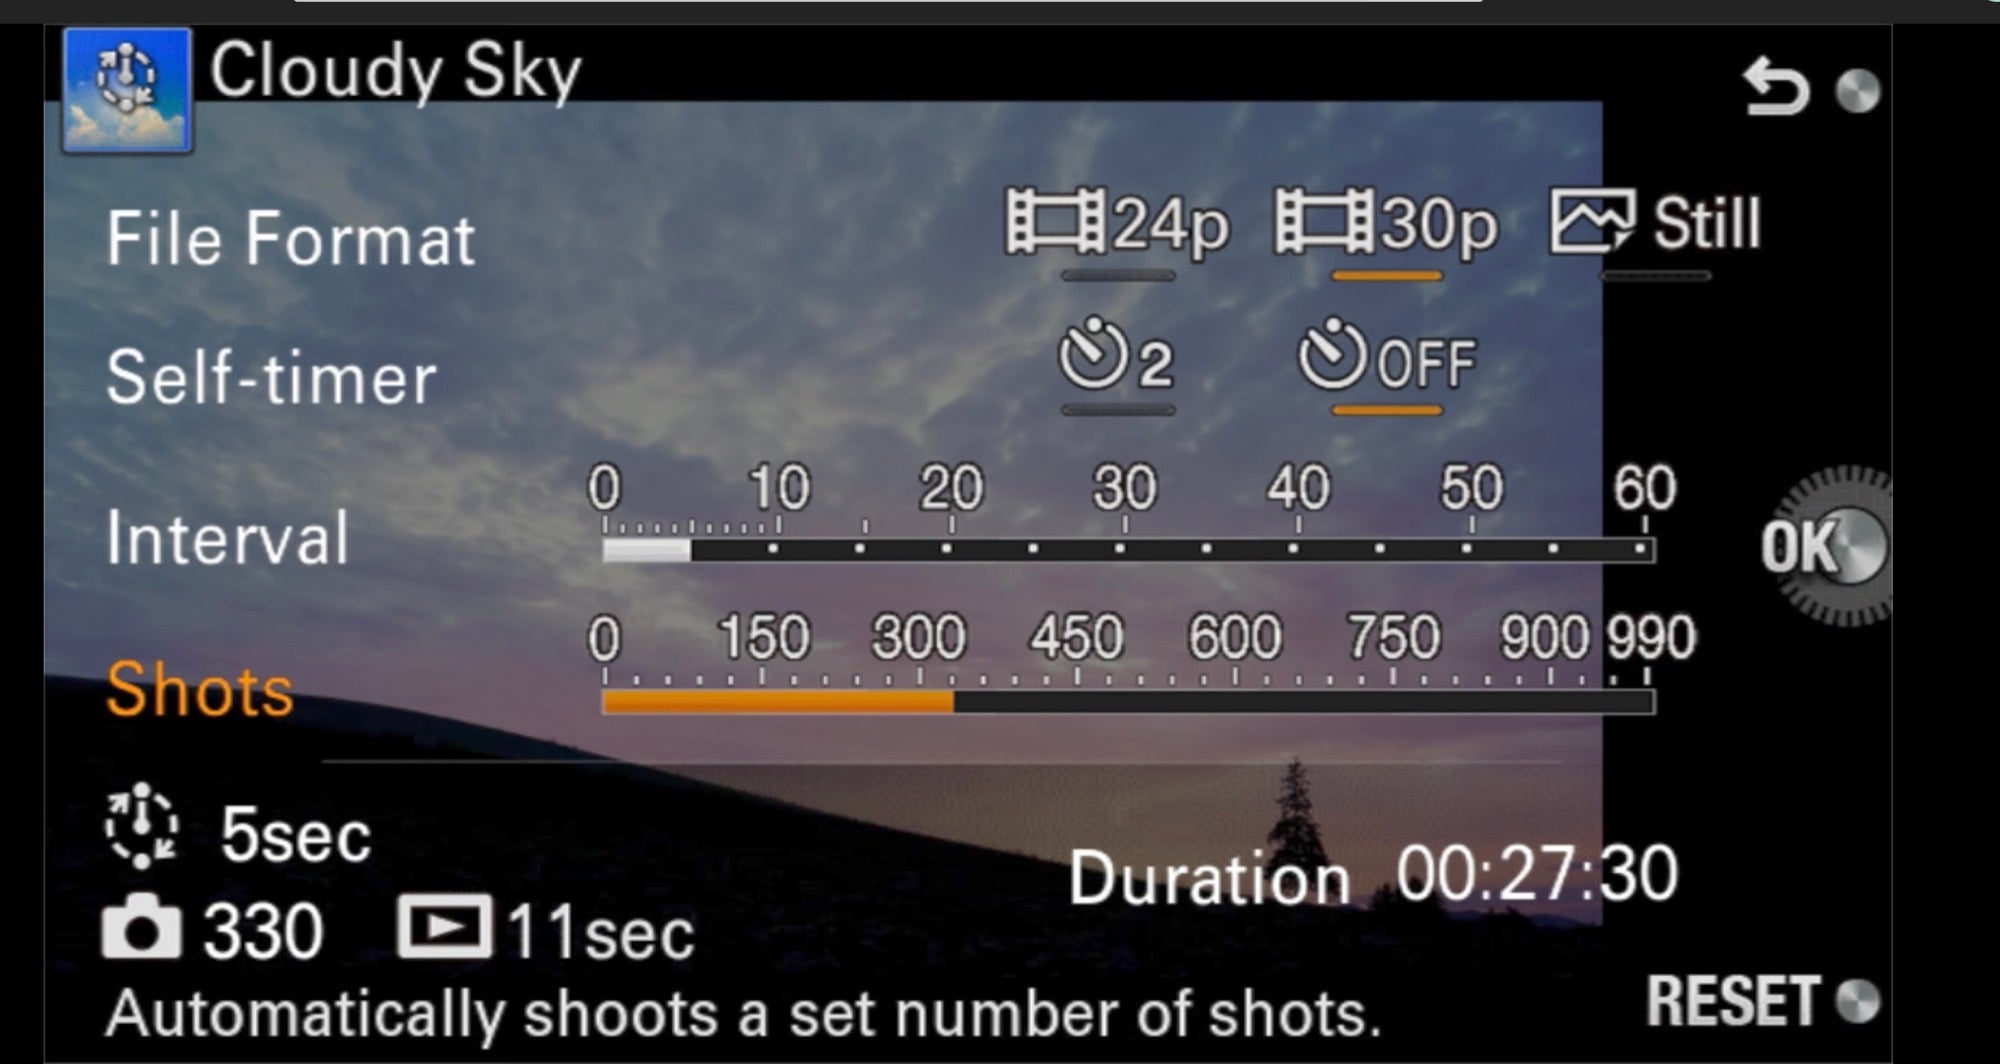
Time-lapse app settings. Set the camera to shoot more than you think you'll need and specifiy both video and stills.
For the PlayMemories camera apps, you’ll need a Sony account and PlayMemories Mobile installed on your smartphone.
Quay Hu is a member of the Alpha Imaging Collective. Follow him on Instagram @aroundq

