If you’ve never done it before, night photography can be intimidating, but it doesn’t have to be! In this article I’ll discuss the gear I use and share the tips and tricks that I’ve learned (many through trial and error) when photographing the stars. There are two important things to consider when photographing the night sky - ambient light when making your initial exposure or exposures, and how you plan to process your image.
My Gear
My 'go to' cameras for night photography are my Sony α7S and Sony α7R III (which recently replaced my α7R II). The sensitivity of the sensor on the α7S allows me to shoot with shorter shutter speeds. The α7R III doesn't have the same sensitivity as the A7S has, but it does have incredible resolution for printing and its low-light capabilities are impressive.
I prefer shooting with prime lenses at night. I find that they are typically easier to focus, and that stars look sharper. My preferred lenses for astro photography are an 18mm f/2.8 and a 21mm f/2.8. I find both of these lenses are sharp and easy to focus to infinity. I’ve also been shooting with the Sony 16-35mm f/2.8 G Master.
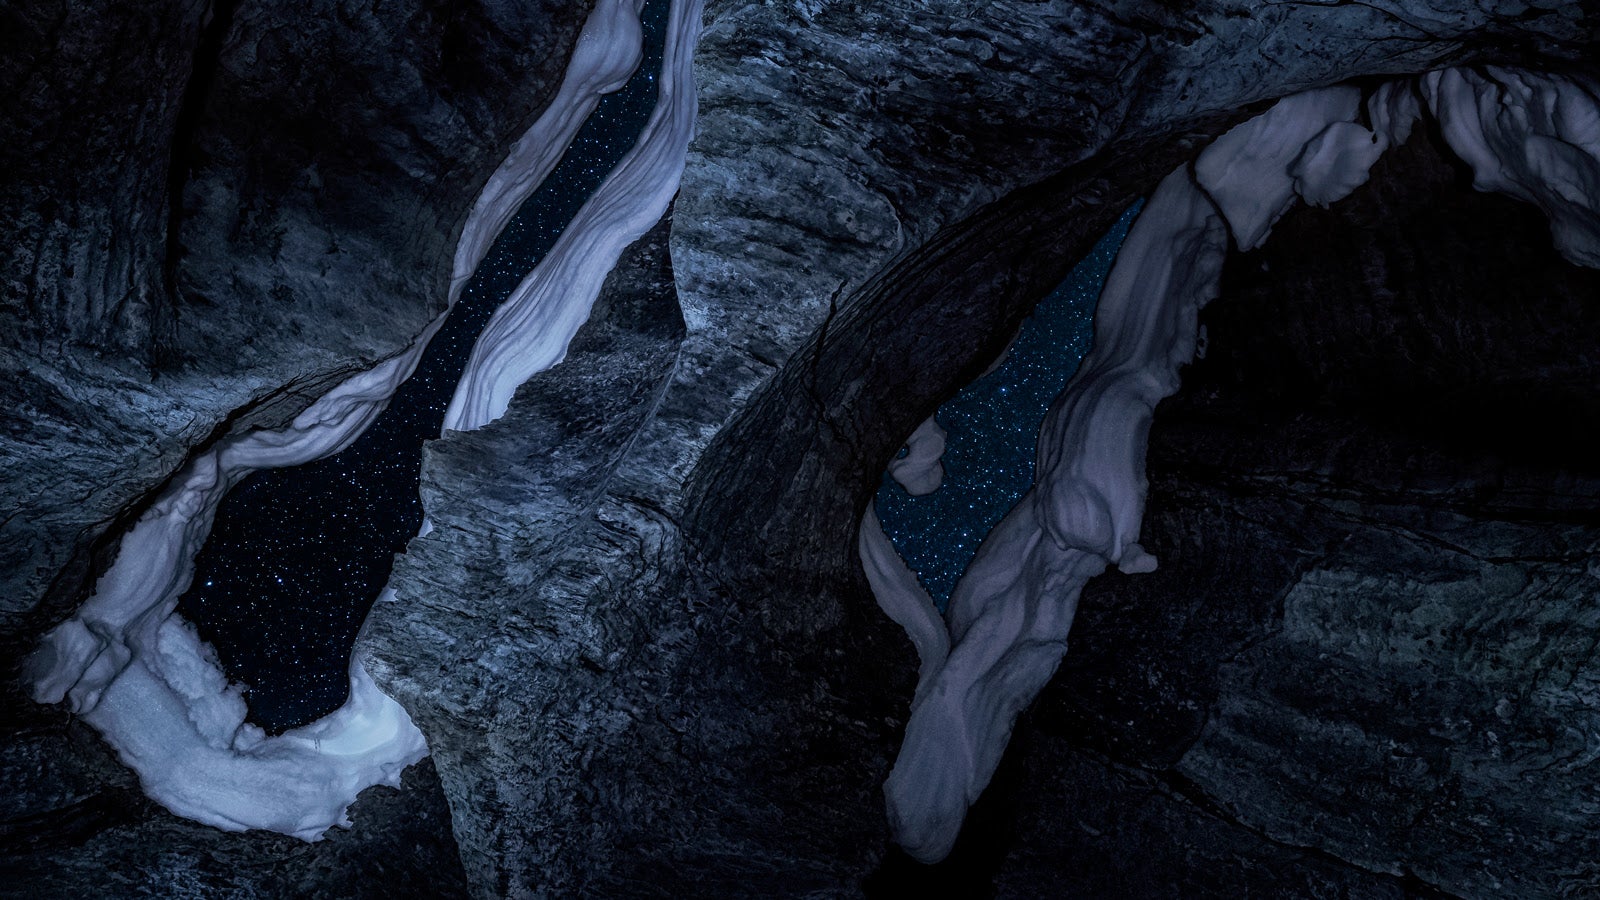
Natural Bridge, Yoho National Park. Sony α7S. 18 mm lens. Stars: 10-seconds, f/3.2, ISO 5000; Canyon 30 seconds, f/11, ISO 800
Camera Settings
I frequently get messages asking what camera settings to use for night photography. Because the ambient light of stars, the moon and light pollution are never the same from shoot to shoot, even at the same location, this is a tough question to answer, but here’s some guidance to get you moving in the right direction.
I tell all of my students that night photography is a numbers game. A good starting place when shooting with a wide-angle lens is f/2.8 (or the lens’ widest aperture), 25 seconds, and ISO 3200. I say this is a good starting place because it allows you to make decisions about how to adjust your settings from there based on ambient light.
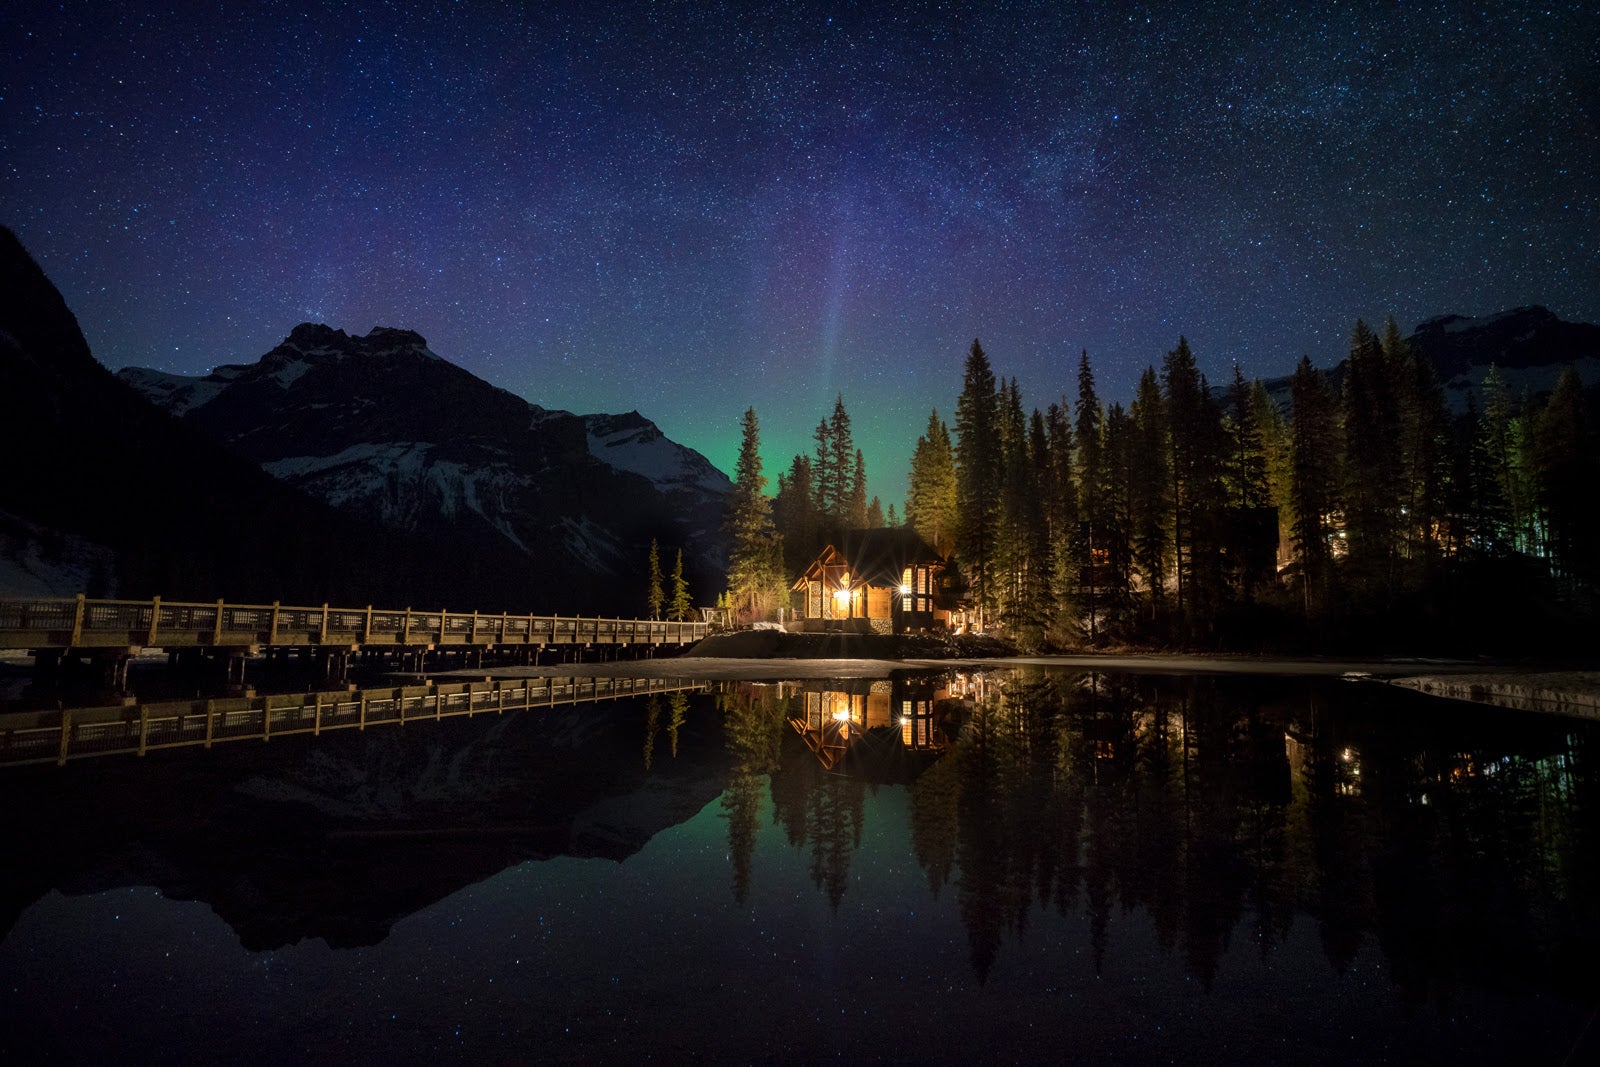
Emerald Lake Lodge, Yoho National Park. Sony α7R III. 18 mm lens. Aurora: 10 seconds, f/2.8, ISO 2000; Lodge: 30 seconds, f/11, ISO 800
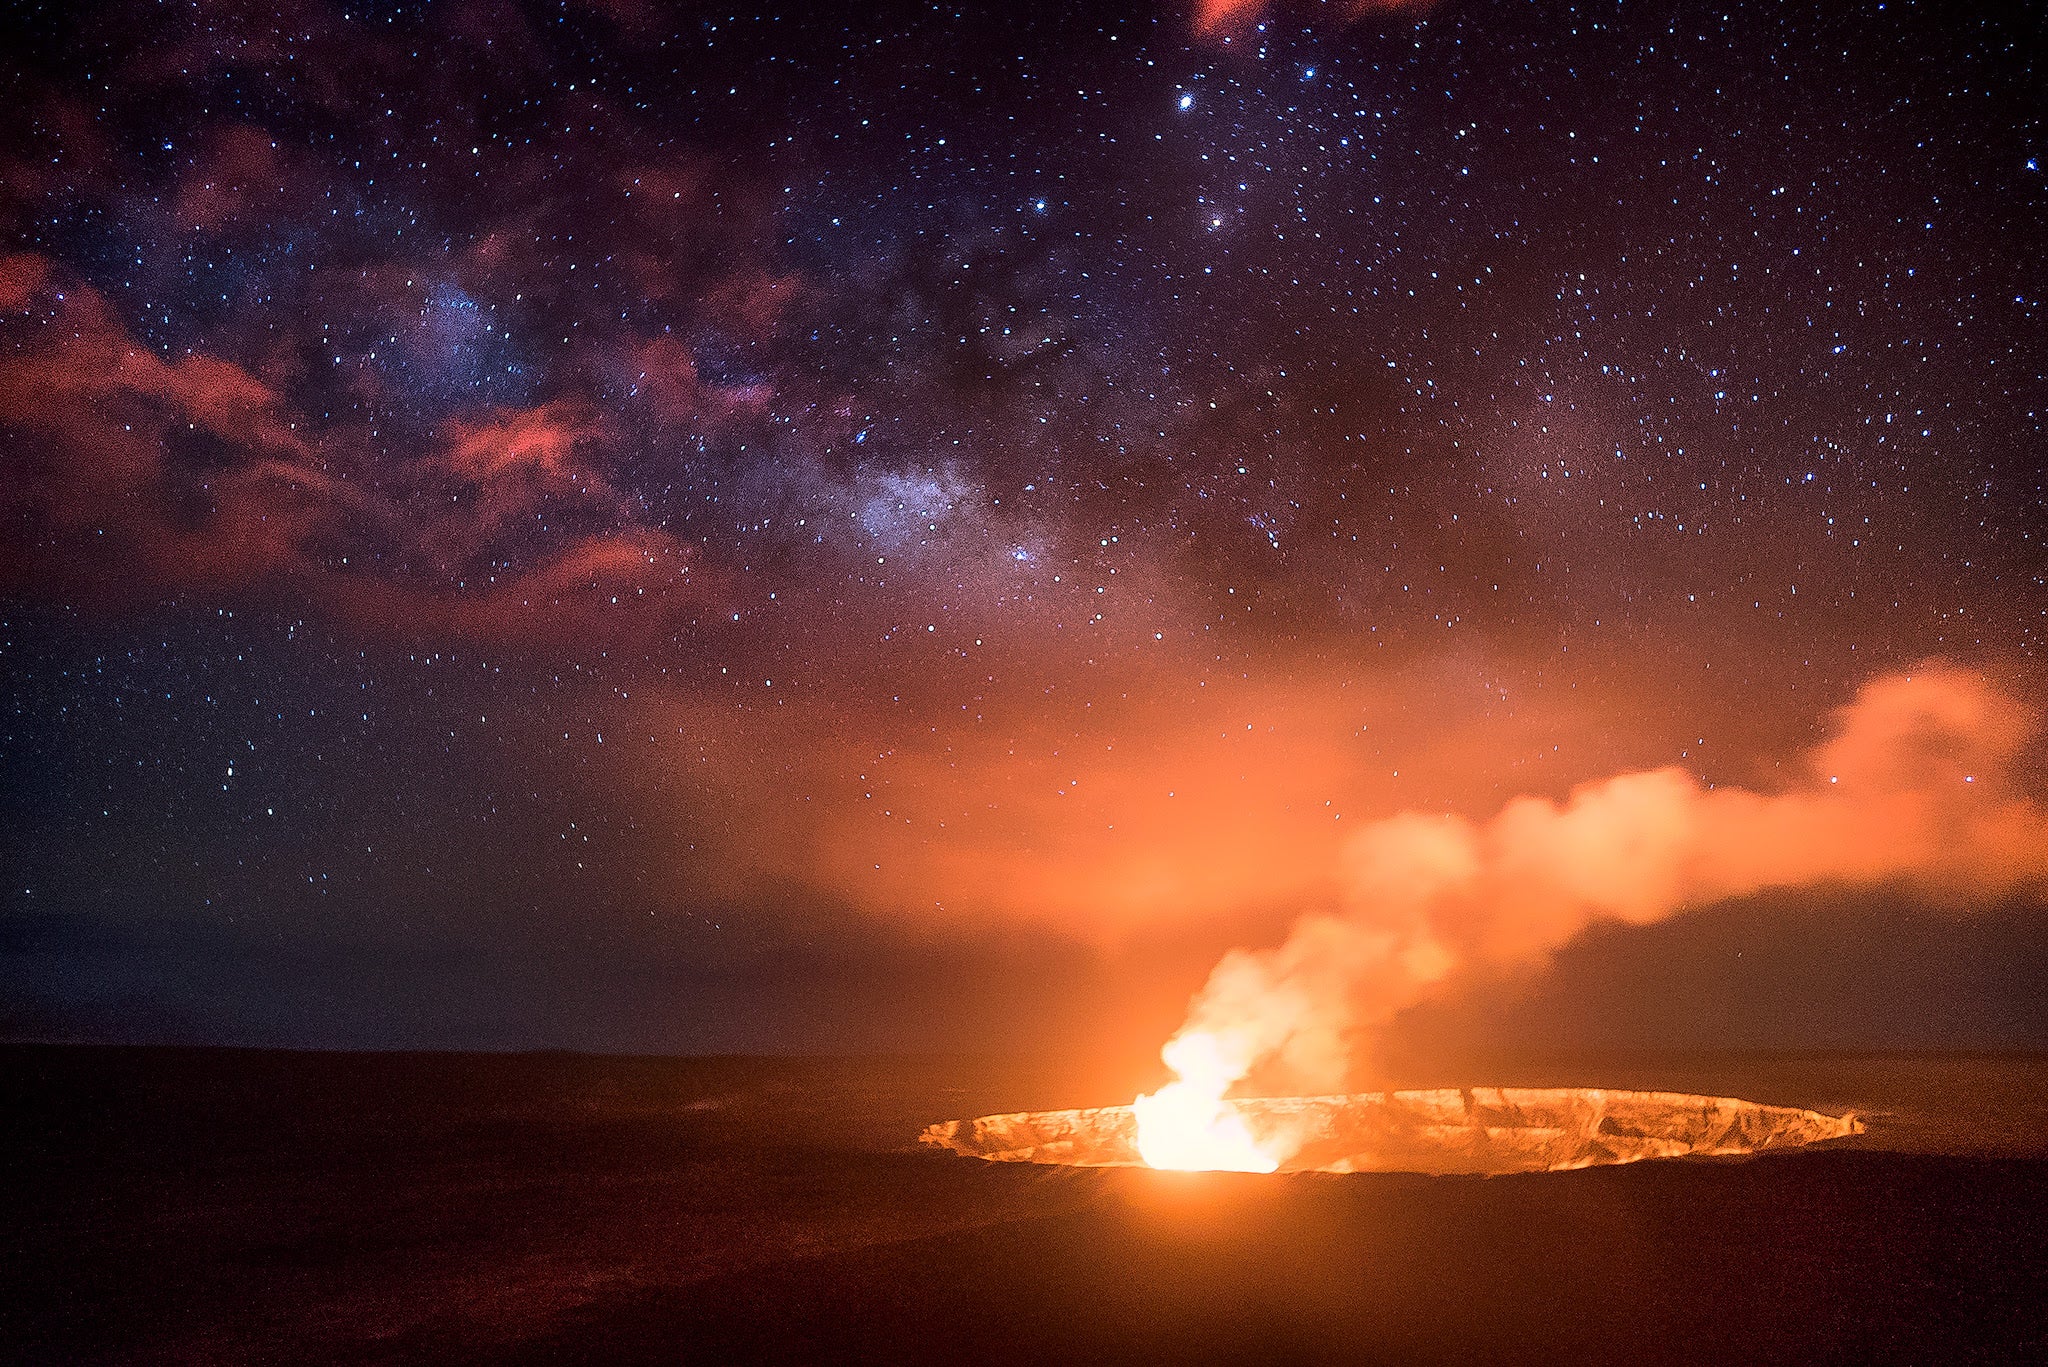
Halemaumau Volcano Crater. Sony α7S, with 16-35mm lens with Metabones adapter. 5 seconds, f/2.8, ISO 3200
Aperture And Balancing Light-Gathering With Maximum Sharpness
Shoot at a wide-open aperture. Shooting wide open allows the most light into the camera, however, this isn’t the sharpest aperture on most lenses. Typically, the sharpest aperture is stopped down a couple stops from wide open. For example, on a lens that ranges from f/2.8 to f/22, I’ve found the sharpest aperture is typically f/11. Therefore, when I photograph stars, I usually start at f/2.8, but if there is enough light I will stop down to f/3.2 or f/3.5 because the stars look sharper and more defined at smaller apertures.
When I’m shooting a composite image with separate exposures for the sky and foreground, if possible, I will shoot the foreground at a smaller aperture (either by using ambient light, or by light painting). For example, with the ambient light from the moon in the 'Moonlight Magic' image below, I was able to shoot the cabin and foreground at f/3.5.
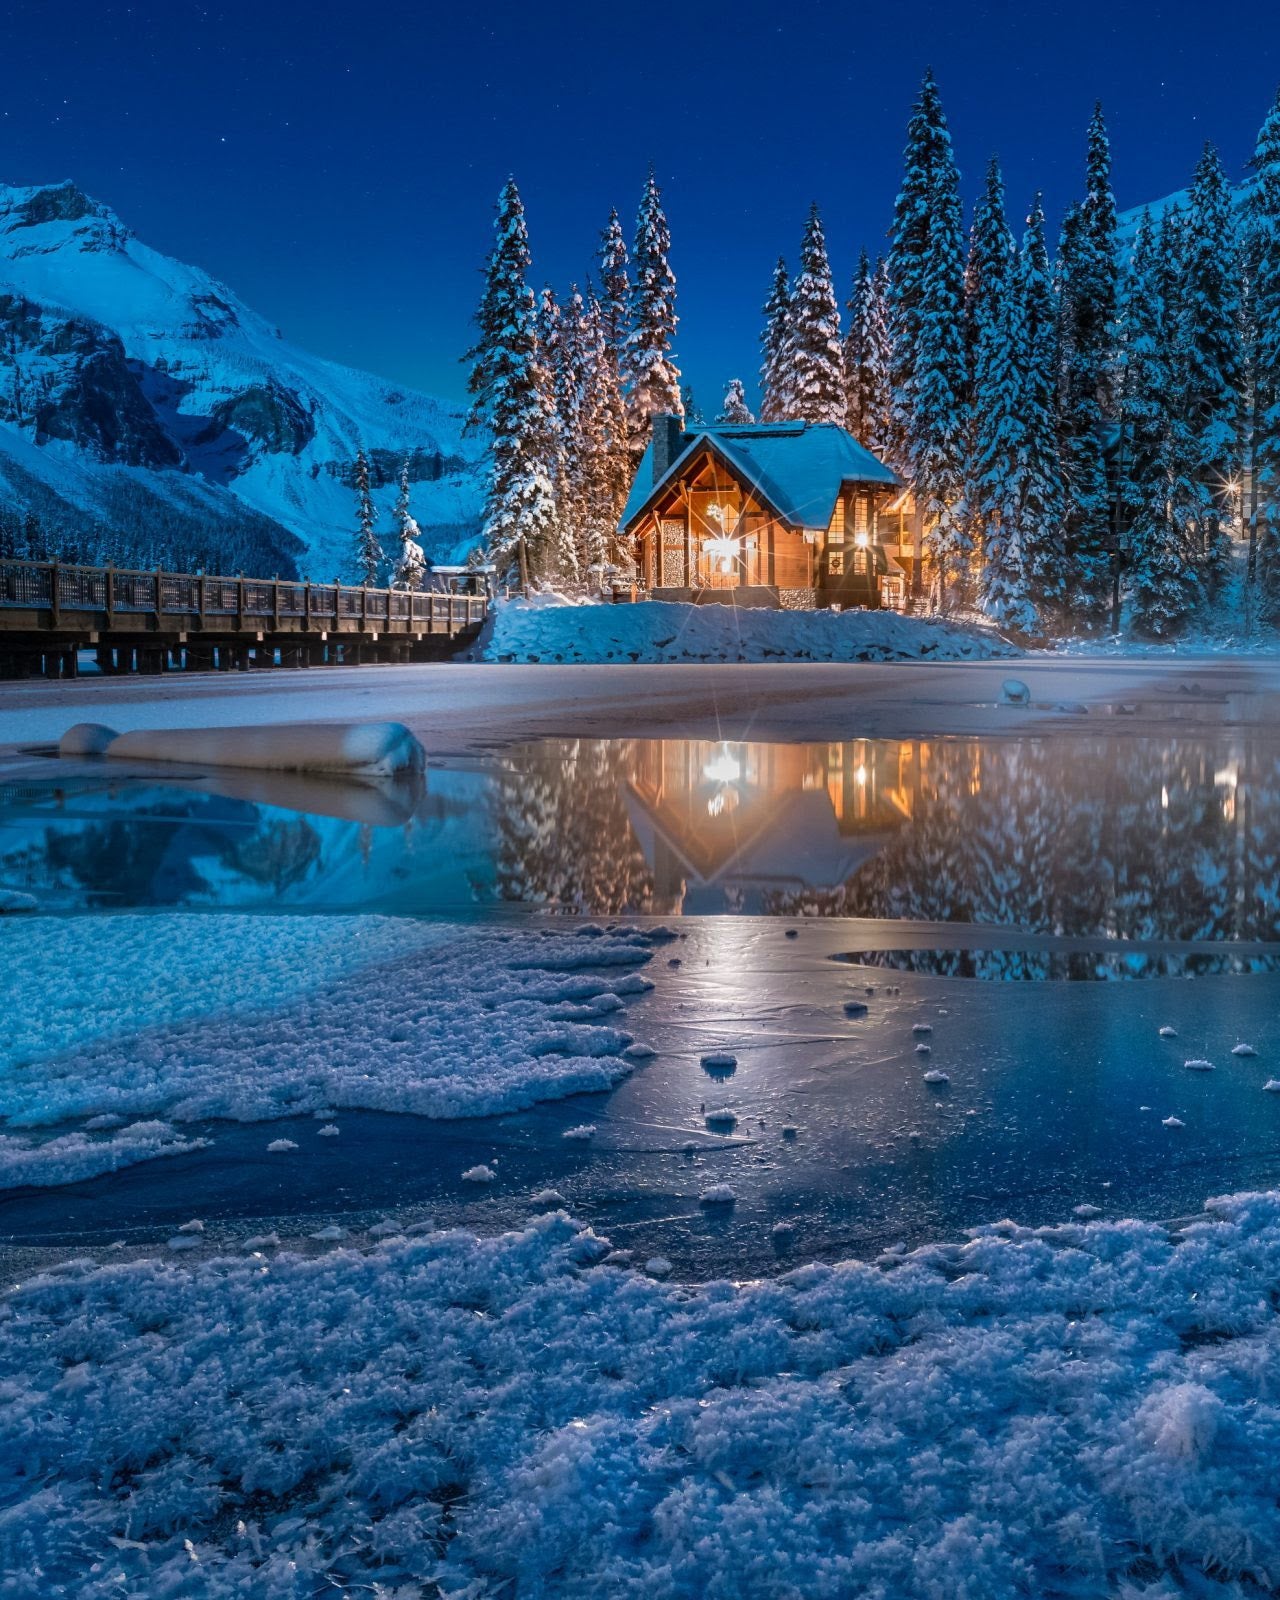
Emerald Lake Lodge, Yoho National Park. Sony α7S, 21mm lens. Foreground: 30 seconds, f/11, ISO 800; Stars: 10 seconds, f/2.8, ISO 3200
Shutter Speed And How To Use The 500 Rule
The goal is to let as much light into the camera as possible, however, if you leave the shutter open too long, the stars will begin to trail, looking less like little dots and more like streaks. A shutter speed of 25 seconds is a good starting place for most wide-angle lenses.
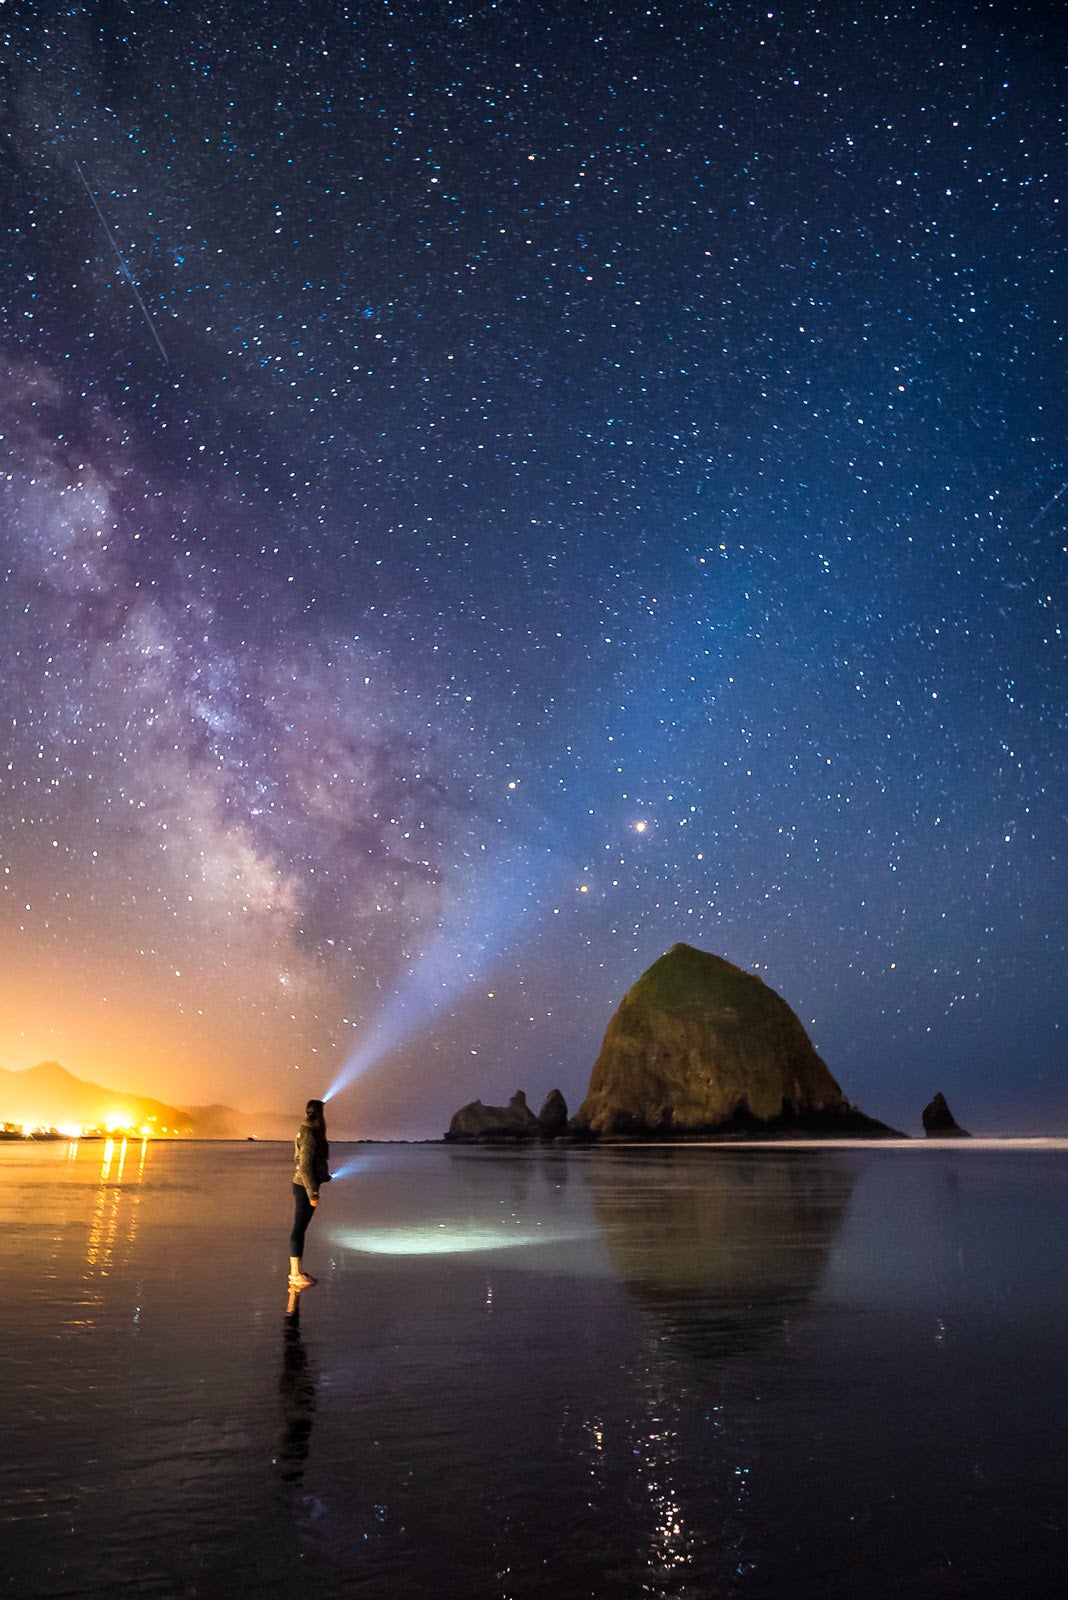
Cannon Beach, Oregon. Sony α7S. 16-35 lens with Metabones adapter. 25 seconds, f/2.8, ISO 3200
When I first started shooting nightscapes, I followed the '500 rule' when trying to decide on a shutter speed. To avoid trailing, the 500 rule suggests that dividing 500 by your focal length will give you the longest shutter speed before stars begin to trail in your image. So following this rule if your focal length is 16 mm (500/16 = 31.25 seconds) you could leave your shutter open for 30 seconds (round down).
However, even following this rule stars will look somewhat streaky. Ideally, I aim for a shutter speed of 10 seconds or less. However, this is not always possible. On new moon nights there is no ambient moonlight and the sky can be very dark. When there is little ambient light, I will start at 25 seconds and then try to reduce the shutter speed as much as possible.
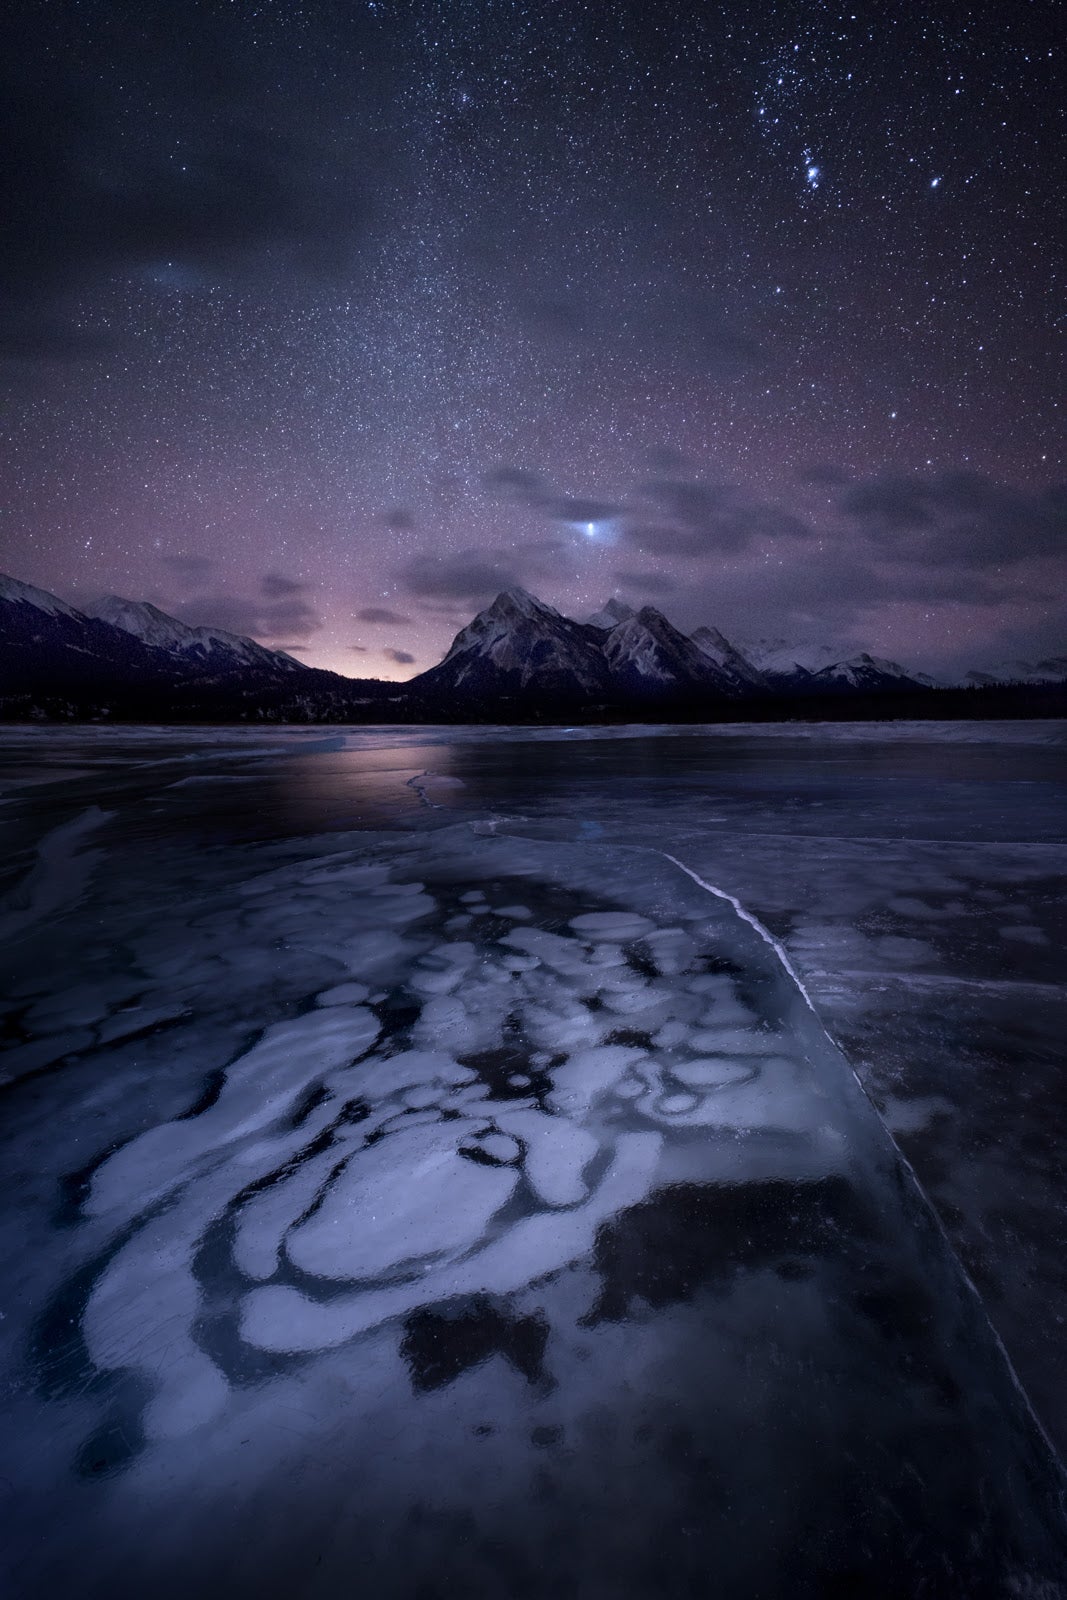
Abraham Lake, Alberta. Sony α7R II, 21 mm lens. Frozen bubbles: 30 seconds, f/8, ISO 500; Sky: 15 seconds, f/2.8, ISO 4000
ISO And How High You Can Go
ISO refers to the sensitivity of your sensor to light. The lower your ISO, the less sensitive your camera is to light, the higher the ISO the more sensitive your camera is to light. This higher sensitivity, however, comes with a downside in that the higher the ISO, the more likely your images may look very "grainy" or "noisy." Some of the noise can be dealt with in post-processing, but the more you push the ISO the more difficult the noise is to reduce.
I find that an ISO of 3200 is a good starting place for photographing stars because noise reduction is manageable in post-processing, and it is usually sufficient for capturing the beauty of the stars. However, on a new moon night when the sky is at its darkest, it may be preferable to opt for much higher ISOs. Ideally, you want to start at 3200 ISO and reduce this if the ambient light allows.
Another reasons why I use Sony cameras is because they handle higher ISOs without introducing a lot of noise. If I am taking a short, 10-second exposure of the stars, I can bump up my ISO without compromising image quality.
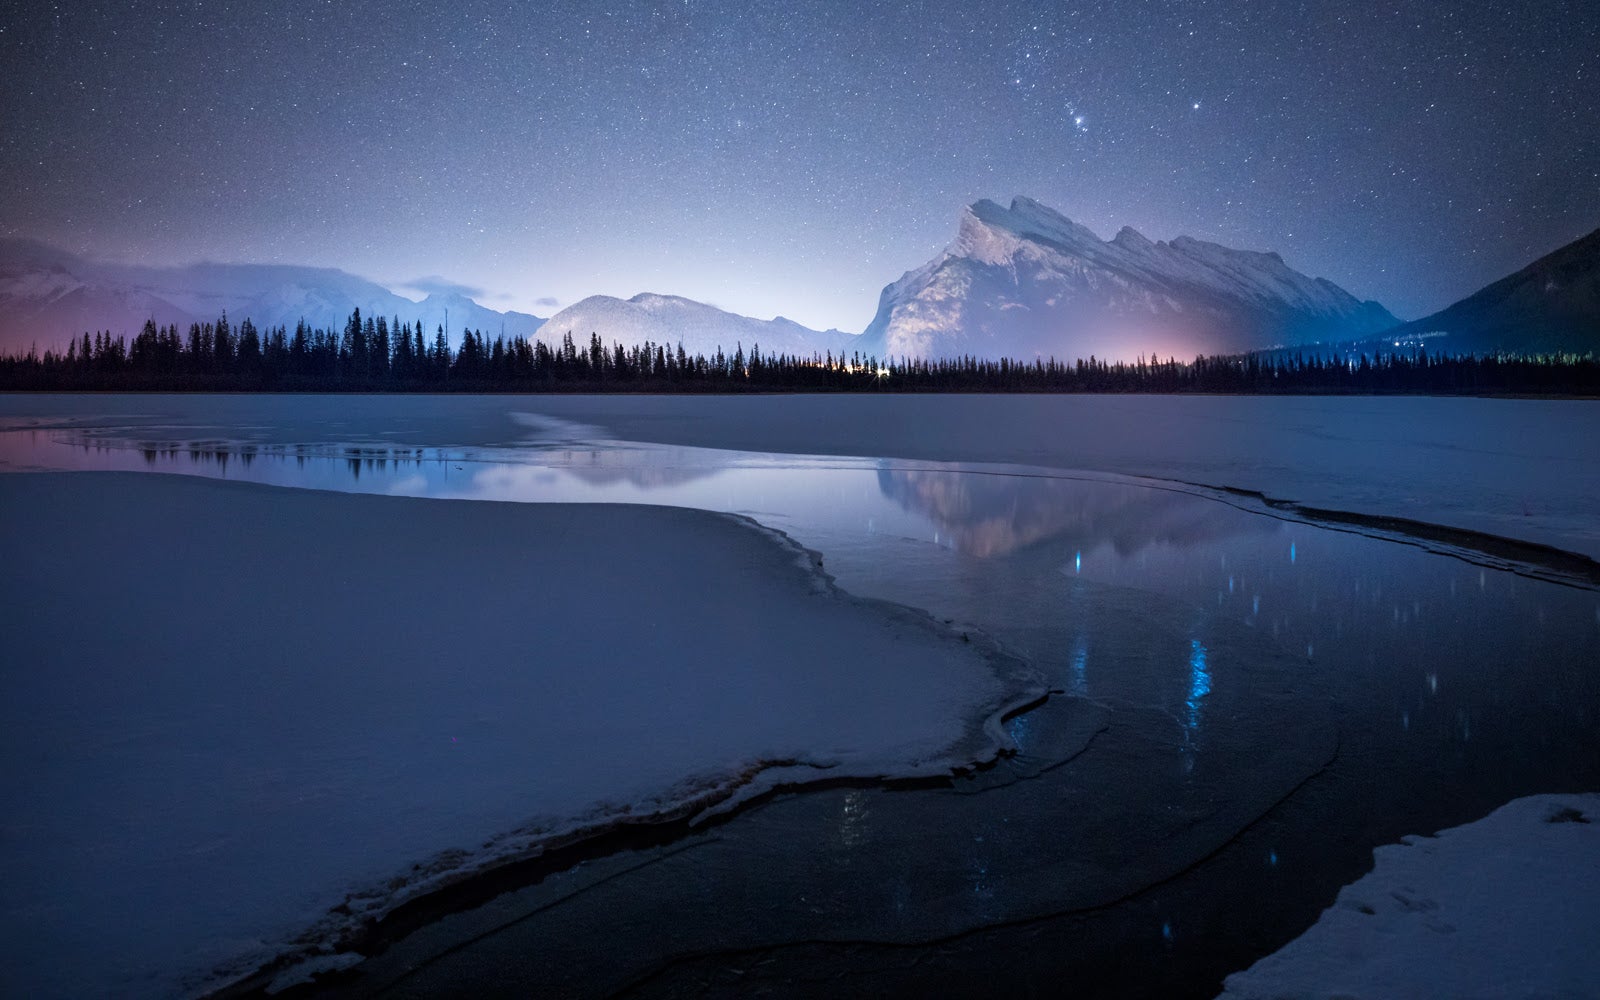
Vermillion Lakes, Banff Alberta. Sony α7S with the Sony FE 16-35mm G Master lens at 17.5 mm. 8 seconds, f2/8, ISO 4000
Post Processing
The second thing to consider when you’re photographing stars is how you plan to process your image. If you’re not comfortable with Photoshop, you’ll likely want to capture the entire scene in one image, and therefore the decisions you make about camera settings will be influenced by the whole scene.
If you’re comfortable with combining multiple images or exposures together, you’ll get the best results by shooting the scene for dynamic range, and sharpness in multiple exposures, then blending those images together in post processing.
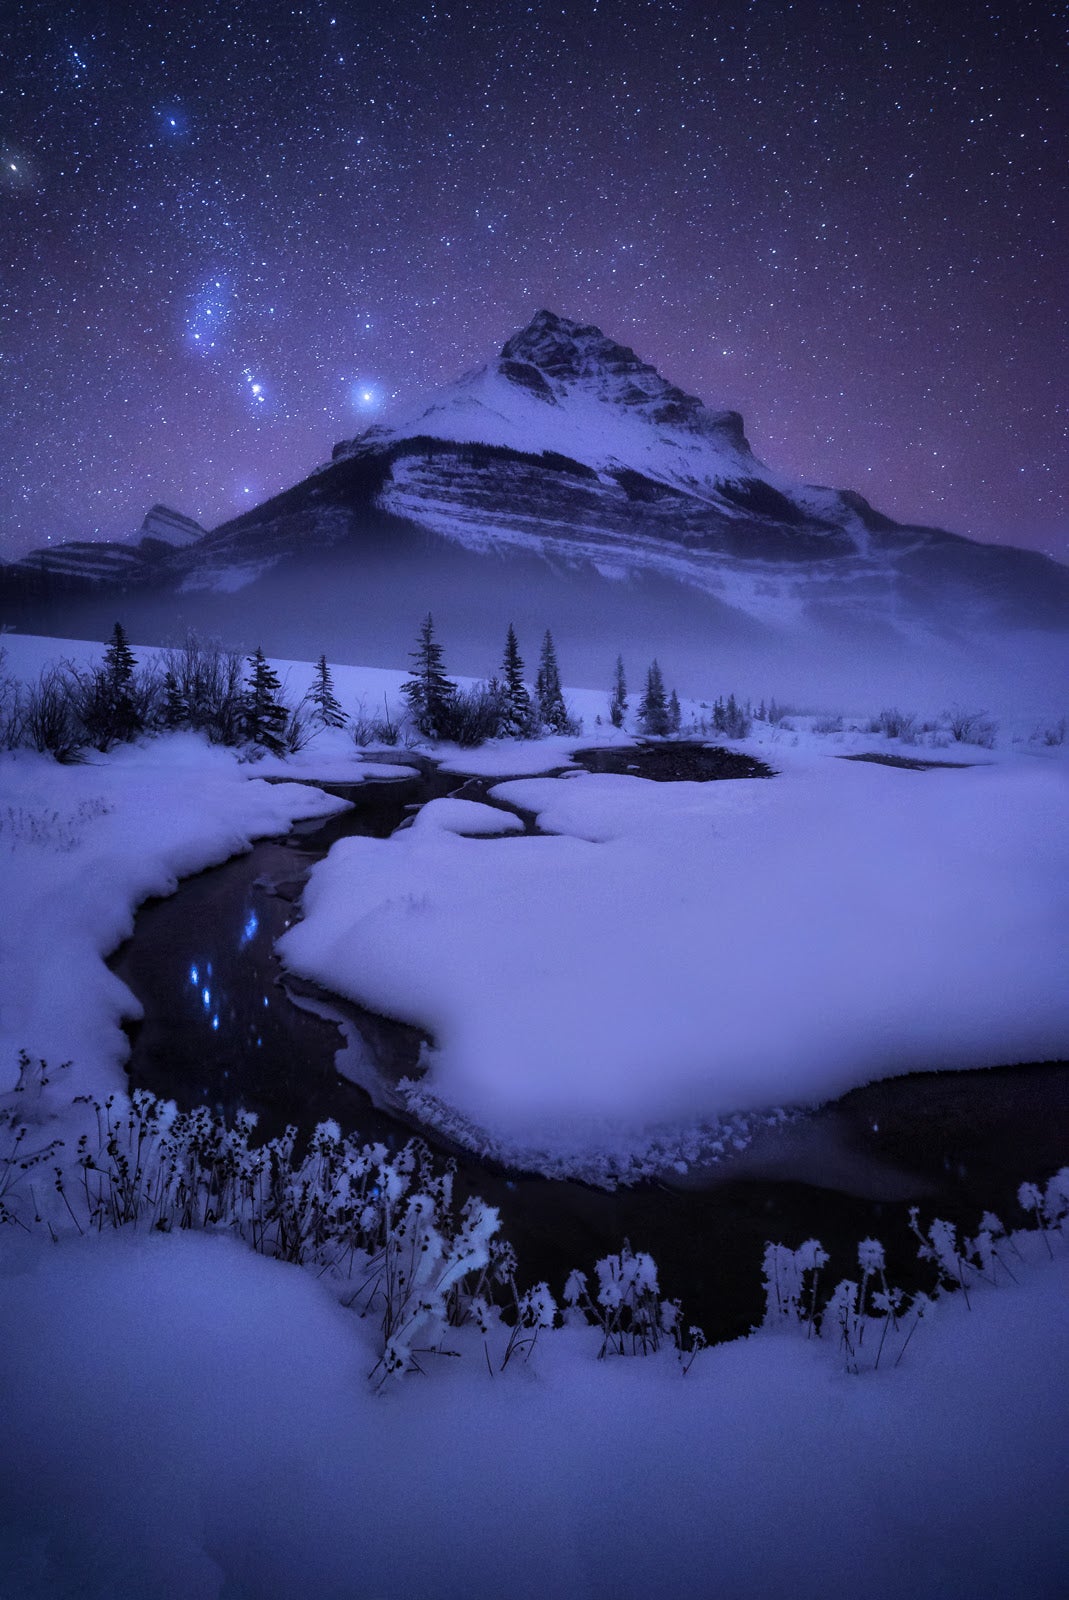
Tangle Peak, Jasper Alberta. Sony α7S. 18mm lens. Foreground: 30 seconds, f/3.5, ISO 3200; Stars: 15 seconds, f2.8, ISO 3200
Getting The Shot In One Exposure
It’s absolutely possible to get a stunning image in a single exposure. However, there will always be trade-offs in the decision-making process regarding camera settings.
For example, the Abraham Lake Nightscape below was taken in a single exposure during new moon. The challenge in capturing this image was that not only was it incredibly, cold, and windy (which made it hard not to get movement in the tripod and camera) but the ice was also shifting under my feet! My goal, therefore, was to get the shot as quickly and efficiently as possible. To help with the movement, I turned on the image stabilization in the camera (steady shot). Given that it was new moon, and very little ambient light, I opted for settings that allowed the most light into the camera. My settings were f/2.8, shutter of 25 seconds, and ISO 3200. I used a longer exposure so that I could get as much light on the overall landscape as possible. The trade-off with the longer exposure is that the stars began to trail.
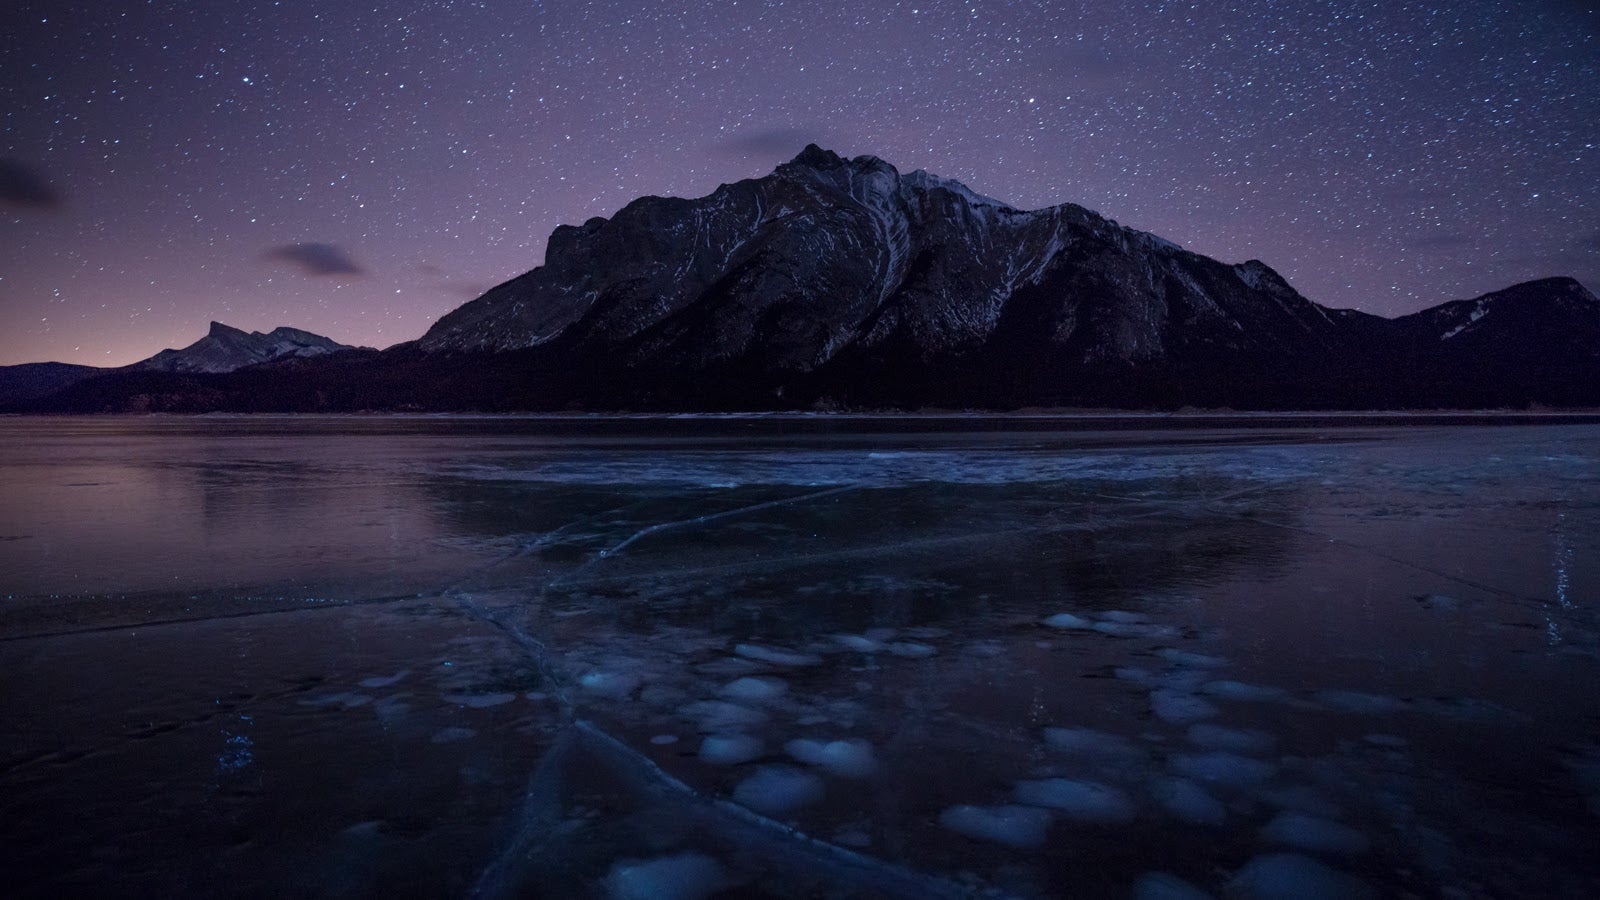
Abraham Lake, Alberta. 25 seconds, f/2.8, ISO 3200
The Vermillion Lakes nightscape pictured below is also a single image. However, this scene naturally has more ambient light because the lights from the town of Banff reflect off of the mountain. As a result, I was able capture the overall scene with a shorter exposure (f/2.8, 15 seconds, ISO 4000), and the resulting image has much sharper stars than the Abraham Lake image above.
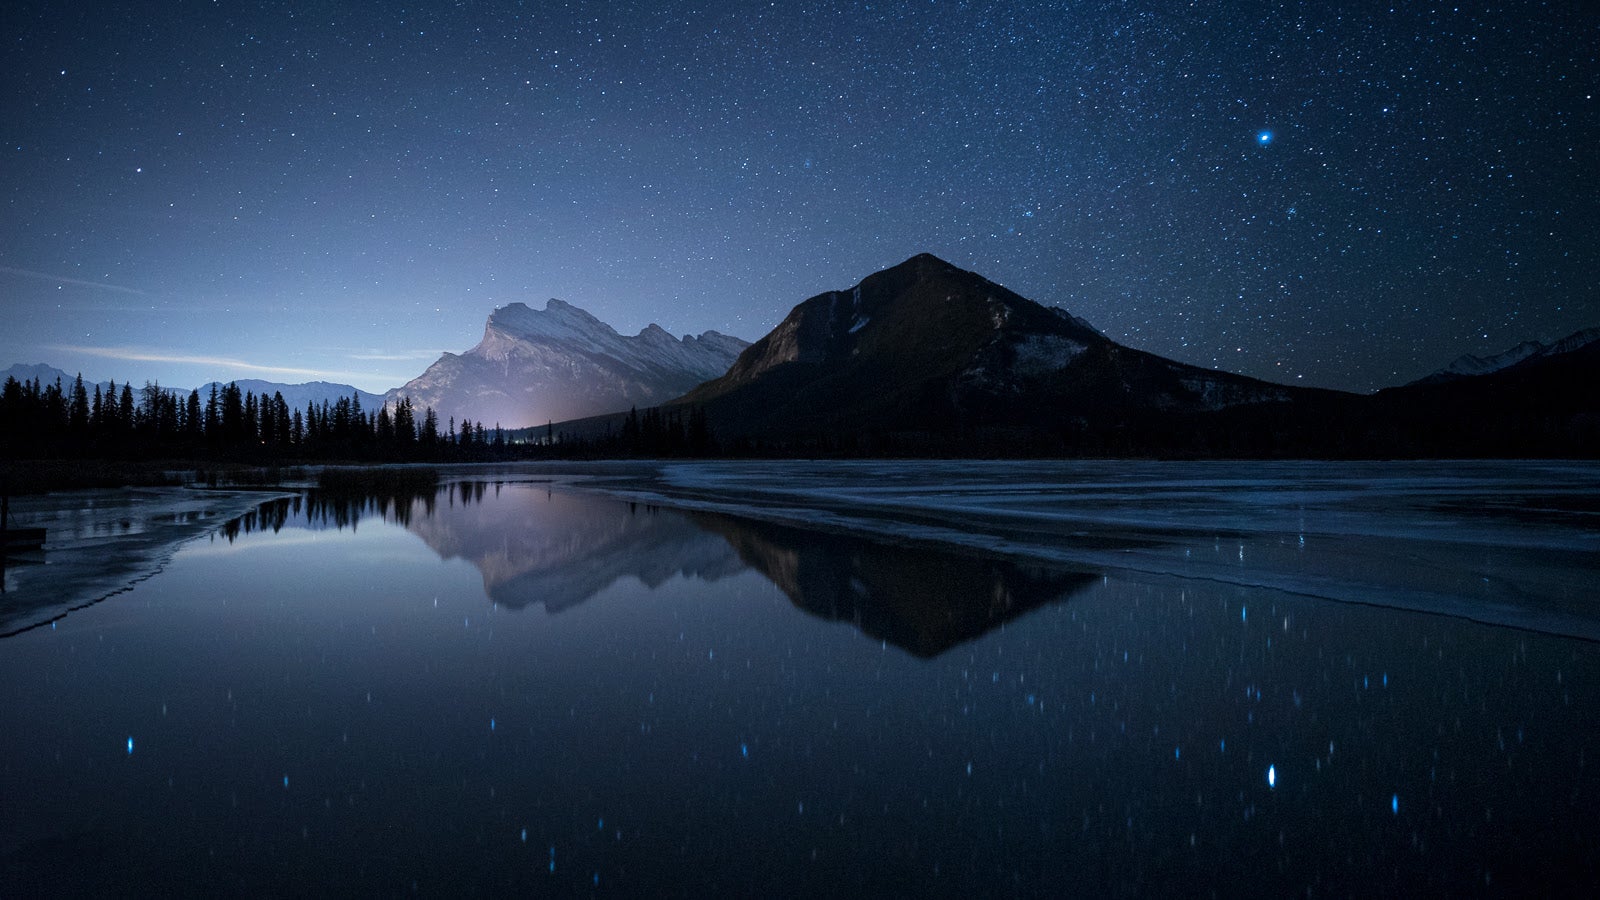
Vermillion Lakes, Banff Alberta. 15 seconds, f/2.8, ISO 4000
Getting The Shot In Multiple Exposures
Comfort with blending multiple exposures will enable you to get the most out of each element in the scene. For example, the ambient light in the 'Winter Cabin' photo below allowed me to shoot this scene in three exposures to get an extremely sharp and detailed image with very little noise. The cabin was photographed at f/11, 30 seconds (notice how sharp the details on the cabin are!), ISO 2500. The sky exposure was f/3.2, 13 seconds, ISO 3200, and the foreground was at f/3.5 (I needed a wider aperture for the foreground than for the cabin because there was less ambient light on the foreground), 30 seconds, ISO 3200. This image was photographed using my Sony α7S, with my 21mm lens.
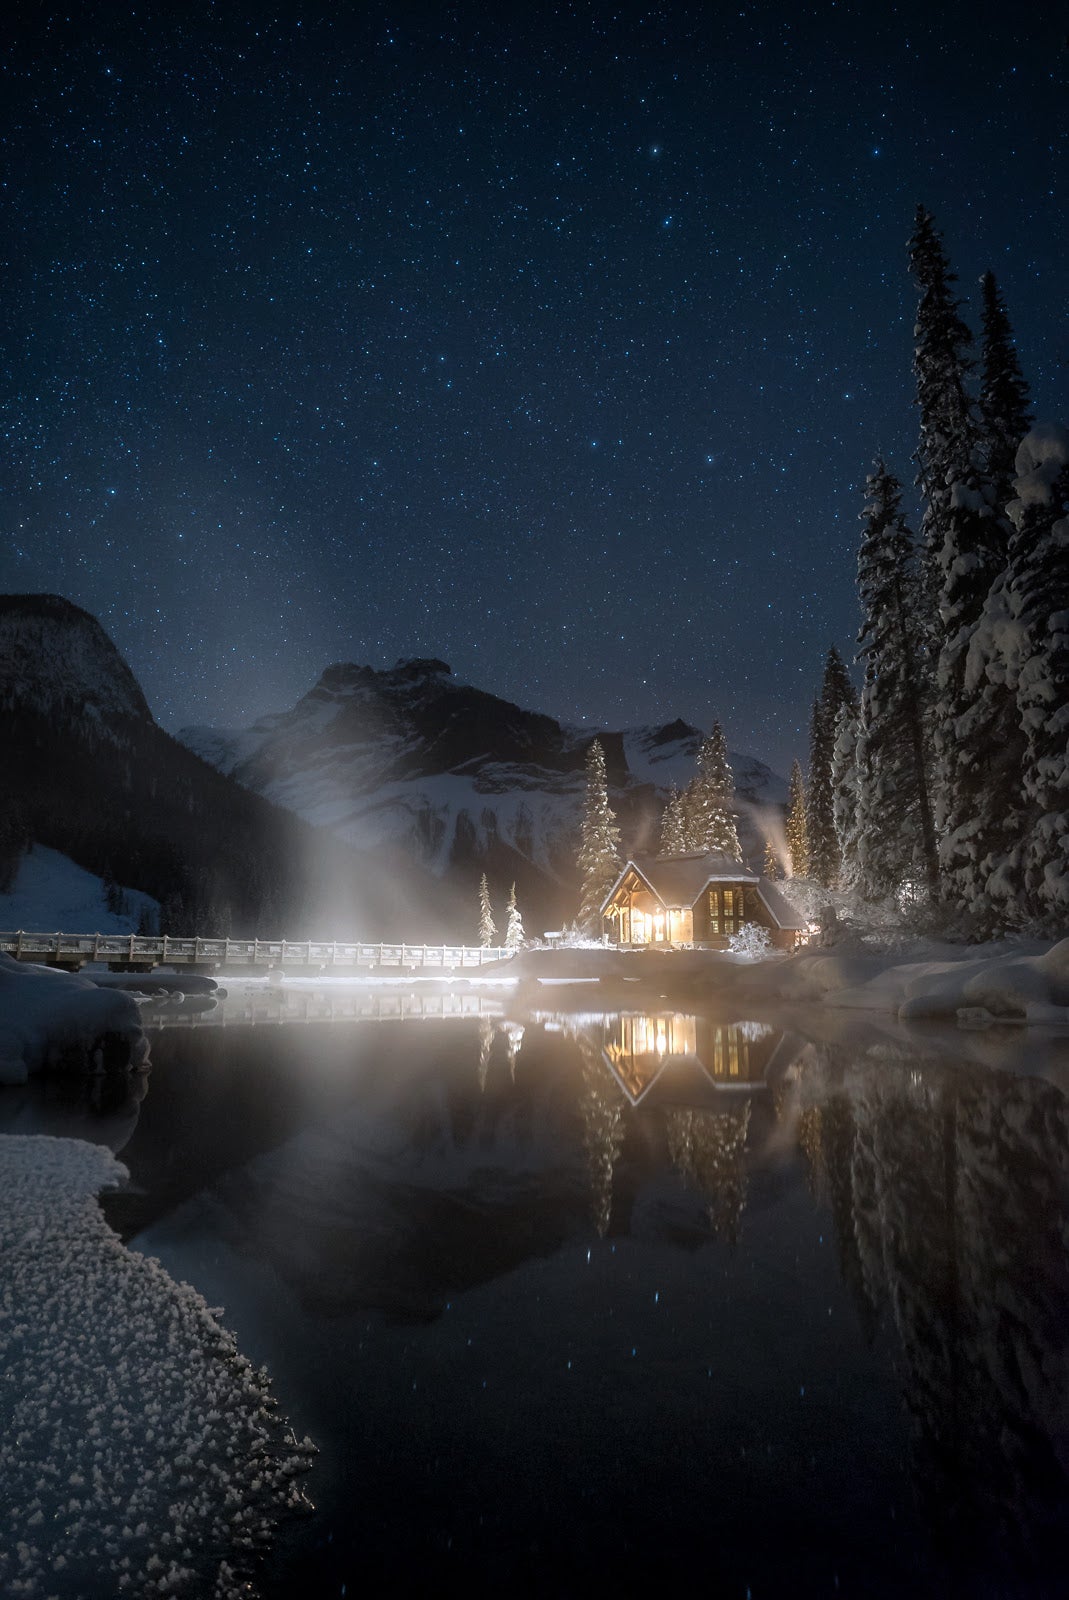
Winter Cabin. Sony α7S. 21mm lens. Three exposures. Cabin: 30 seconds, f/11, ISO 2500; Sky: 13 seconds, f/3.2, ISO 3200; Foreground: 30 seconds, f/3.5, ISO 3200
Advanced Astrophotography Techniques
There are other ways of obtaining super-sharp images with little noise when the ambient light is low, using other light sources. The image 'Raining Stars' below, for example, was photographed using a Sony α7R III with an 18mm lens on a new moon night. I took a shot focused in the distance to get the stars sharp (shot at f/2.8, 10 seconds, ISO 6400). By the time I put myself in the shot (without moving the camera) the pre-dawn light started to illuminate the foreground (shot at f/4, 0.8 seconds, ISO 800).
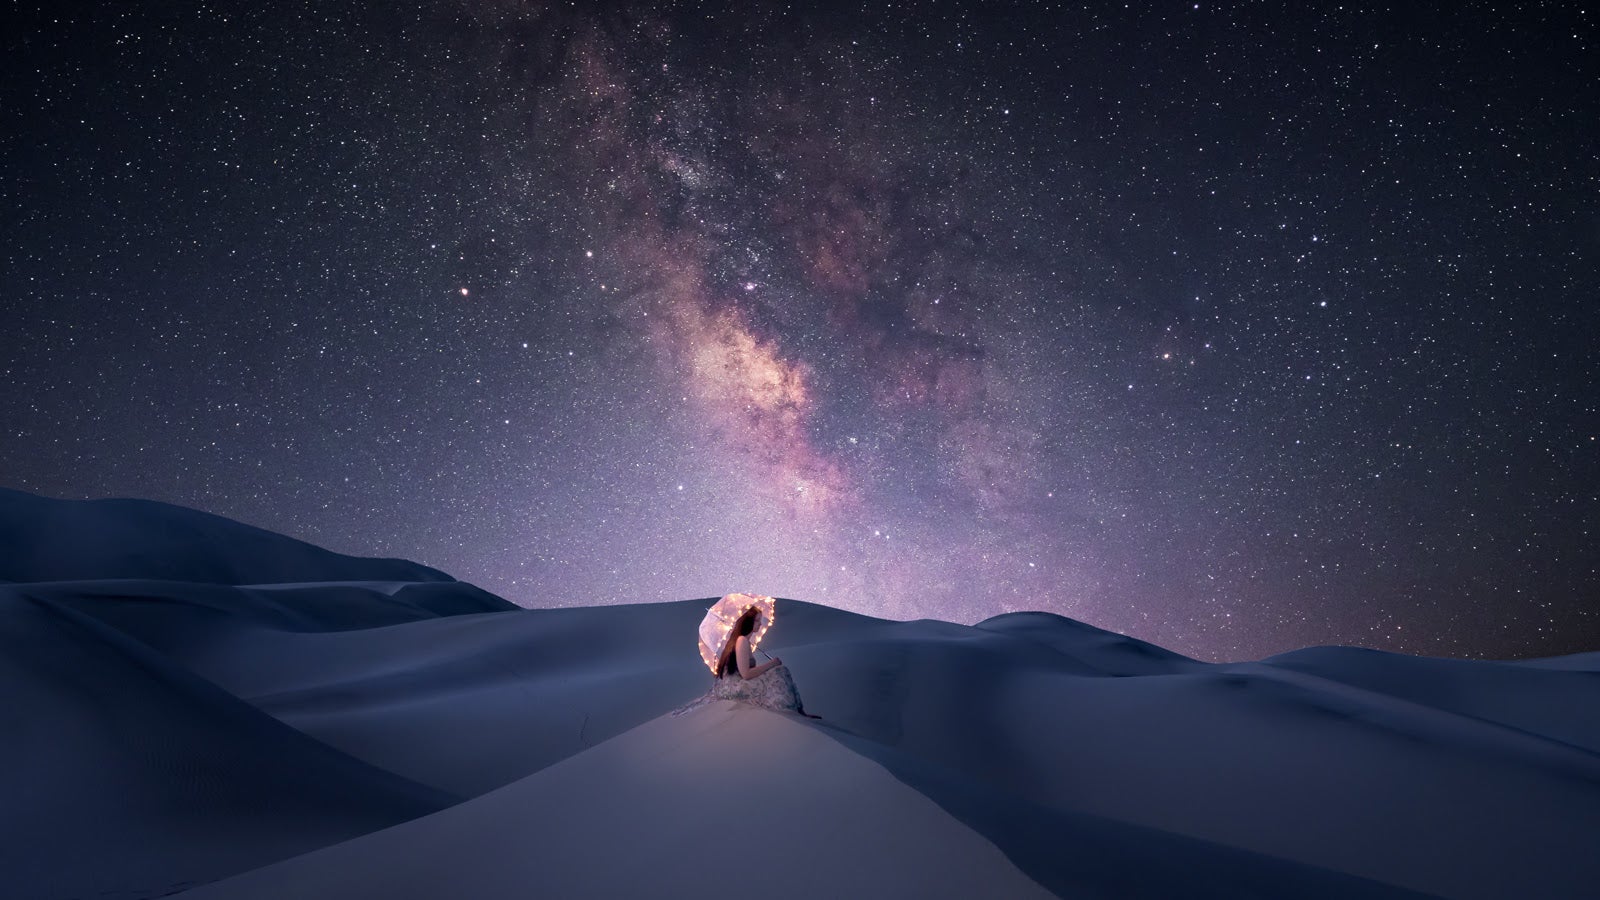
Raining Stars. Sony α7R III. 18mm lens. Main scene: 10 seconds, f/2.8, ISO 6400; Exposure of me in the scene: 0.8 seconds, f/4, ISO 800
You can also find me on Instagram @rachel_jones_ross, and on Facebook here
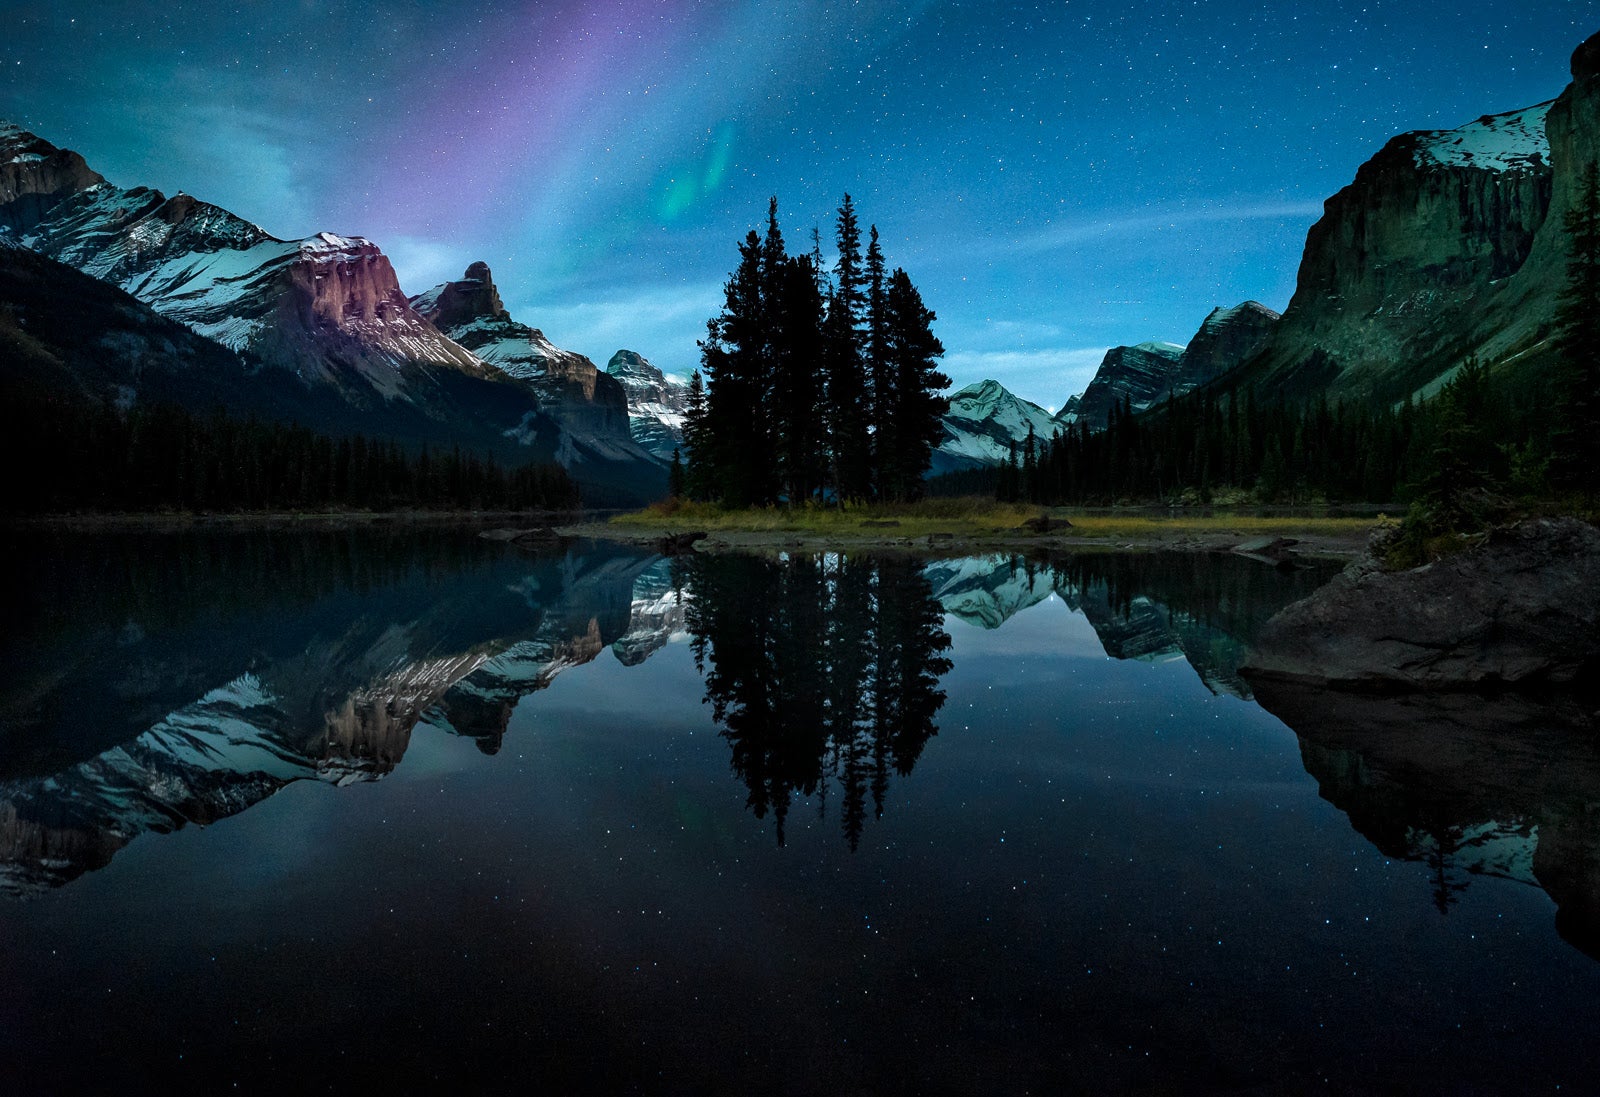
Spirit Island, Jasper. Sony α7S. 21mm lens. 10 seconds, f/2.8, ISO 4000
See you under the stars!

