As beautiful as they are elusive, the Northern Lights remain one of the world’s most impressive natural phenomena and biggest bucket-list opportunity for photographers, amateur and professional alike. Resulting from disturbances in Earth’s atmosphere caused by solar winds, the Northern Lights come in varying shapes, colors, and sizes, and are notoriously difficult to predict with any certainty. If you’re going to gamble your precious time and hard-earned money on a chance to see the Northern Lights, it’s best to have a plan; follow along below for some of my favorite tips and tricks for shooting the Aurora Borealis.
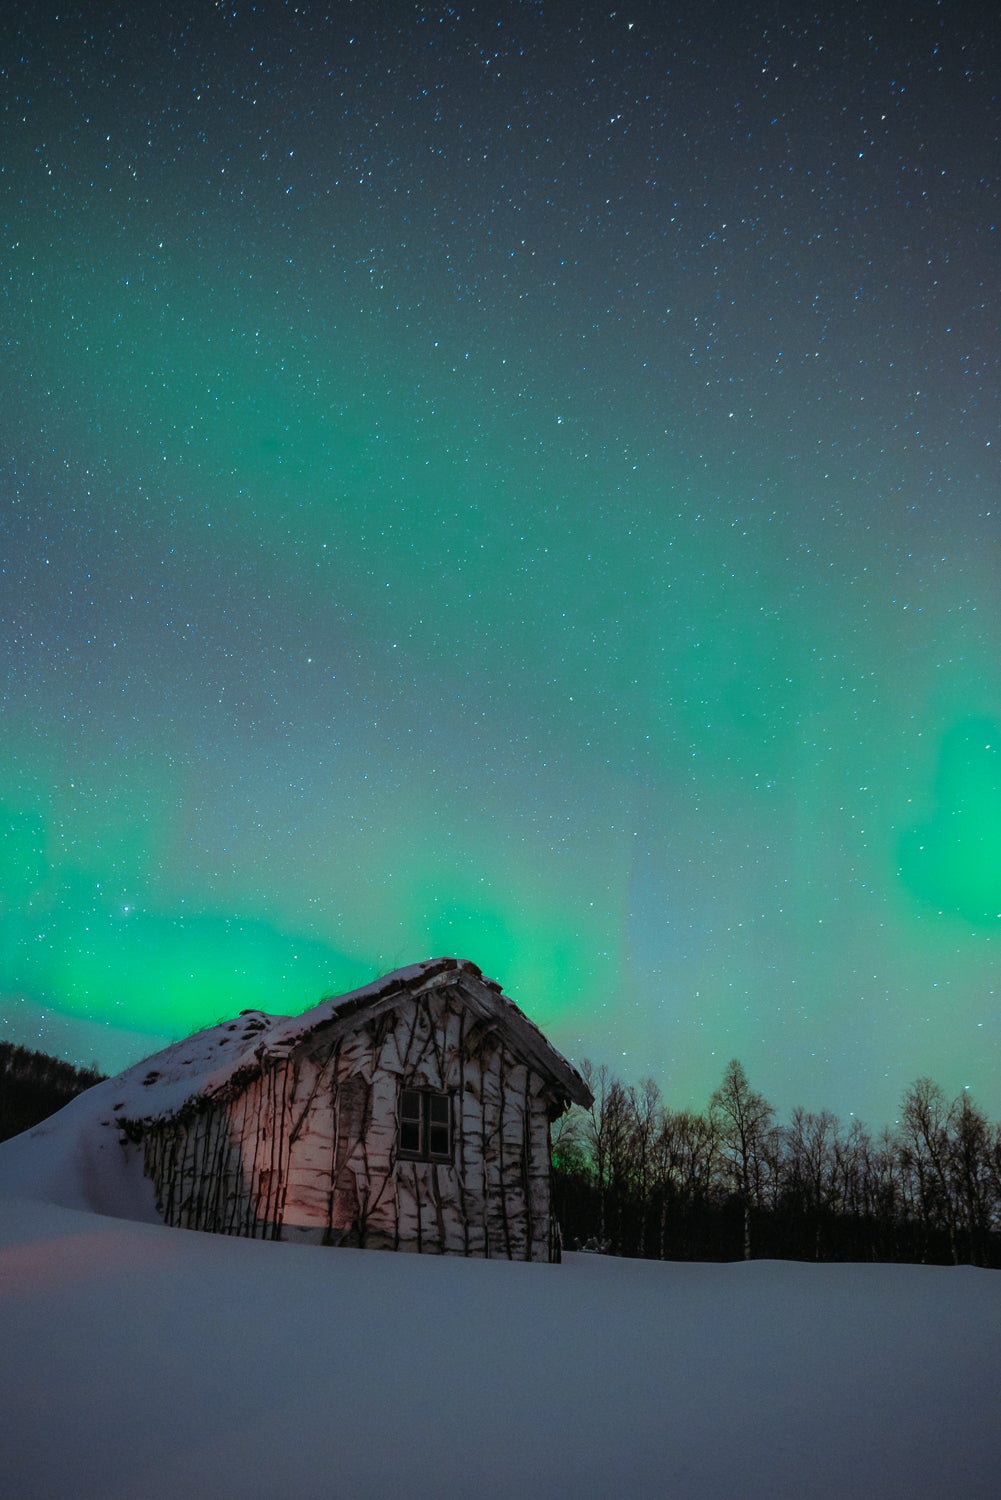
Sony α7R III. Sony 16-35mm f/2.8 G Master. 13 secs., f/2.8, ISO 4000.
How To Find The Northern Lights
Being the Northern Lights, the places they show most are notoriously dark and cold. Winter is by far the best time of year for viewing and, generally speaking, the further north you go, the better your chances: think Alaska, northern Canada, Greenland, and Iceland for primetime viewing, but the lights occasionally make their way into the northern reaches of the continental United States. The intensity of the aurora is measured by the Kp Index, which rates from 0 to 9, with 0 being nothing and 9 being the lightshow of a lifetime.
The aurora is practically impossible to predict on the long-term, but there are some reliable medium to short term forecasts that are publicly available that I use regularly: The University of Alaska, Fairbanks provides a great forecast for Alaska and Western Canada, and the app “Aurora” is great for more localized information. Aurora can also be used to set up notifications and alarms to let you know when the lights are about to turn on wherever you may be. This is particularly handy when the aurora is forecasted to peak at 4am and I fall asleep well before.
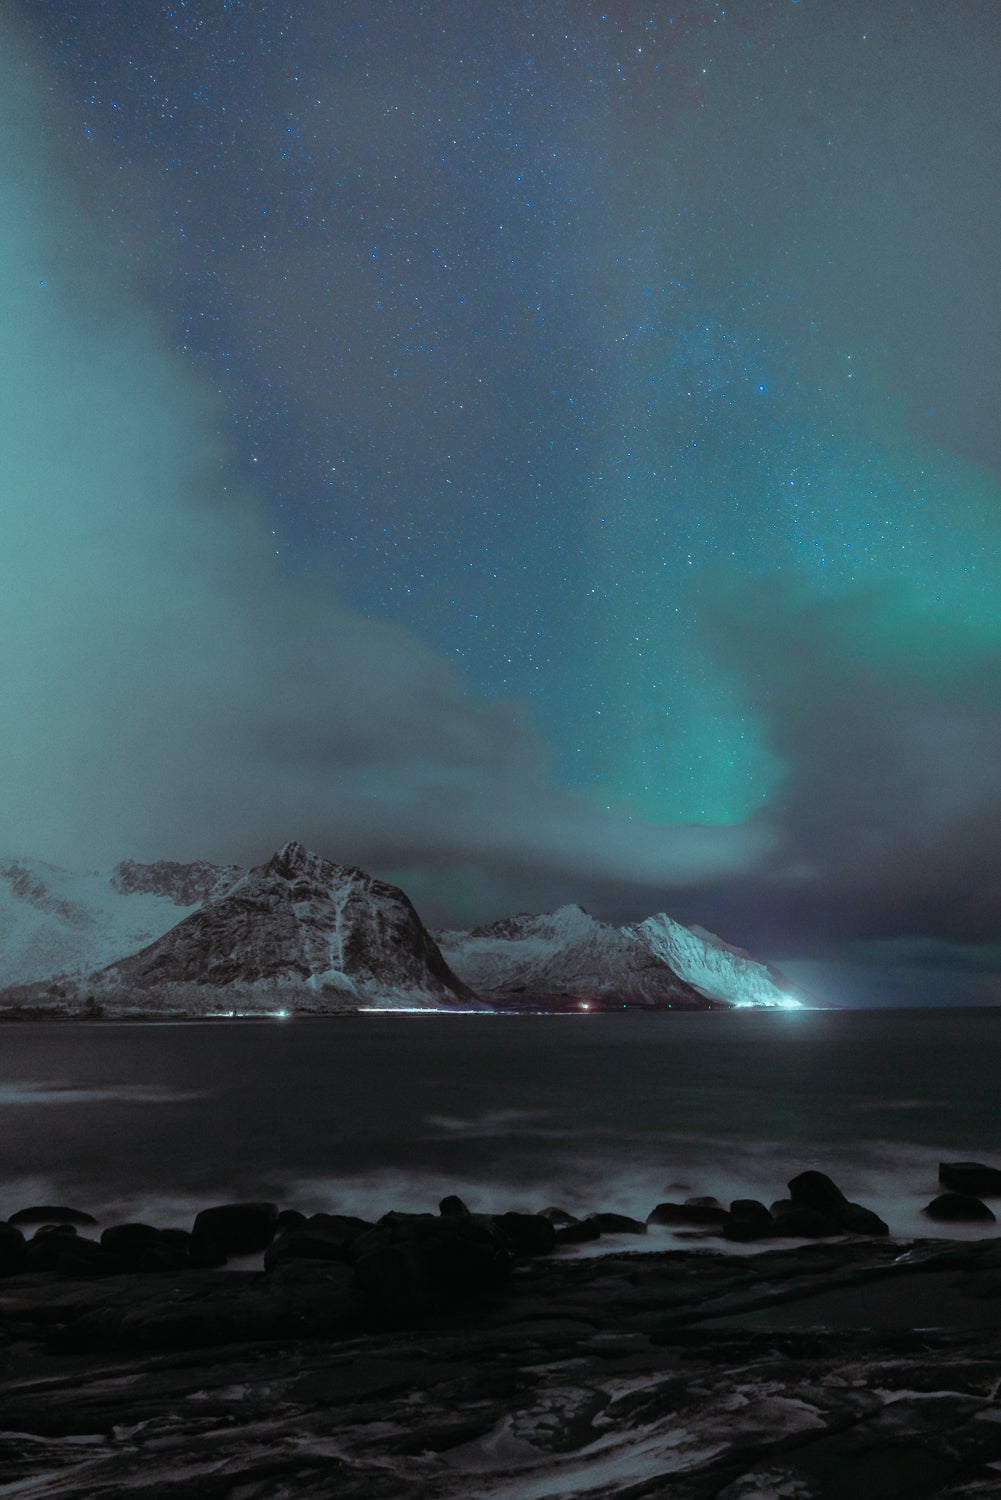
Sony α7R III. Sony 16-35mm f/2.8 G Master. 15 secs., f/2.8, ISO 2500.
Prepping For A Night Of Shooting
Packing warm, layered clothing and the requisite accessories (gloves, hat, hand warmers, etc.) are key to comfort in these harsh conditions. Bring a source of light as well (preferably a hands-free one, like a headlamp), to make sure you’re able to see what you’re doing. The nights up north are long, and if you’re going to be standing outside for hours on end waiting for the show to start, do it in safety and comfort. There’s nothing like being outside when it’s -30F only to realize you’ve left your gloves at home.
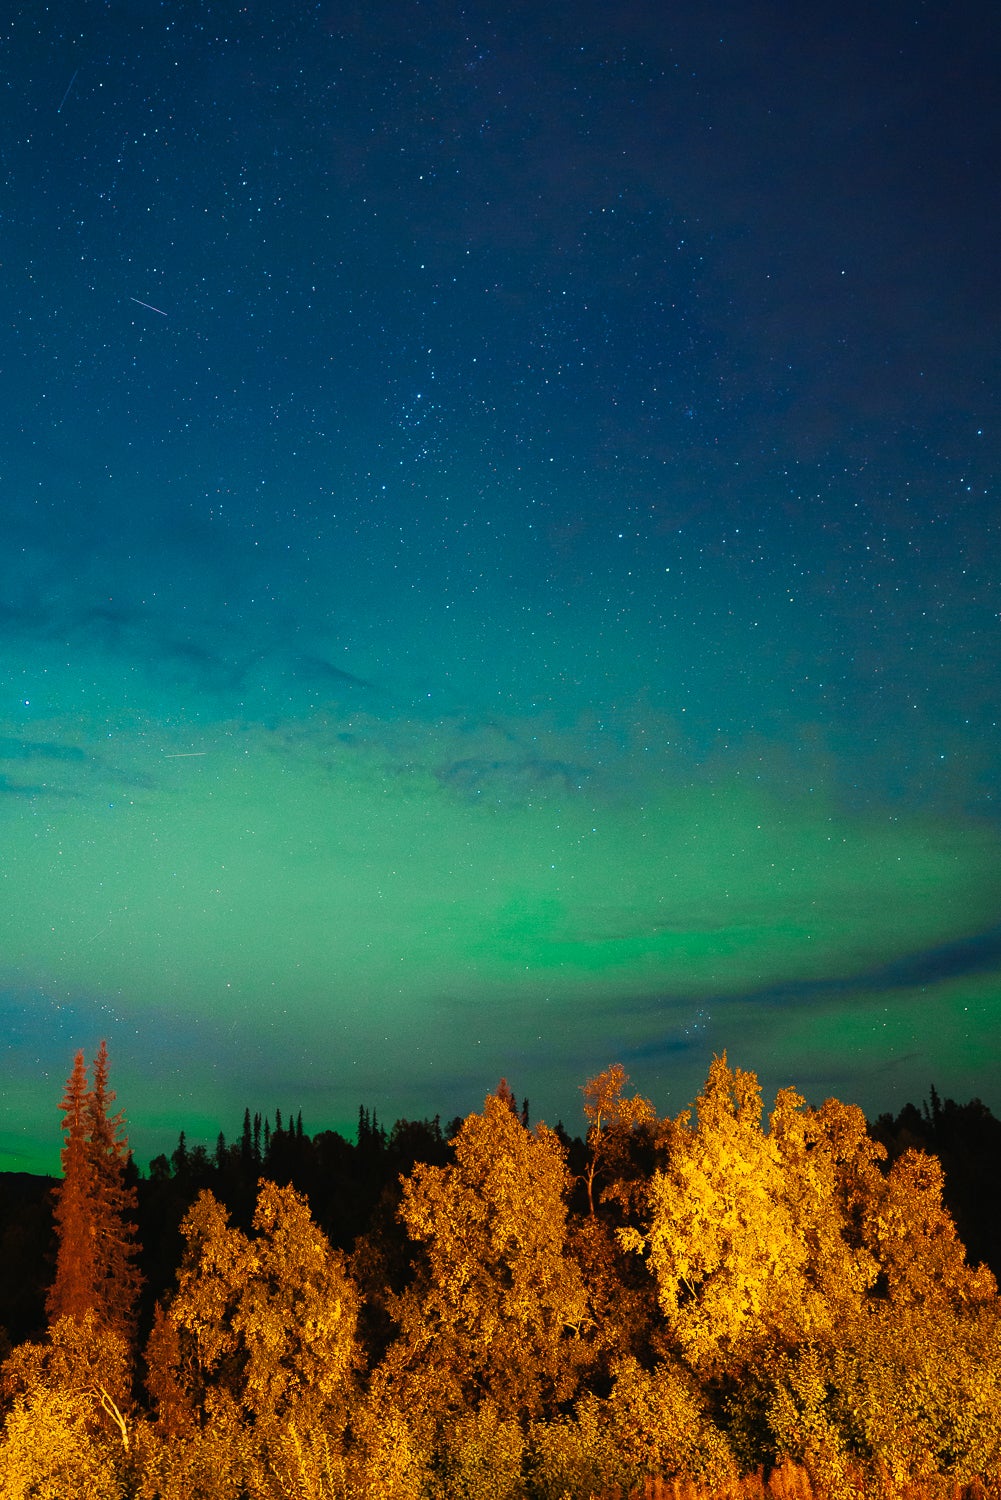
Sony α7R III. Sony 24mm f/1.4 G Master. 5 secs., f/1.4, ISO 2000.
Camera Gear For The Northern Lights
A number of combinations of camera and lens will allow you to capture the Northern Lights, but best results are going to be had with a full-frame camera paired with a wide lens with a fast aperture. The Sony α7 III and α7R IV will provide excellent results when paired with the Sony 24mm f/1.4 or 16-35mm f/2.8 G-Master lens, allowing you to capture a wide field of view with as little noise as possible.
Also, as with any type of night or long-exposure situation, a sturdy tripod you trust is key. One with an adjustable head that allows you to switch from landscape to vertical orientation will make changing compositions much easier in the dark and cold. Attaching an intervalometer to the camera is also wise as it eliminates any shake in the camera as you trigger the shutter. The two second timer shutter release setting can also accomplish the same task. Fortunately, Sony Alpha cameras come with a software intervalometer installed, which means that’s one less piece of gear to buy and inevitably loose, if you’re anything like me.
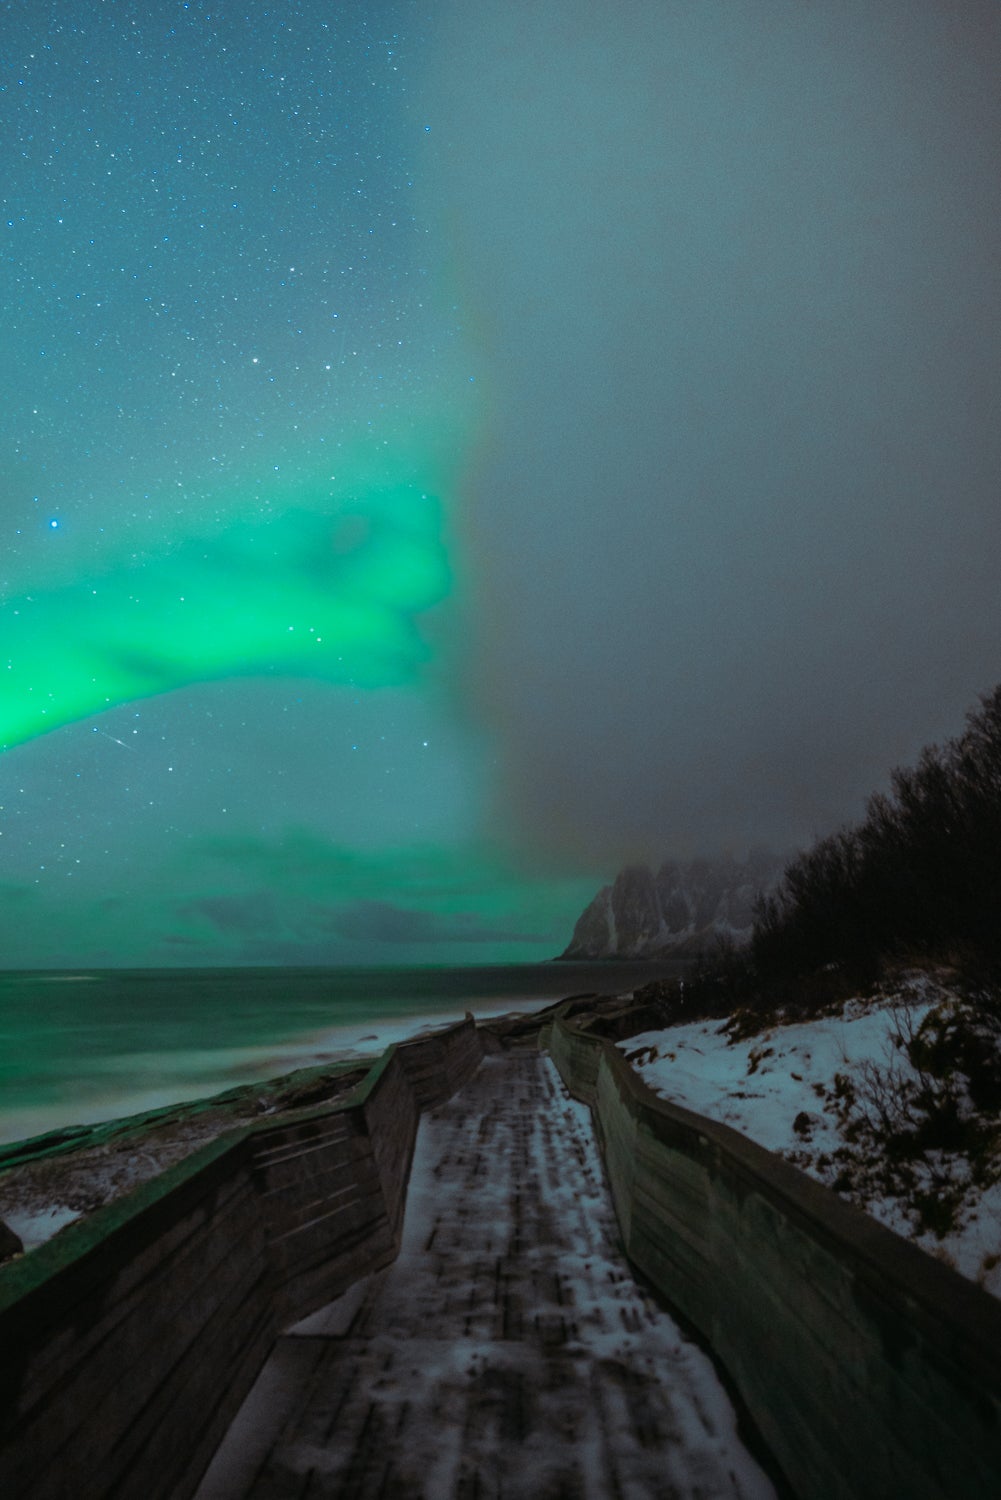
Sony α7R III. Sony 16-35mm f/2.8 G Master. 30 secs., f/2.8, ISO 2500.
Camera Setup & Settings For The Northern Lights
Unlike the Milky Way or other star formations, the Northern Lights can vary in speed and intensity. There’s no proverbial “set it and forget it” shutter speed that comes with traditional astrophotography, and the Aurora's ever-changing appearance will require you to change your settings on the fly.
First and foremost, make sure you’ve got your focus on the sky nailed. I use a Sony α7R III which is adept at grabbing focus in the dark, but I often double-check by enabling focus-peaking, magnifying, and fine-tuning with the focus ring on the lens. Once I’ve got my focus sharp and have reviewed a few test shots to verify, I’ll turn the camera to manual focus to ensure I don’t lose it accidentally.
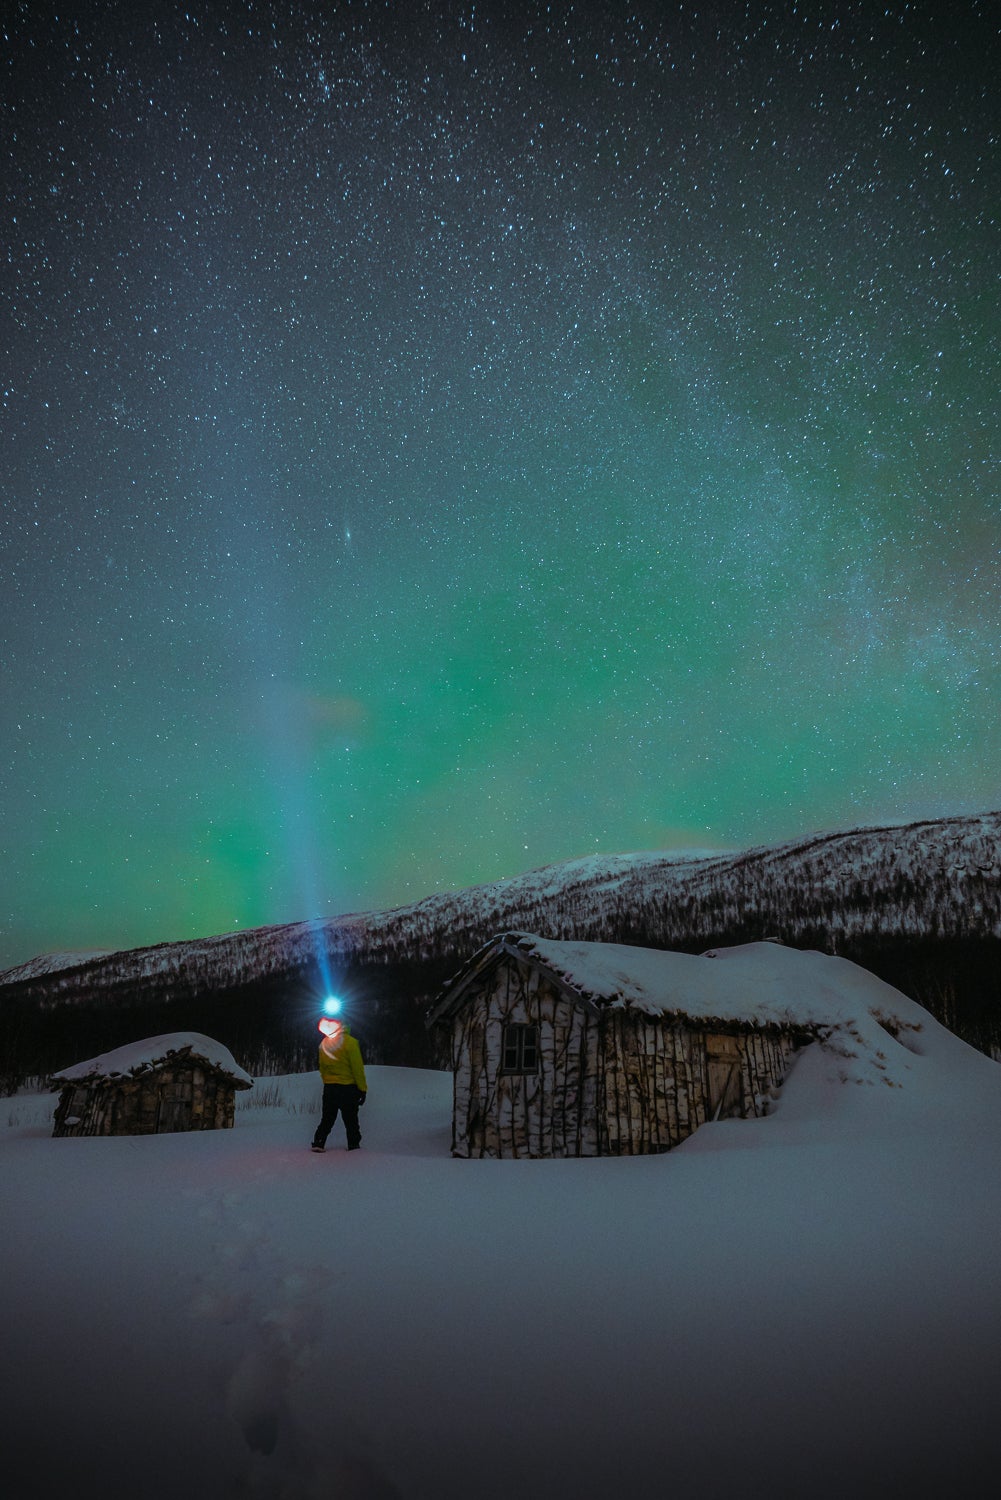
Sony α7R III. Sony 16-35mm f/2.8 G Master. 15 secs., f/2.8, ISO 4000.
If the lights are somewhat dim and difficult to see with the naked eye, I’ll use a longer shutter speed (15-25 seconds), the fastest aperture my lens allows (f/2.8 or f/1.4), and ISO to taste (usually between 800-1200). This longer shutter speed allows the glow of the aurora's colors to fill the frame. If the lights are vibrant, visible, and moving quickly, it’s important to use a quicker shutter speed to freeze their movement; the glowing, flowing streaks of the aurora can quickly become a green mush if the shutter is left open too long. In these situations I try to use a shutter speed no slower than 4 seconds, an aperture of f/2.8 or f/1.4, and an ISO between 3200 and 6000 depending on conditions. I used to be hesitant to push the ISO above 2500, but the latest Sony Alpha bodies are capable of producing amazing results at much higher ISO settings.
And, most importantly, don’t forget to enjoy the show! It’s a great privilege to see and experience the Aurora Borealis, and it isn’t afforded to many. The best memories aren’t digital, but the ones we make for ourselves.

