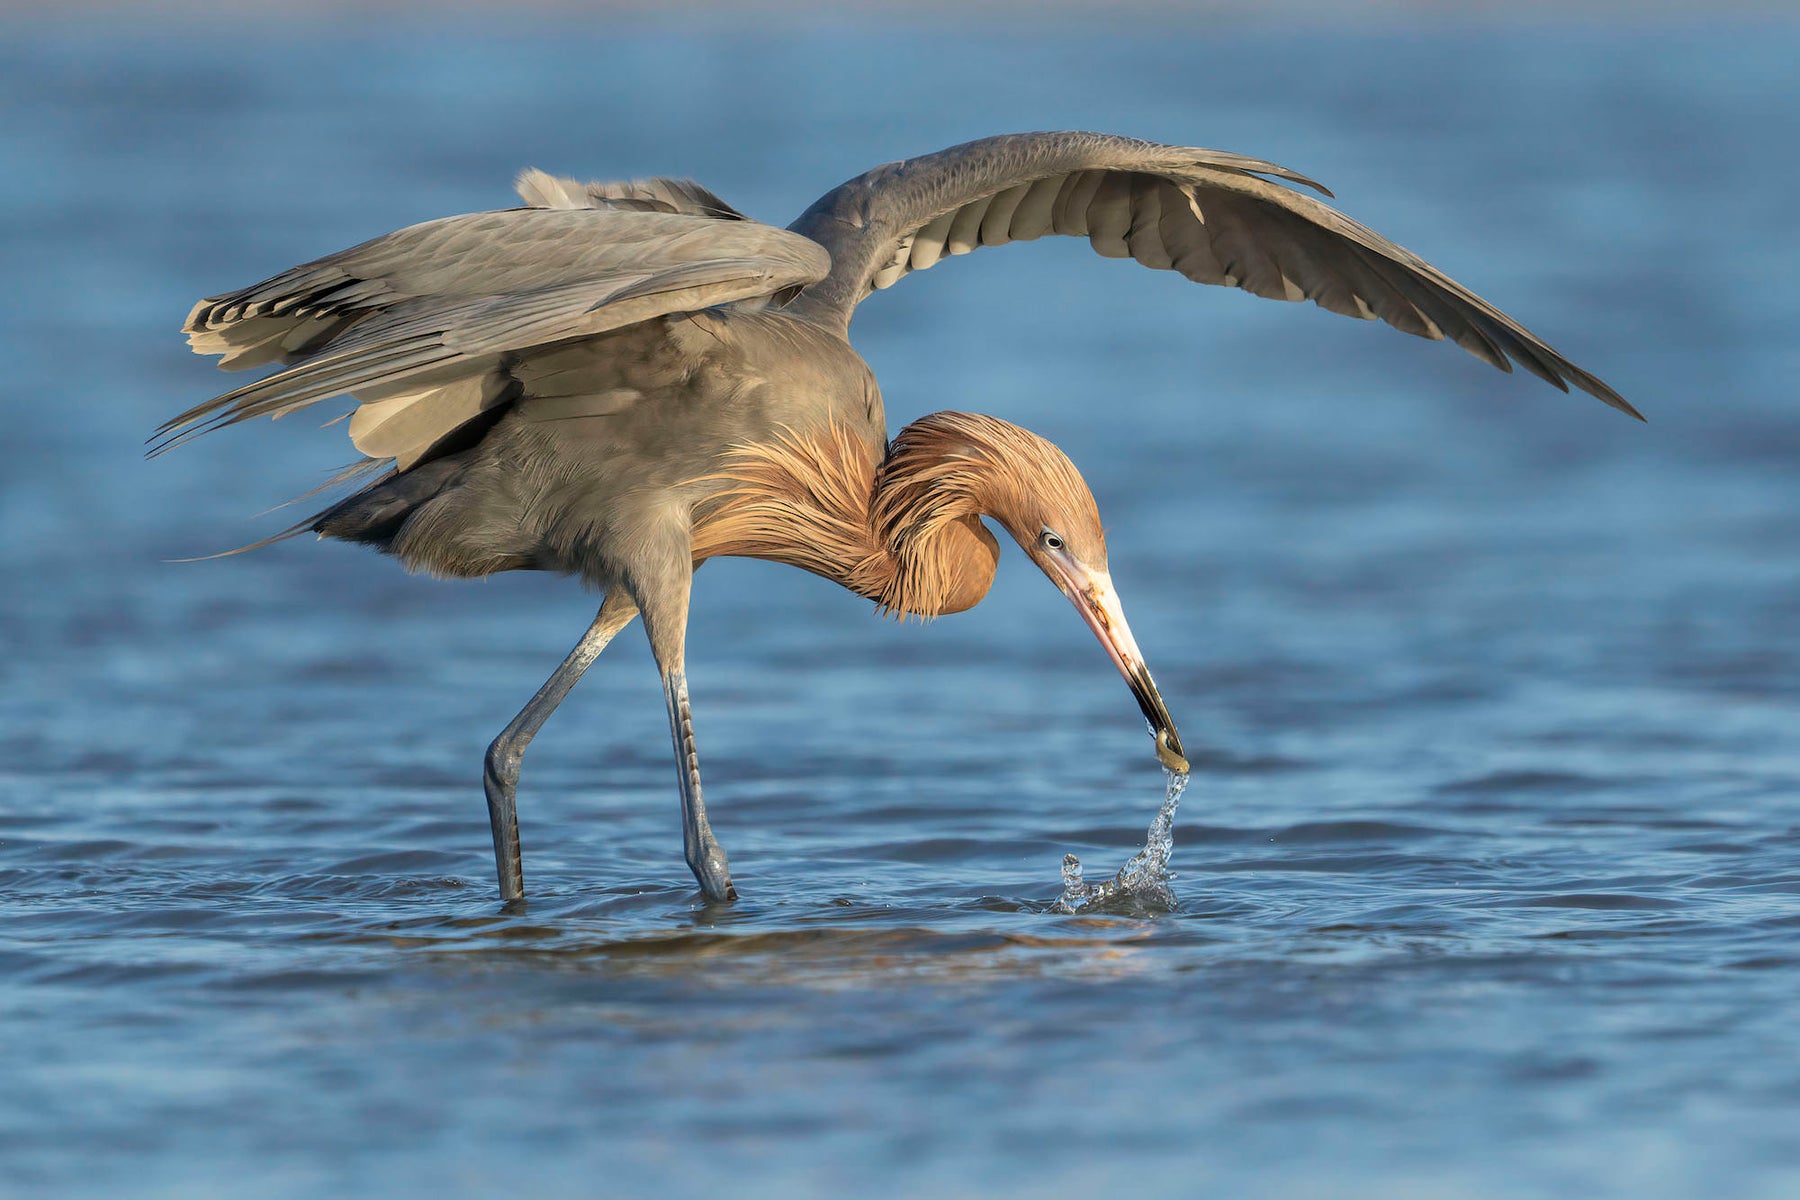
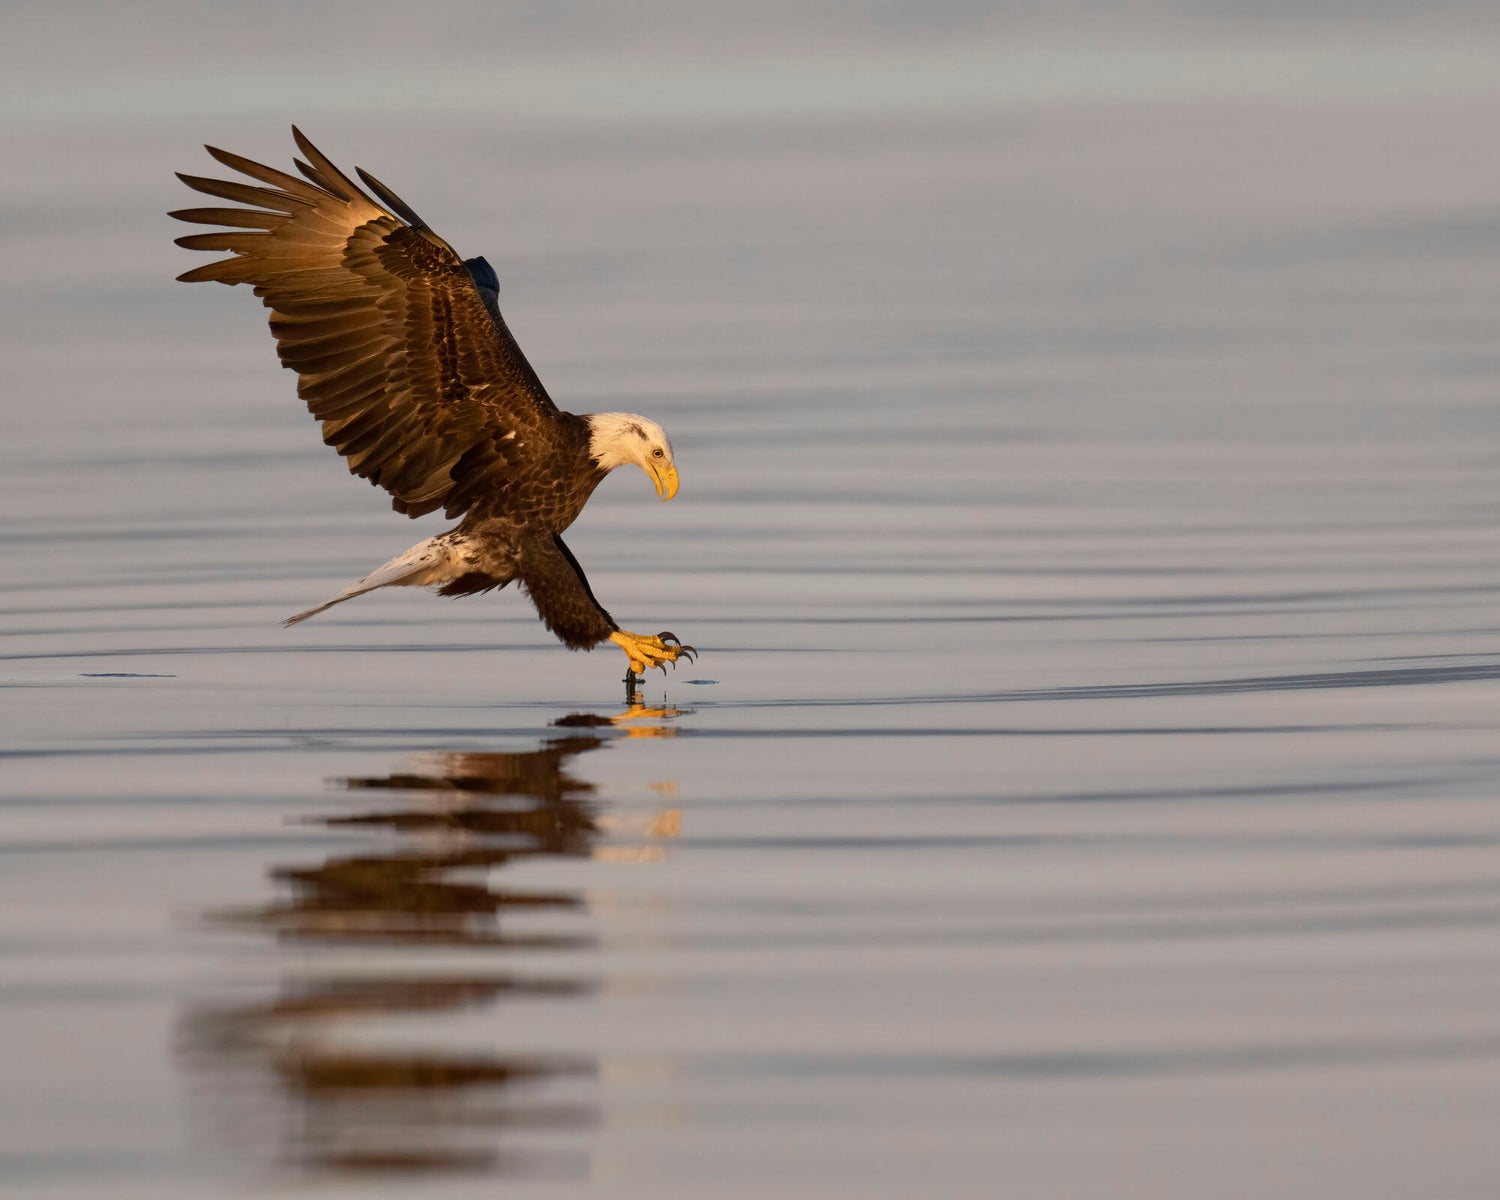
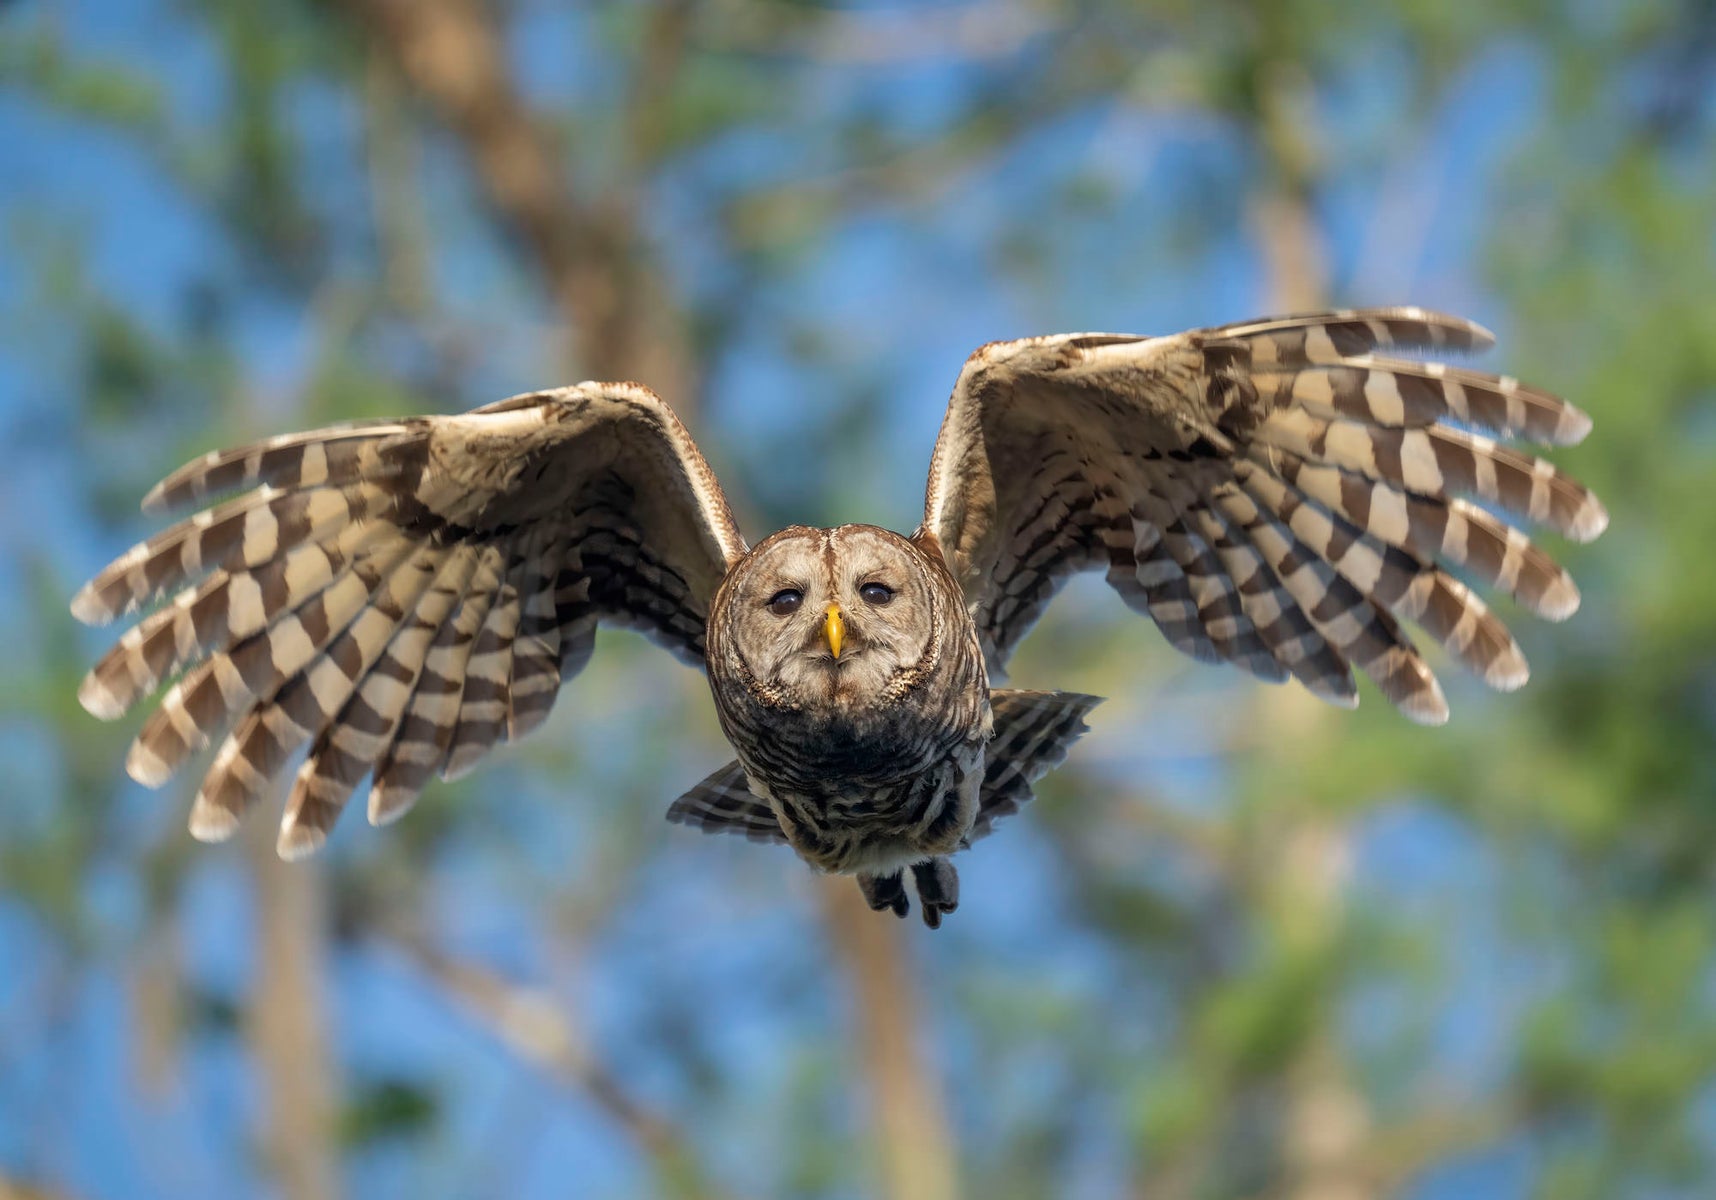
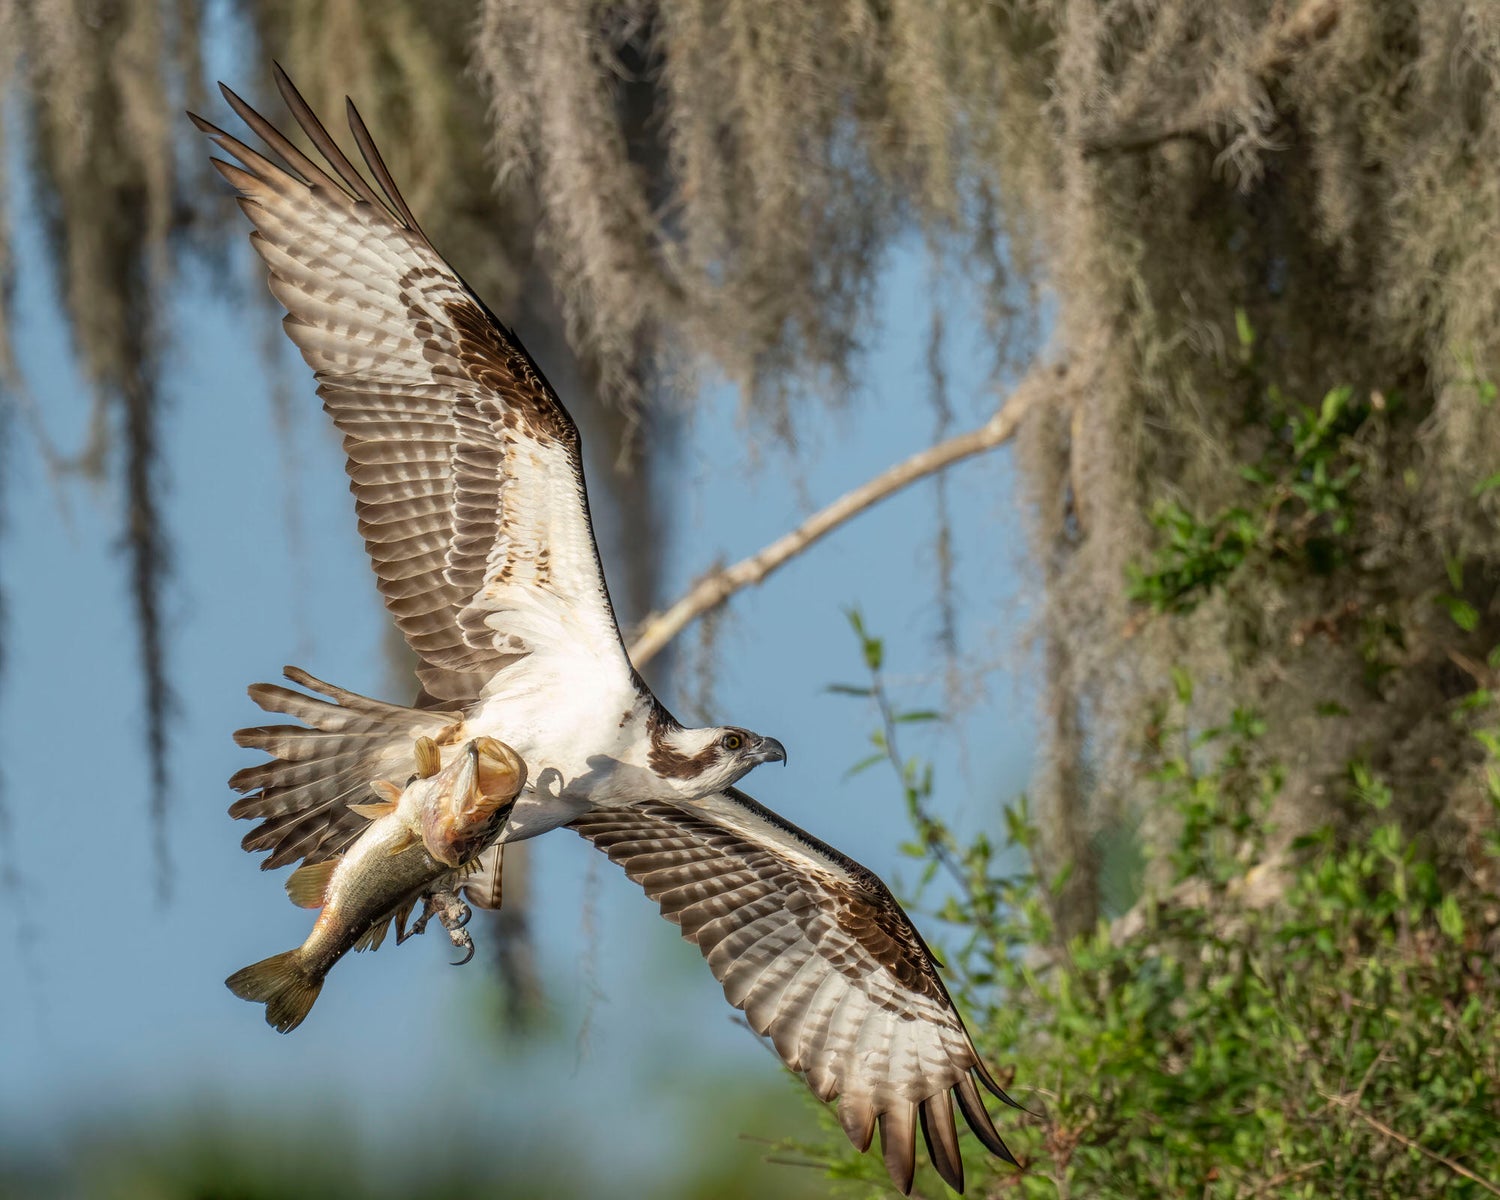
Professional photographer, educator and Sony Artisan Matt Kloskowski finds bird photography to be one of the most rewarding areas of photography he's ever experienced. Nothing beats the accomplishment you get from getting that great shot, and in order to get that great shot, you have to have your camera dialed-in and ready. Over the years through trial and error Kloskowski has learned how to set his camera to photograph birds of all kinds and in any situation. Below he breaks down his camera settings for bird photography using his Sony Alpha 1 camera. Keep reading to learn how to setup your camera for both stationary birds and birds in action. Learn more about the gear he uses for bird photography and more in his What’s In My Bag article.
Professional photographer, educator and Sony Artisan Matt Kloskowski breaks down his camera settings for bird photography.
Shoot In Manual Mode
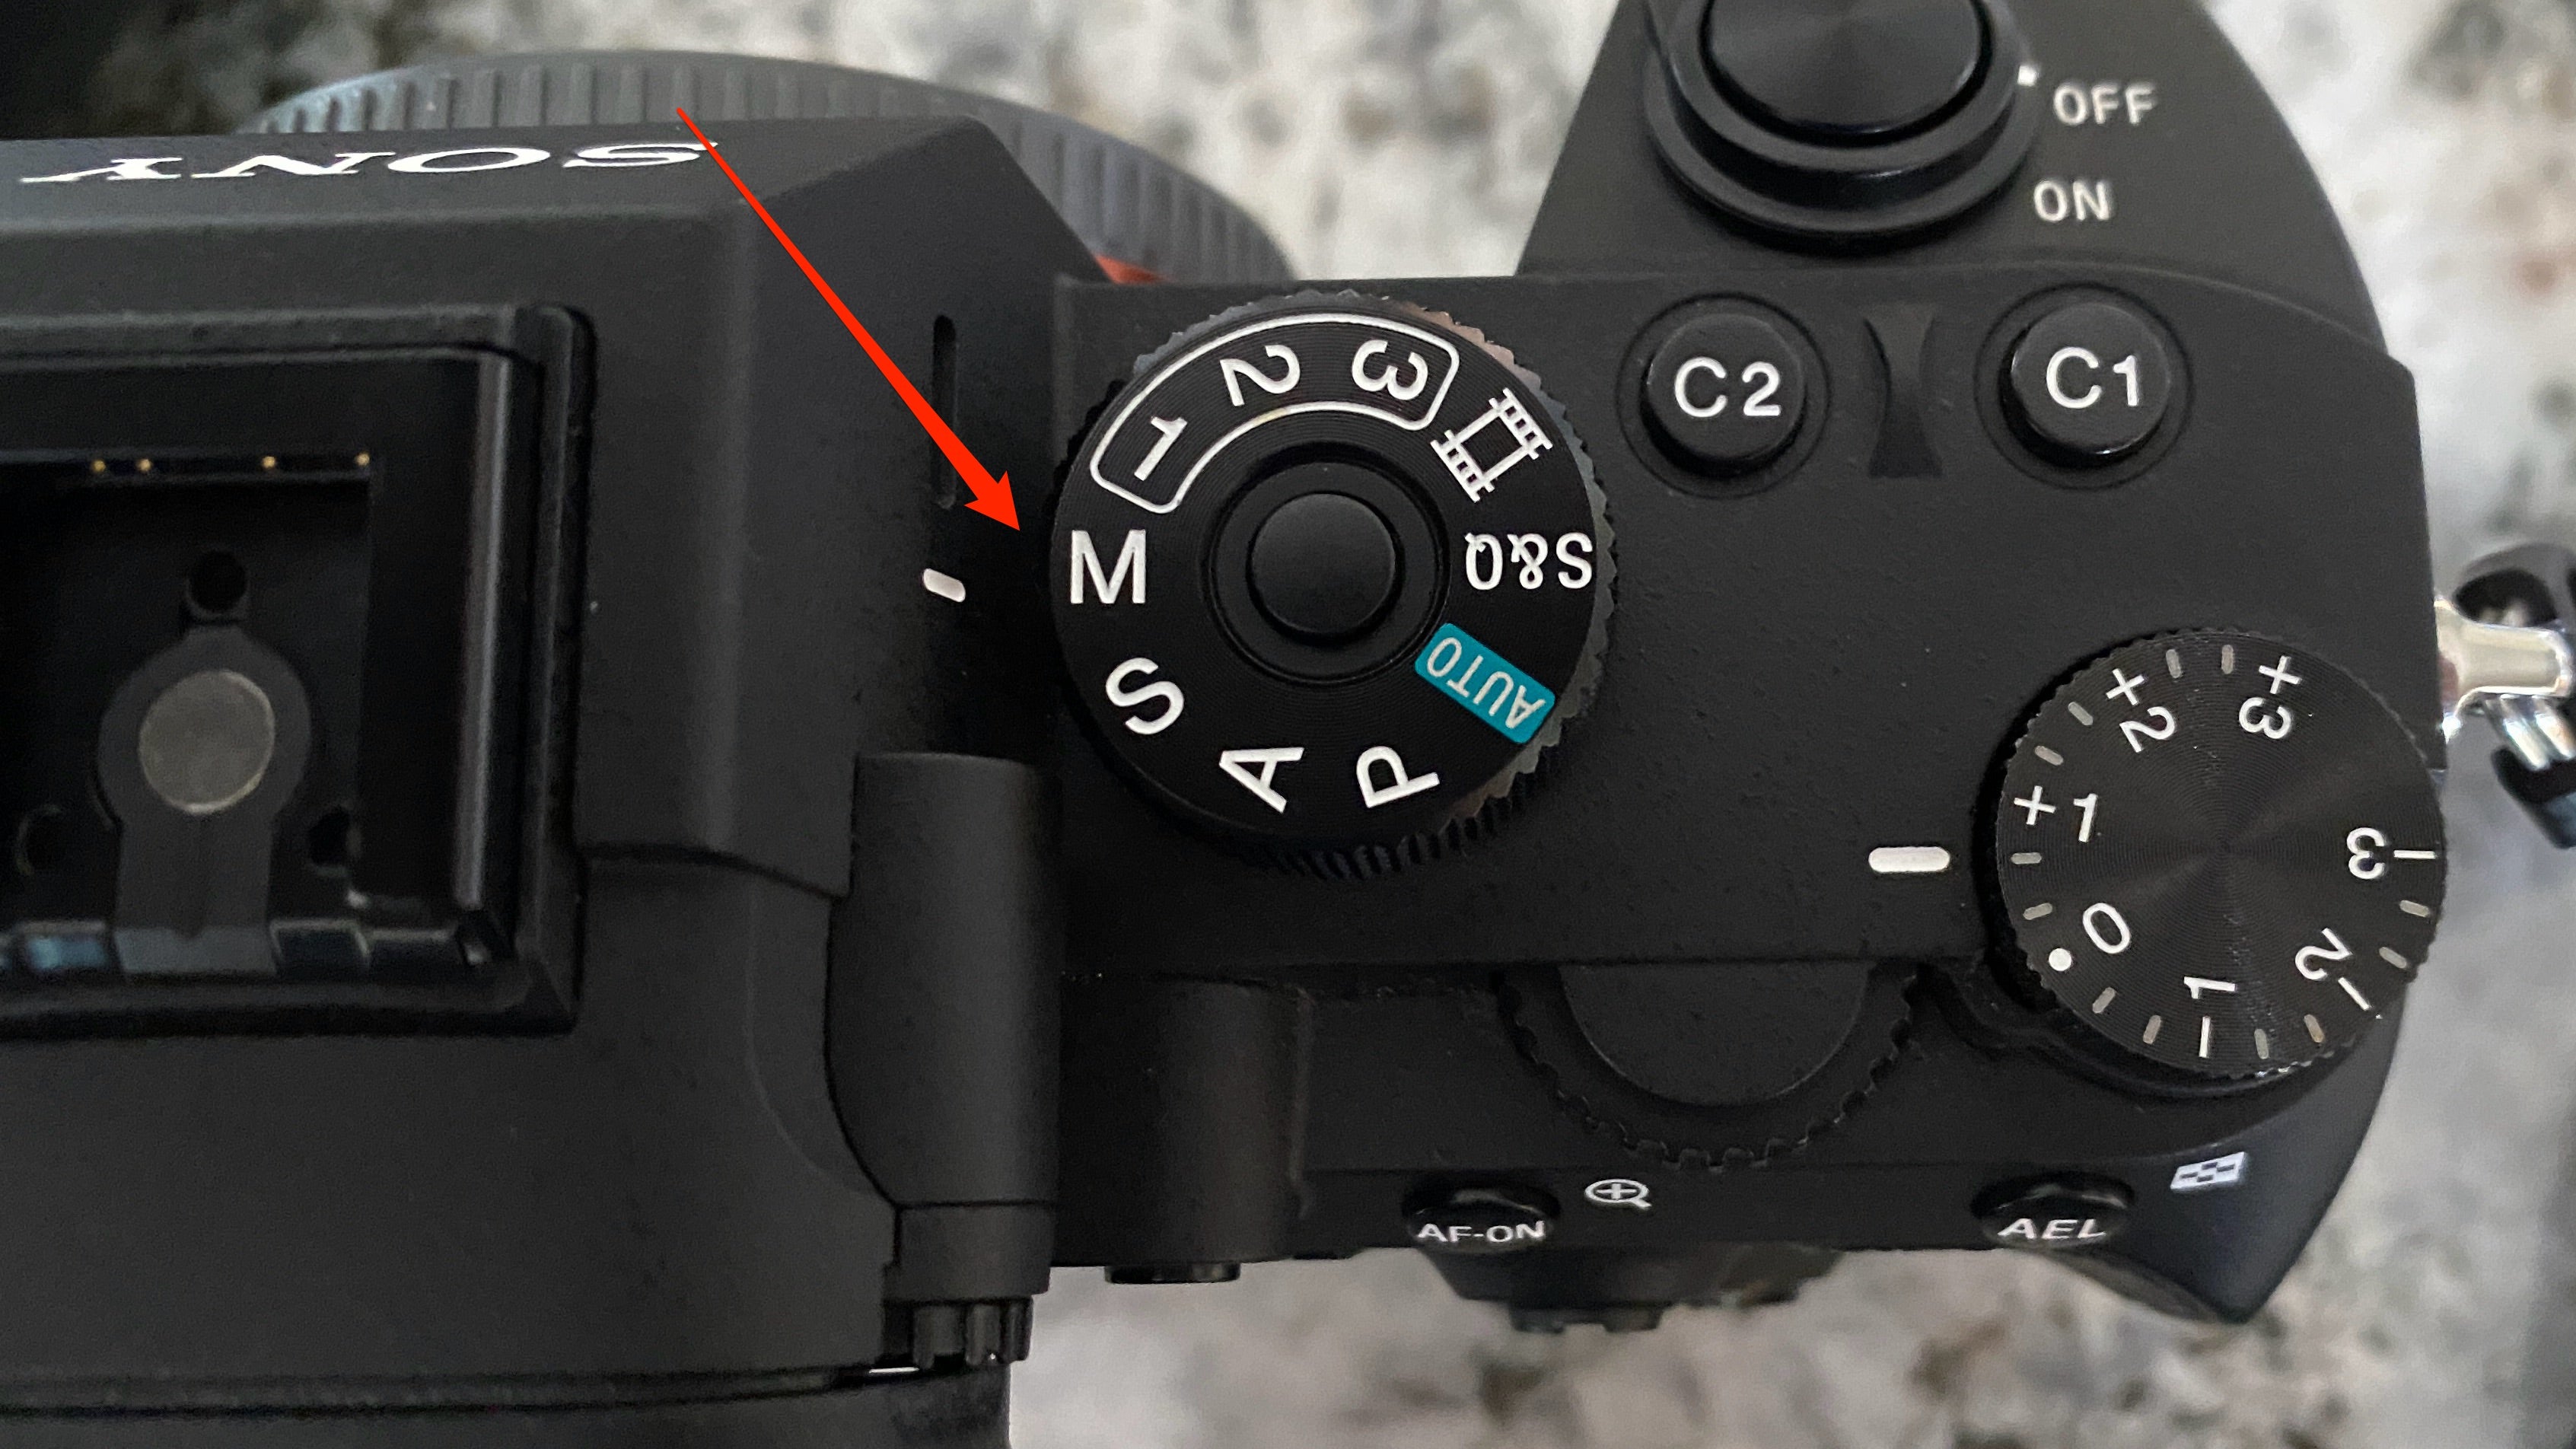
The first thing that Kloskowski says he does is pick his exposure mode. “This is going to be the overall exposure which is comprised of three things: aperture, shutter speed and ISO,” he explains. “For various types of photography you may want an auto exposure mode – something like Aperture Priority or Shutter Priority. For bird and wildlife photography, I prefer full manual mode. This gives us full control over everything which we need with these fast moving subjects.”
Choose The Lowest F-Stop
Next Kloskowski says to select your aperture to shoot wide open. “Now that I’m in Manual Mode, I’m generally going to choose the lowest f-stop number for that lens of whatever I’m using. The widest open aperture that I can possibly choose.”
Set The Shutter Speed Based On The Subject
When it comes to shutter speed, if it’s a perched bird, I’m going to go by a general rule of 1 over the focal length that I’m using. So if I’m using the Sony 600mm f/4 G Master lens, I’ll be somewhere around 1/600-sec., especially if I’m shooting handheld.If it’s a moving bird, my minimum is going to be 1/1600-sec. for a large, maybe slow-moving bird.”
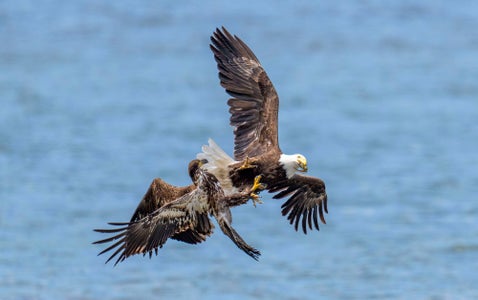
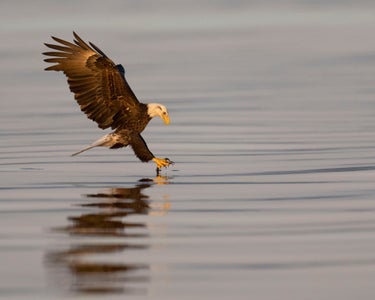
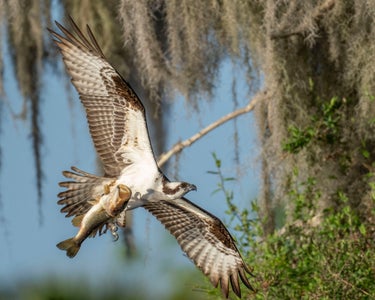
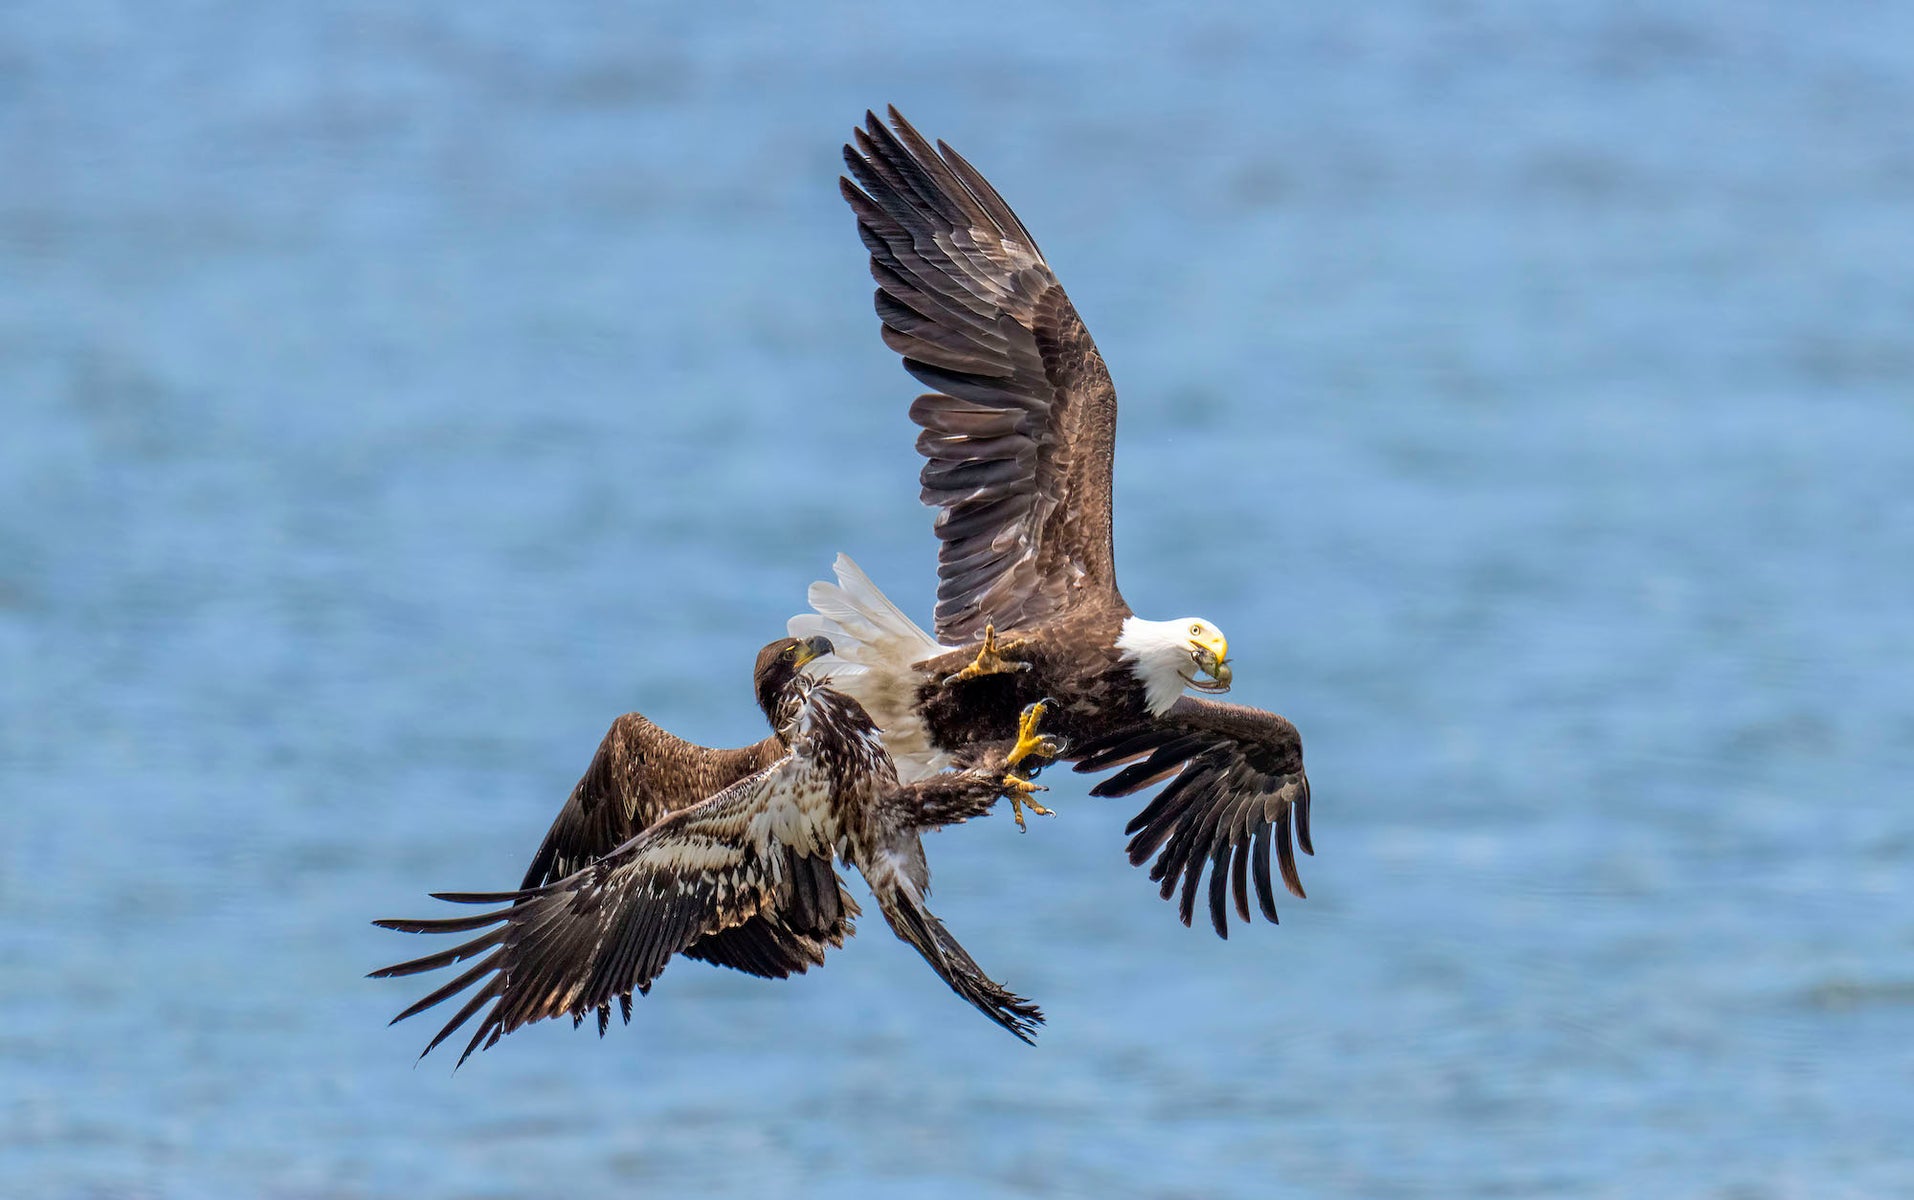
He continues, “But if it’s an eagle or an osprey, something moving faster, or the birds are in a little squabble over trying to catch a fish – I’m going to be at 1/2500 or even up to 1/3200-sec. Honestly 1/3200-sec. is what I walk out the door with. That’s what my camera is always set to because I know that it's going to freeze just about any action that I’m going to see.”
Use Auto ISO
After setting his aperture and shutter speed, Kloskowski selects his ISO as the final exposure component. “Now this is where manual mode can be intimidating because you’re in charge of the exposure,” he says. “When you’re outside and the sun is moving in and out of clouds and you’re moving in and out of shade, and your subjects are moving, and you’re pointing your camera in different places – it can be really intimidating to try to constantly set the exposure and be perfect at it. That’s where Auto ISO comes in.”
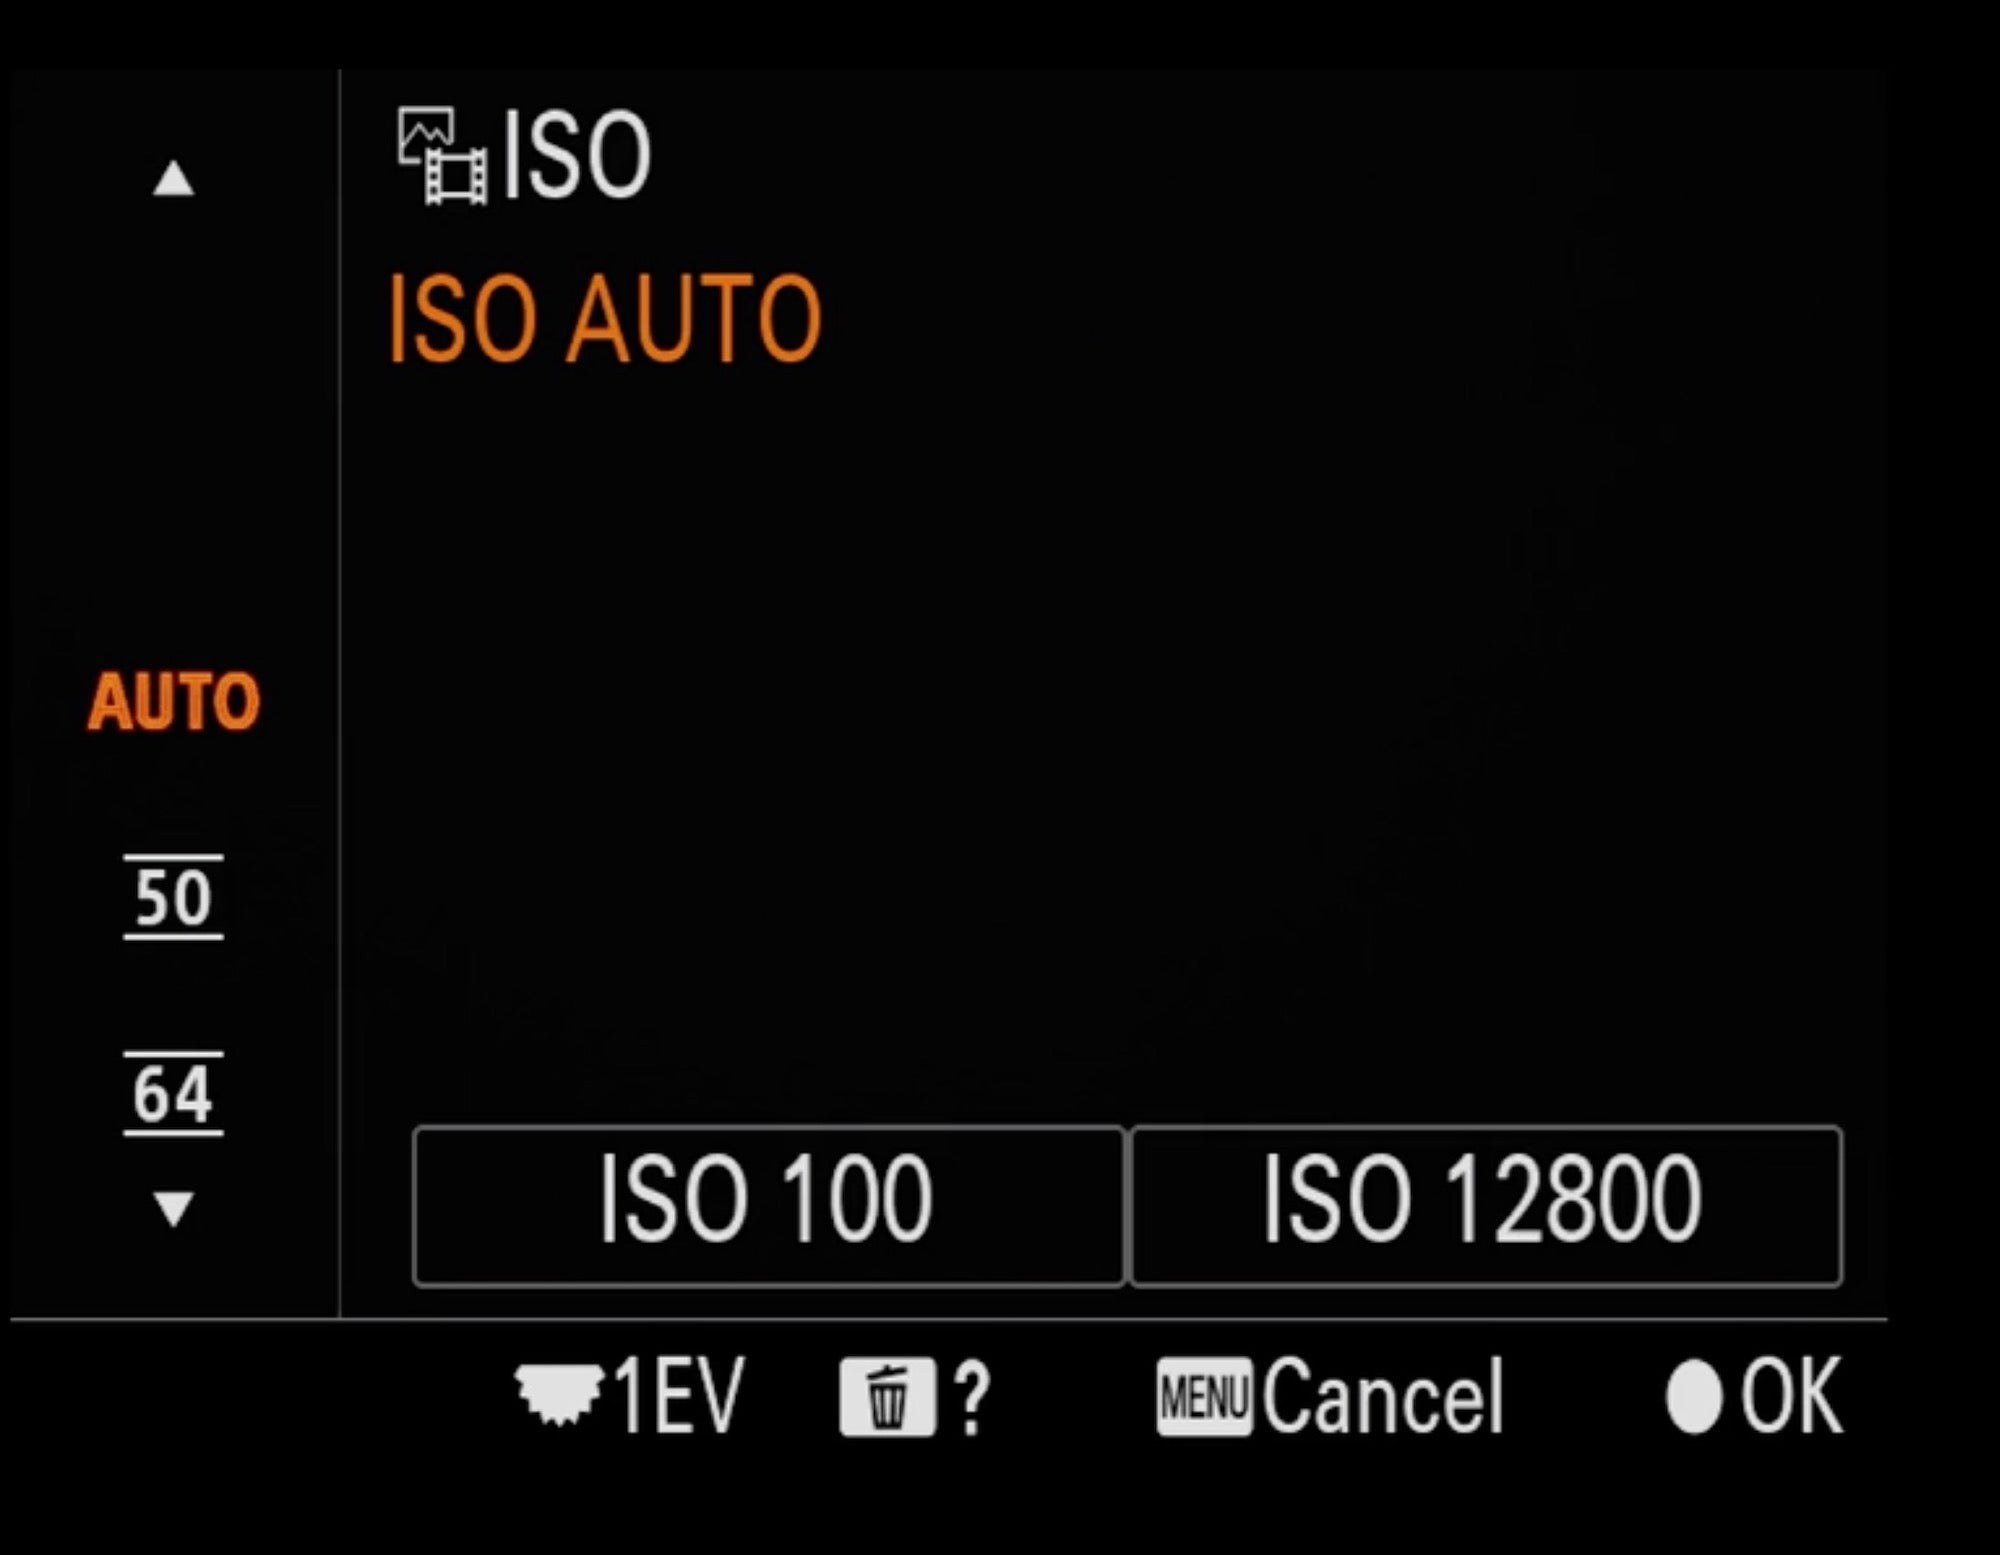
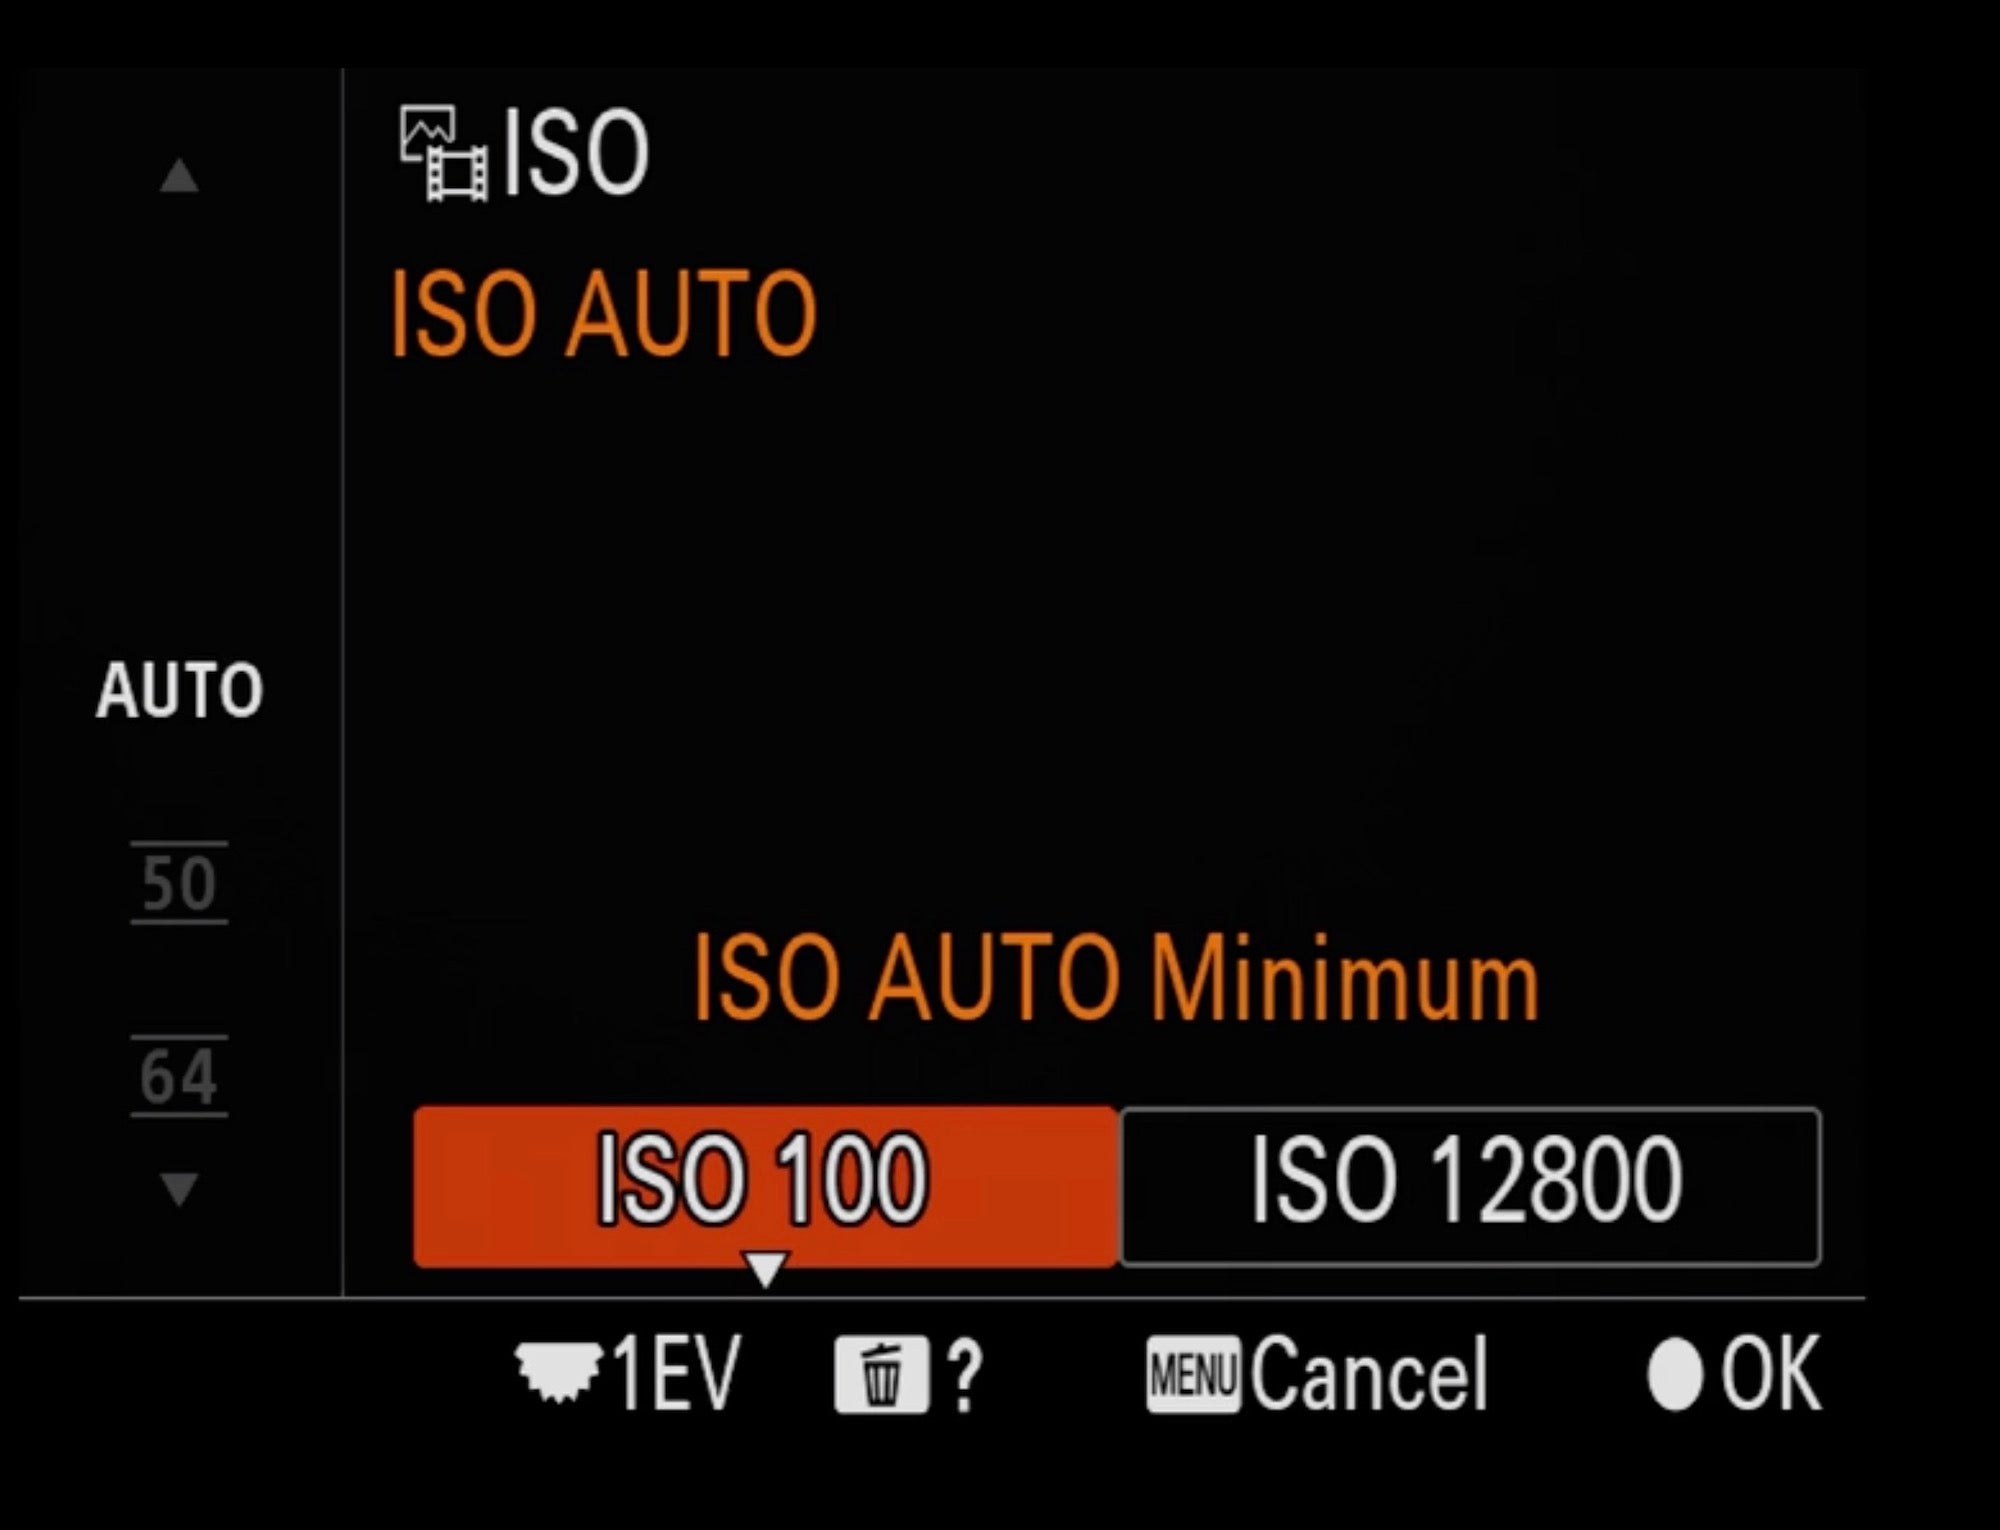
He continues, “Instead of choosing the ISO, we set it to Auto ISO, which will then float the ISO and the camera will give us a good exposure. From there, Auto ISO will let us set a minimum, which I set to 100.”
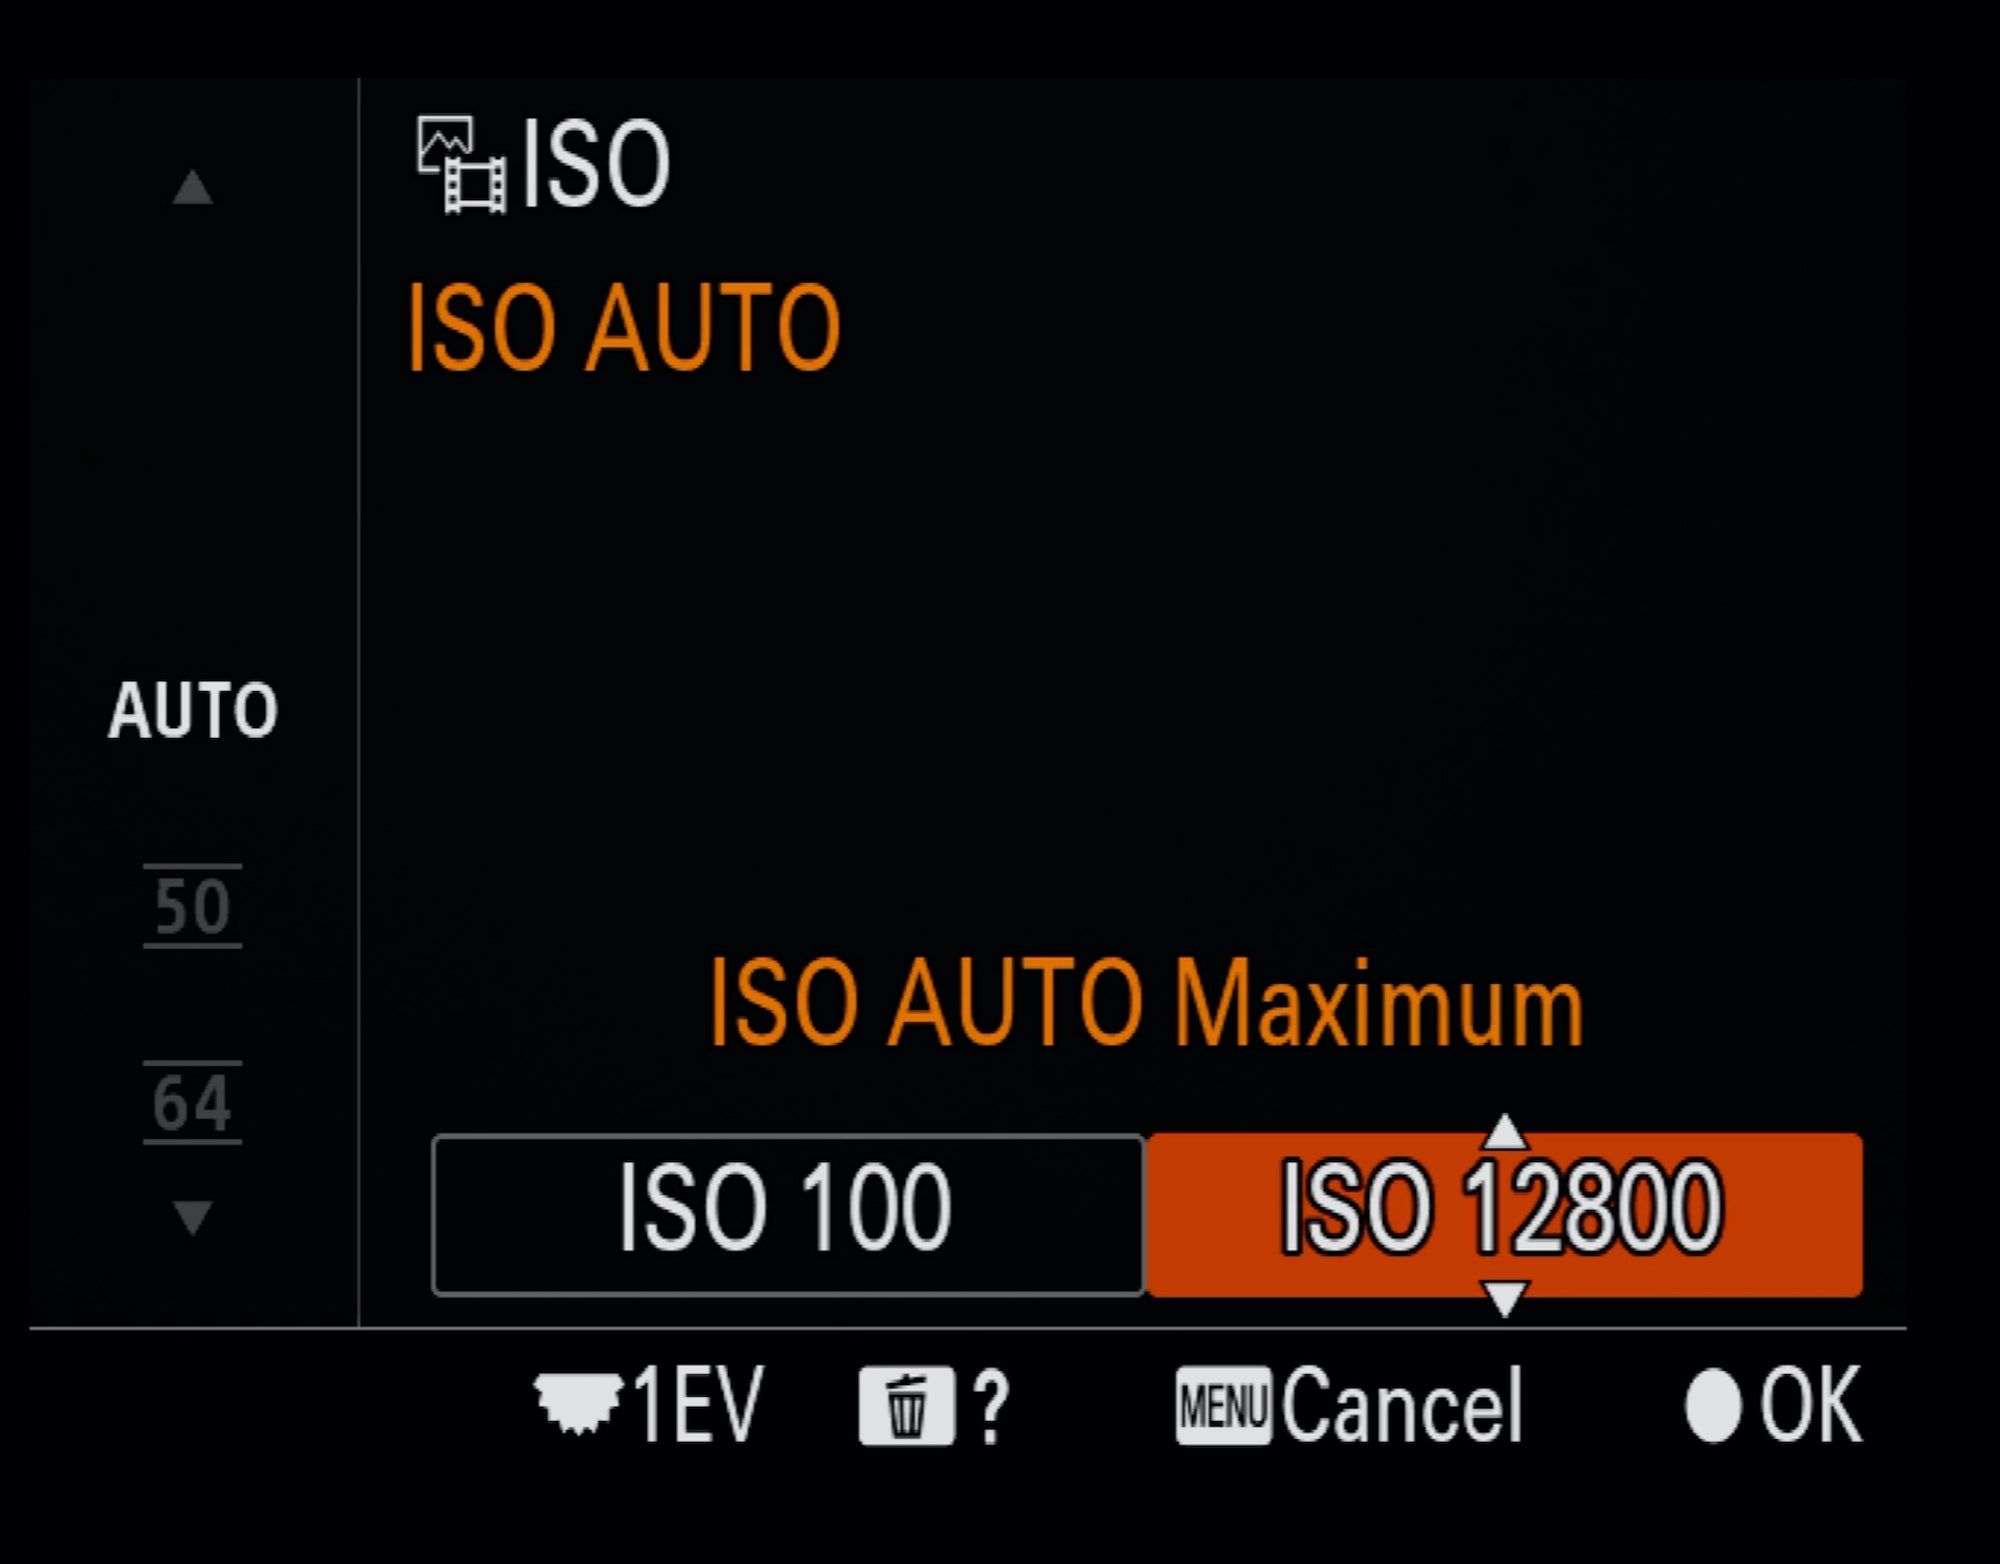
“And on my camera, I’ve tested, I really don’t want the ISO to go above 12800, so I set that to the maximum.”
Use Exposure Compensation For Small Adjustments
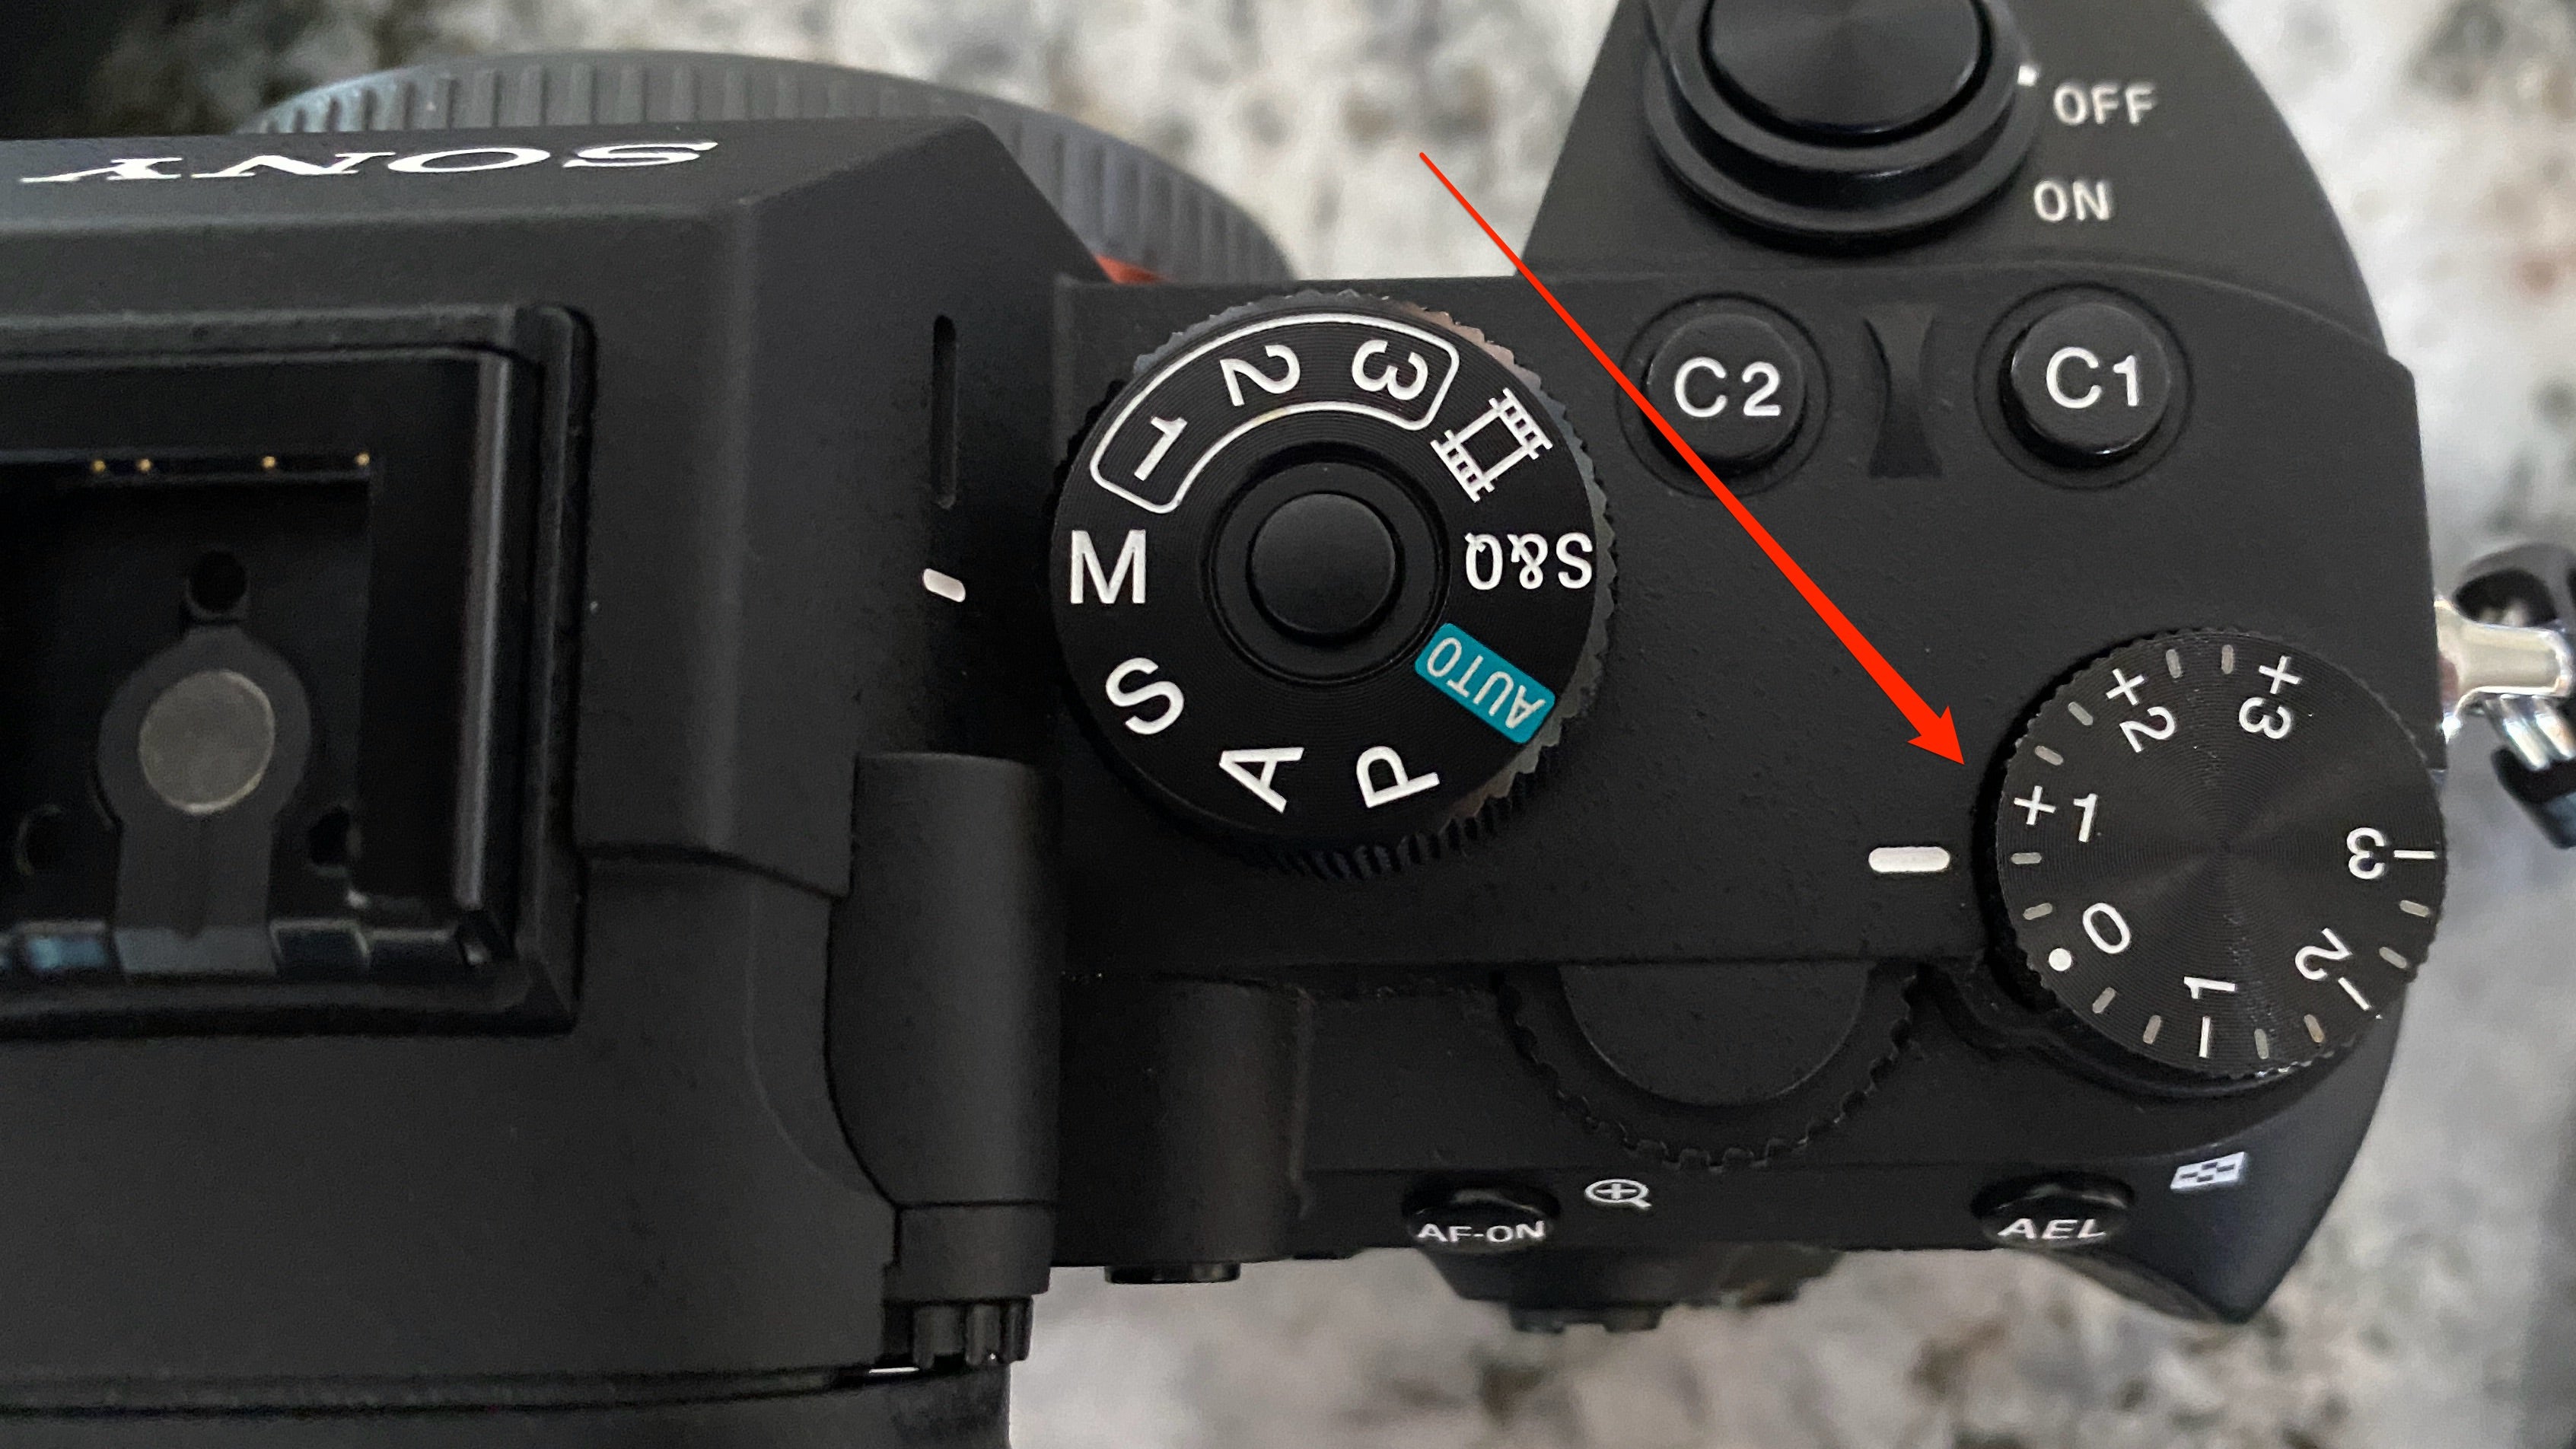
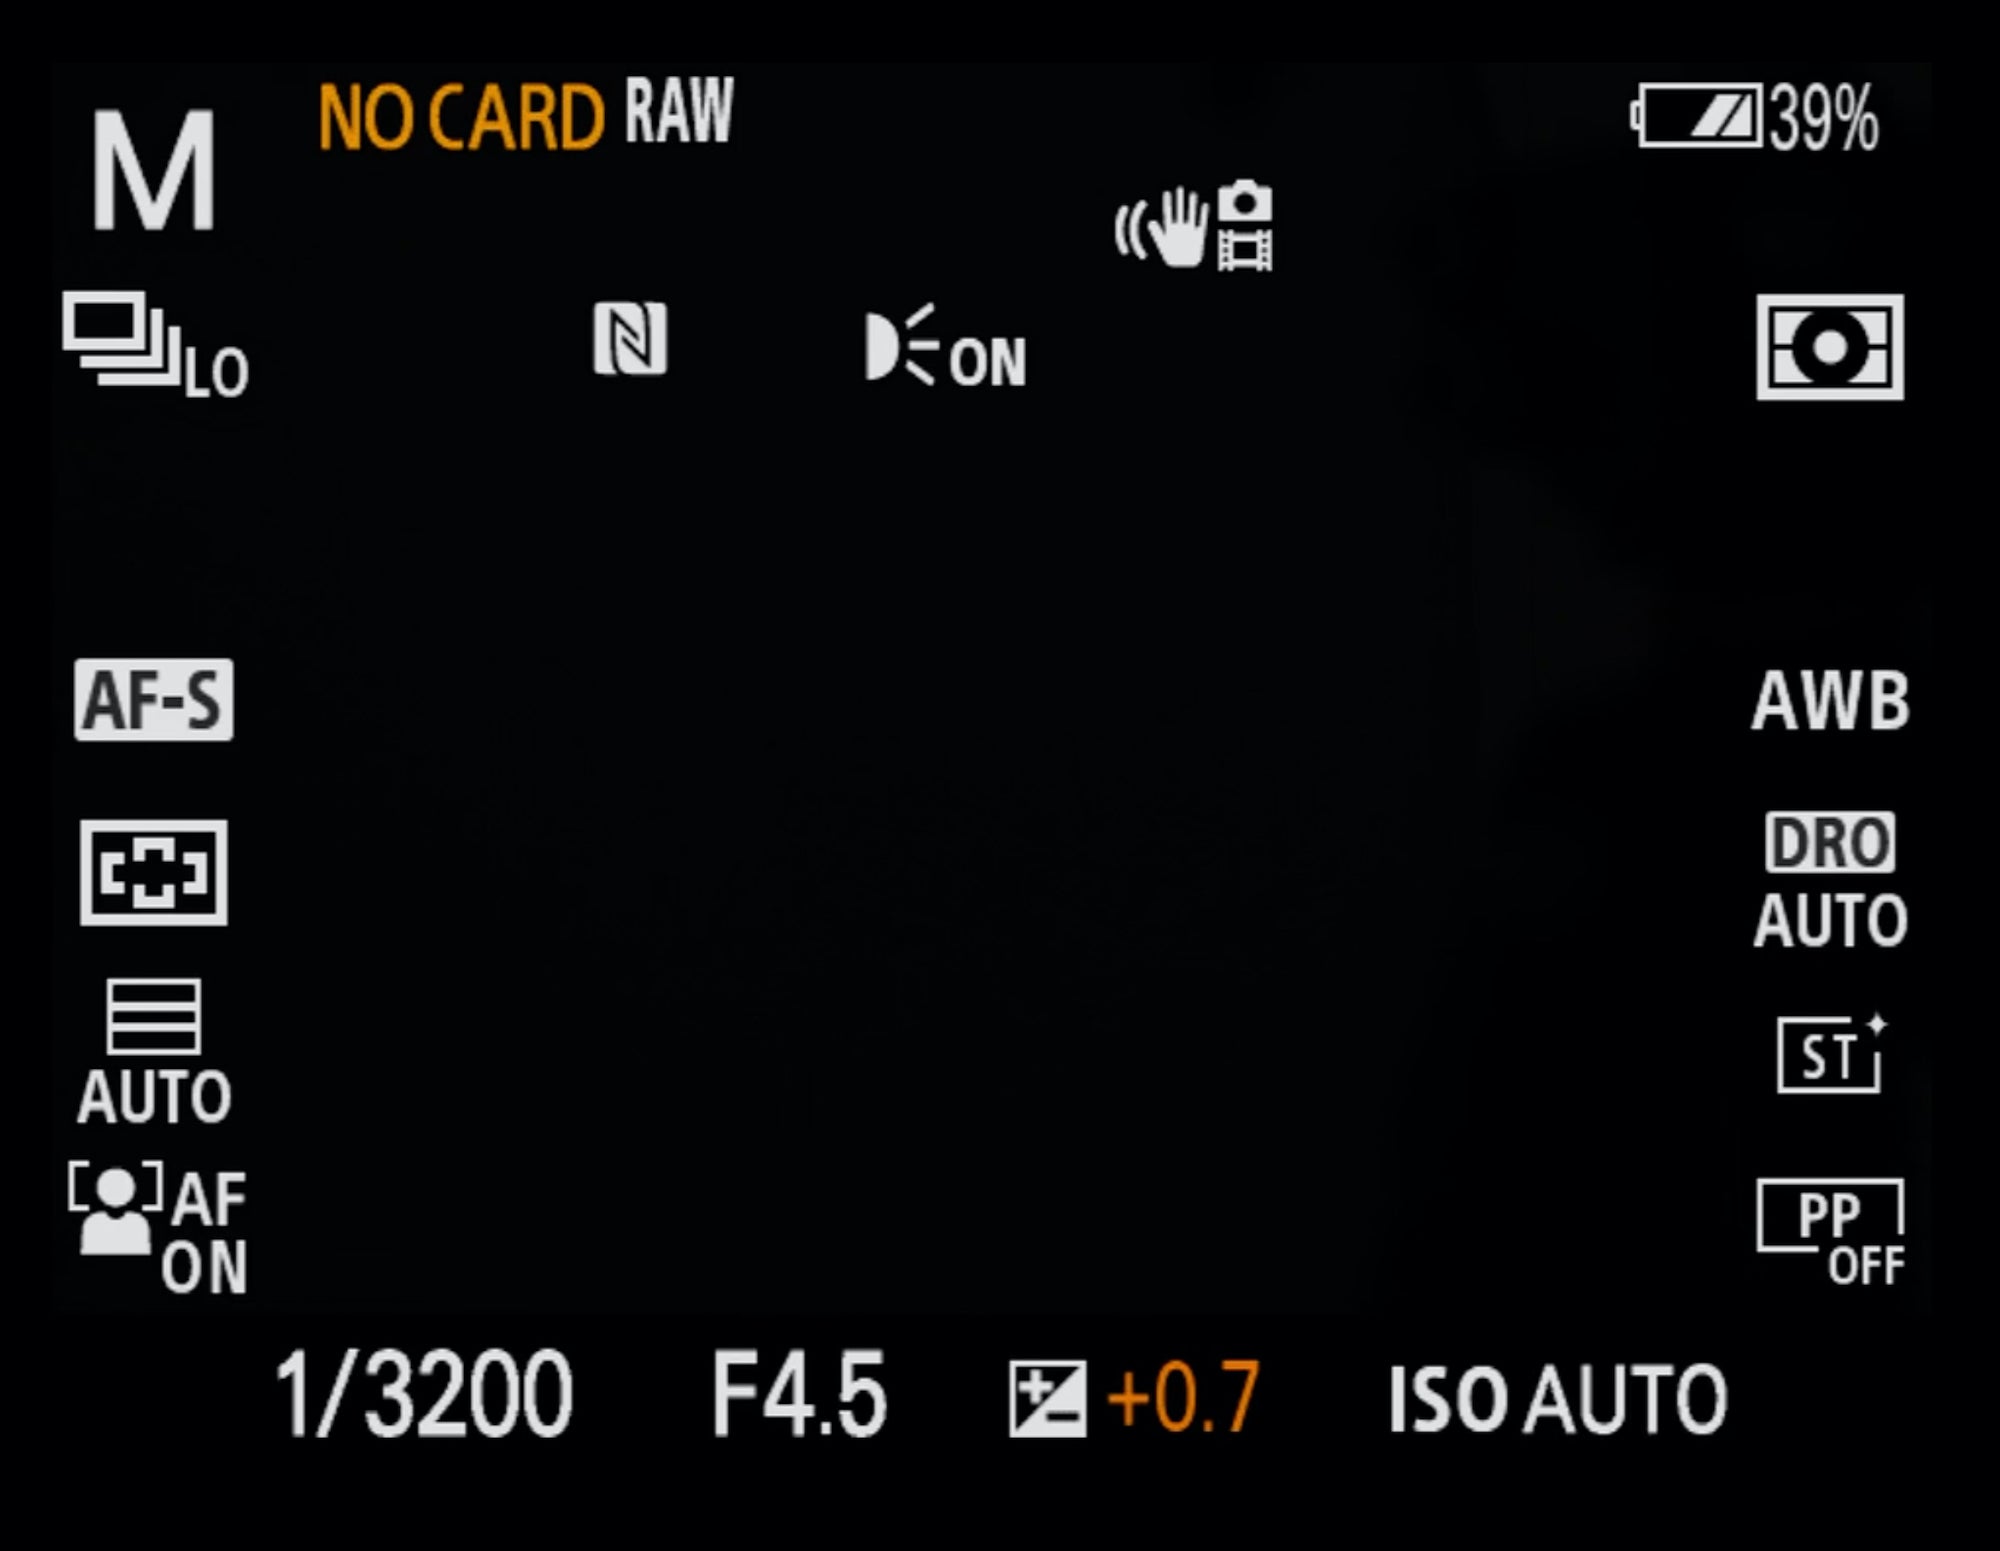
Since he's set Auto ISO and made Manual Mode less intimidating because the camera is helping with his exposure, Kloskowski says he can use Exposure Compensation. “If we ever need to, if you look at the bottom middle of your menu screen, we can always adjust our Exposure Compensation lower or higher based on what we need if we need to do some micro-adjustments. You can use this when you’re out there and the camera isn’t giving you exactly what you want.”
Choose The Focus Mode Based On The Subject
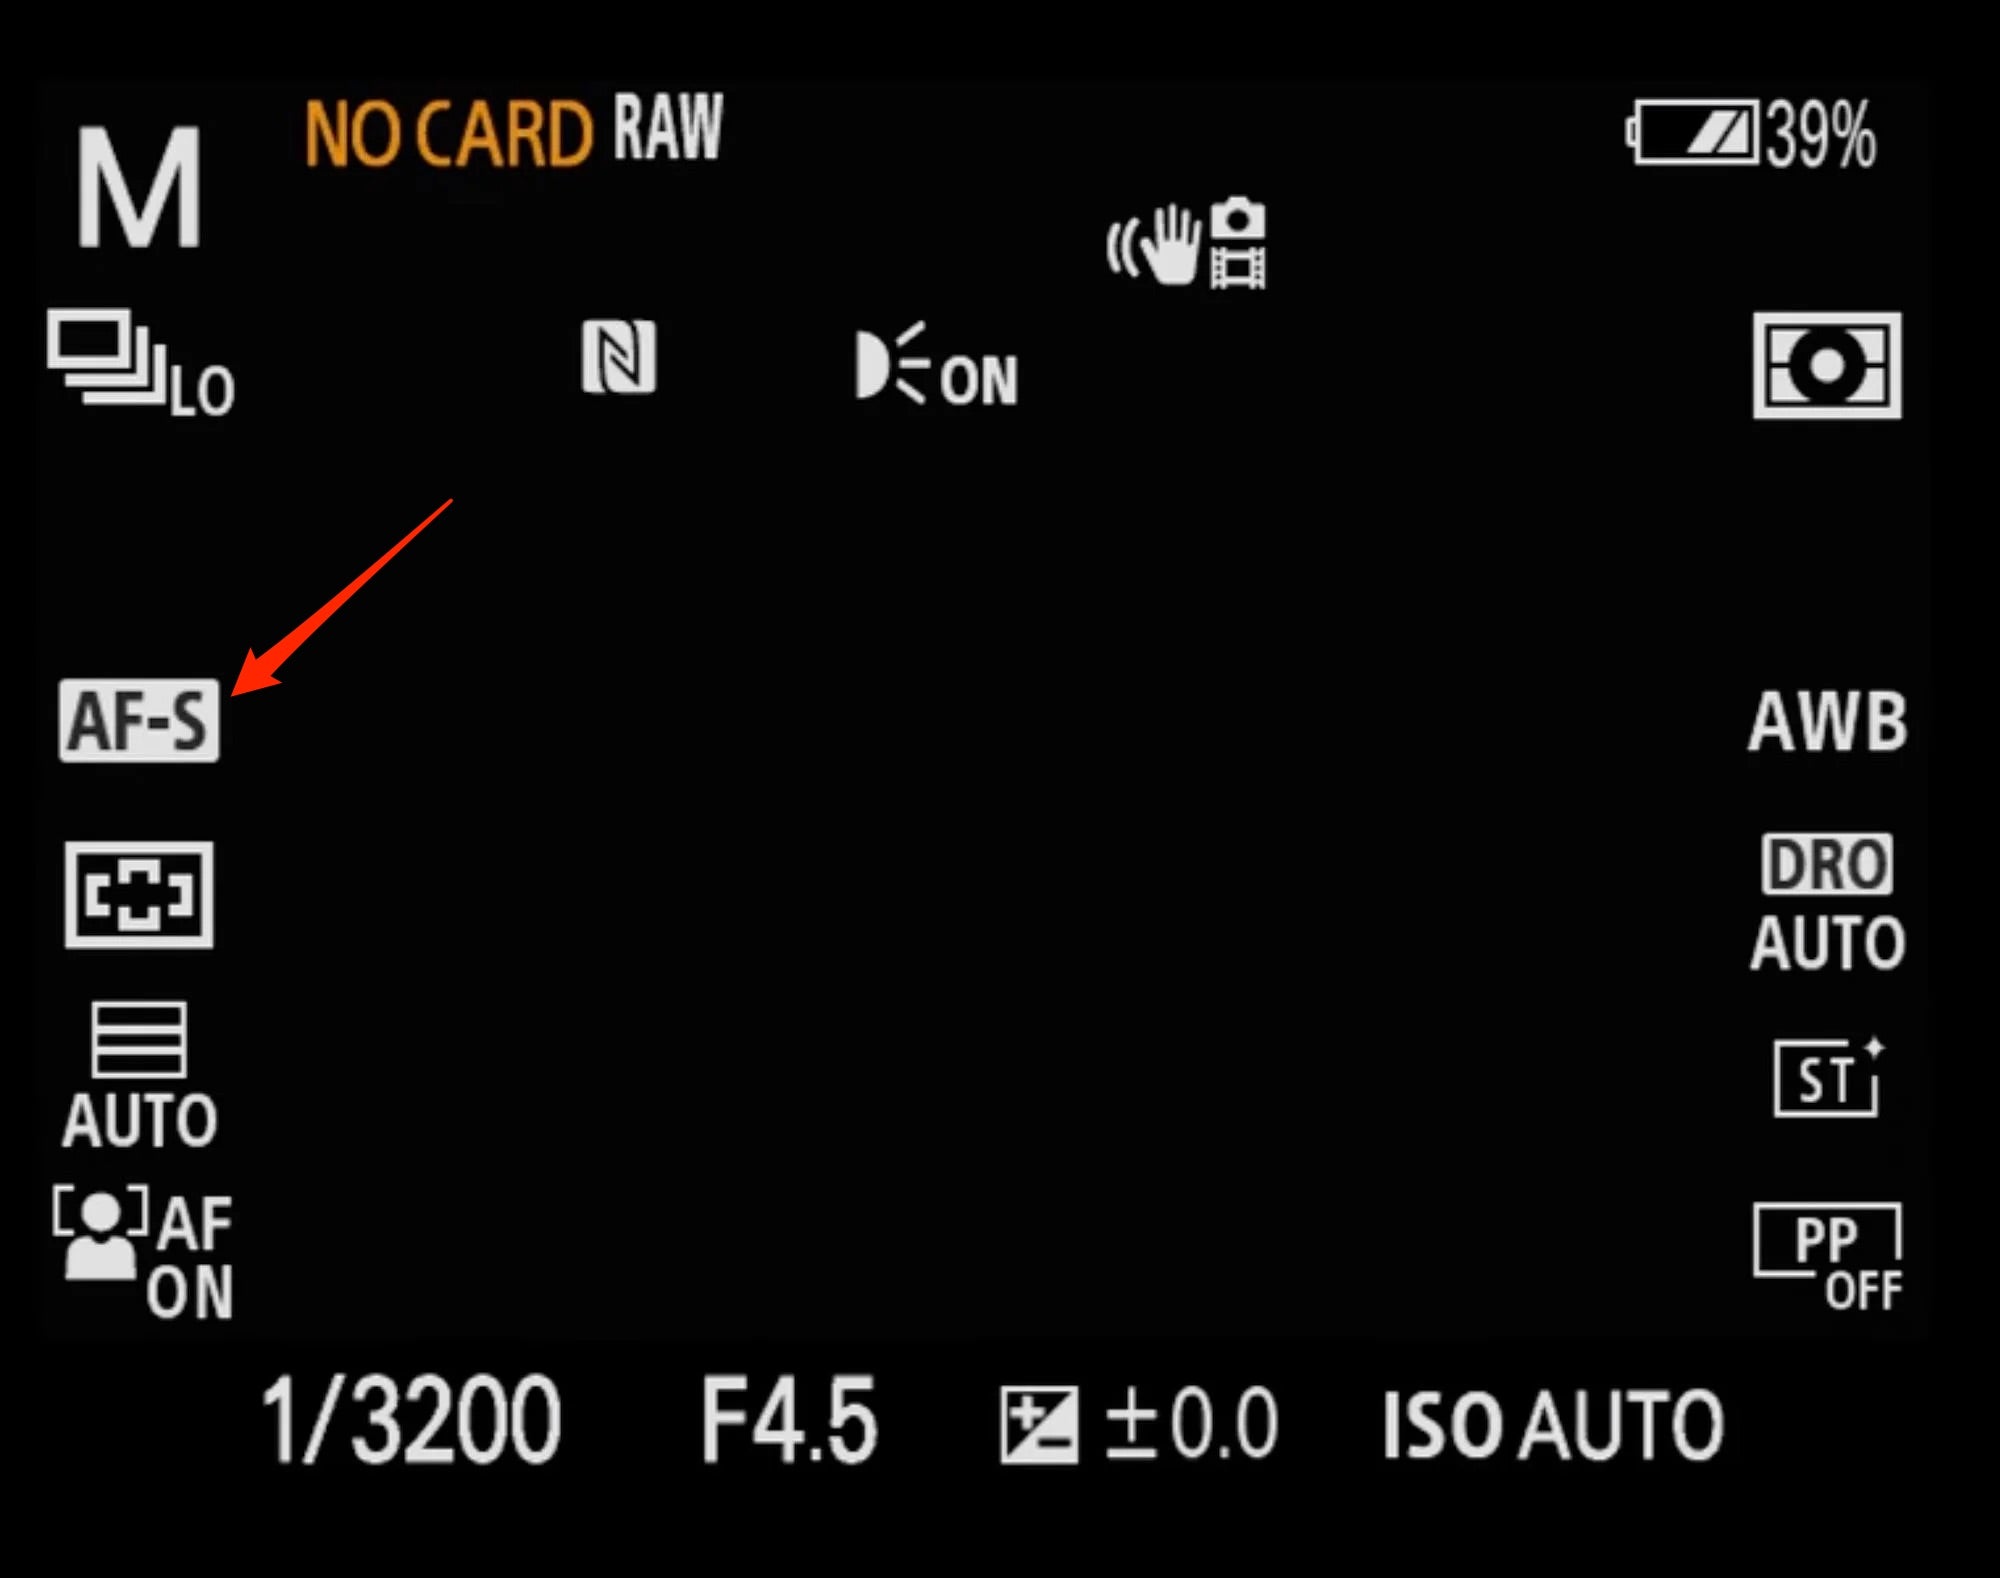
Kloskowski likes to break Auto Focus down into two parts, Focus Modes and Focus Areas. “Focus Mode is either going to be Single or Continuous – and that means that when we press the shutter down and we’re continuously shooting, Single Focus will only focus on the spot when the shutter was pressed and it will not move from there. So if I have a moving subject, it’s not going to continuously focus on that. So AF-S would be good for a perched bird or something that’s not moving.”
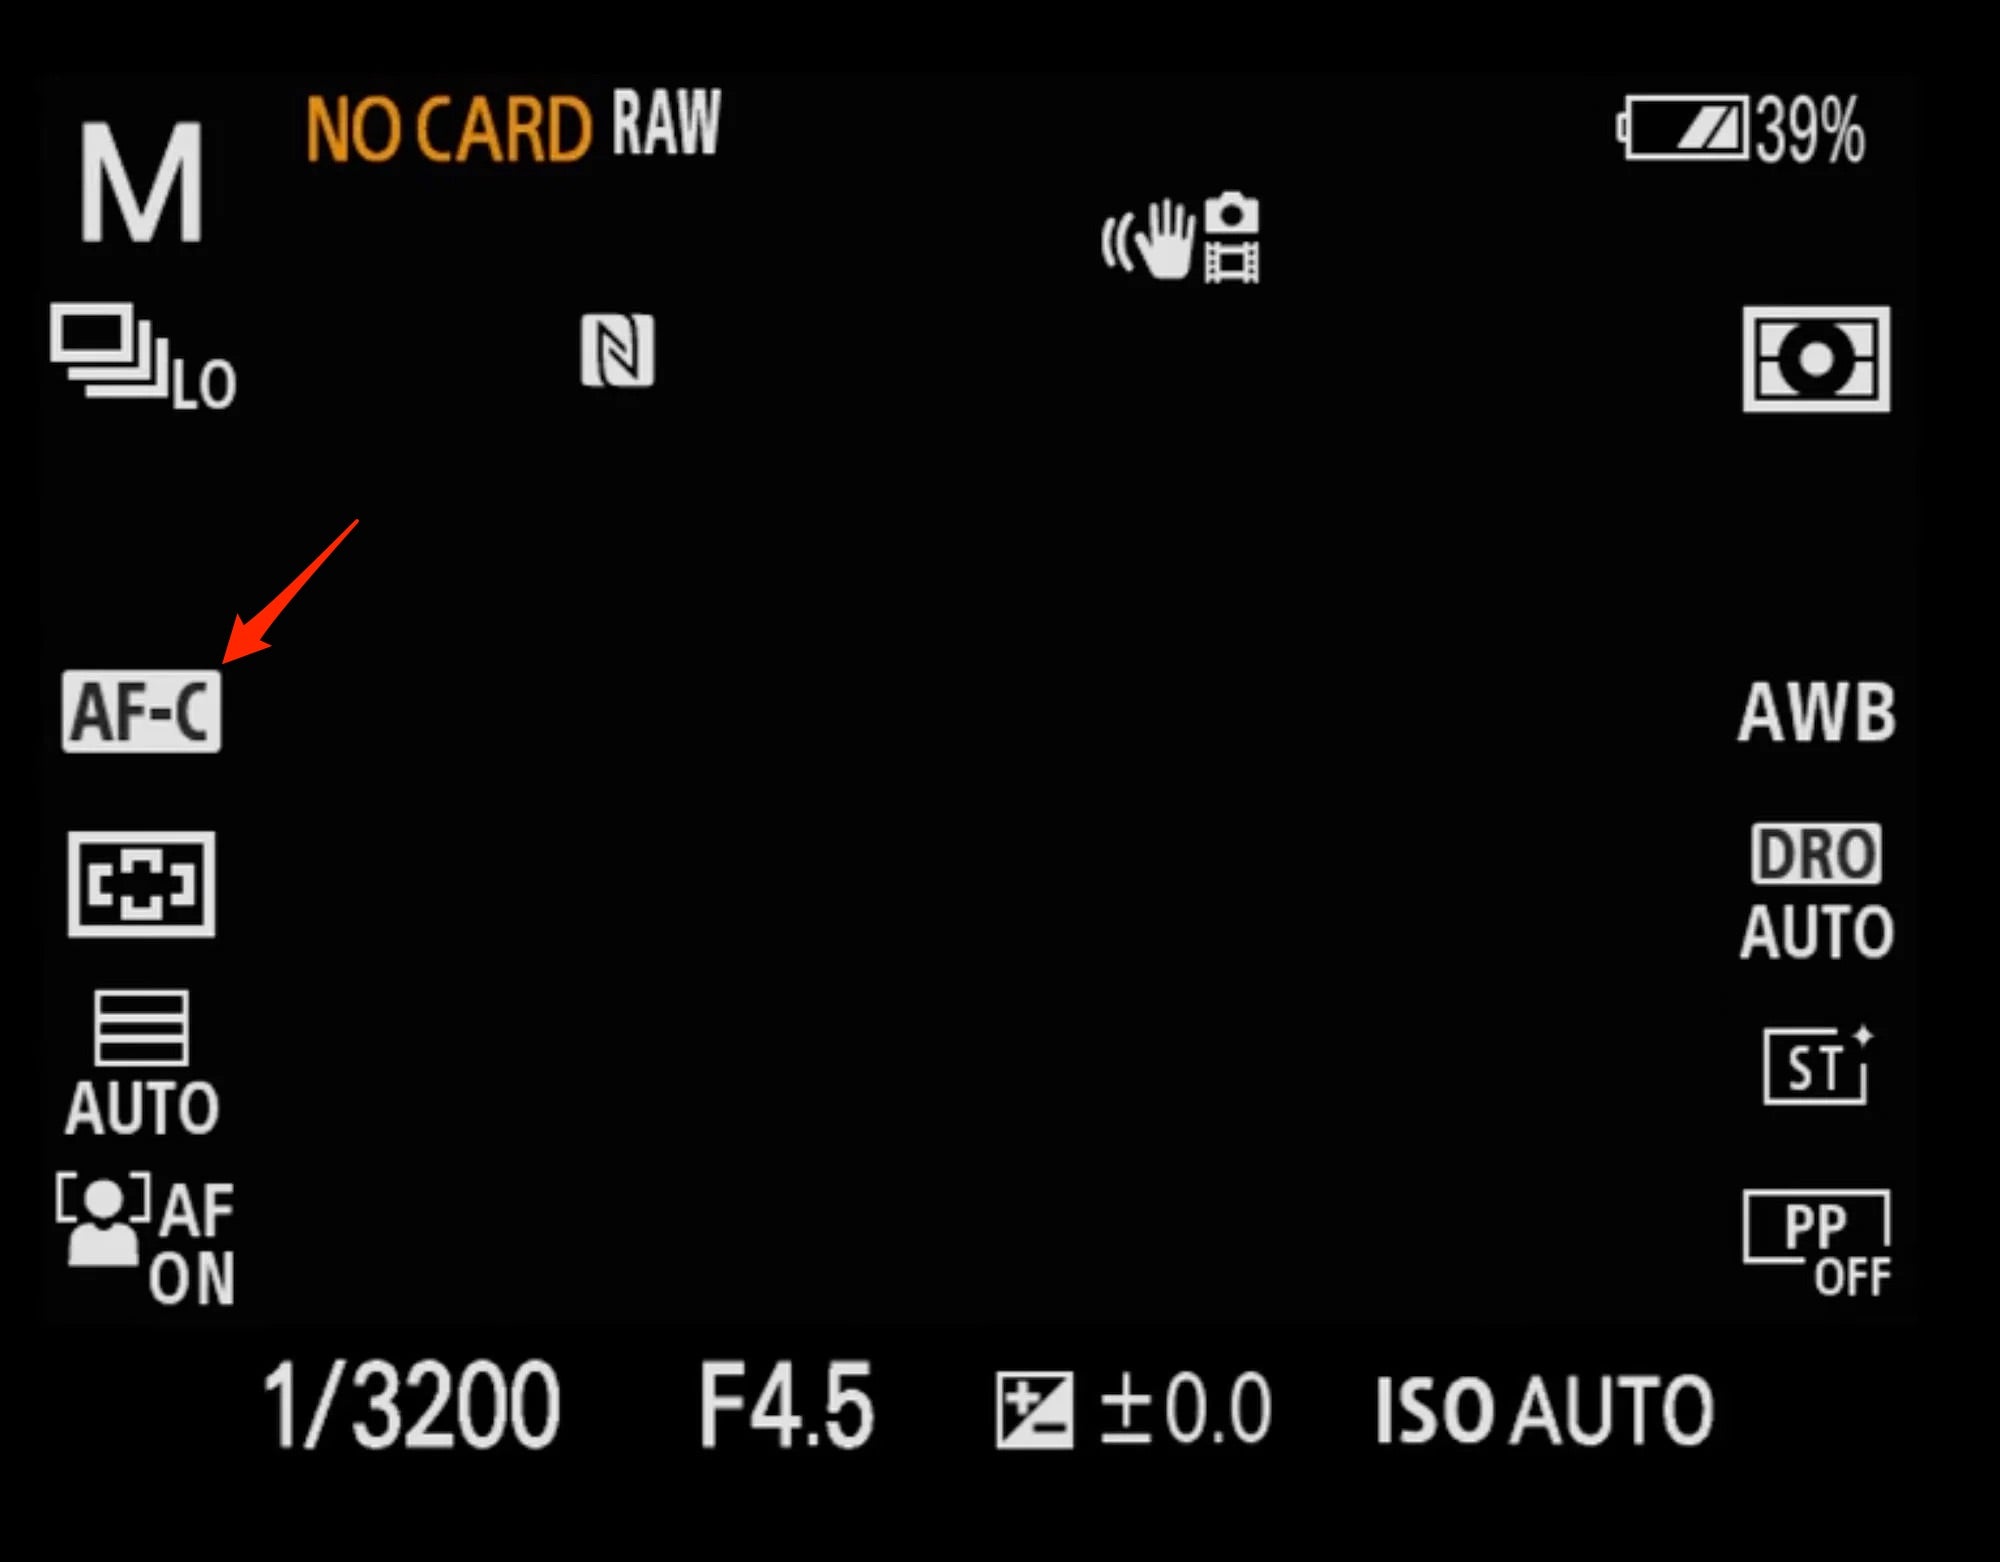
He continues, “If something’s moving, I'm going to want to switch over to AF-C, which is Continuous Auto Focus, meaning as we press the shutter down, the camera will continuously search and continuously re-focus on whatever area of focus you’ve given it – which is what we will talk about below with focus area.”
Set Your Frames Per Second Based On Amount Of Action
Depending on your camera, this will vary. “If you think there’s a lot of action, you can choose a higher frames-per-second.”
“If you think there’s not much action, then you can choose a lower frames-per-second. All that really translates to is giving you more poses to choose from, which of course comes with more photos that you have to work through on the computer. So there’s a little bit of a give-and-take there.”
Choose Your Focus Area Based On Your Subject
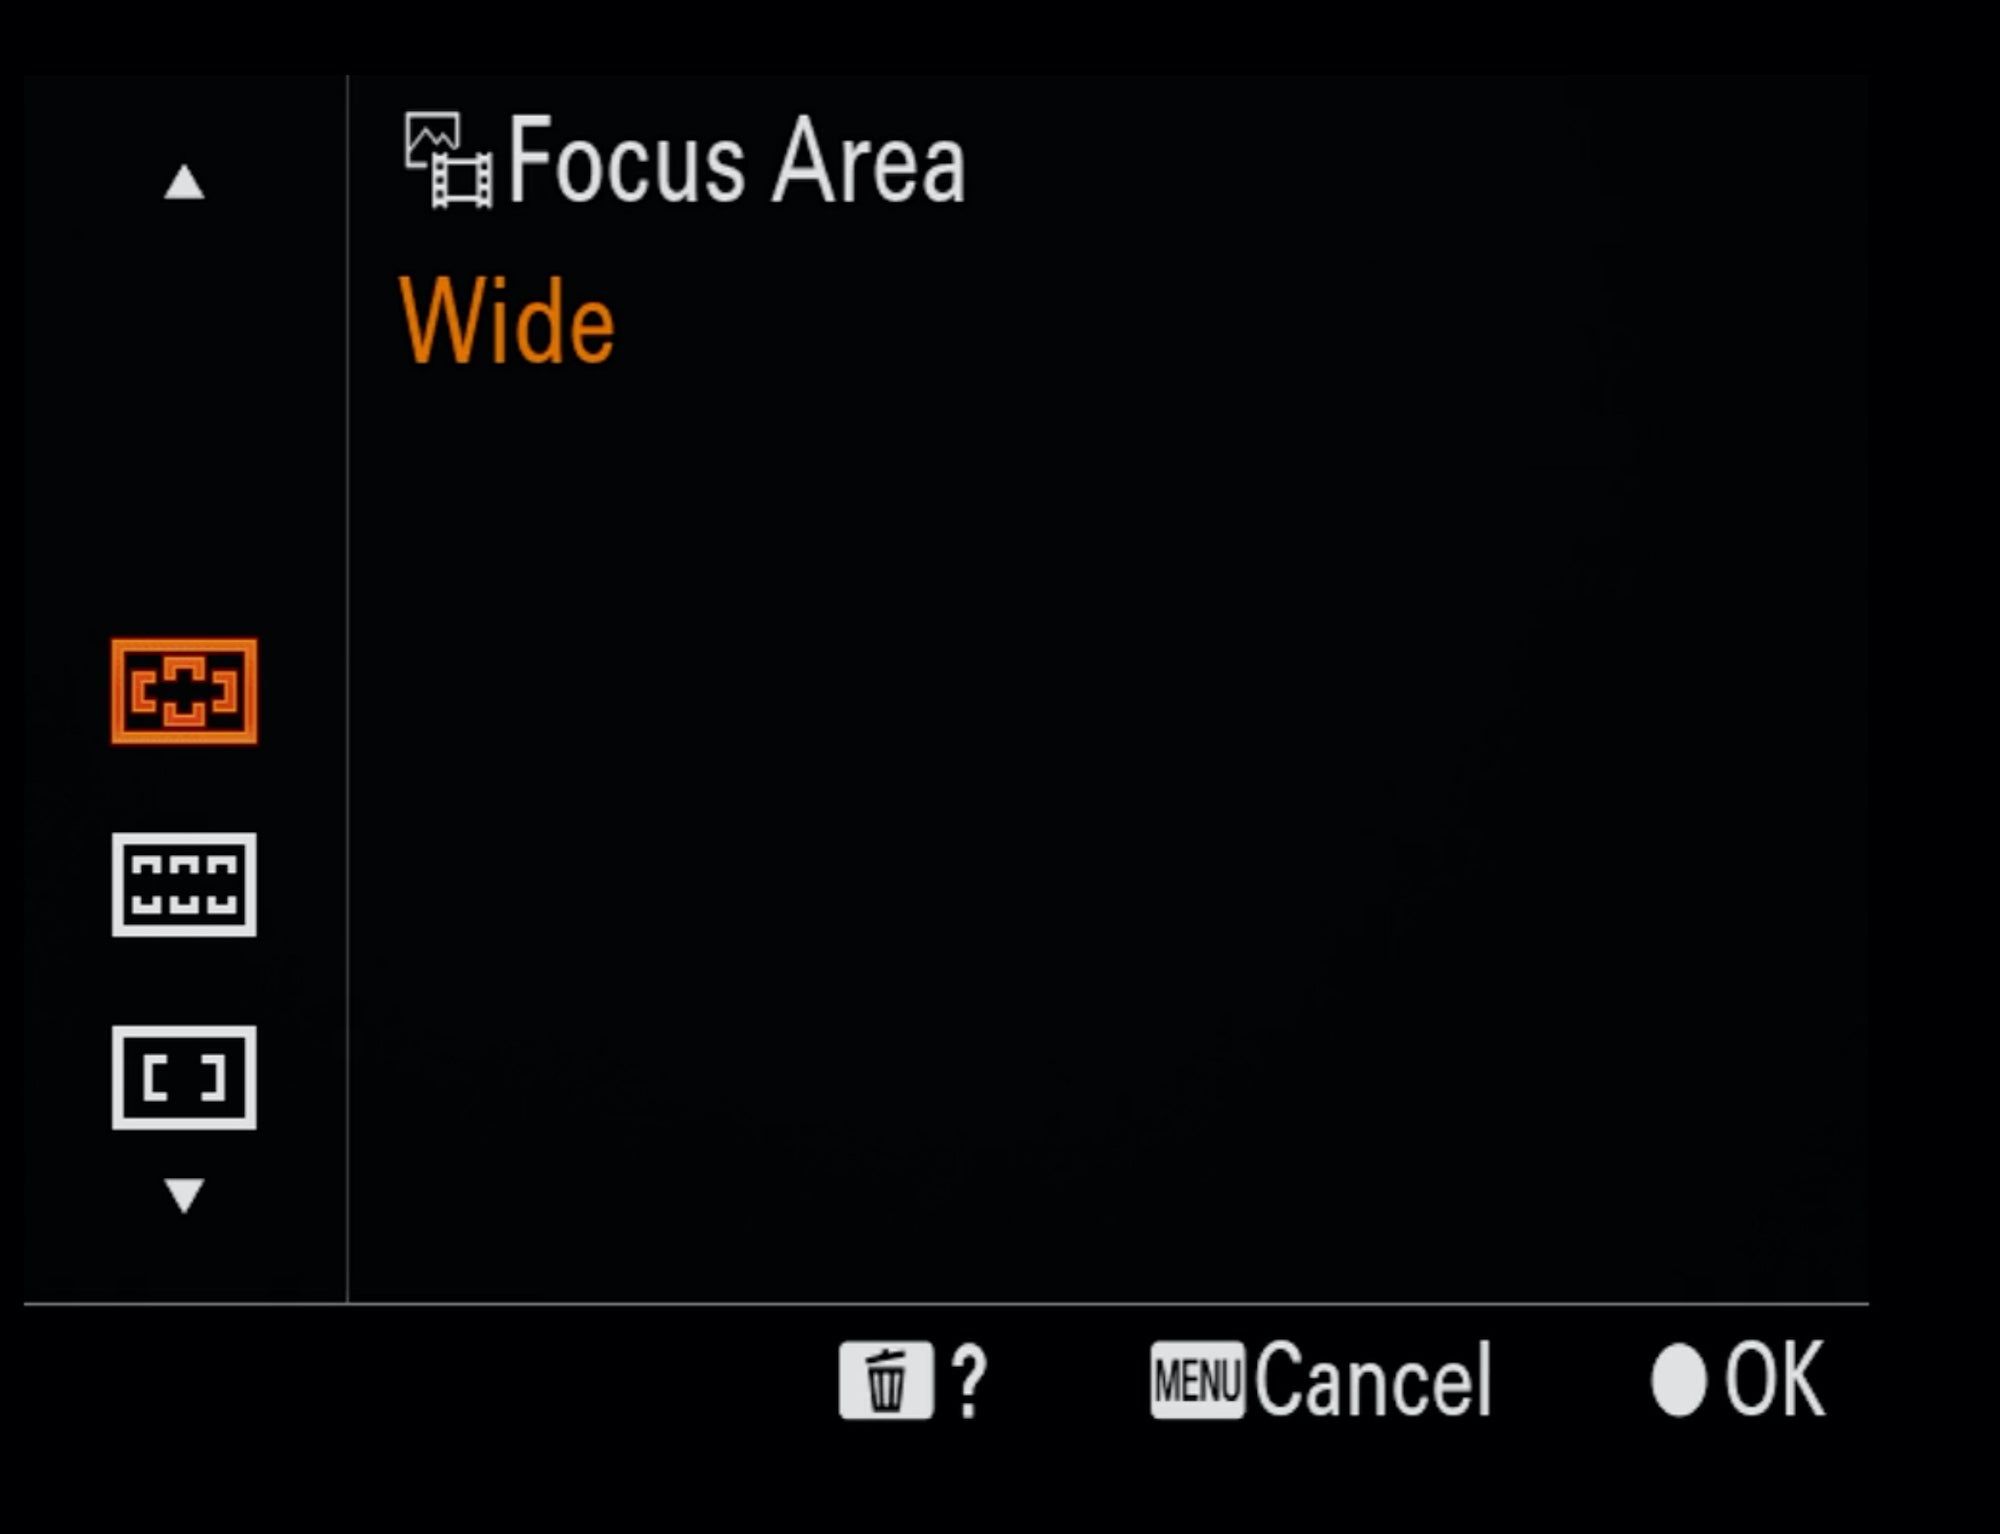
As he mentioned earlier, he thinks of Auto Focus as having two components – Focus Modes and Focus Areas. “With Focus Mode we told our camera how many times it should focus and how often to look for focus, but with Focus Area we’re now telling it where it should focus. “There are a couple of different options for Focus Areas, and they’re not a one-size-fits-all. If I start at the top we have a Wide Area, and this is the type of area I would use if there was a bird flying around an open sky. Because this gives the camera freedom to look in the entire frame for your subject. So if there’s not a lot of areas to confuse the camera’s Auto Focus system, there’s not a lot of contrast and branches and twigs, a Wide Area works really well.”
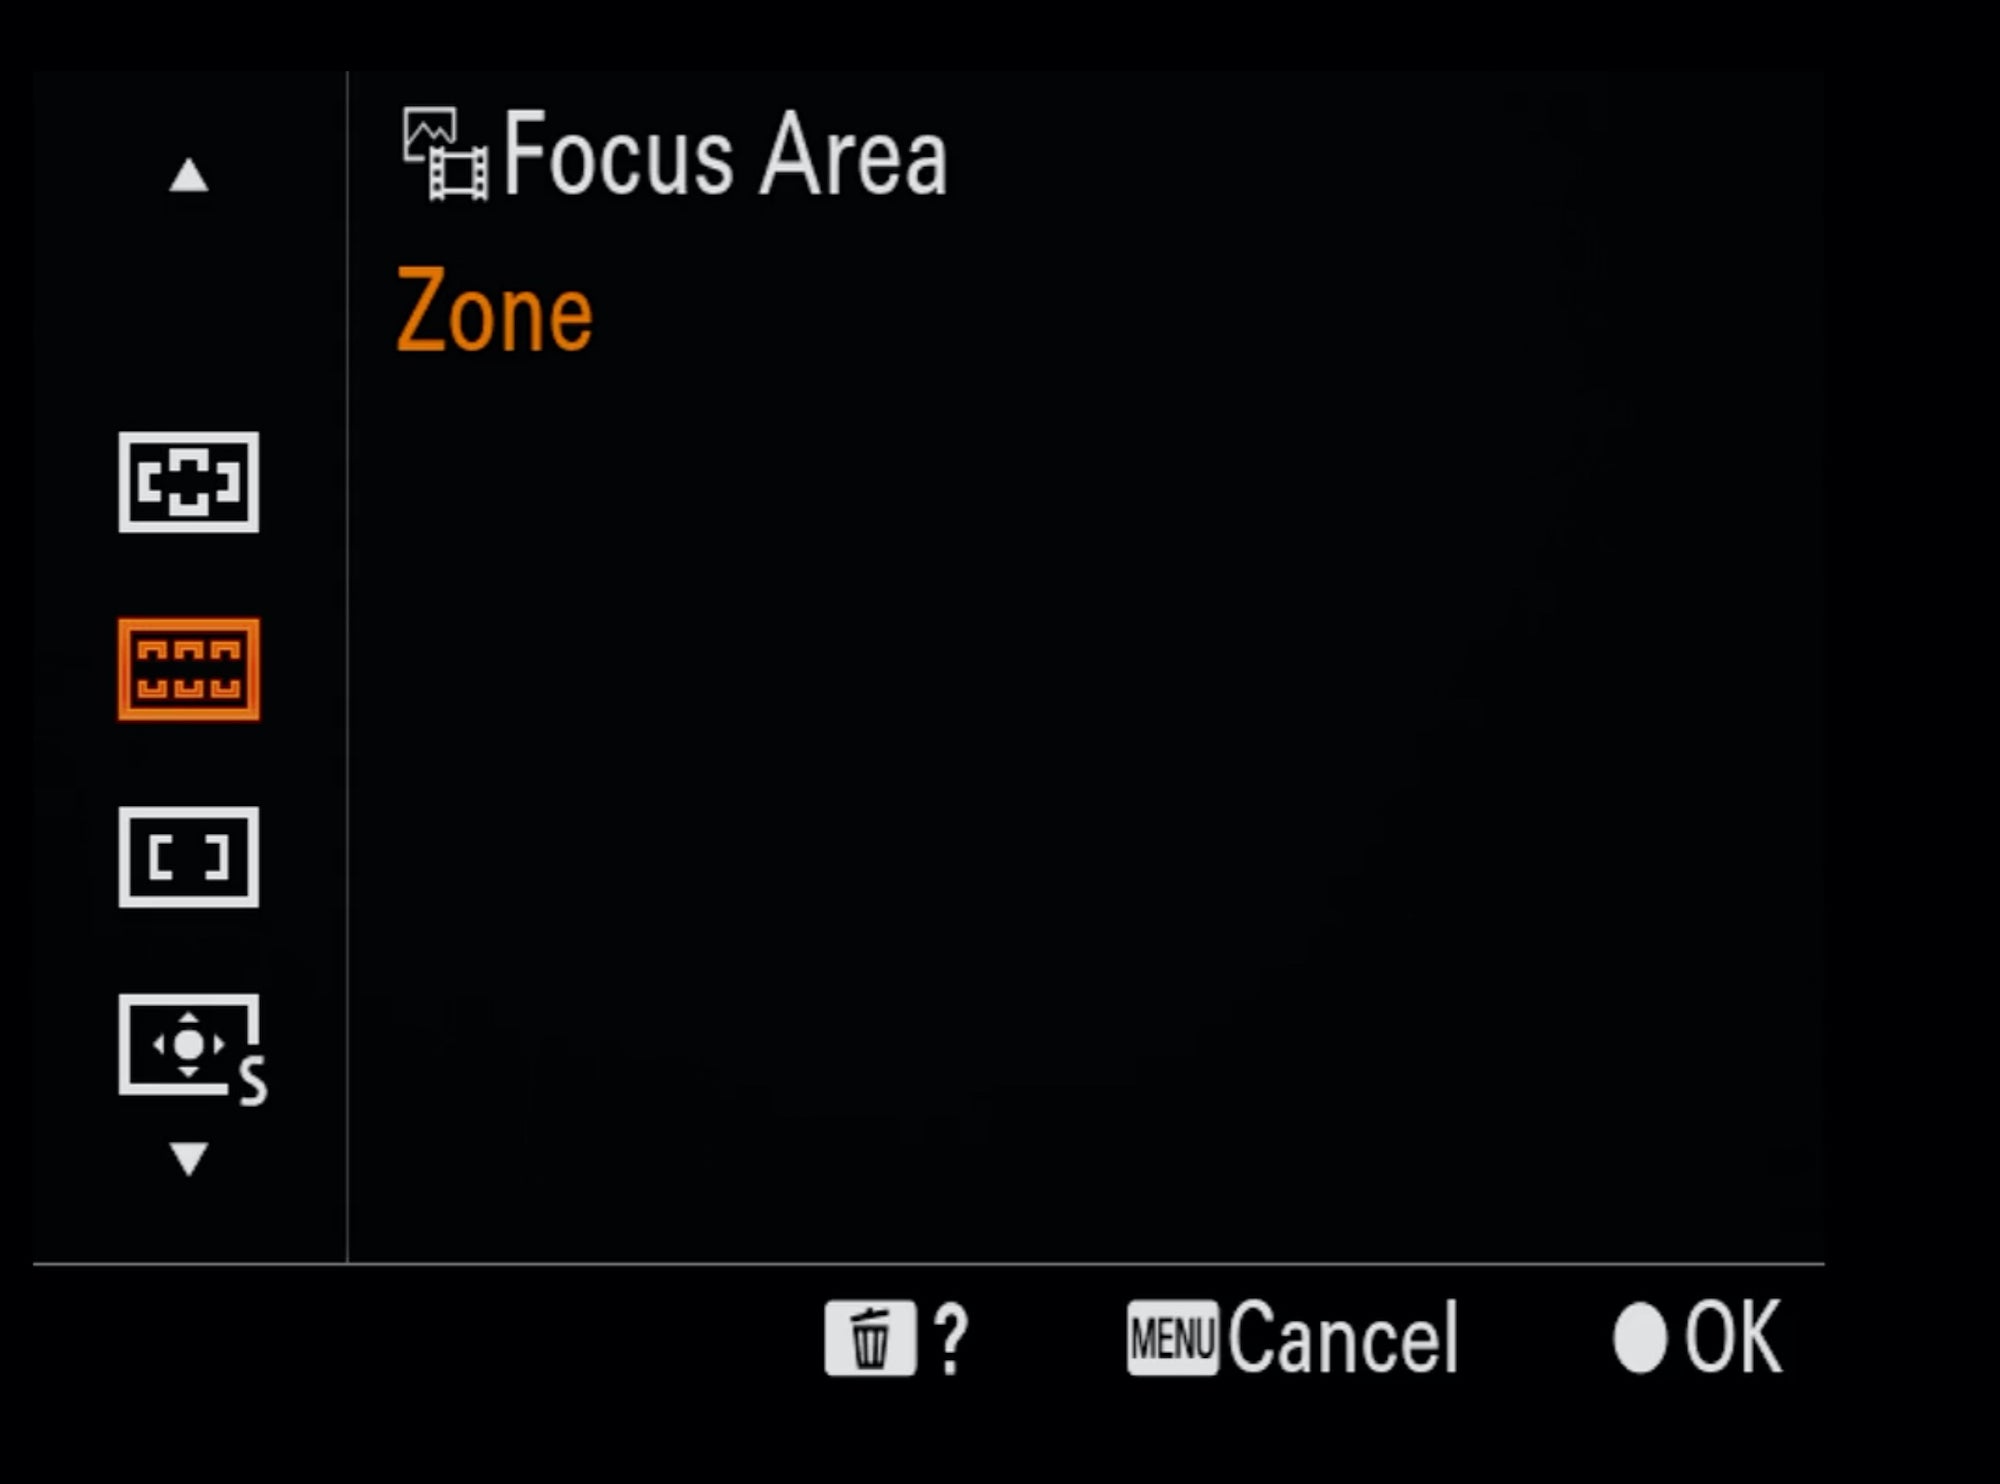
“A Zone Area is the next option down from that,” he explains. “You would use this where maybe you’re in a situation where there’s a little bit of both – maybe your subject is flying into open sky but maybe also in front of trees or some foreground. Then we can switch to Zone, which gives us not quite as wide of an area to choose from, but it lets us move the area around. So if you think your subject is going to move somewhere you can give it a little lead with the area. It gives us a little more control of what our camera is focusing on, but it’s still a pretty big area for the camera to focus on.”
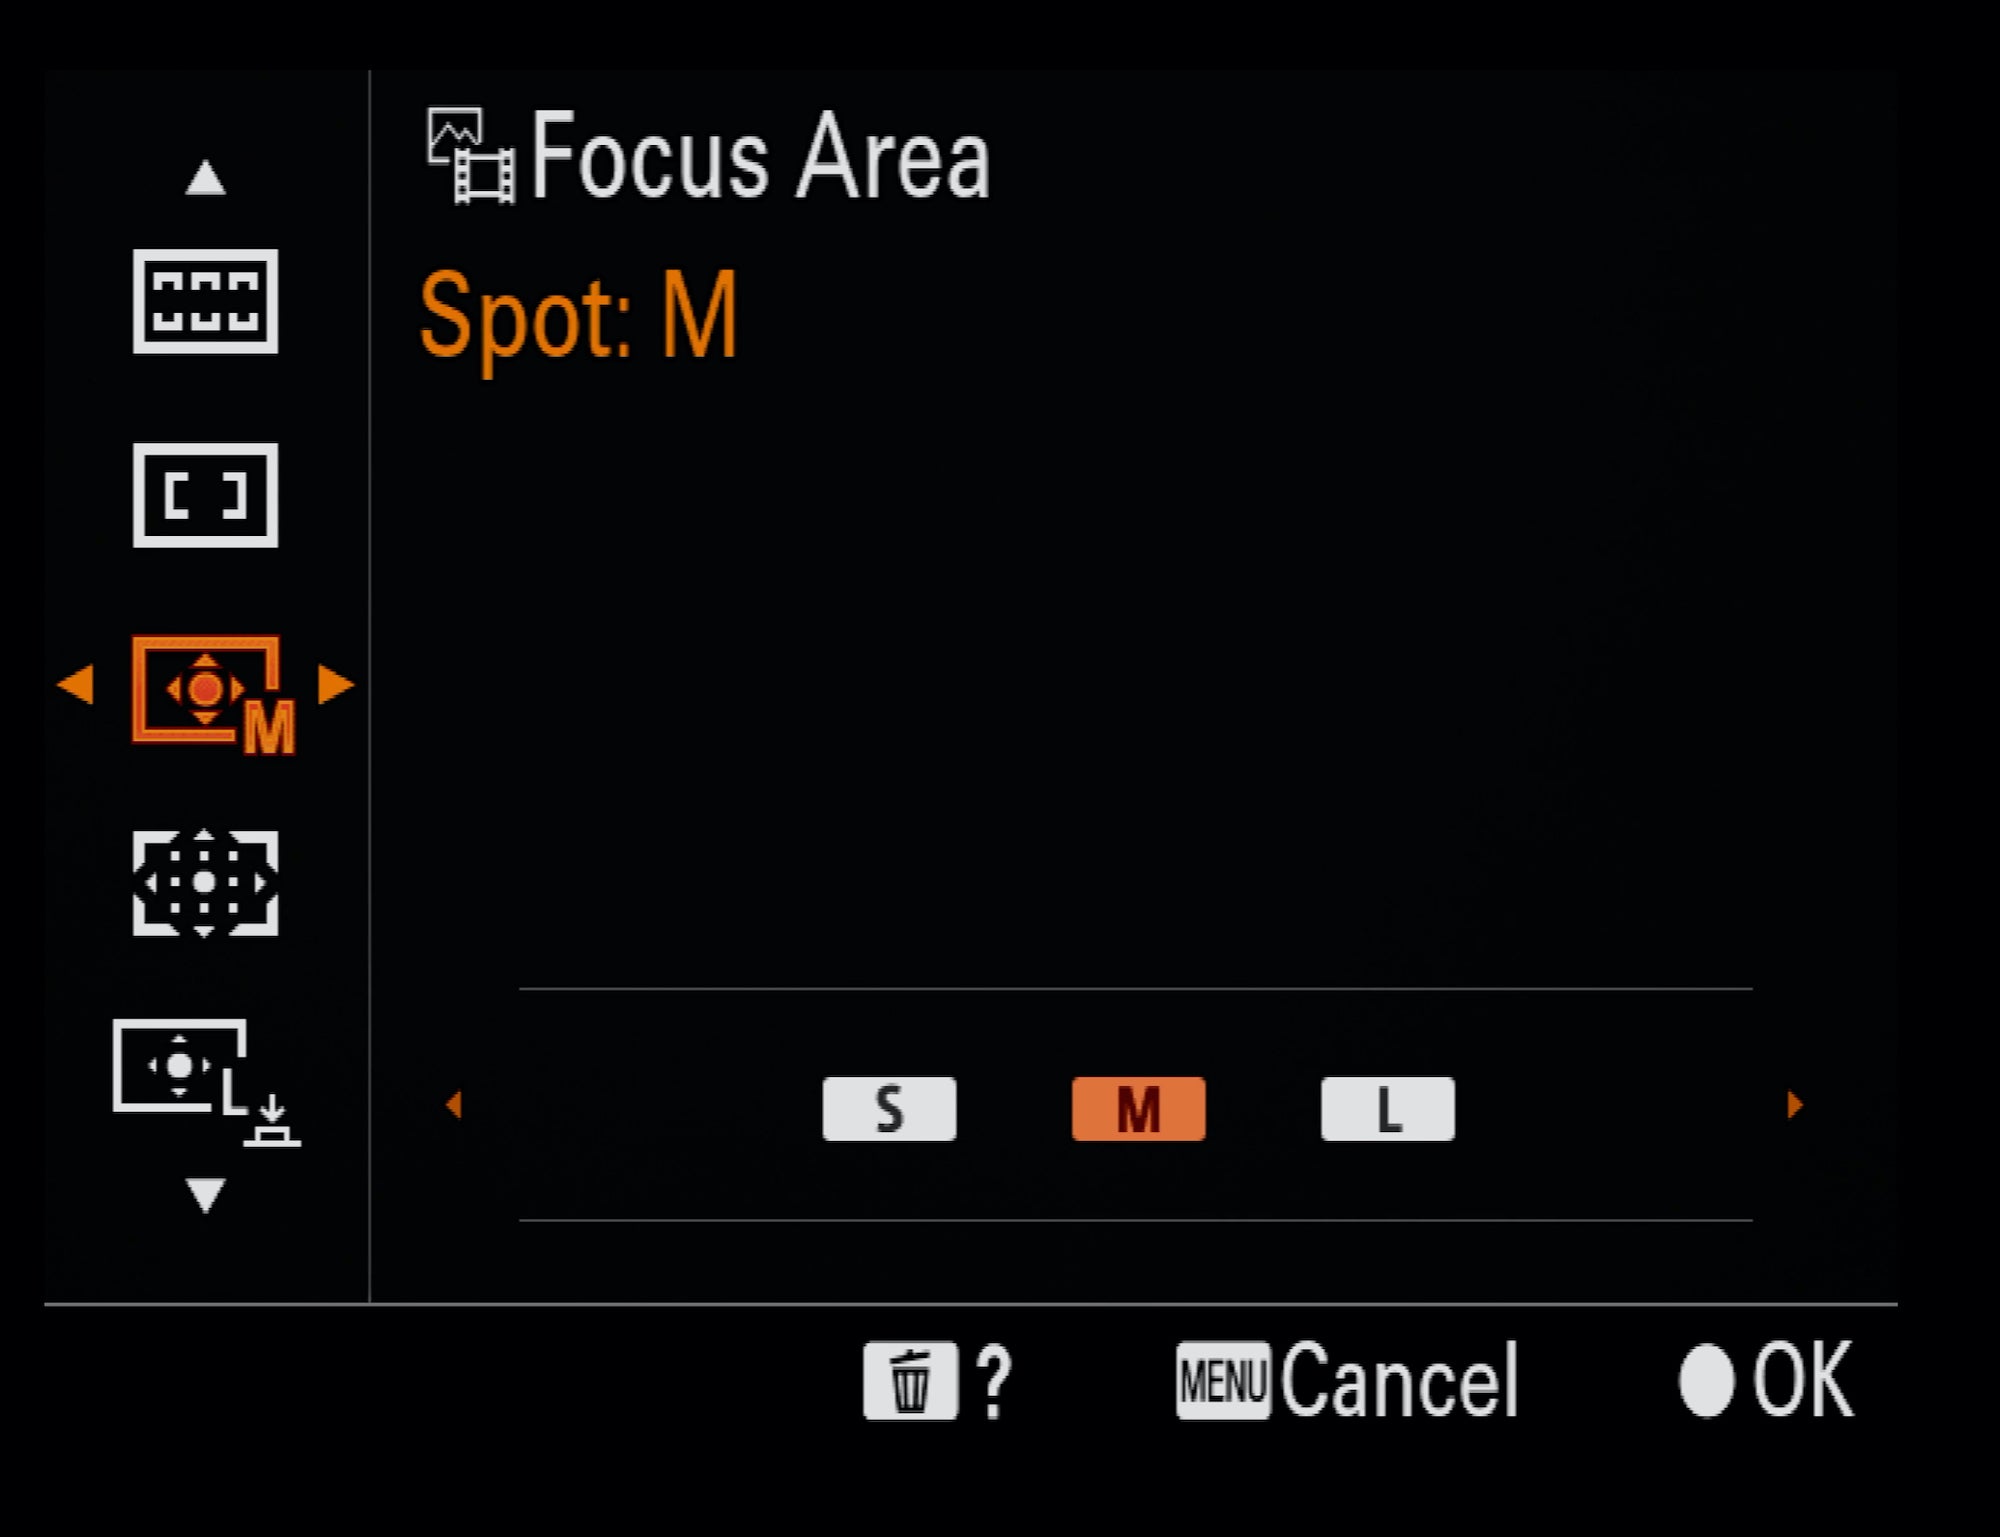
“You can also choose Center Fix to have the focus fixate on a center point, or even a Spot focus area that we can move around,” he says. “You can select the Spot to be Small, Medium, or Large, and I would probably favor the Medium or Large for bird photography. This is more something I would choose if the bird was perched. Now I’ve got this spot I can move around and frame it for a perched bird and I don’t need the camera to engage focus in a larger area and get confused. With the smaller focus point I can choose exactly where I want the camera to focus which is great if my subject is still.”
Turn On Bird Eye-Autofocus
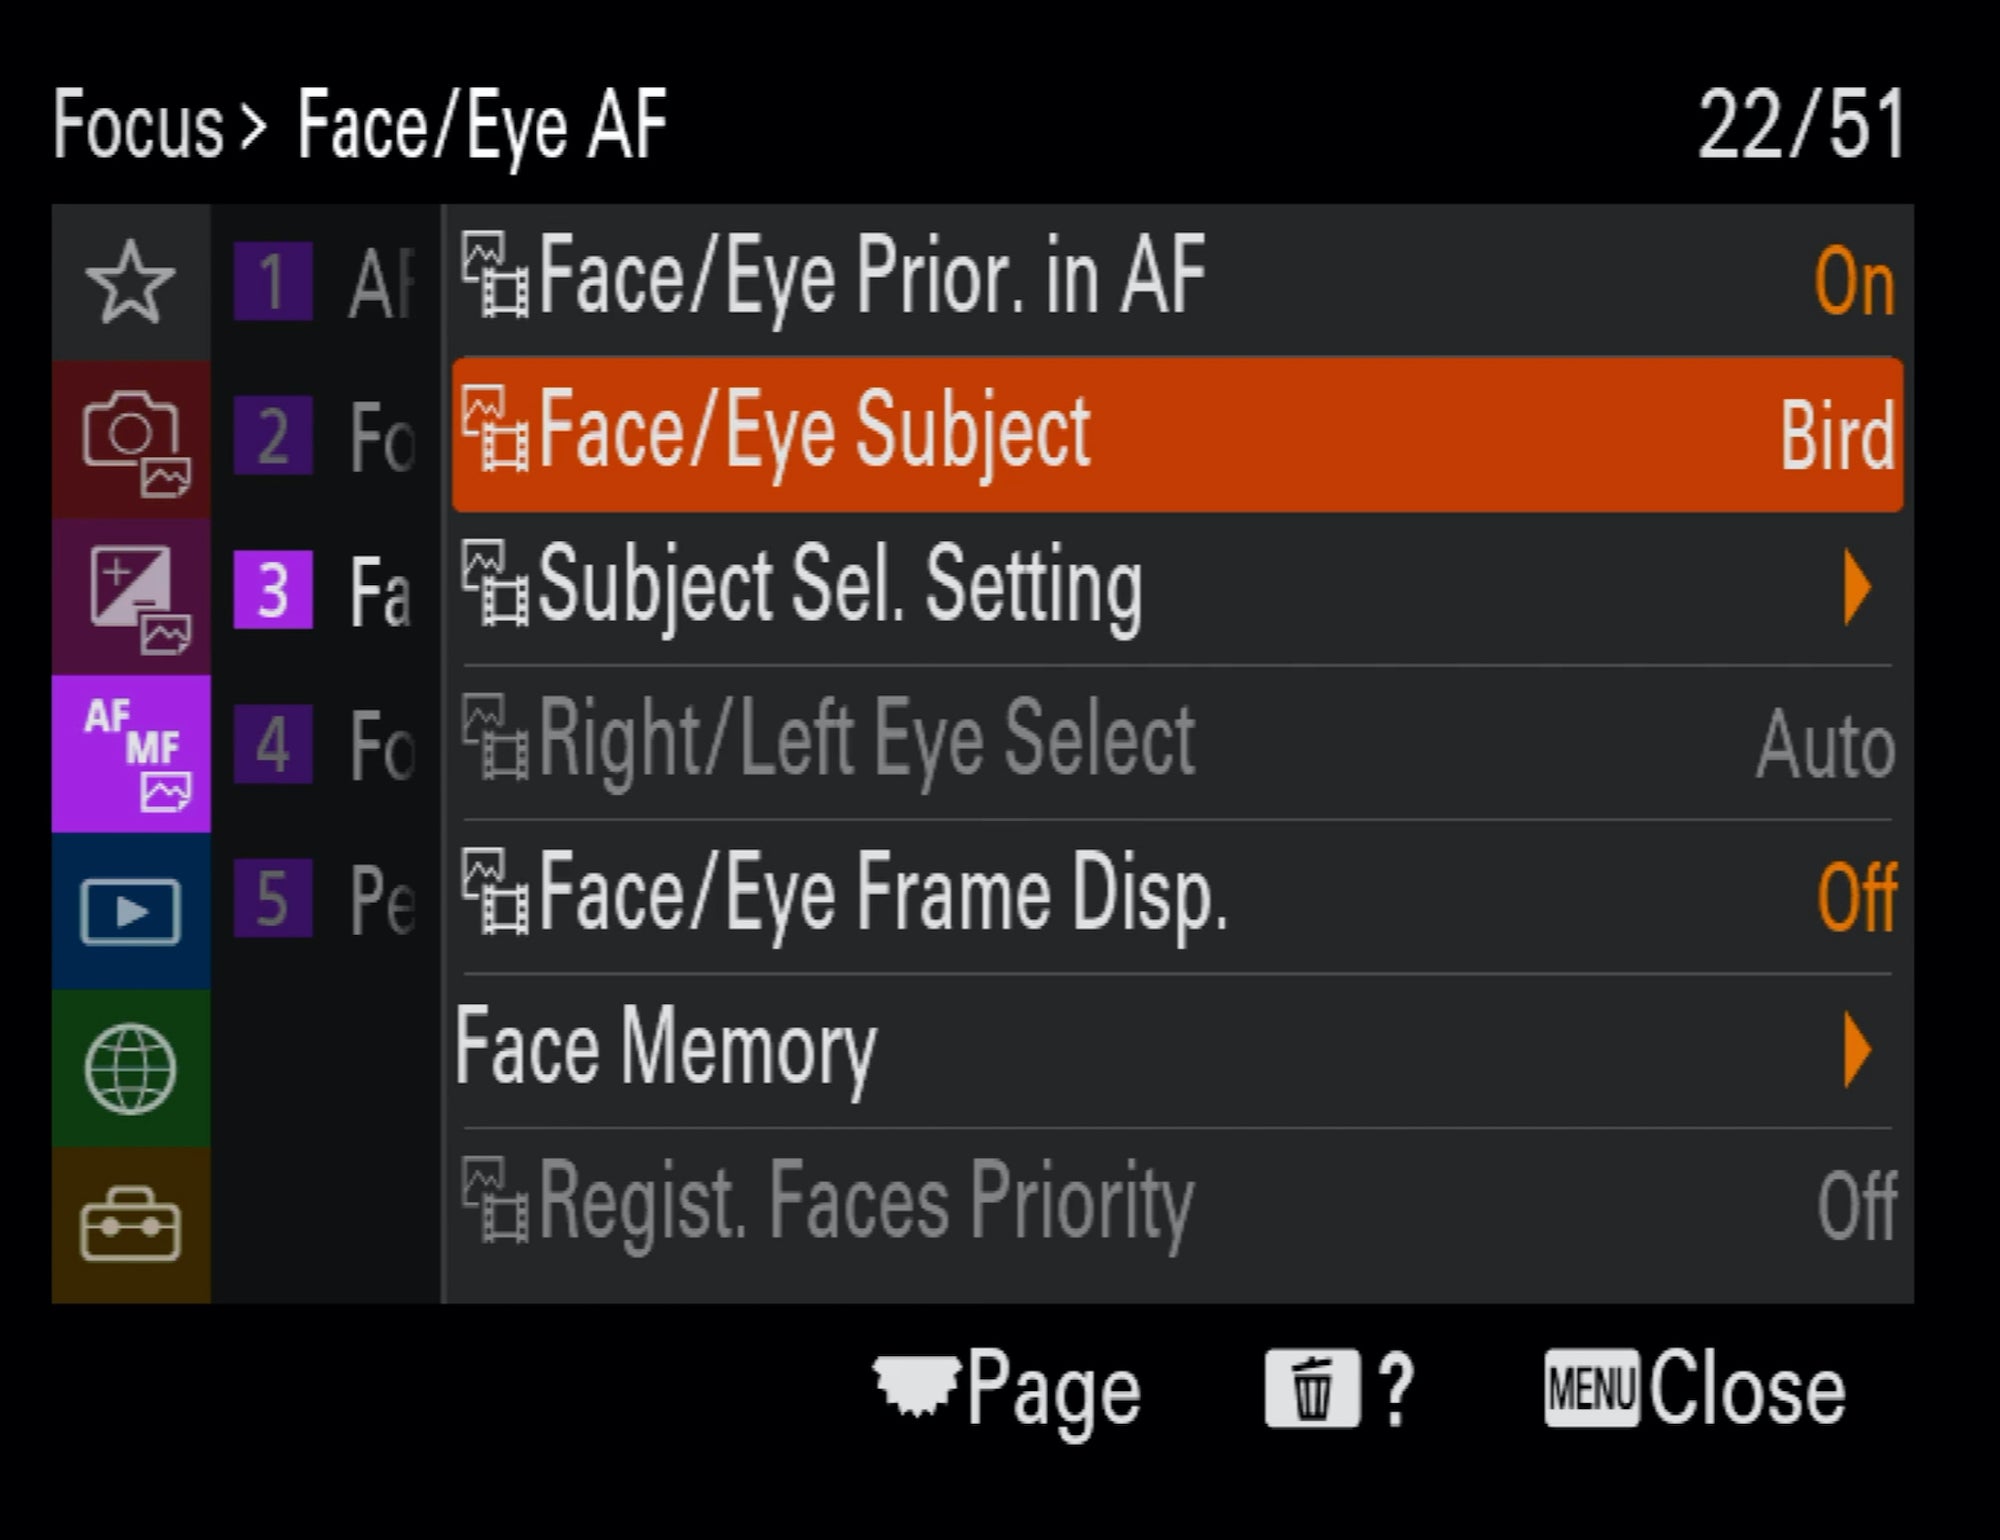
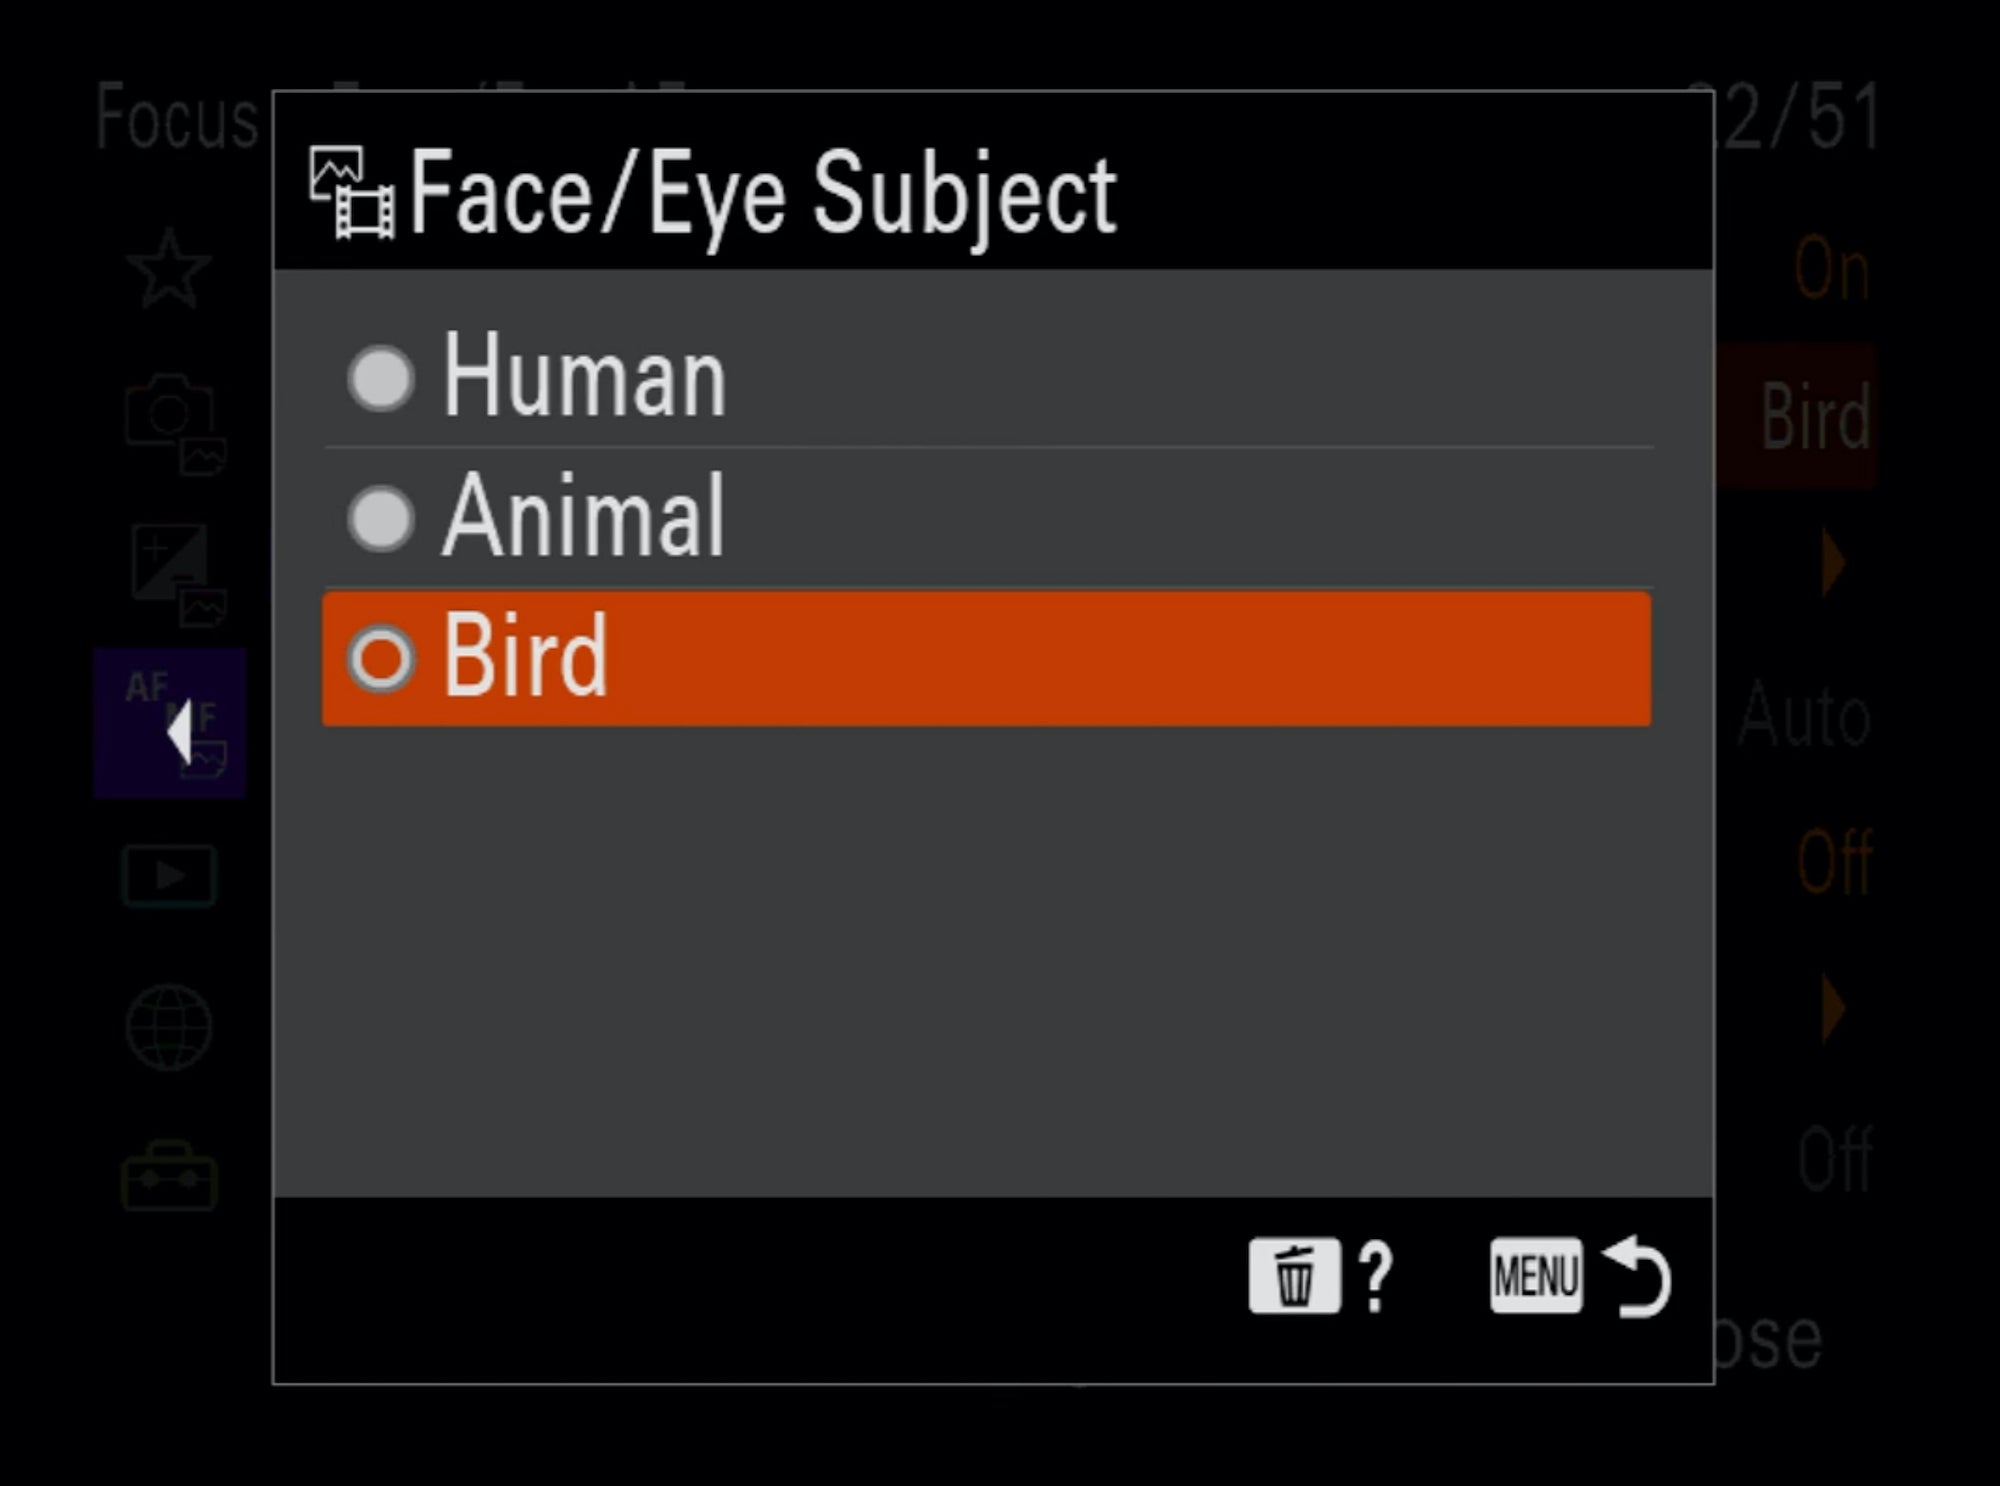
When it comes to Face/Eye Subject Auto Focus, Kloskowski sets his to Bird Eye Auto Focus. “The way that will work is, the camera will still look inside of that Zone Area you chose. So if the eyes are outside of the Zone, it’s not going to find them. If the eyes are inside the Zone, the camera will look and try to find the eyes. Personally I prefer this for a perched bed because it takes away the need for me to try to use a spot to move around and focus perfectly. With Bird Eye Auto Focus engaged, it will automatically find that. In that case, I would use a larger Zone or a Wide Area because Bird Eye AF will take care of getting that pinpoint focus right there on the eye.”
