Imagine you're sitting in a truly epic location you have spent hours on Google Earth researching, and even more time in the field scouting that perfect composition. You’ve waited for the sun to set and the Milky Way to rise to the perfect angle, and then the clouds roll in... What are your options? If you had the time you could try again tomorrow, but if you didn’t, you could composite. A composite is the action of photographing your foreground and then either later in the night after you’ve moved your tripod or another night completely, you photograph the sky. It’s a technique used to craft a scene to your liking and is very similar to a blending technique, however your camera has moved. I'm Jess Santos (@missjessbess) of the Alpha Imaging Collective, and I'll take you through some techniques used both in the field and in post-processing to get your composites looking as realistic as possible using this composited image from Alabama Hills in the Eastern Sierras.
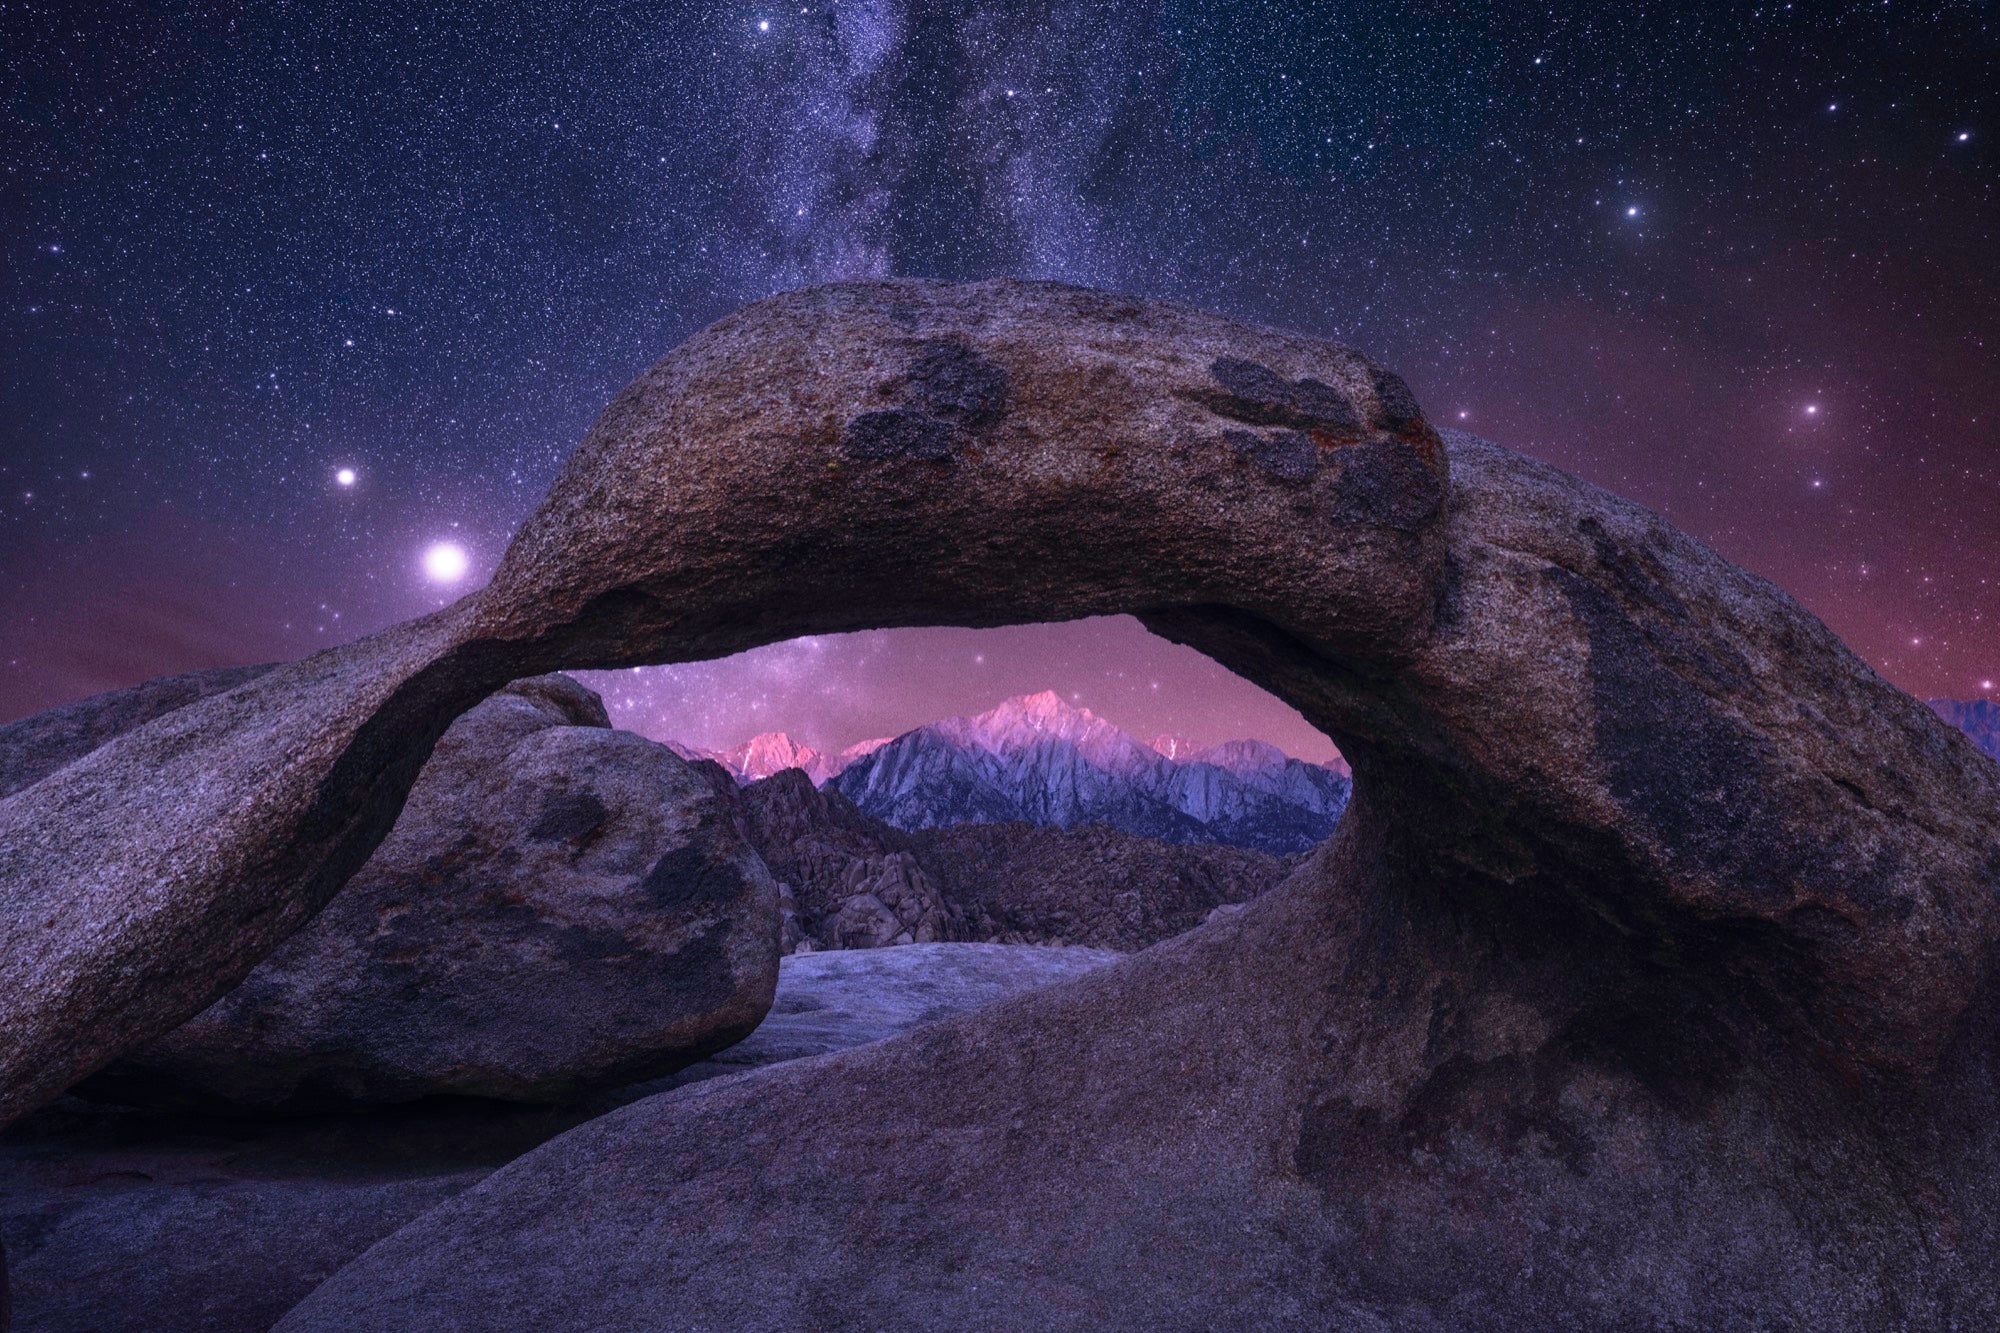
Sony α7R IV. Sony 12-24mm f/2.8 G Master lens. Foreground: 24mm, f/16, ISO 100, 1/4-sec. Sky: 12mm, f/2.8, ISO 12,800, 6-seconds (20 Images Stacked)
It Starts With The Right Gear
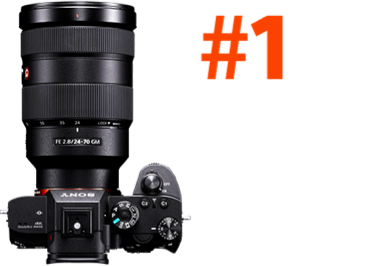
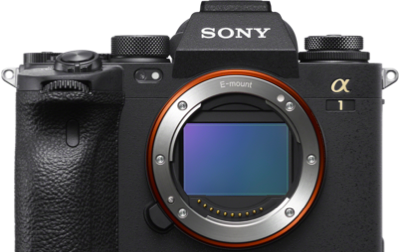
It’s no secret that I shoot with and love Sony gear. Until the new α7S III is available, my favorite camera currently is the Sony α7R IV. I choose this camera first and foremost for it’s ultra high resolution – at 61mp this camera allows me to create large format prints from my images with no quality loss. This combined with its high dynamic range make it a no-brainer choice for me.
As for lenses, I had a chance to do several astro shoots with the new Sony 12-24mm GM f/2.8, and for me it’s a dream lens. I often shoot ultra wide at 12mm and being able to use the same lens for my sky exposure and the foreground exposure has earned this lens a permanent home on my camera. I also enjoy having the option to shoot at multiple focal lengths with one lens, as shown in the image in this article which was shot at 24mm. The 12-24mm f/2.8 GM is my top choice for astrophotography because of its sharpness and lack of coma.
The Sony 20mm f/1.8 G has quickly become my second favorite lens of choice. Being a prime lens, it is lightweight, super sharp and fast, meaning I get to use the lower aperture of f/1.8. Shooting at this lower aperture allows me more room to adjust other settings such as a quicker shutter speed and lower ISO if I so choose. At 20mm fixed this is a great focal length for most scenes I photograph.
Shoot With The Final Image In Mind
The single most important step to a realistic composite is shooting with a plan. We are using this specific technique to delicately craft our images and tell a story. With this being said, we will want to think through the entire image from start to finish. This will mean careful planning to determine lighting, Milky Way orientation, composition and finally being able to picture how the image will look in its final form. How do you plan to process the final image and what photographs do you need to take in the field to have all the pieces to create your final image? Nothing is more disappointing than returning to your computer and opening up your images only to find you missed a focus point or you should have waited 20 more minutes for the Milky Way to be better aligned.
Lighting is Everything… Shoot At Blue Hour
Starting with your foreground image, lighting will be the most important factor to consider. I chose to shoot the landscape portion of the image at blue hour, where the light on the scene is less contrasty. That flat light simulates night without losing details, especially in the shadows. There’s also a beautiful glow emanating from the setting or rising sun that creates subtle dimensionality throughout the foreground. With this in mind, it is important to consider how the light will affect your scene.
In the image below I chose to photograph the granite arch at sunrise blue hour (about 40 mins before the sun rises) to capture the alpenglow on the peaks of the Eastern Sierras while also considering the direction in which the light would fall. Had I chosen to photograph the arch at blue hour after sunset the last light of the sun would be almost directly in front of me, washing out any detail in the mountains and creating a bright glow in the sky along with a haze on the mountains. That haze would also make it difficult to blend the foreground with the sky. It wouldn’t be impossible to blend, but it would certainly force me to work harder and get a little more creative in post-processing.
Camera Settings
I suggest starting with the following settings for blue hour foregrounds. These may need to be adjusted based on the lighting in your landscape.
- Begin with an aperture of f/11 to get a maximum depth of field.
- ISO 100 – I keep the ISO as low as possible to reduce noise.
- Wait for the light to be low enough to reach a shutter speed of 30 seconds.
- It’s also important to note that setting a cooler white balance helps with blending later in post-processing.
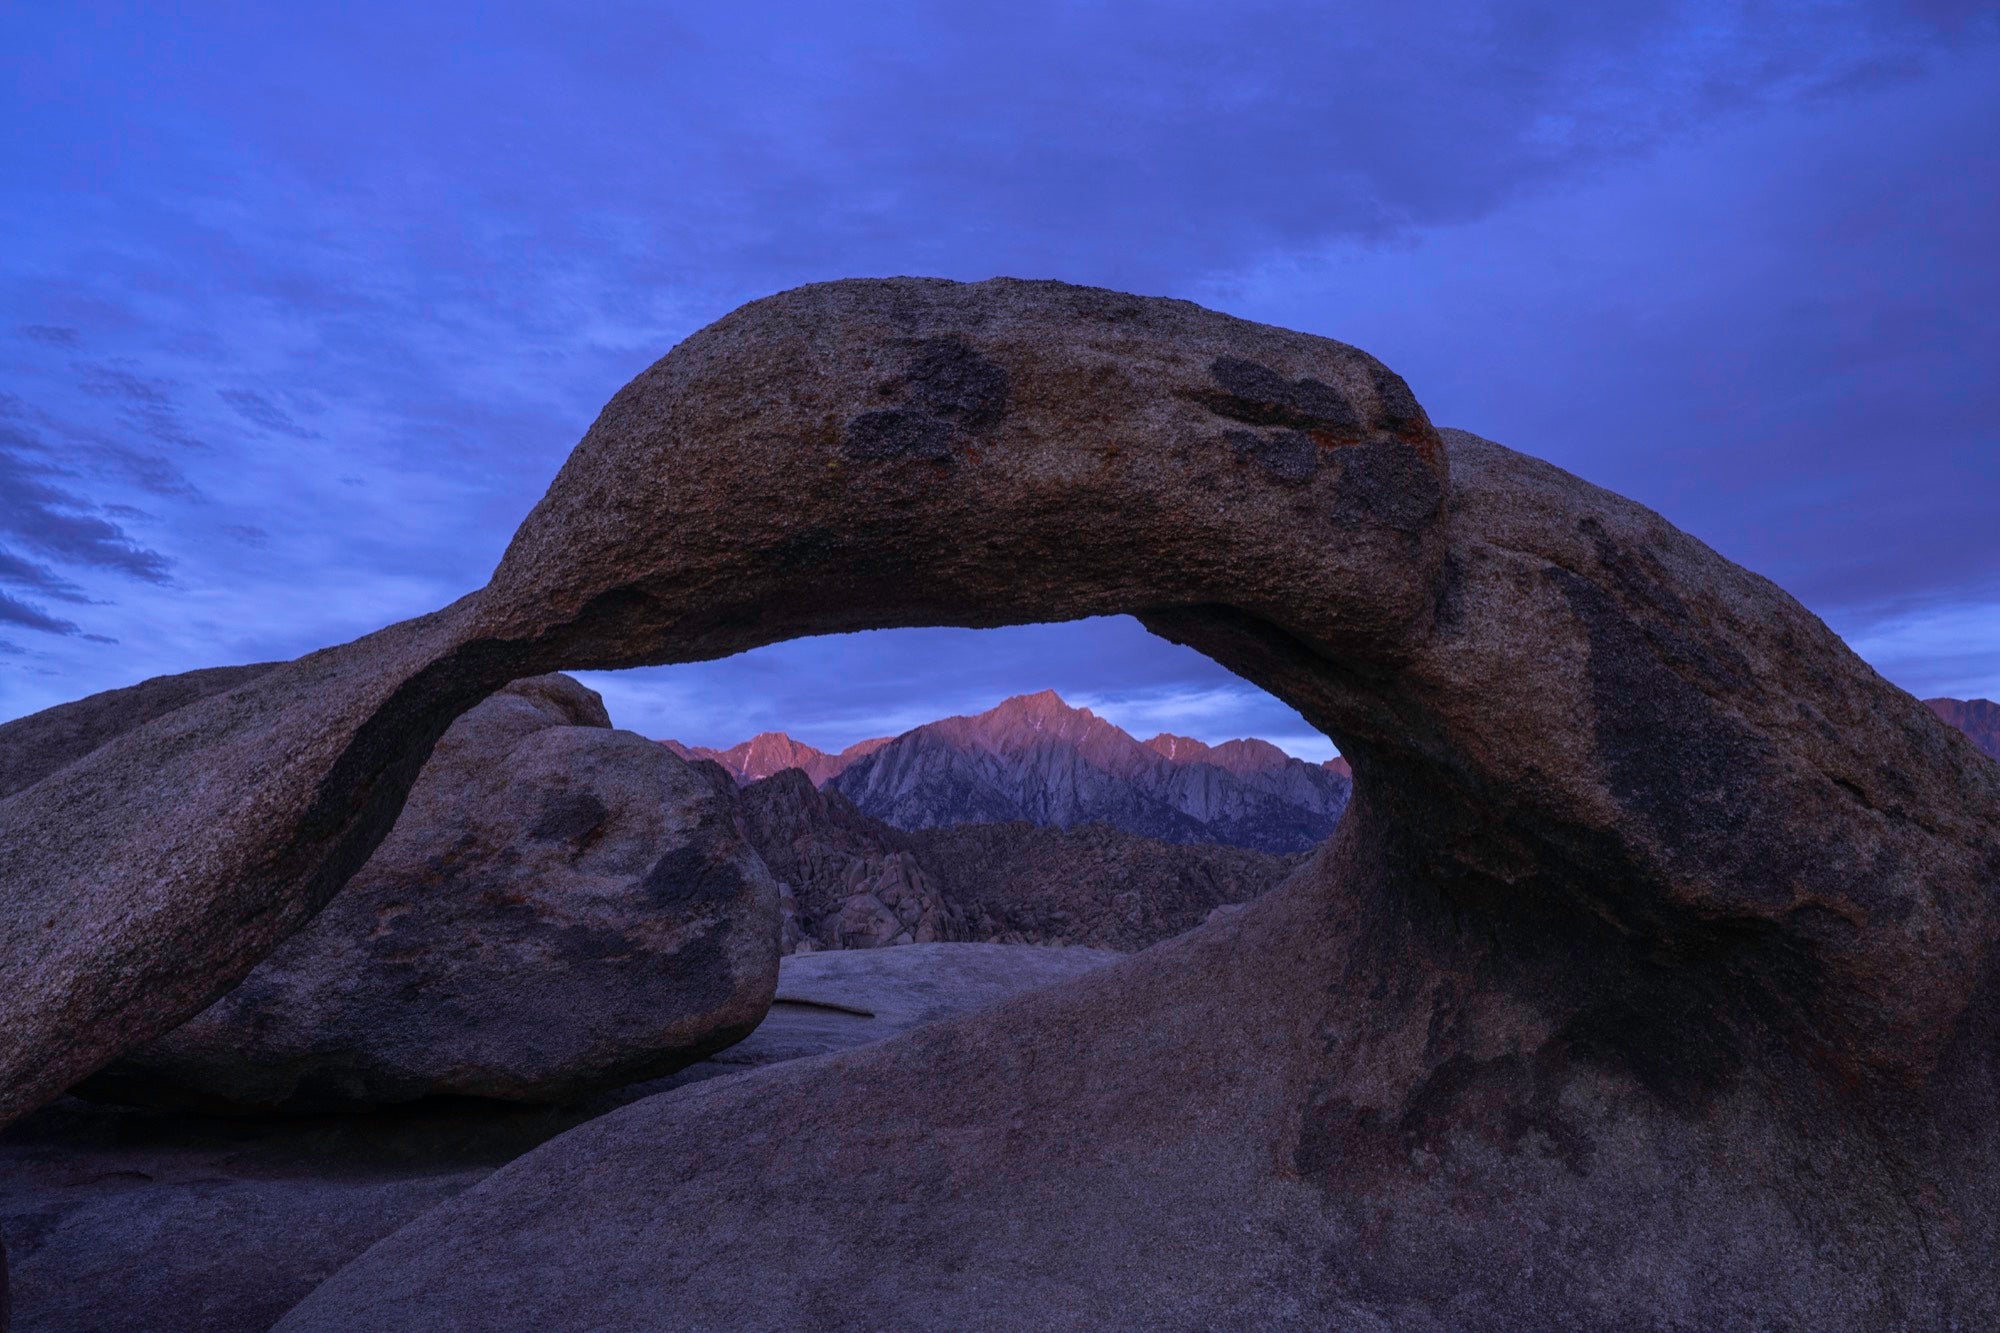
Blue Hour Foreground. Sony α7R IV. Sony 12-24mm f/2.8 G Master lens at 24mm. f/16, ISO 100, 1/4-sec.
Milky Way Alignment & Shooting For Stacking
Shooting for composite images gives us the luxury of not having to wait for hours for the Milky Way to align or to add a Milky Way sky into an overclouded scene. After photographing at blue hour, I use an app to determine when the Milky Way will be in perfect alignment for the final composite image. I use PhotoPills, but there are also other perfectly good apps. It’s also important to take into consideration where in the frame the Milky Way will be placed. For example, in this image I wanted the Milky Way to align directly in the center of the frame, therefore when I photographed the night sky I composed my shot accordingly. When shooting for a composite, I find it’s easier to photograph just the sky free of obstruction on the horizon line to ease the time needed in the digital dark room.
Because we are shooting our foreground at blue hour to get the least amount of noise possible, we also want to do the same for the Milky Way exposure. This is why I use a technique called “Stacking”. Stacking essentially gives us an almost noise-free Milky Way image, while still maintaining as much color, detail and light as possible. To achieve this I will photograph 20 images consecutively at an extremely high ISO and later stack them in the computer to reduce the noise.
I use an aperture of f/2.8, an ISO of at least 10,000 (12,800 preferably) and a shutter speed that varies based on the focal length, usually anywhere from 8-15 seconds. Using these settings as a base allows as much light into the camera as possible while simultaneously getting pinpoint stars free of trails due to the faster shutter speed. Next, use a program like Starry Landscape Stacker, Sequator or Photoshop to stack the images together to produce a final noise-free image, as seen below.
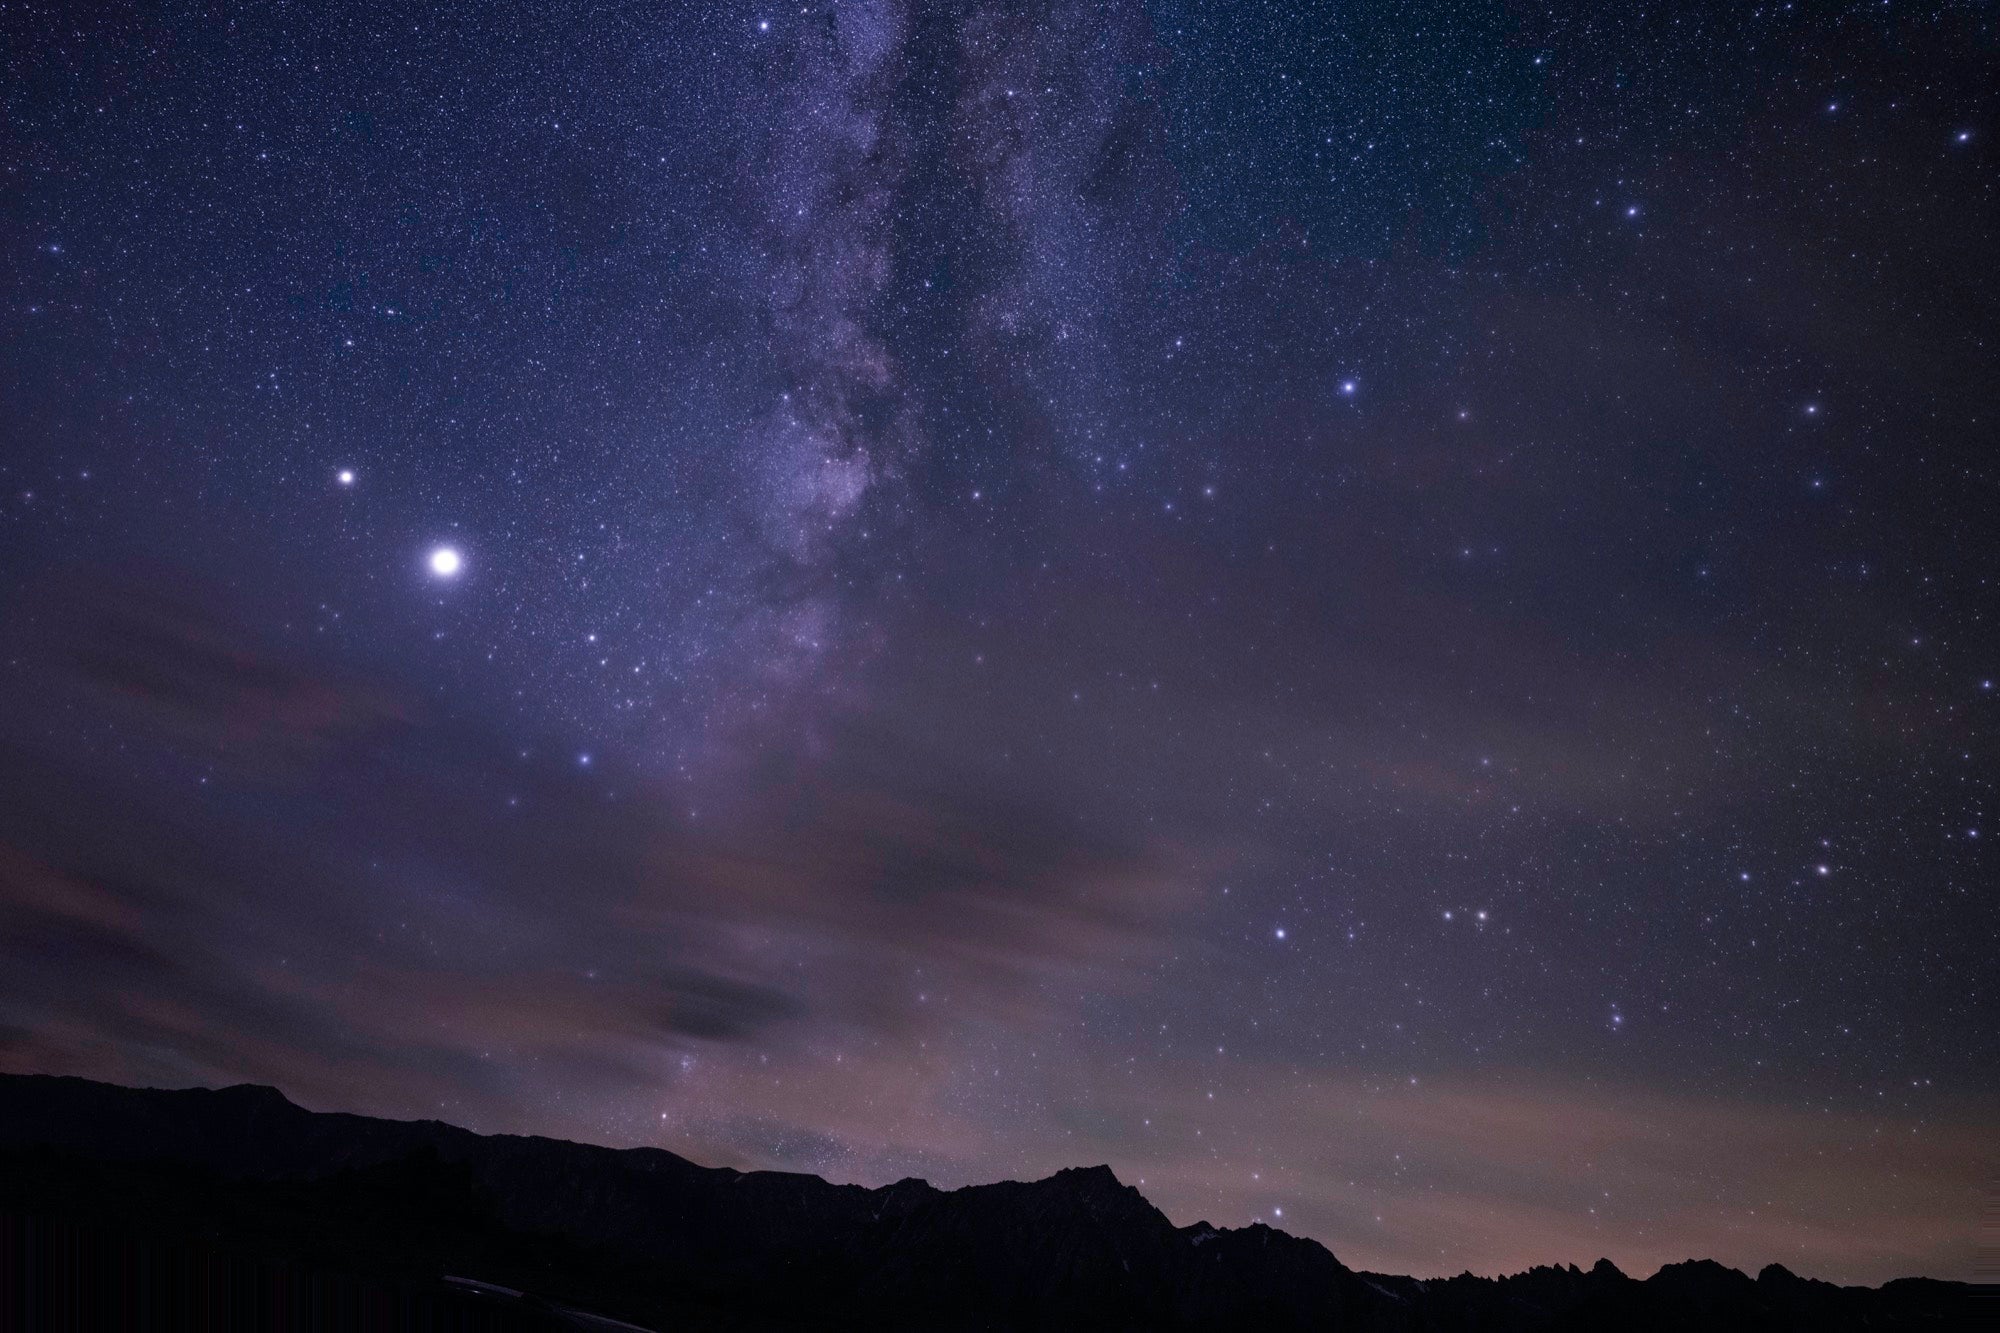
Milky Way Image (Stacked) Sony α7R IV. Sony 12-24mm f/2.8 G Master lens at 12mm. f/2.8 - ISO 12800 - 6-seconds (20 Images Stacked / slight size adjustment for final image)
Putting the Pieces Together... Layers & Masks & Channels, Oh My!
So by now you have your blue hour foreground and your stacked Milky Way image, but how do you put them together? This task often seems more daunting than it actually is. As long as you’ve photographed your elements with the final image in mind, this becomes much less time consuming than you would originally think.
After performing some basic adjustments, I move the image into Photoshop where I will use the channels to determine the mask for the sky. These techniques are quite advanced so if at first you don’t succeed, try again!
- With your foreground image open in Photoshop, select a channel that boosts the most amount of contrast between sky and foreground, and create a new channel with this selection.
- Next using the levels panel create further contrast between the sky and foreground, finally choose the quick selection tool and roughly select the sky.
- Apply this selection as a mask to your foreground, insert your sky below your foreground layer and... Voila! You’ve created your first composite. (You can see these steps in the screen recording below.)
From here you will want to add uniformity through color, exposure and minor detailing. This is where the real magic happens and these steps will change from image to image. Keep a sharp eye out for subtle color differences between foreground and sky as I have found this is often the most important element of post-processing to creating a realistic composite. But at this point the image is yours to play with. So enjoy being creative in your methods here, play with color adjustments, dodging and burning, layer blending modes or try a new technique – these fine adjustments will give your final image a personal style only you can create.
See more of Jessica Santos' photography on Instagram @missjessbess
