Like many photographers, I’ve always been enchanted by the burn of vibrant sunrises and sunsets. Whether it’s the rays, the colors or the golden glow, there’s an undeniable magic which draws us in. However, capturing the full magnificence of bright skies and darker foregrounds can be tricky. Instead of capturing a single image, I often blend exposures to make sure my skies are popping. Shooting with my Sony α7R III for its resolution and dynamic range and then processing the image in Adobe Lightroom makes the effect as strong as it is easy. The key for this blending technique is to plan for it when you’re shooting. Here’s how I do it.
The Sony + Lightroom easy button option for blending skies to make landscapes that pop.

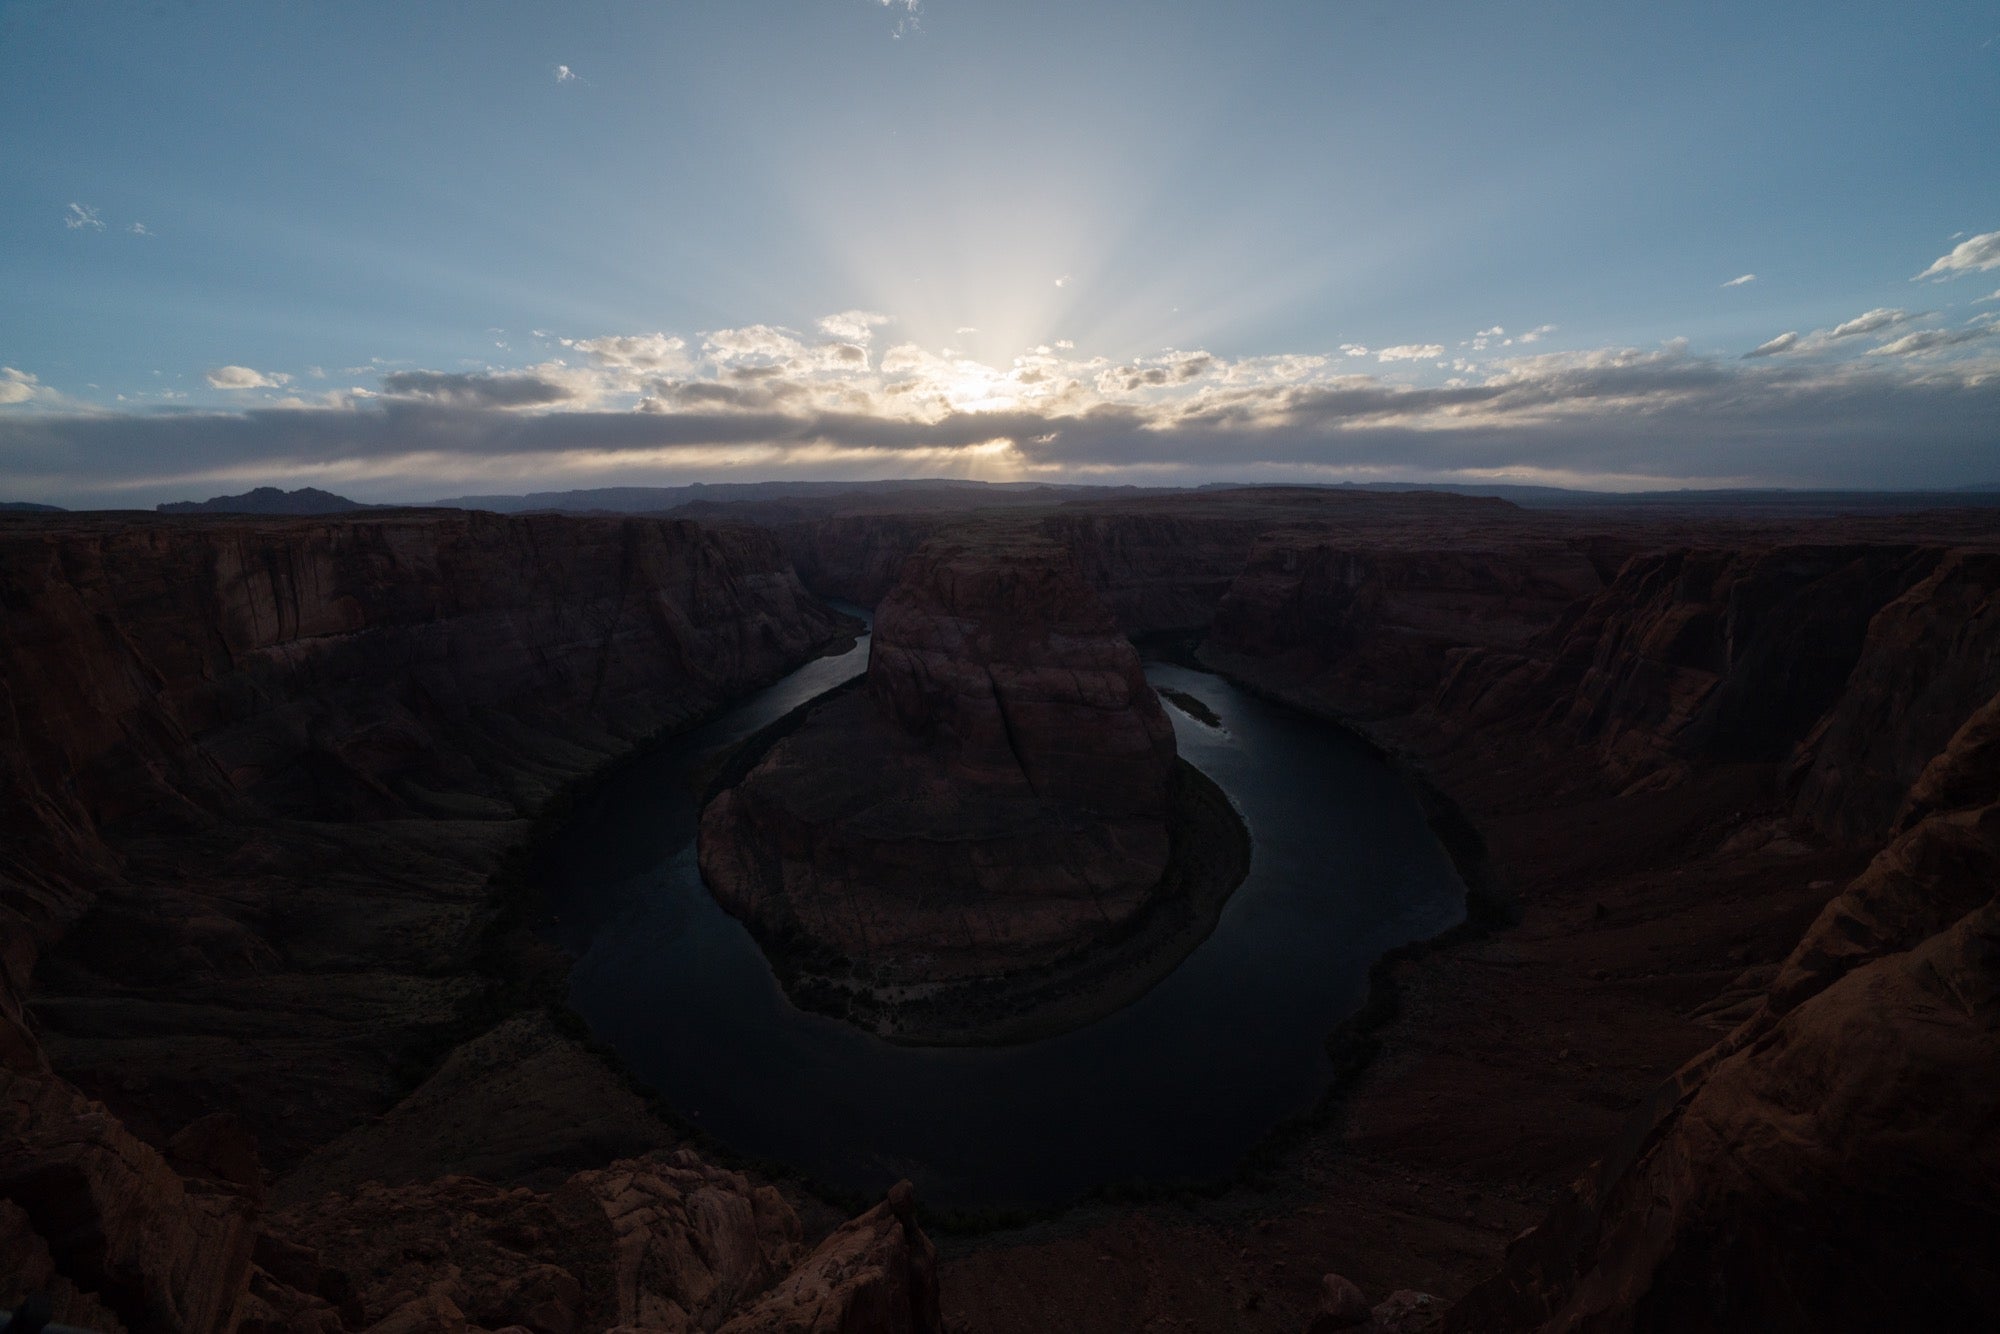
Sony α7R III. Sony 12-24mm f/4 G lens. 1/1600-sec., f/10, ISO 640
In the first frame (above), I find an exposure point where the sky is at its brightest WITHOUT losing highlights to the point of no return (once you completely blow out highlights, no amount of editing will bring them back…more on that later). In the α7R III, I set the zebra stripes at 100/100+ to ensure I don’t overexpose the sky shots.

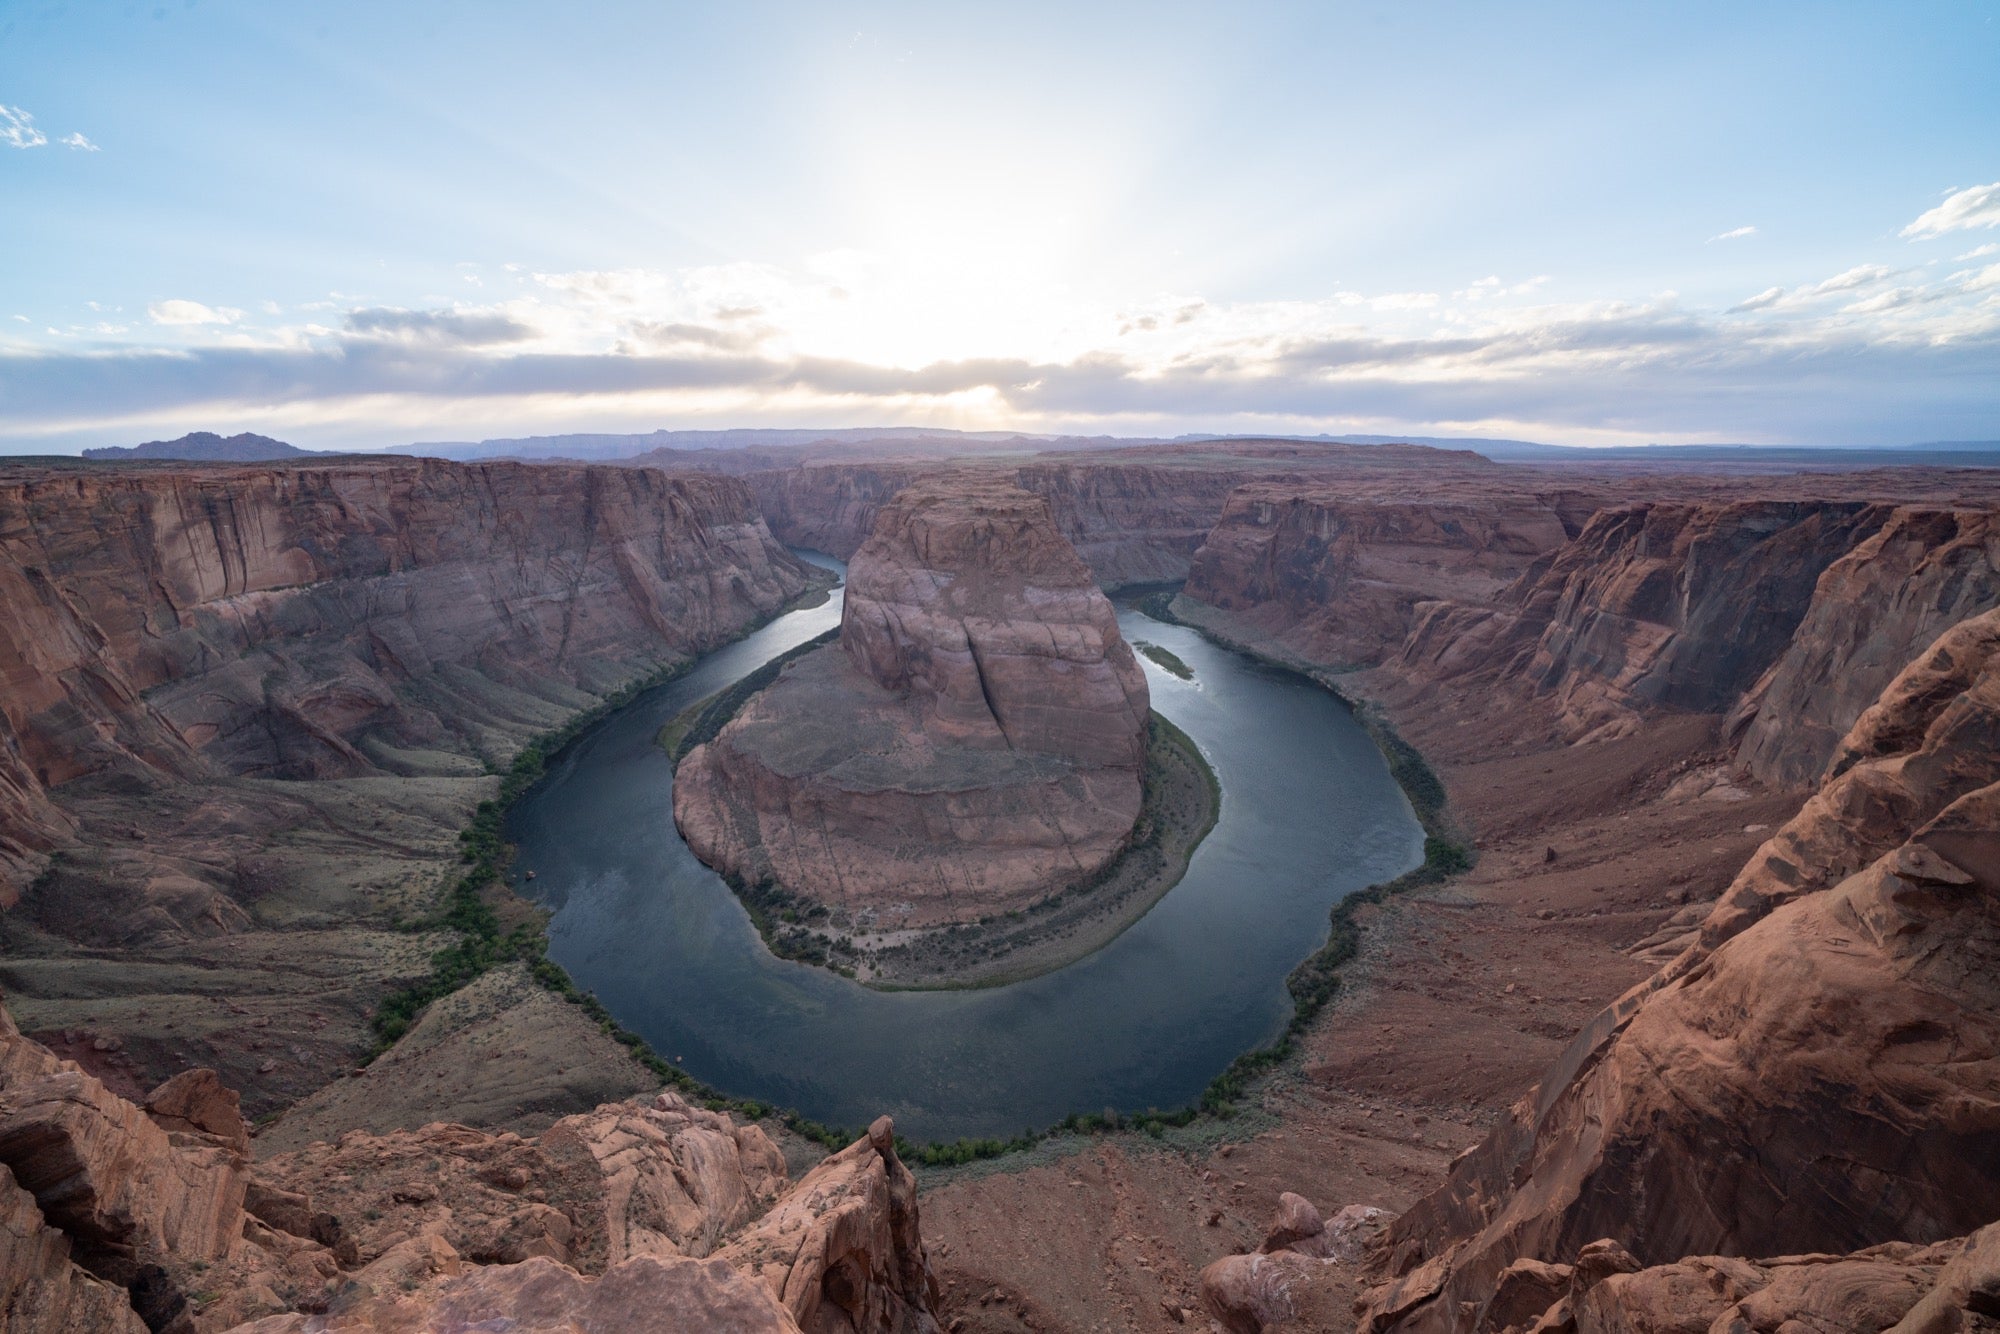
Sony α7R III. Sony 12-24mm f/4 G lens. 1/200-sec., f/10, ISO 640
In the second frame (above), I target an exposure which will bring out the foreground details without completely blanking out the sky near the horizon. From there, I use the “easy button” in Lightroom by selecting both photos, going to Merge, then clicking on HDR. If you prefer to have more flexibility and control over your final image, you can do it in Photoshop by creating two new layers (one for each image) and then experimenting with all the blending options.

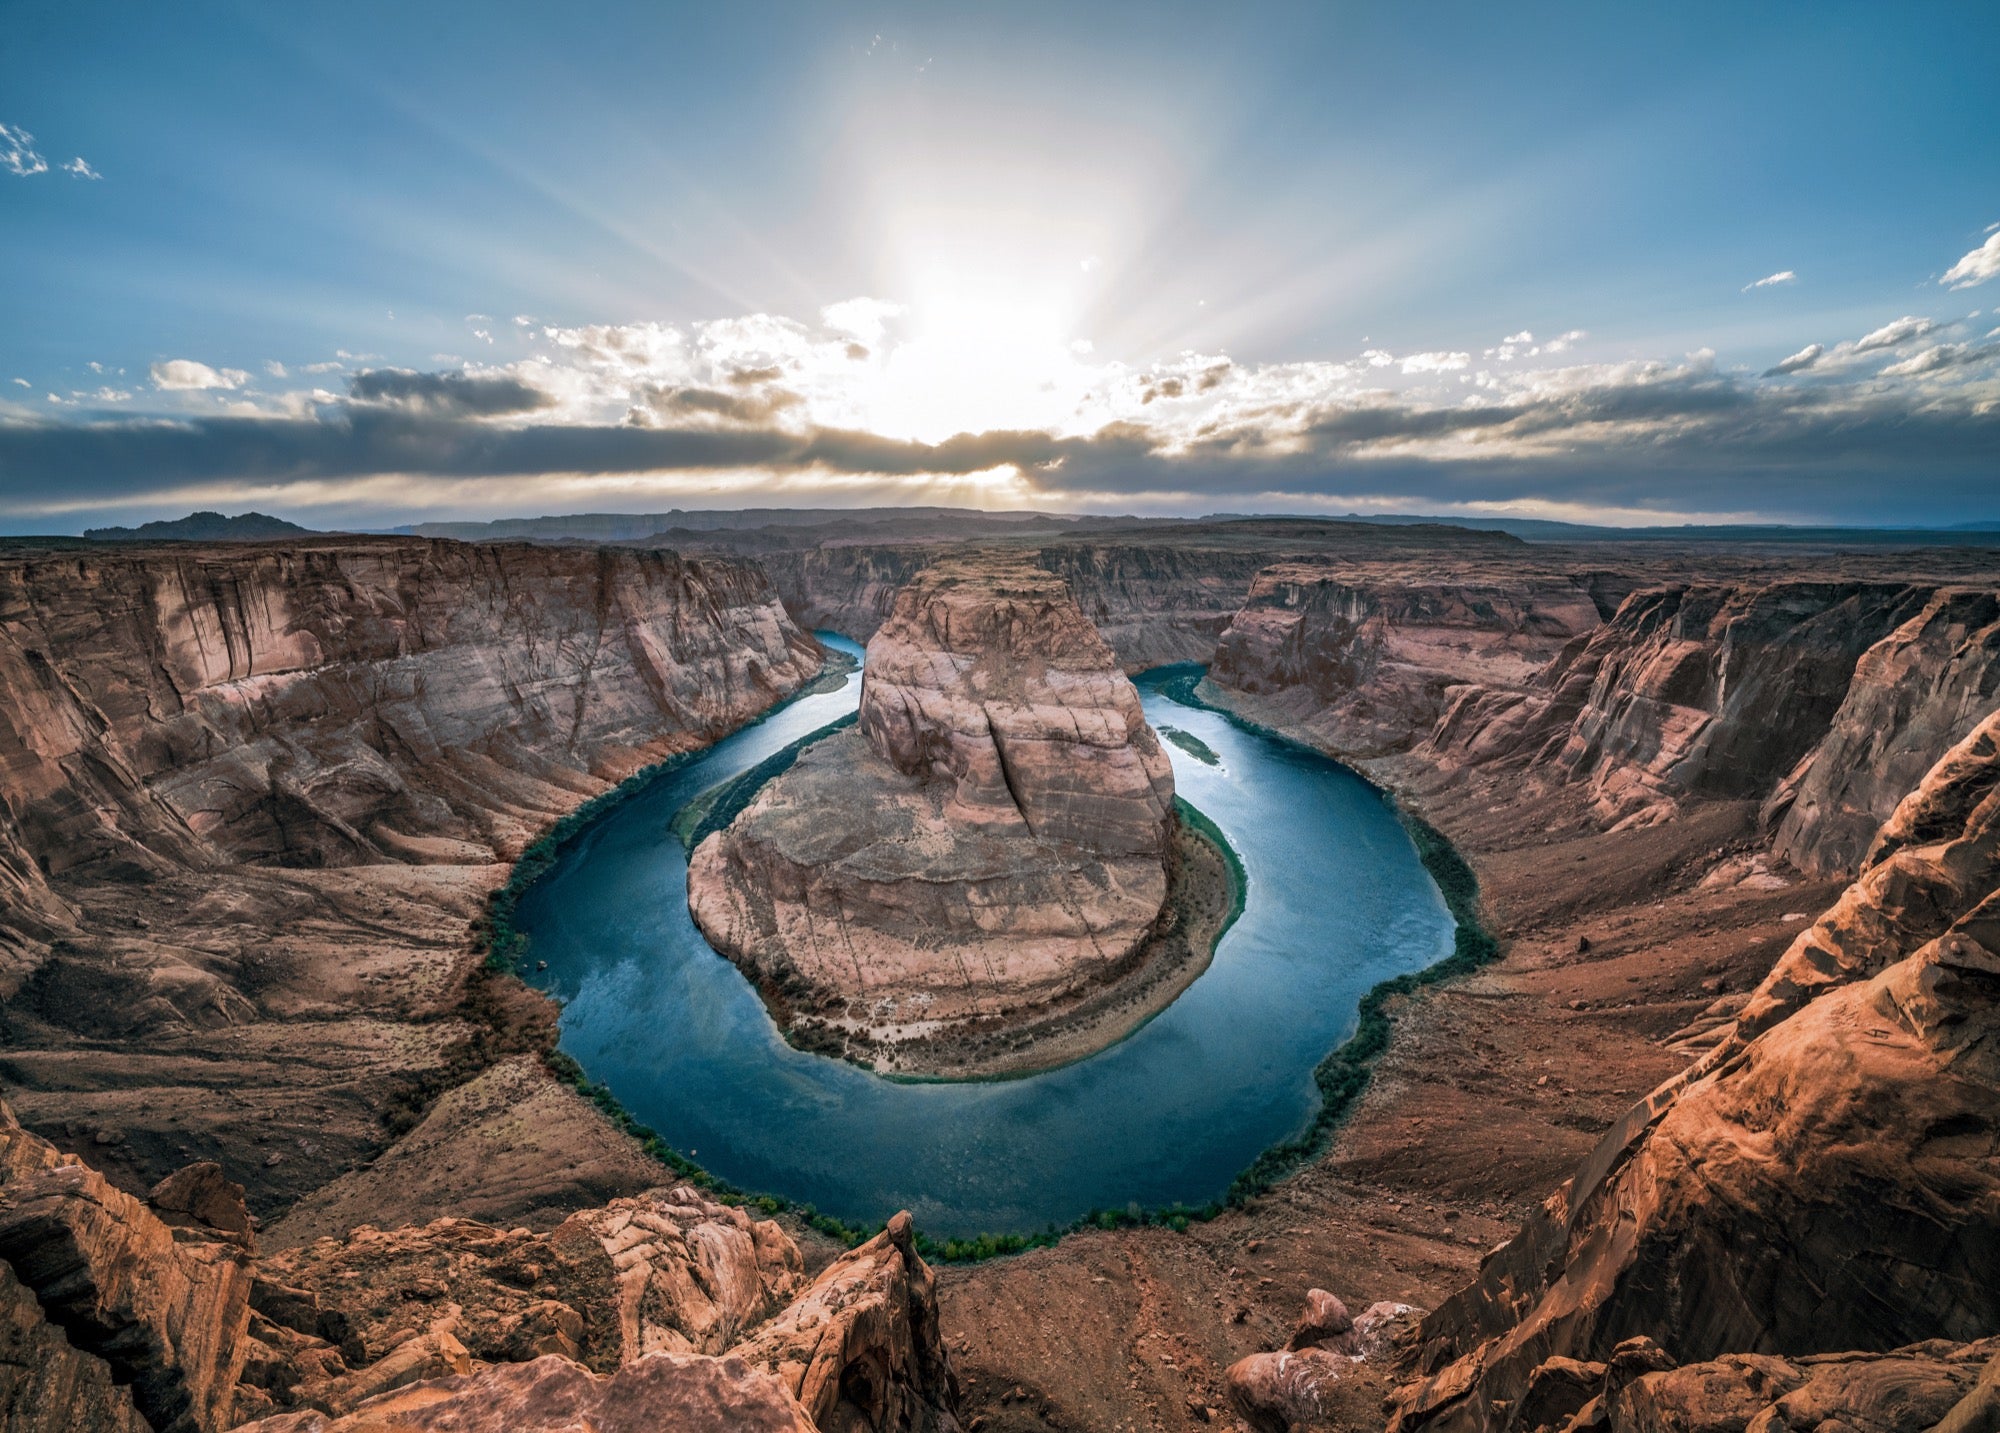
Final image after blending the exposures with the Lightroom HDR "easy button" and doing some fine tuning. You can dial the effect up or down to taste. For this photo, which was taken with the Alpha Imaging Collective at Horseshoe Bend during the #AICdoesArizona trip, I dialed up the HDR effect for a more dramatic look.
Why I Don't Just Use A Gradient Filter

Sony α7R III. Sony 12-24mm f/4 G lens. 1/200-sec., f/10, ISO 640
To illustrate the loss of detail from blown out highlights, I used a gradient filter on the same picture to reduce highlights by -100. As you can see, while some of the sky detail can still be recovered, it’s not nearly as vibrant or detailed as the image made by the blending technique. When dealing with intricate skies, it’s a better bet to slightly underexpose the overall frame and boost foreground than overexpose the frame with the intention of recovering detail in the sky.

