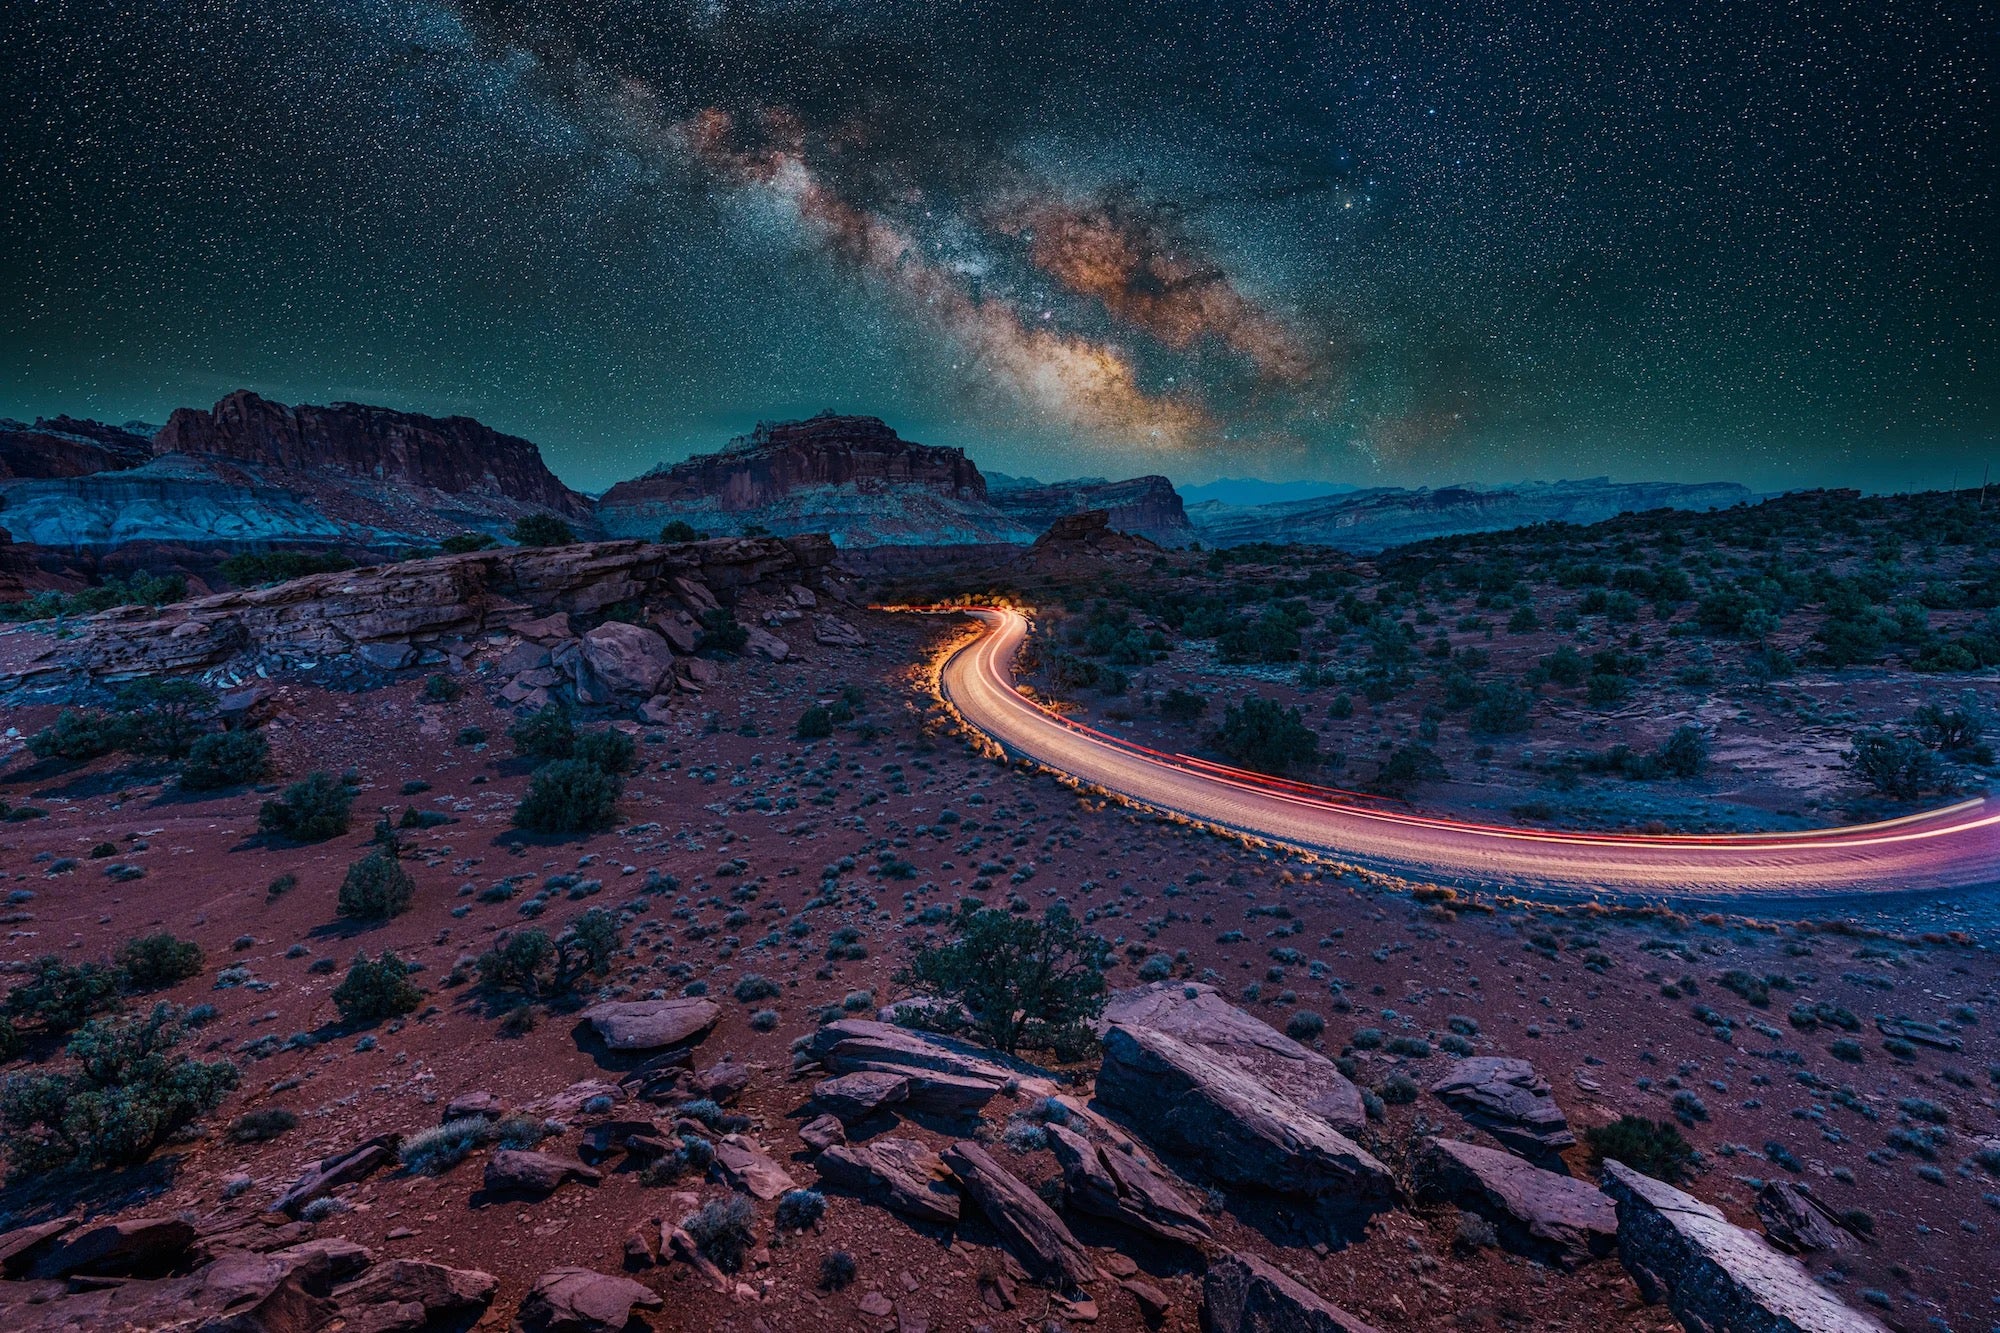
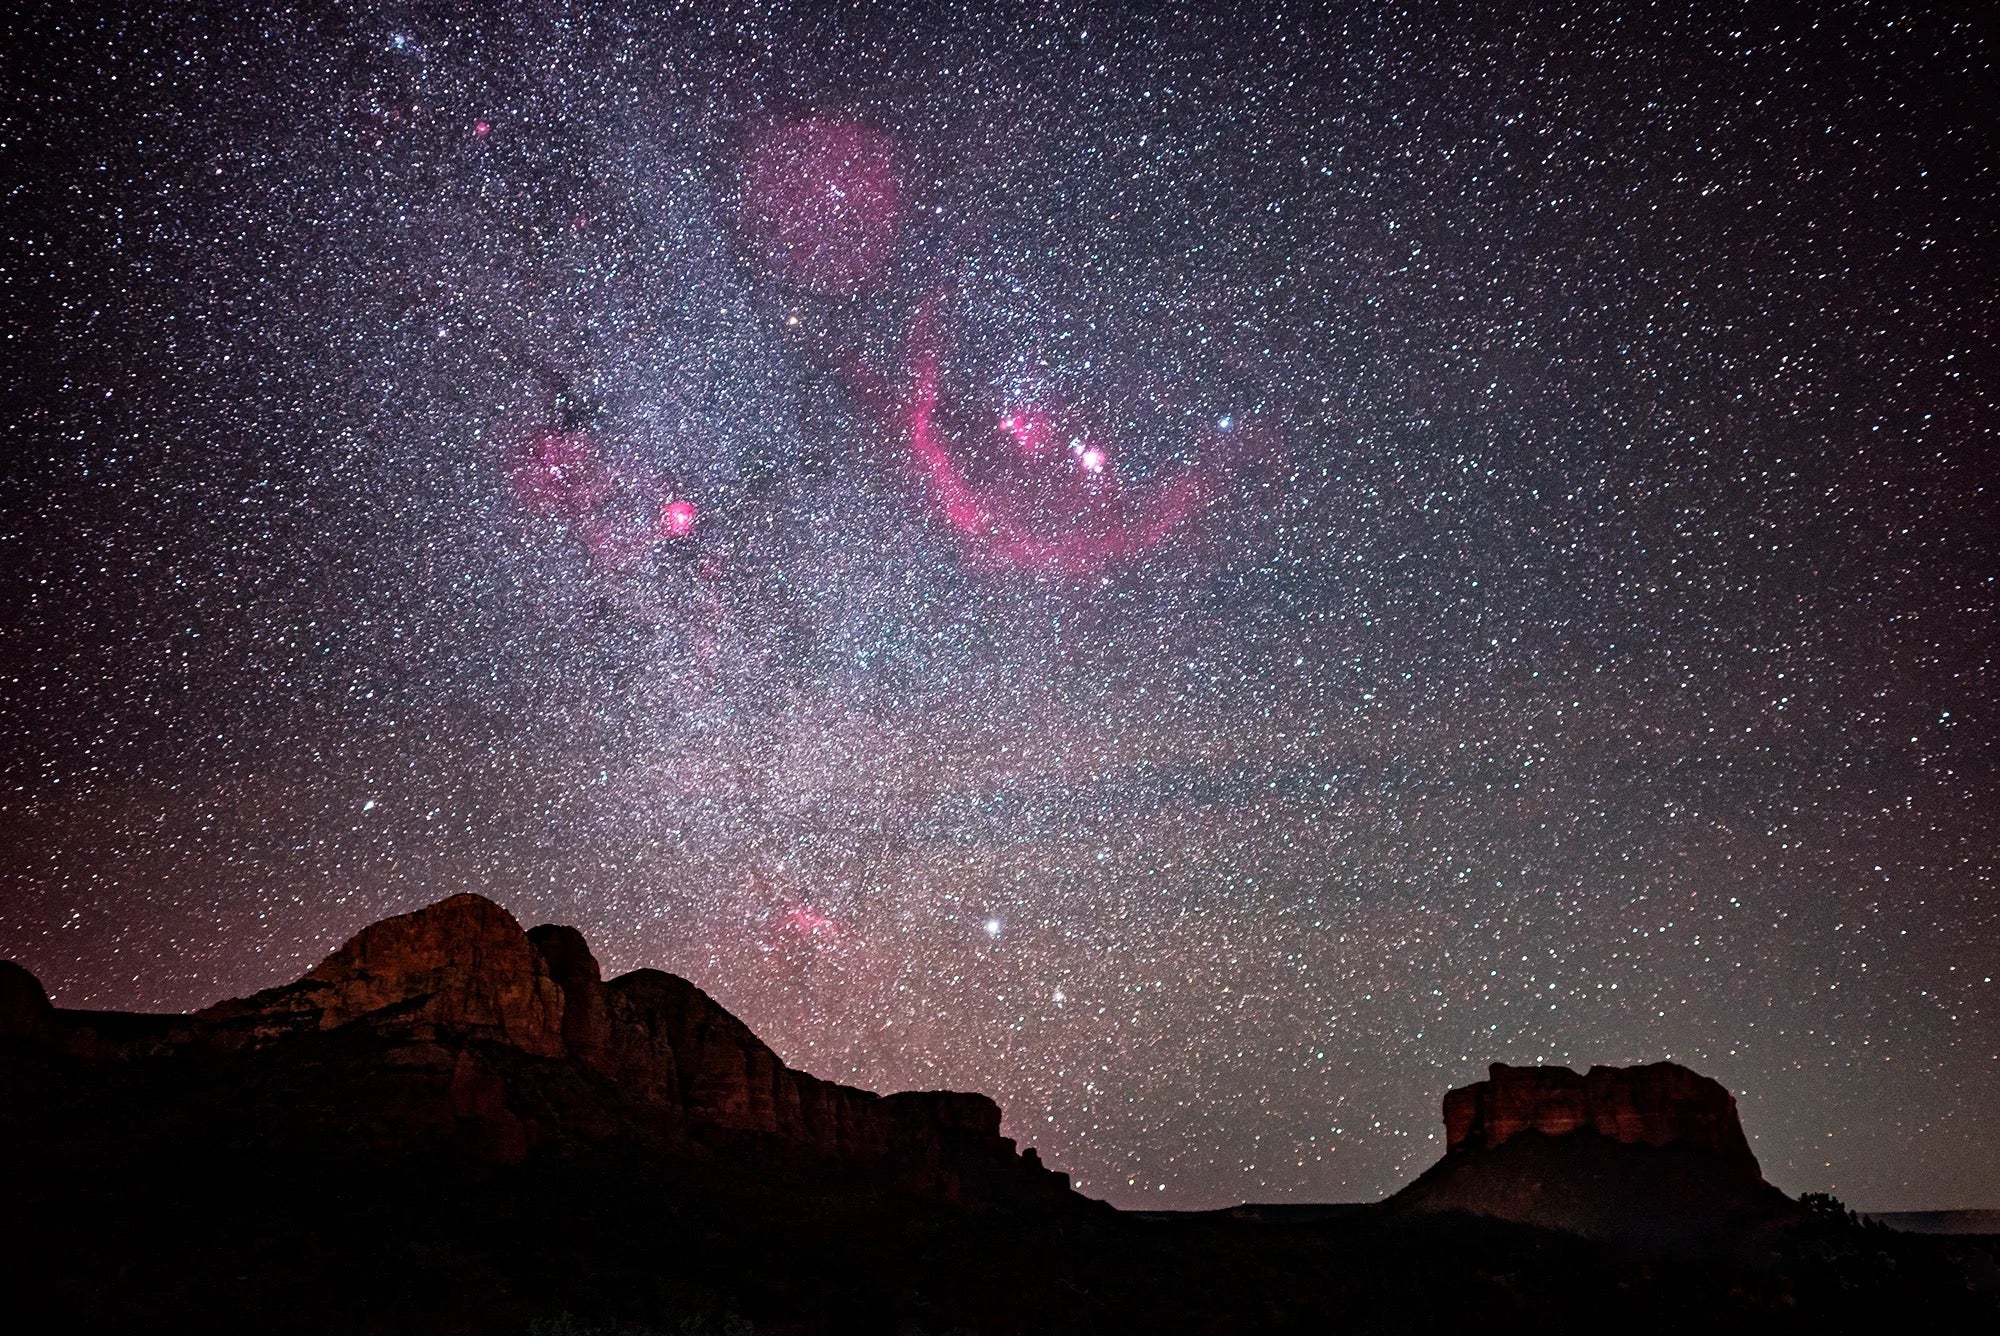
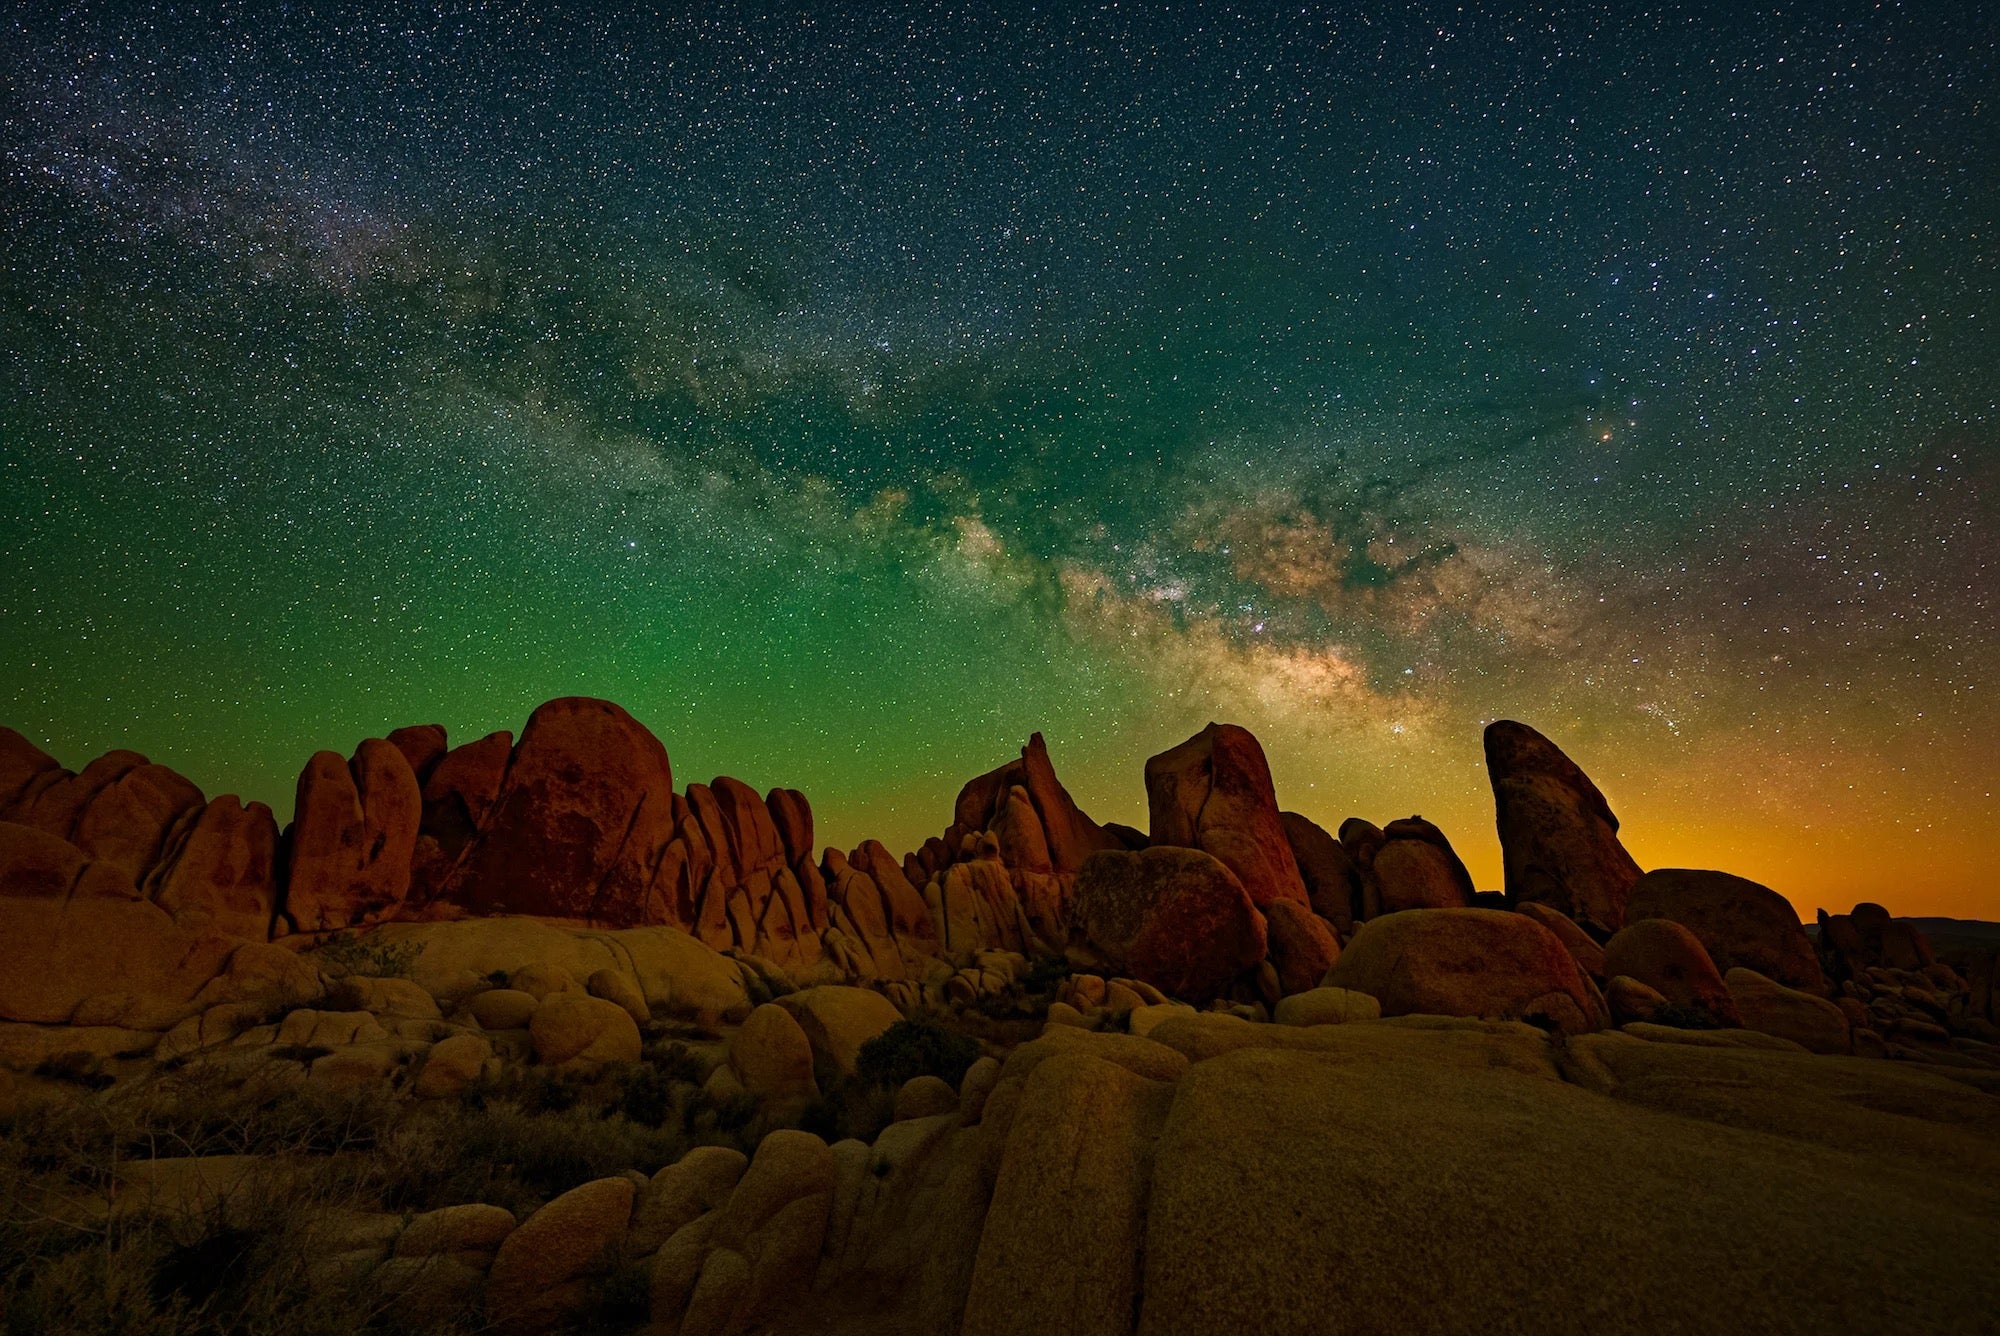
While astrophotography doesn’t need to be complicated, it does need to be approached with some foundational knowledge to produce successful results. Photographer and Alpha Collective member Stan Moniz (@stanmoniz) has been shooting and teaching astrophotography for years, and he’s simplified the process into some basics to help you get started. See below as he shares some basic camera setup tips and the fundamentals of capturing a properly exposed astro image.

Photo by Stan Moniz. Sony Alpha 1. Sony 14mm f/1.8 G Master.
Shoot In RAW
Before even worrying about exposure, Moniz says to make sure when shooting astrophotography that you’re shooting in RAW. “If you can shoot uncompressed,” he says, “even better for you because you need that data. If you’re shooting JPEG, especially in astro, you’re just shooting yourself in the foot. You’re baking the photo and you won’t get that dynamic range, you can’t add color. Always shoot RAW because you can get better at editing later and come back to it.”
Shoot In Manual
The next thing is to make sure that you are shooting in manual. “I always tell everyone that everything in astrophotography is shot in manual,” explains Moniz. “Set your camera to manual mode and manual focus. If you’re in auto focus, the sensor’s going to hunt and you’ll never have a sharp star. So make sure that everything is in manual.”
Turn On The 2-Second Delay Or Use A Remote
When shooting astrophotography, you also have to find a way to avoid camera shake so you get those pin-point stars. Moniz says you can do this by setting the two-second delay on your camera’s shutter, so there’s some time between you clicking the shutter and it actually triggering. “The two-second delay needs to be on,” he says. “Or you can use an intervalometer or the Sony app or even the Sony Remote Commander. You just need to be able to trigger the shutter without moving anything.”

Photo by Stan Moniz. Sony Alpha 7S. Sony 24mm f/1.4 G Master. 20-sec., f/1.4, ISO 6400
Astro Exposure Basics
Open Your Aperture To The Widest F-Stop
When it comes to setting your aperture for astrophotography, Moniz typically likes to shoot the widest he can, but notes that not all lenses are created equal. “Typically you want to open your aperture to your widest F-stop. If you’re using older lenses you would have to stop the lens down to avoid chromatic aberration, but with the new G Master lenses and their XA elements that correct for distortion, you can pretty much shoot wide open.”
It all depends on the quality of the lens, and Moniz’s favorite lenses for astrophotography are the Sony 35mm f/1.4 G Master and Sony 14mm f/1.4 G Master. “These are the sharpest lenses I’ve ever shot astro with,” he says. “They’re insanely sharp and don’t give you any distortion or chromatic aberration. But pretty much anything that’s an f/2.8 or higher is going to give you pretty sharp stars in my experience. You might have some chromatic aberration here and there with the furthest stars, but you can correct that in Lightroom.”
Moniz says to start wide open and take a sample photo. Look at the corners and what the stars are doing. “If it doesn’t look sharp and they have little bird wings or tails, you might need to stop down. But with the brand new G Master series, it’s pretty awesome right out of the gate.”

Photo by Stan Moniz. Sony Alpha 7S III. Sony 14mm f/1.8 G Master.
Set Your ISO Between 3200 & 6400
For shooting single basic astrophotography shots, Moniz says to set your ISO between 3200 to 6400 and adjust accordingly. He typically stacks images when shooting astro. “I'll take some sample shots and then I'll stack between 8 to 10 images and do the post-processing and star landscape stacker in Lightroom, which will give you an image that looks like you shot at 100 ISO. But for basic single shots, I would say set between 3200 and 6400.”
Calculate Your Exposure Time Using The 500 Rule
In order to calculate how long your exposure time should be, Moniz likes to use the 500 rule for astrophotography. The 500 rule for astrophotography is a simple formula to calculate the maximum time you can set for your exposure before the stars begin to trail or appear blurry. “Basically you divide 500 by your lens focal length to achieve proper exposure time with no star trailing. If you’re shooting with a crop sensor camera, always remember to multiply your crop factor first by your focal length, then you can apply the 500 rule.”
Moniz likes to shoot with the Sony Alpha 7S III because it’s easy to use and performs well at night, and he also uses his Sony Alpha 7 IV that has a full spectrum modification. Read a more in-depth explanation from Moniz on the 500 rule for astrophotography and how the camera you use can change your approach HERE.
See more on Stan Moniz's upcoming workshops at StanMoniz.com.
See more of his work on his Alpha Universe Profile and on Instagram @stanmoniz.

