My name is Reynante Martinez (@reynantemartinezcg) and I am a CG artist from the Philippines and have been in the computer graphics industry for almost 13 years now. During those years, I've involved myself (through peers and club mates) with portrait photography, but kept getting back to close-up photography whenever I had the chance. I have always had a fascination with the tiny world beneath our feet and that made me gravitate toward macro photography. It was not until about a year ago that I really started taking it seriously and focused on this genre.
Photographer Reynante Martinez shares how he uses the Sony 90mm f/2.8 Macro G lens to get up close with insects & more.
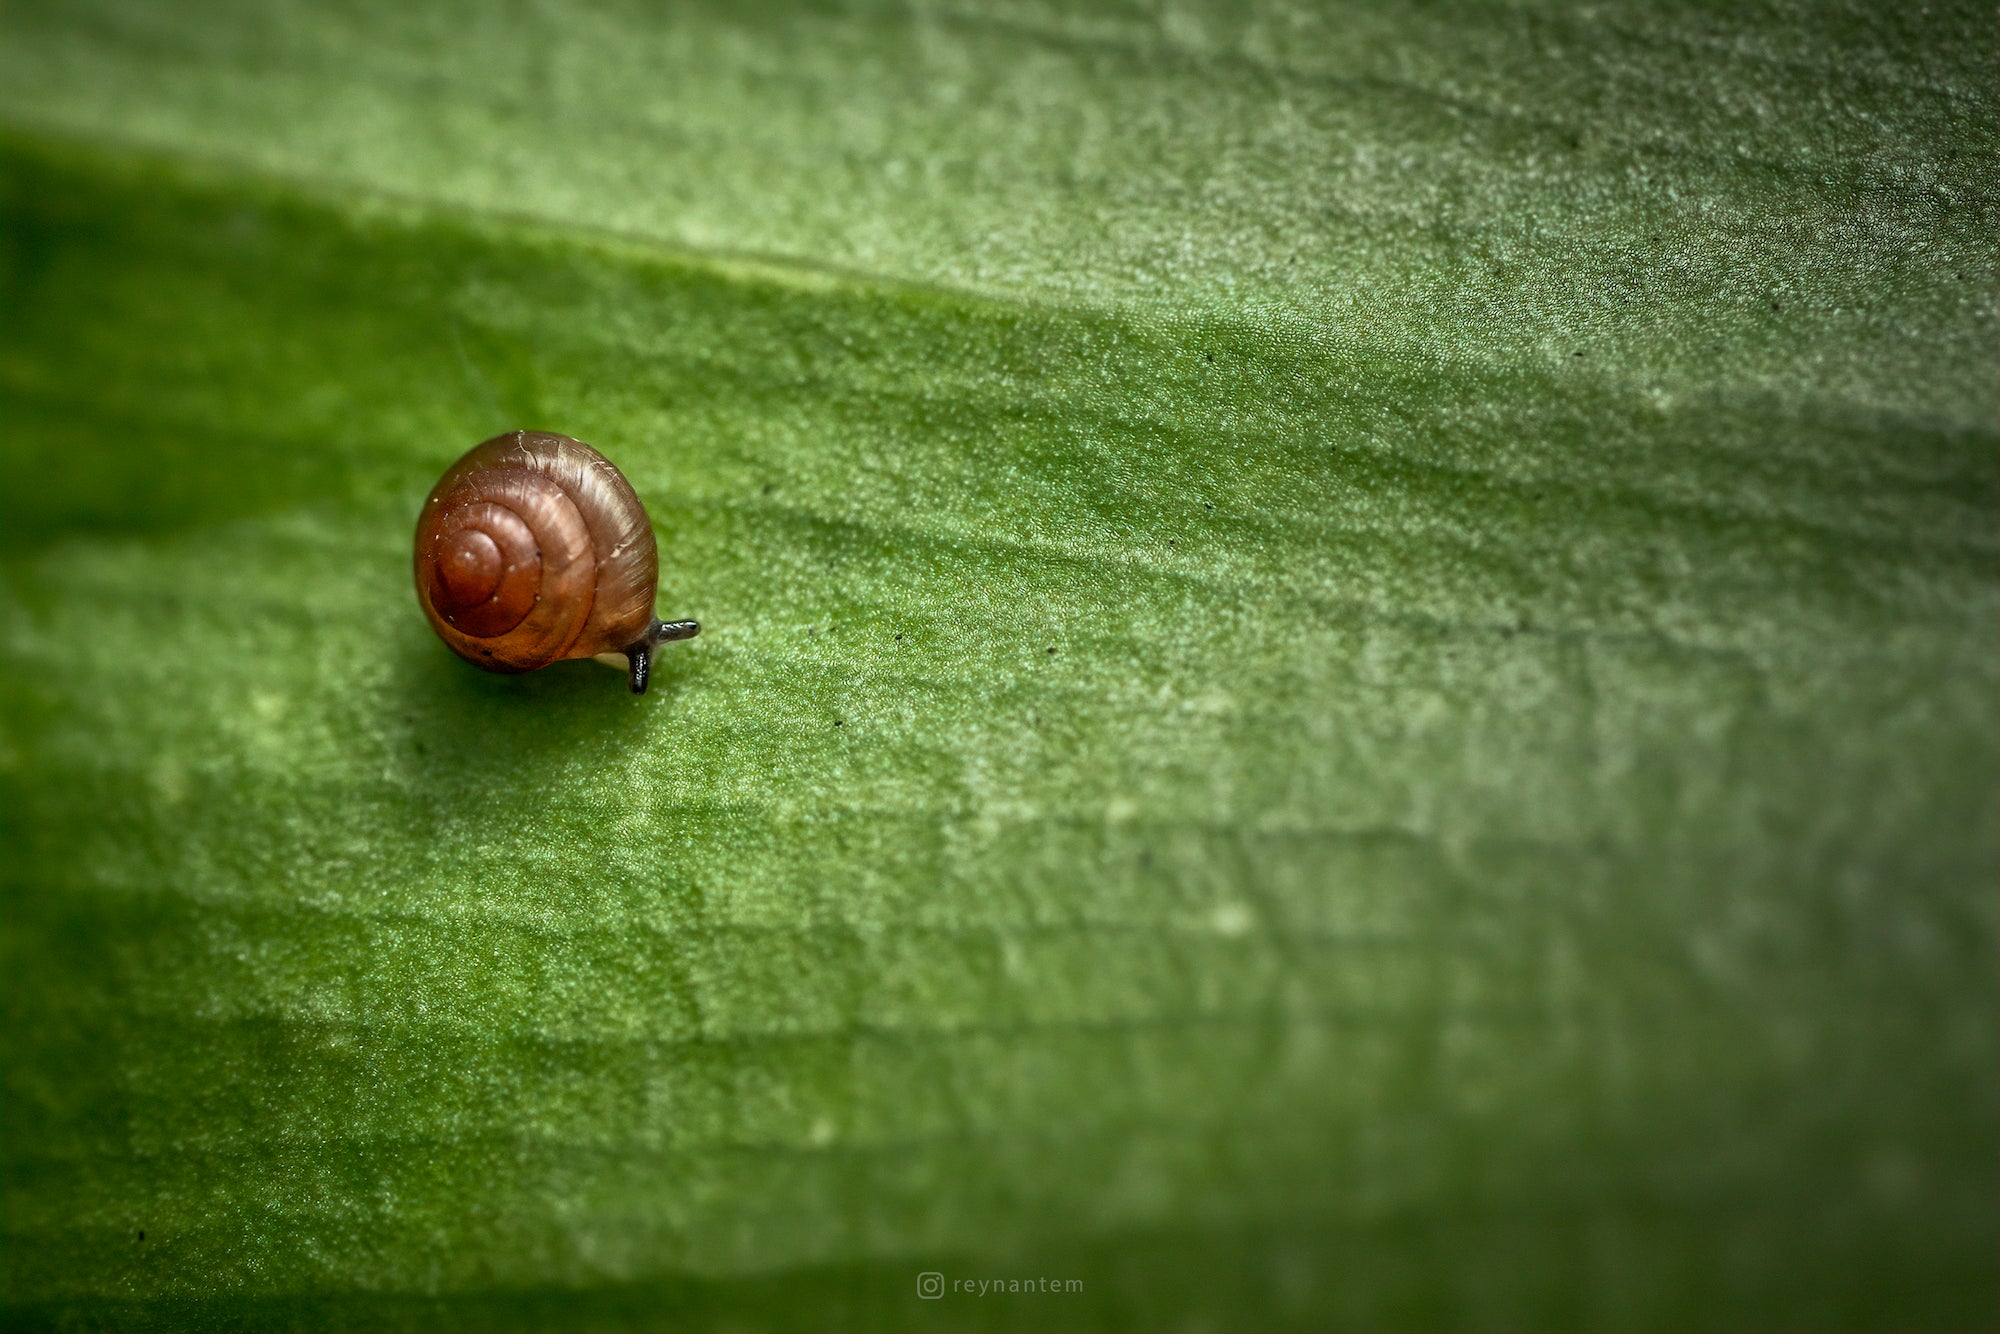
Photo by Reynante Martinez. Sony α7R II. Sony 90mm f/2.8 Macro G. 1/250-sec., f/5.6, ISO 1000
Most of the time (and the way I prefer the most), I shoot live insects in the field and in their natural habitat. It is quite a challenge to do it this way but it feels more rewarding and therapeutic as I am one with nature. It takes a lot of trial and error and tons of patience to get the shots that I think are decent enough. With macro photography, the higher I go with my magnification, the narrower my depth of field is. The softest breeze can be a huge disaster at this magnification and your pulse can definitely contribute to the difficulty too. And of course, it's another story when you are shooting an active and moving subject.
The Gear
I am currently using a Sony α7R II as my go-to camera for macro due to its large image output, its full-frame capabilities, image stabilization, and of course the back-illuminated sensor which I love a lot. When I was just starting out, I used the Sony α6000 to get the grips on the Sony system and it wasn't long before until I switched to the α7R II as my daily macro camera.
As for my lens, I've been using the Sony 90mm f/2.8 Macro G for almost a year. I particularly love its overall sharpness and color rendition. The way it handles chromatic aberration and distortion is impeccable! The barrel switch that allows me to change from manual focus to auto focus is a genius feature! I would highly recommend this lens to any macro photographer or even for portrait photographers who want a super sharp and fast lens.
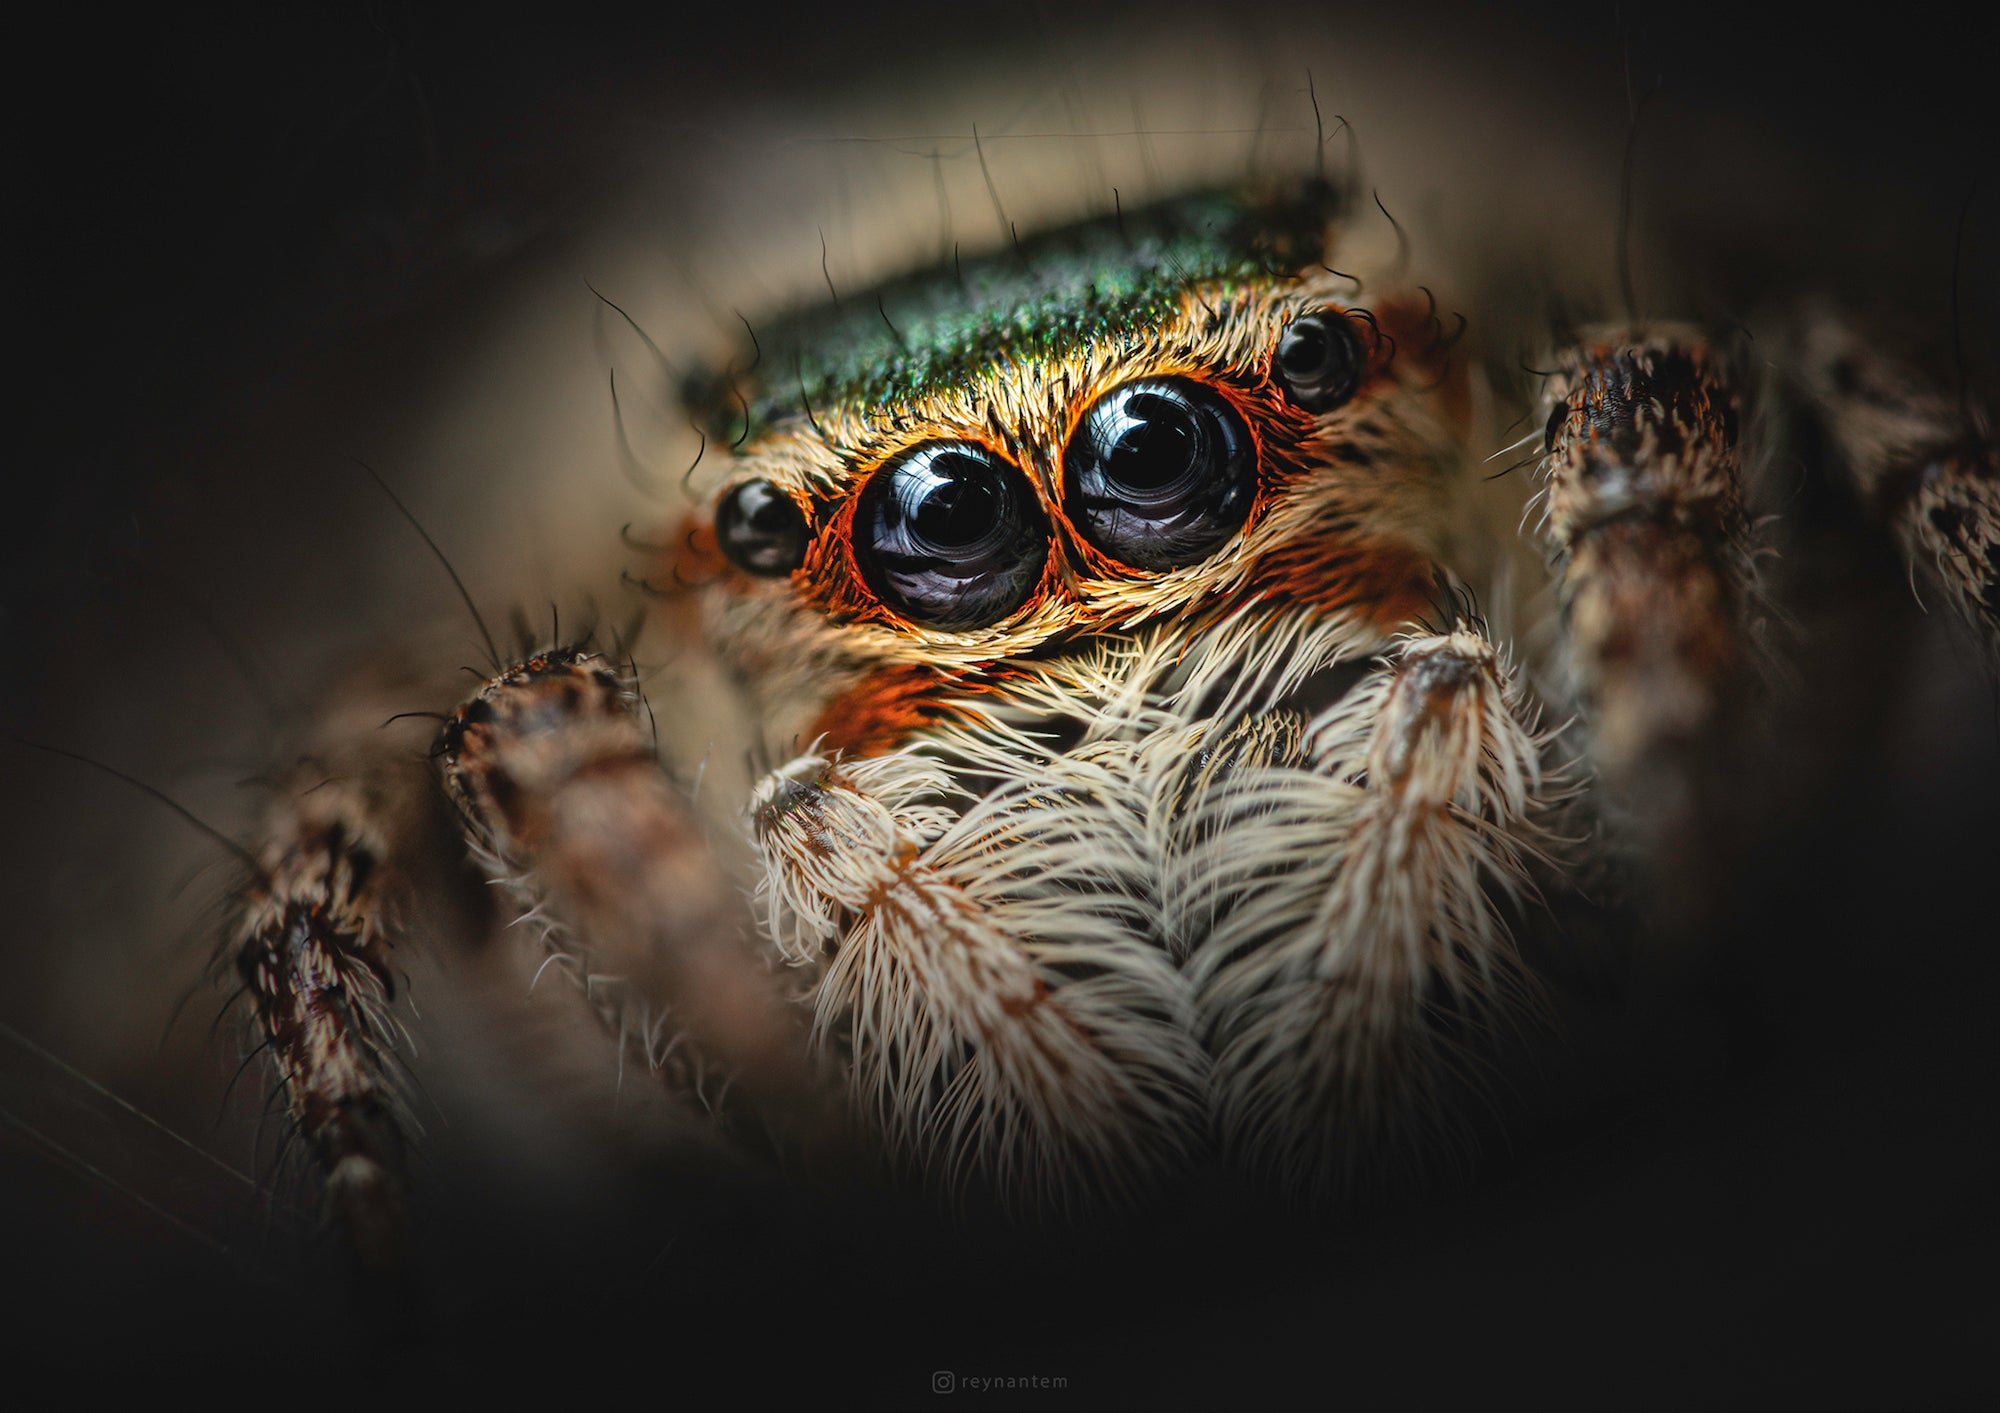
Photo by Reynante Martinez. Sony α7R II. Sony 90mm f/2.8 Macro G. 1/250-sec., f/13, ISO 250
Not too long ago, I also added the Laowa 60mm 2X Ultra Macro lens to my arsenal to get more magnification out of my shots. Other add-ons I use are the Raynox DCR-250 and the Raynox MSN-202 which further adds more magnification with less noticeable image quality degradation.
How He Gets The Shots
Most of the time (and the way I prefer most), I shoot live insects in the field and in their natural habitat. It is quite a challenge to do it this way but it feels more rewarding and therapeutic as I am one with nature. It takes a lot of trial and error and a ton of patience to get the shots that I think are decent enough. With macro photography, the higher I go with my magnification, the narrower my depth of field is. The softest breeze can be a huge disaster at this magnification and your pulse can definitely contribute to the difficulty too. And of course, it's another story when you are shooting an active and moving subject.
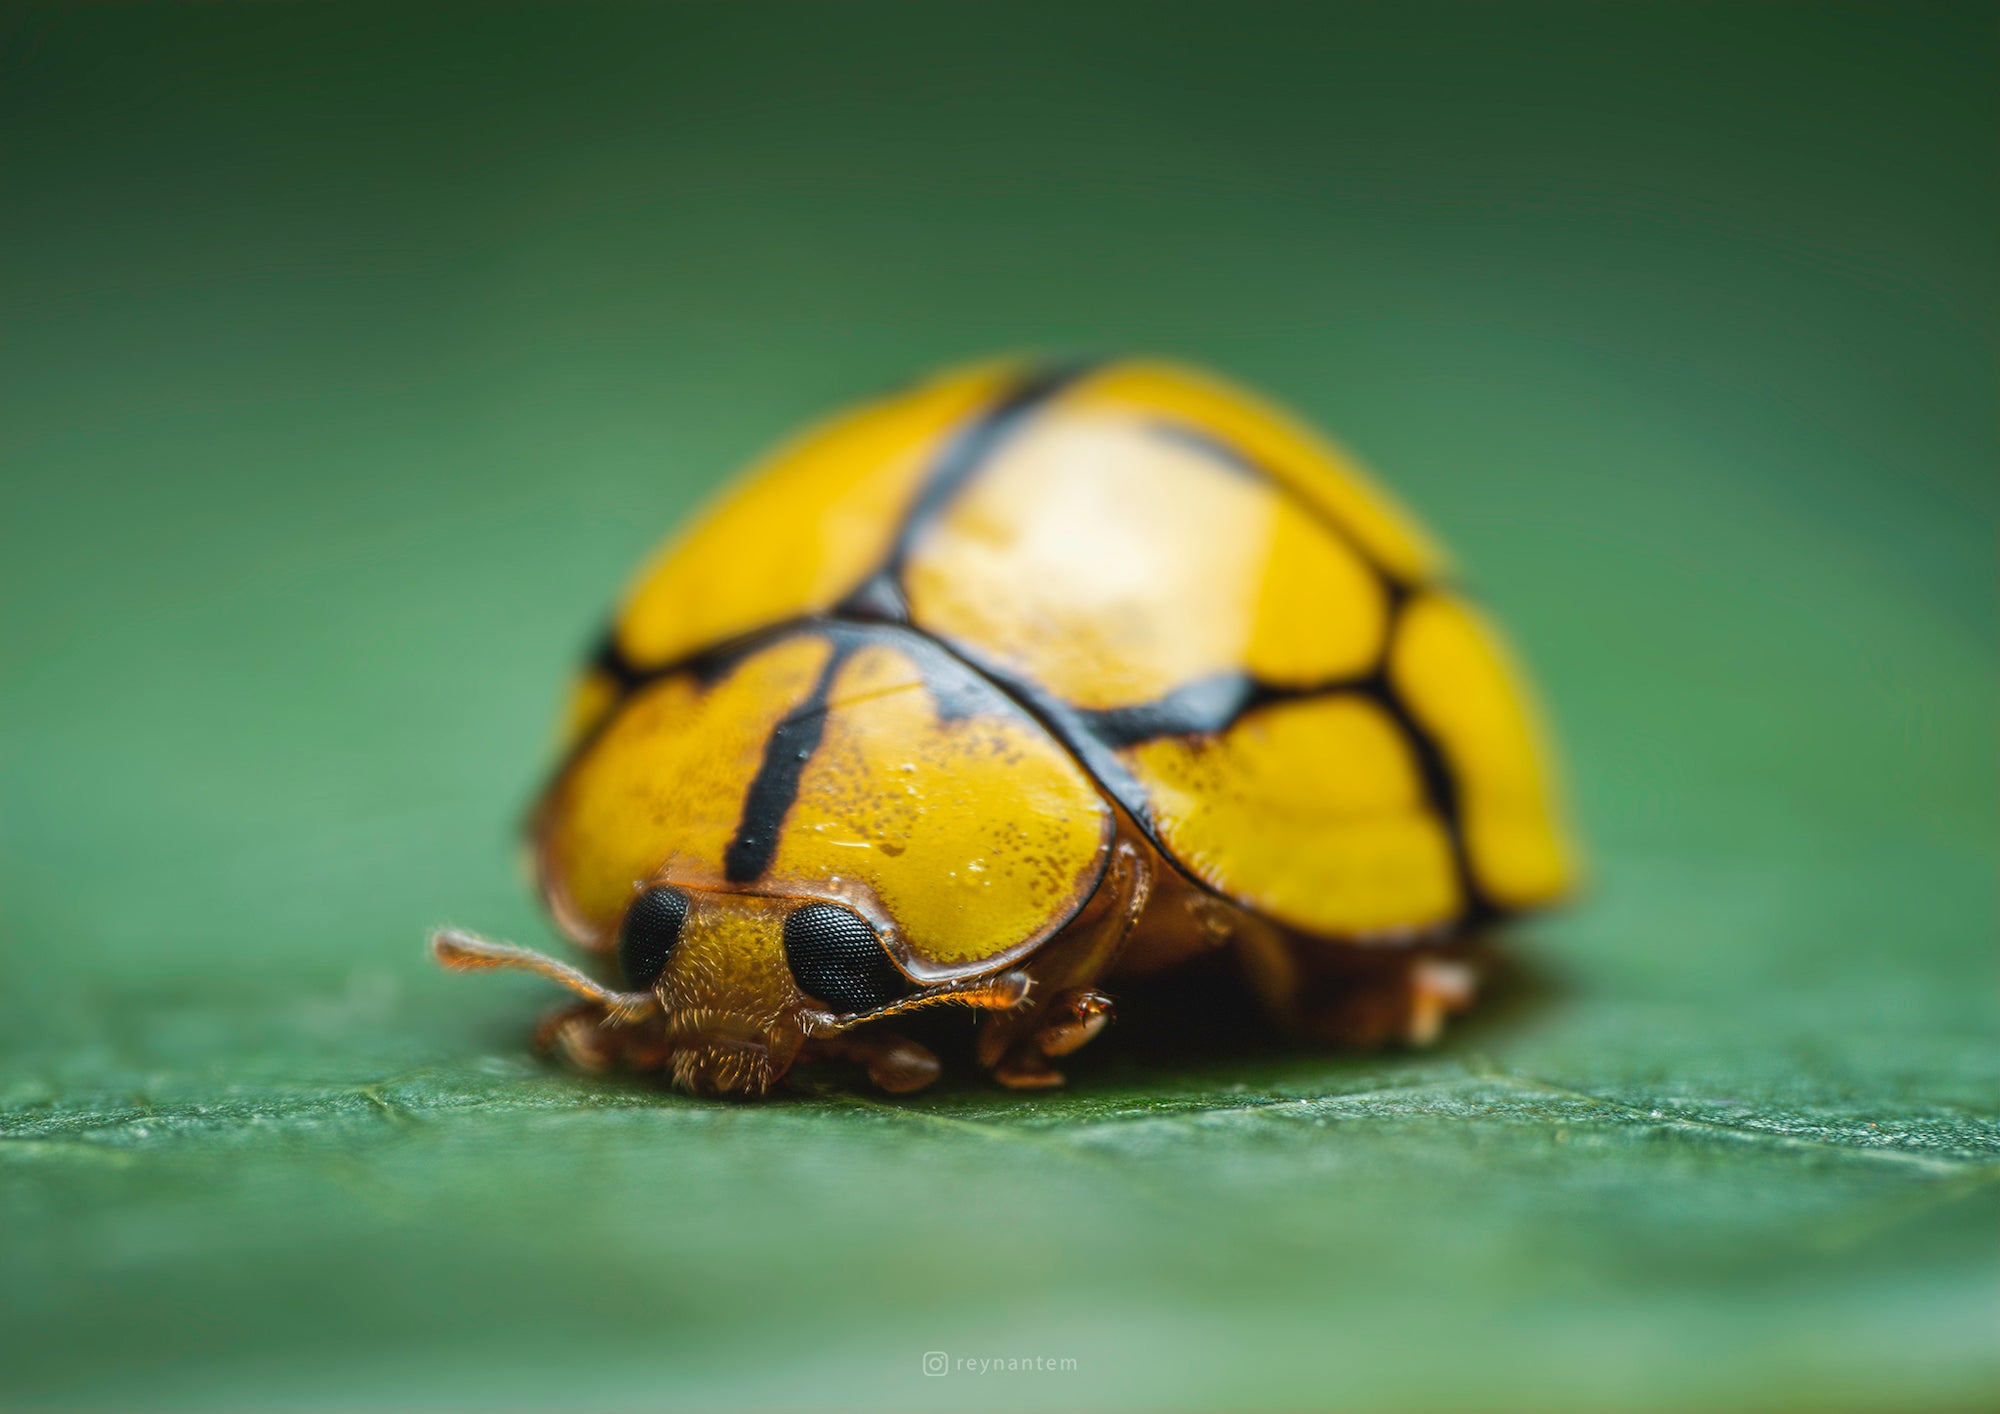
Photo by Reynante Martinez. Sony α7R II. Sony 90mm f/2.8 Macro G. 1/250-sec., f/10, ISO 100
I usually shoot at f/16 or higher, just so I can get a deeper depth of field and it gives me a higher chance to get my subject (or subject's eye) in focus. But even at f/16, there's only a tiny sliver of focal plane that I can work on. For the shutter speed, I usually shoot 1/100-sec. to 1/250-sec., depending on how much ambient light I want to keep. As far as the ISO is concerned, I'm not very picky on this as I know the BSI feature on my α7R II can keep the noise levels to a minimum. Even when at ISO 400 (which is sometimes my upper limit), the noise levels are hardly noticeable.
Shooting in the field, I rely primarily on hand-holding my shots as this gives me more flexibility and freedom on my composition. Then I am using a portable softbox as my macro diffuser. It may not look fancy but it's enough for small insects to give them that even illumination but still maintaining the specular highlights where necessary. I also currently have a book lamp LED light attached to my softbox which serves as a modeling light.
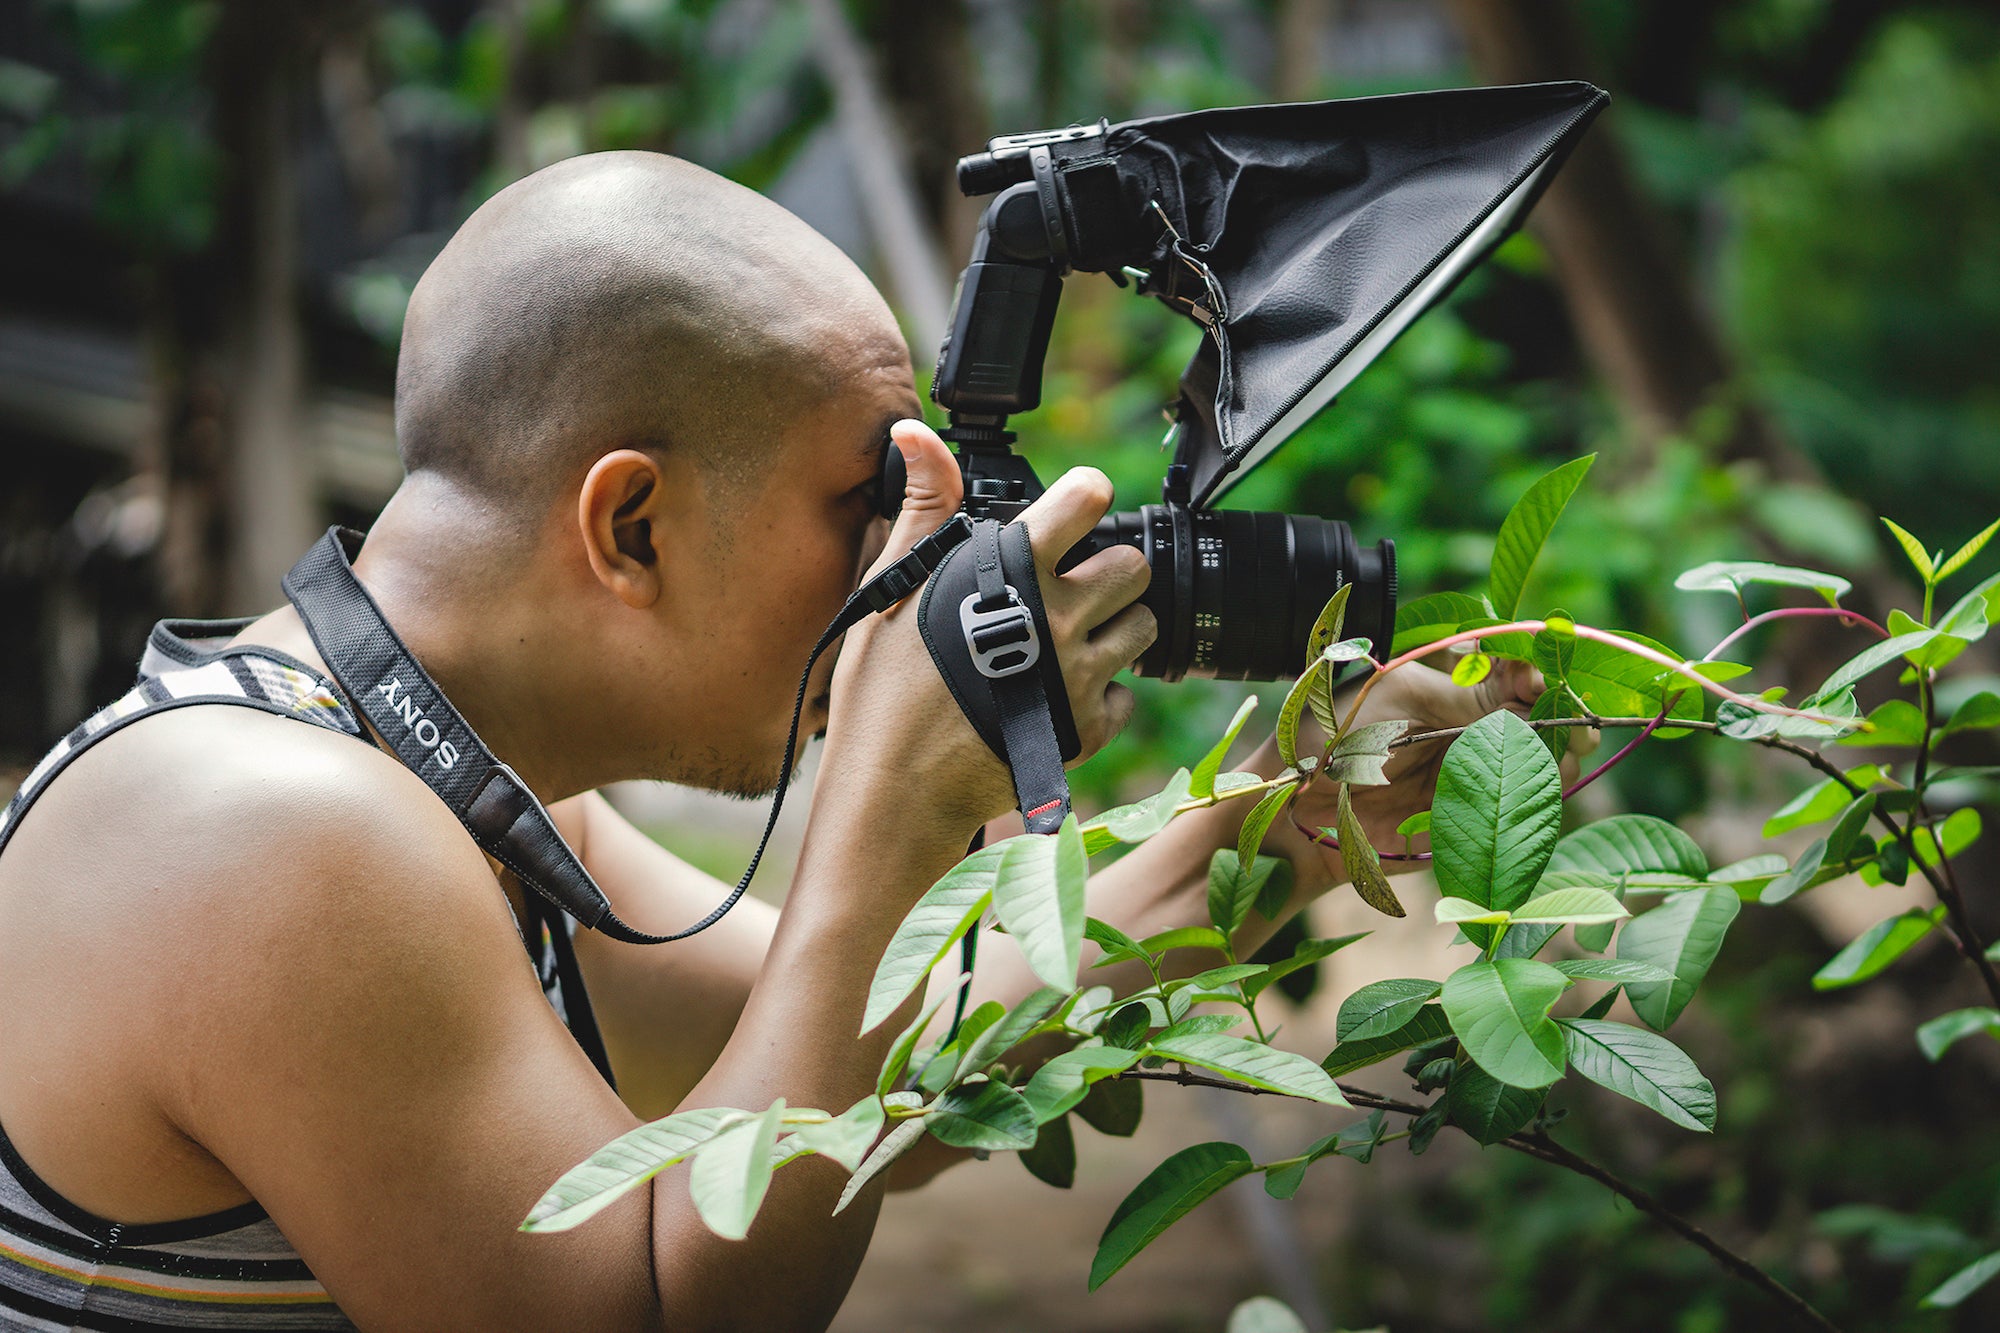
When I'm out and about in the field shooting tiny subjects, sometimes as tiny as 1mm long, I am at a focusing distance of only approximately 1 inch. This may be too close to some but I'm more comfortable with this distance as it allows me to hold the subject’s location (e.g. leaves, branches, etc.) while keeping my free hand/arm as a stabilizer for my camera. Otherwise, it would be very hard to stabilize the shots, even with my camera's IBIS turned on.
While in the studio though, I use a different setup. I always use a tripod to keep my shots as sharp as they can get. I have two large softboxes (2sq.ft.) that I use to illuminate my tiny subjects and use a manual rail for focus stacking.
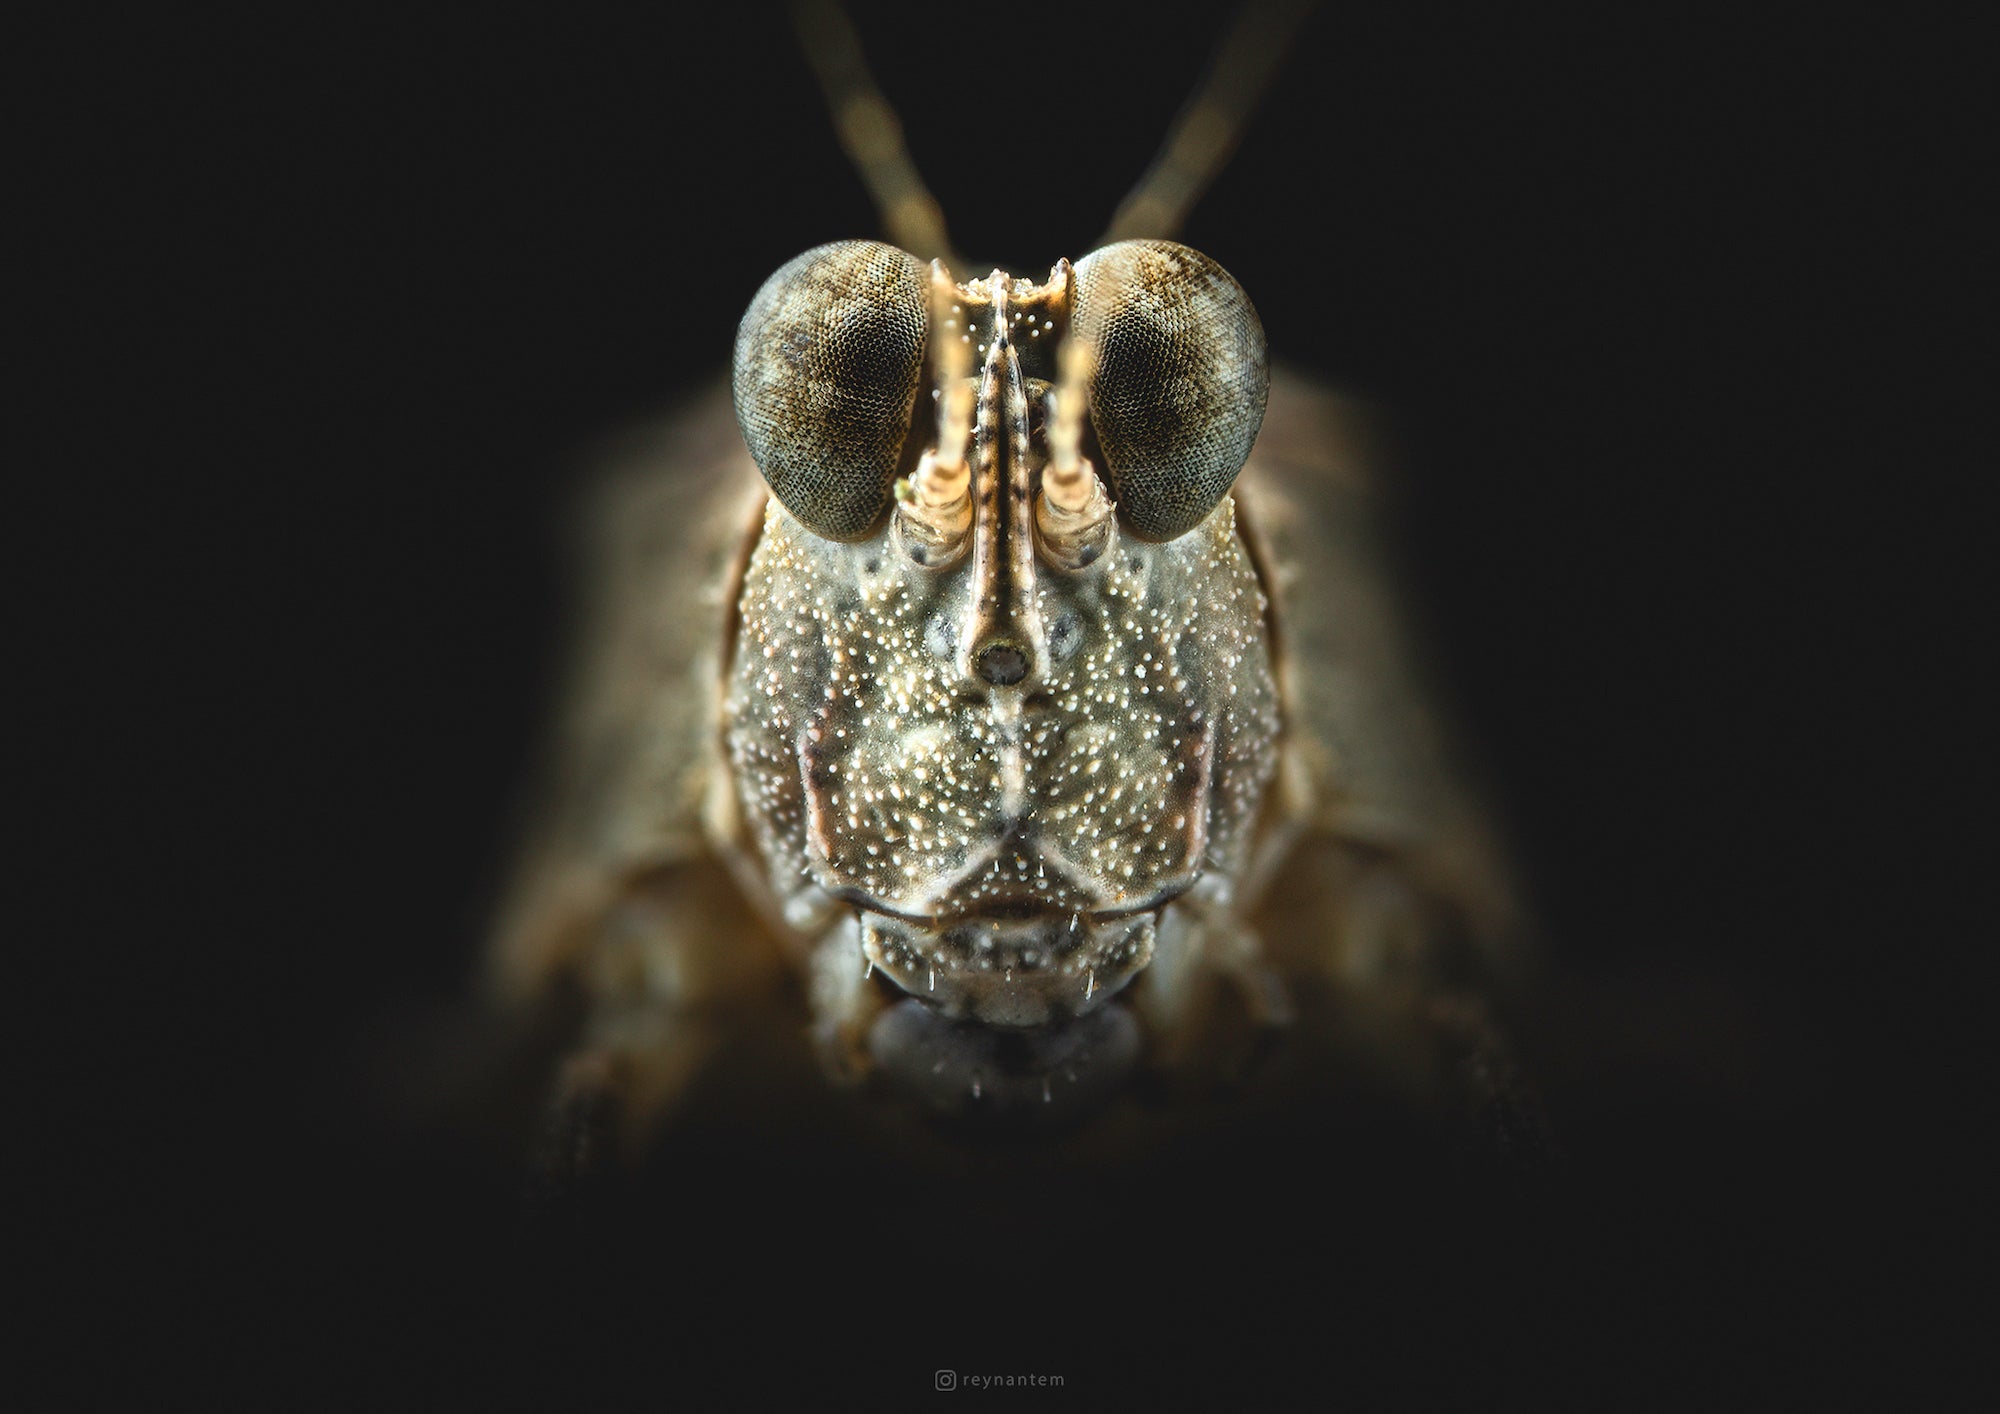
Photo by Reynante Martinez. Sony α7R II. Sony 90mm f/2.8 Macro G. 1/250-sec., f/13, ISO 200
Post-Production
Most of my post-processing involves increasing the contrast and adjusting the shadows/highlights. I don't want to go crazy with my editing that it almost detracts from the whole point of the shot, which is to document the observation. However, I take post-processing as seriously as the shooting process itself. I firmly believe that post-processing is half of the work and treat my shots as raw digital negatives. I also don't skip post-processing as I have my shots recorded as uncompressed raw files, which are rendered as neutral tones whenever possible.
My initial step is to import the shots into Adobe Lightroom and adjust the exposure. Next step is to send the processed shot to Photoshop for further refinement of details. During this process, I also use Topaz Labs' AI Clear to get rid of unwanted noise and to add another layer of sharpness as needed.
See more of Reynante’s work at reynantemartinez.com and on Instagram (@reynantemartinezcg).

