My love of astrophotography and astroscapes began one night in 1986 when my mother, who loved looking up at the night sky from our home in Hawaii, woke me up and took me to Makakilo Hill. She brought me there to see Halley’s Comet as it made its 75-year journey through the solar system.
This is the first lens I've used at f/1.4 that can produce pin-sharp points of light in the corners. I've been calling the Sony 24mm G Master the King Of The Night.
That experience flipped the lights on for me and engaged a fire and passion to learn about our universe. When I became interested in photography, of course, I headed in search of the darkest skies I could find to dial-in my skills to capture images of the night that I felt destined to create.
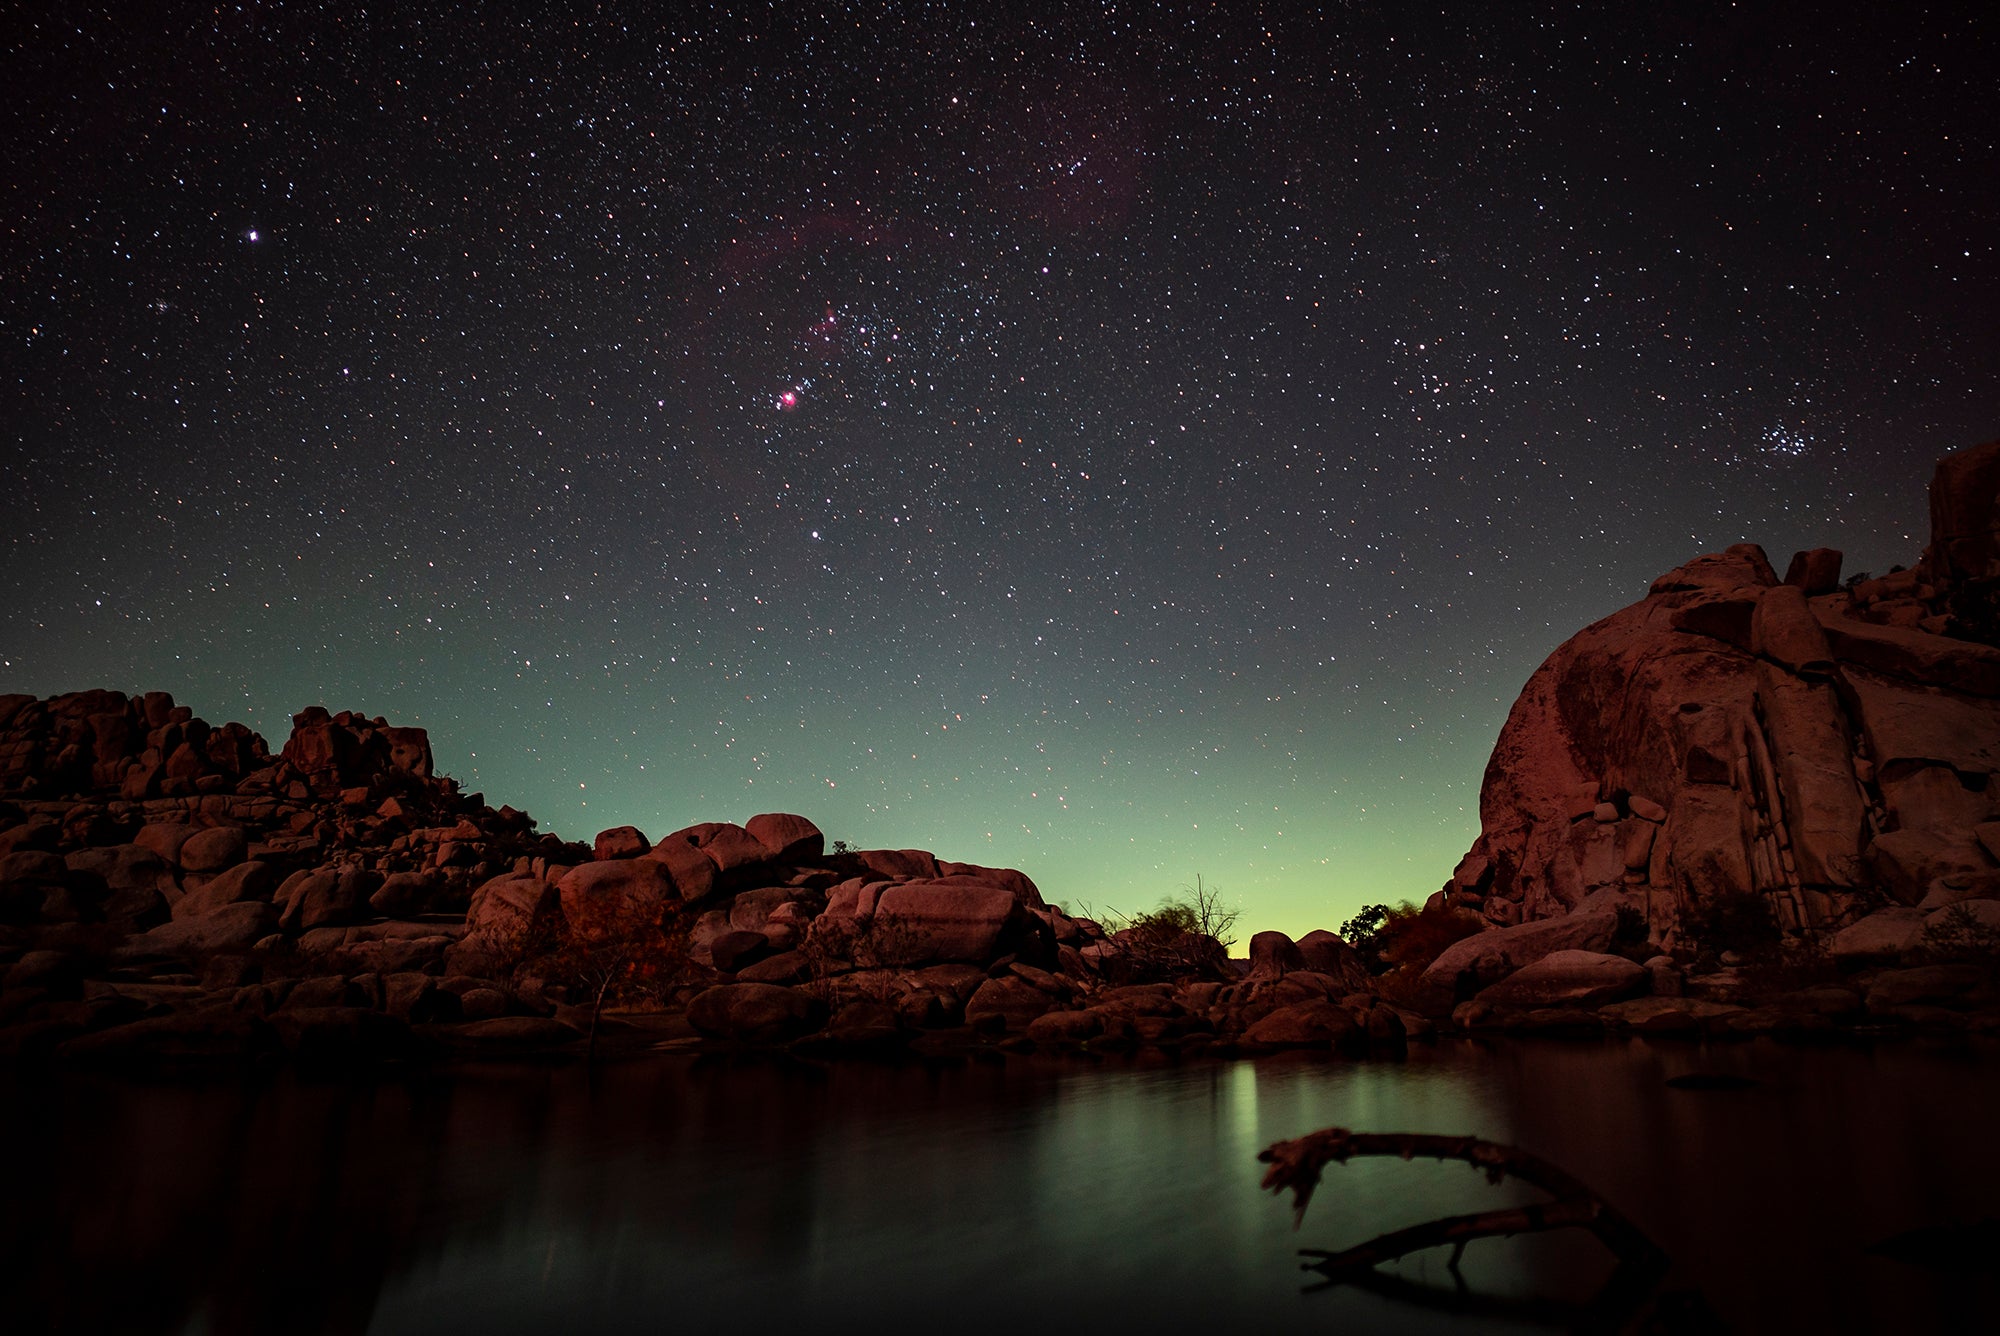
Sony α7S. Sony 24mm f/1.4 G Master. 20-sec., f/1.4, ISO 800
After a lot of time and effort, I’ve refined my techniques and developed camera setups that are quite simple. I’ve taken from age-old formulas and tried and true methods as well as creating my own signature settings that I teach at my workshops. There’s no substitute for mastering astroscapes other than getting out and doing it, and here I’m going to share some tips to prime you for success.
The 500 Rule
First and foremost, something every astrophotographer needs to wrap their head around is “The 500 Rule.” It’s a simple formula that just works.
Shutter Speed = 500 / focal length
By dividing 500 by your lens’ focal length you get a shutter speed that gives you pin-point stars in the photo. For my current favorite astroscape setup of the Sony α7R III with the Sony 24mm f/1.4 G Master lens, the correct exposure is:
Shutter Speed = 500 / 24
Shutter Speed = 20.833 seconds or, rounding up, 20 seconds.
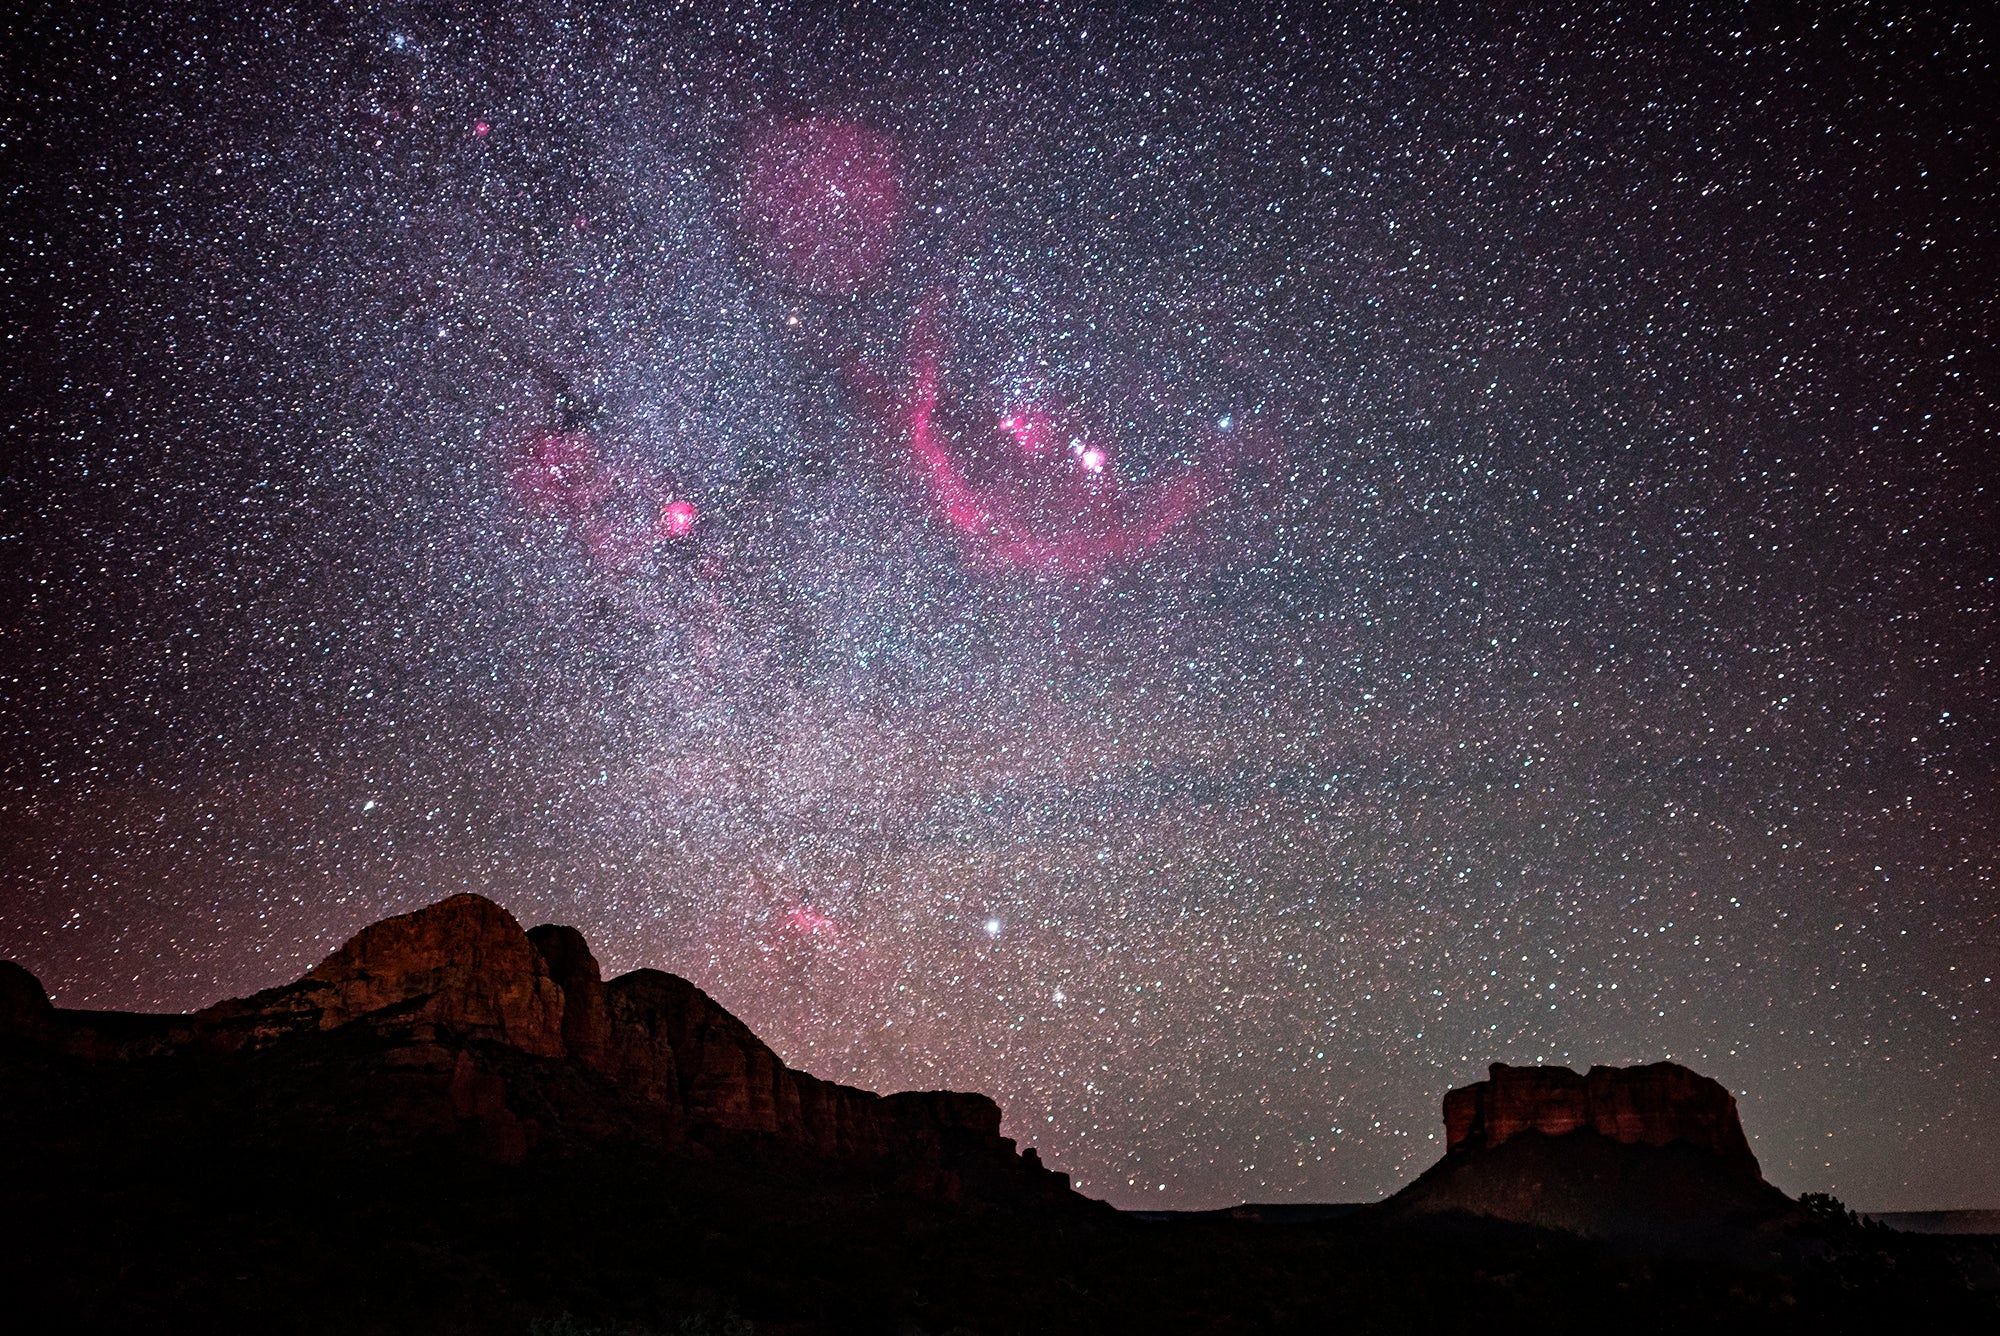
Sony α7S. Sony 24mm f/1.4 G Master. 20-sec., f/1.4, ISO 6400
Note, if you’re shooting with an APS-C sensor camera like the Sony α6500, etc. you need to account for that.
Shutter Speed = 500 / (focal length * crop factor)
For example, using the Sony 10-18mm set to 10mm you would multiply 10 x 1.5 = 15mm
Shutter Speed = 500 / (10 * 1.5)
Shutter Speed = 33 seconds or, rounding up, 30 seconds.
Also note that megapixels do matter! If you’re the pixel-peeping type, a 12-megapixel camera such as the Sony α7s II might not show any star streaks at a particular shutter speed, while a 42-megapixel camera like the α7R III will show some streaking at that same shutter speed. You will usually only see this when you push the shutter speed limits derived from the 500 Rule. The bottom line is, with a higher-resolution camera, be conservative with the shutter speed and you’ll have no problems.
Camera Setup
For the white balance in my astroscapes, I love the way incandescent looks with my Sony α7R III. In my opinion, it renders more of a true representation of the night sky. That said, I always (ALWAYS) shoot in RAW so I can change the color temperature in post if I choose to. Another reason I always shoot in RAW for nightscape photography is that its increased dynamic range over any JPEG makes a big difference when I’m trying to extract detail from the shadows.
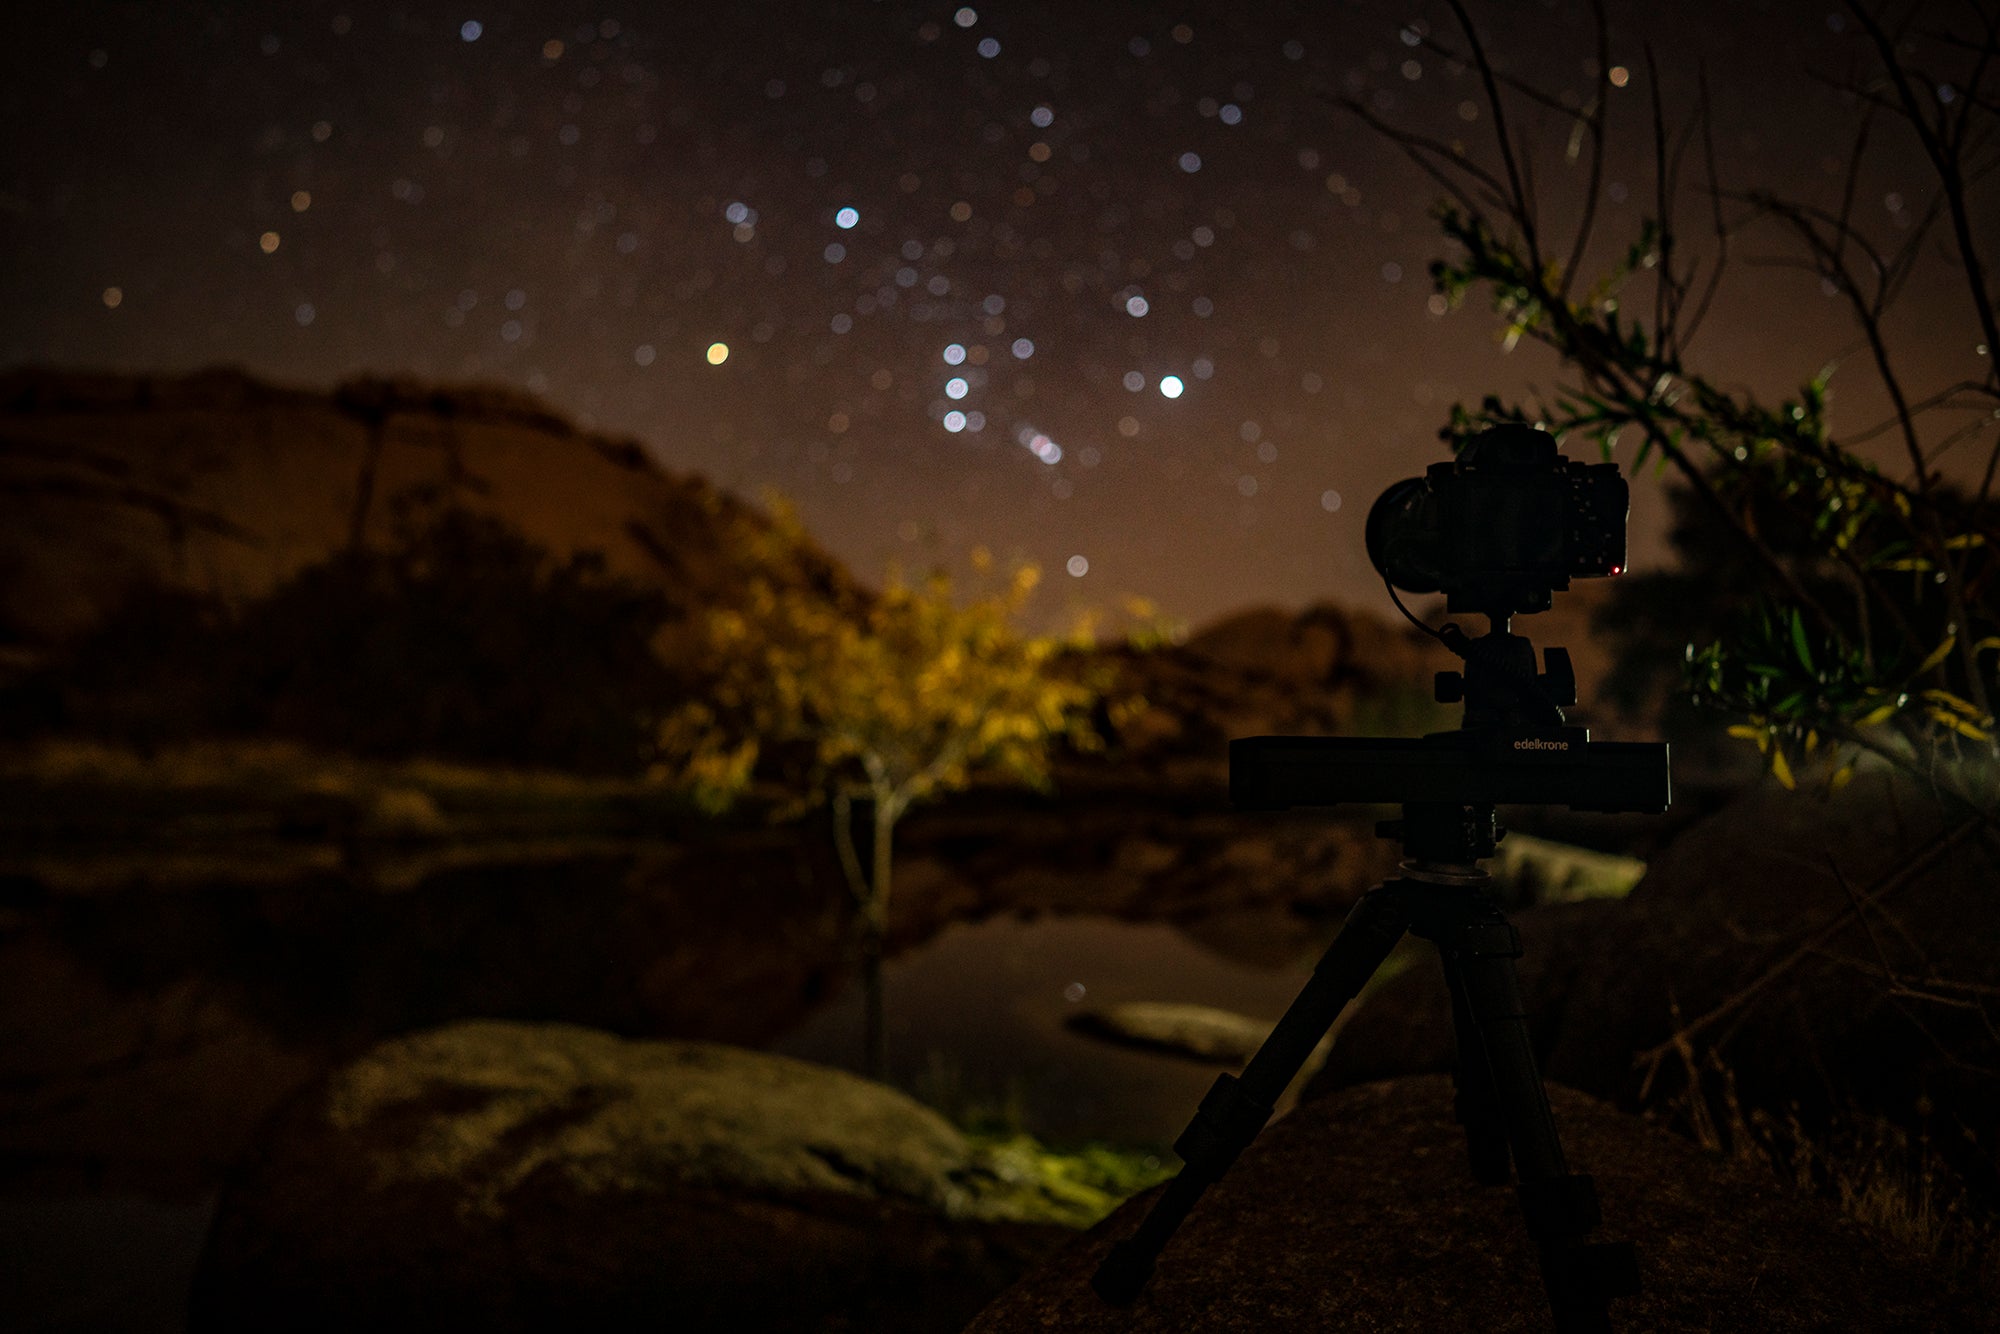
Sony α7R III. Sony 24mm f/1.4 G Master. 25-sec., f/2, ISO 800
I set my drive mode to a two-second timer to avoid any camera shake from pressing the shutter button. I also always shoot astroscapes in manual exposure mode and manual focus mode. My ISO of choice is between 800 – 6400. On some camera systems, ISO 6400 creates an image with objectionable noise, but with my Sony bodies, I have no problems shooting at these extremes.
Another incredibly helpful feature that Sony cameras have is the all-powerful "Bright Monitoring" function. This Sony “super power” is somewhat of a secret feature that I set to a custom button on the camera in three simple steps.
1) In the Gear menu, go to Custom Key Settings.
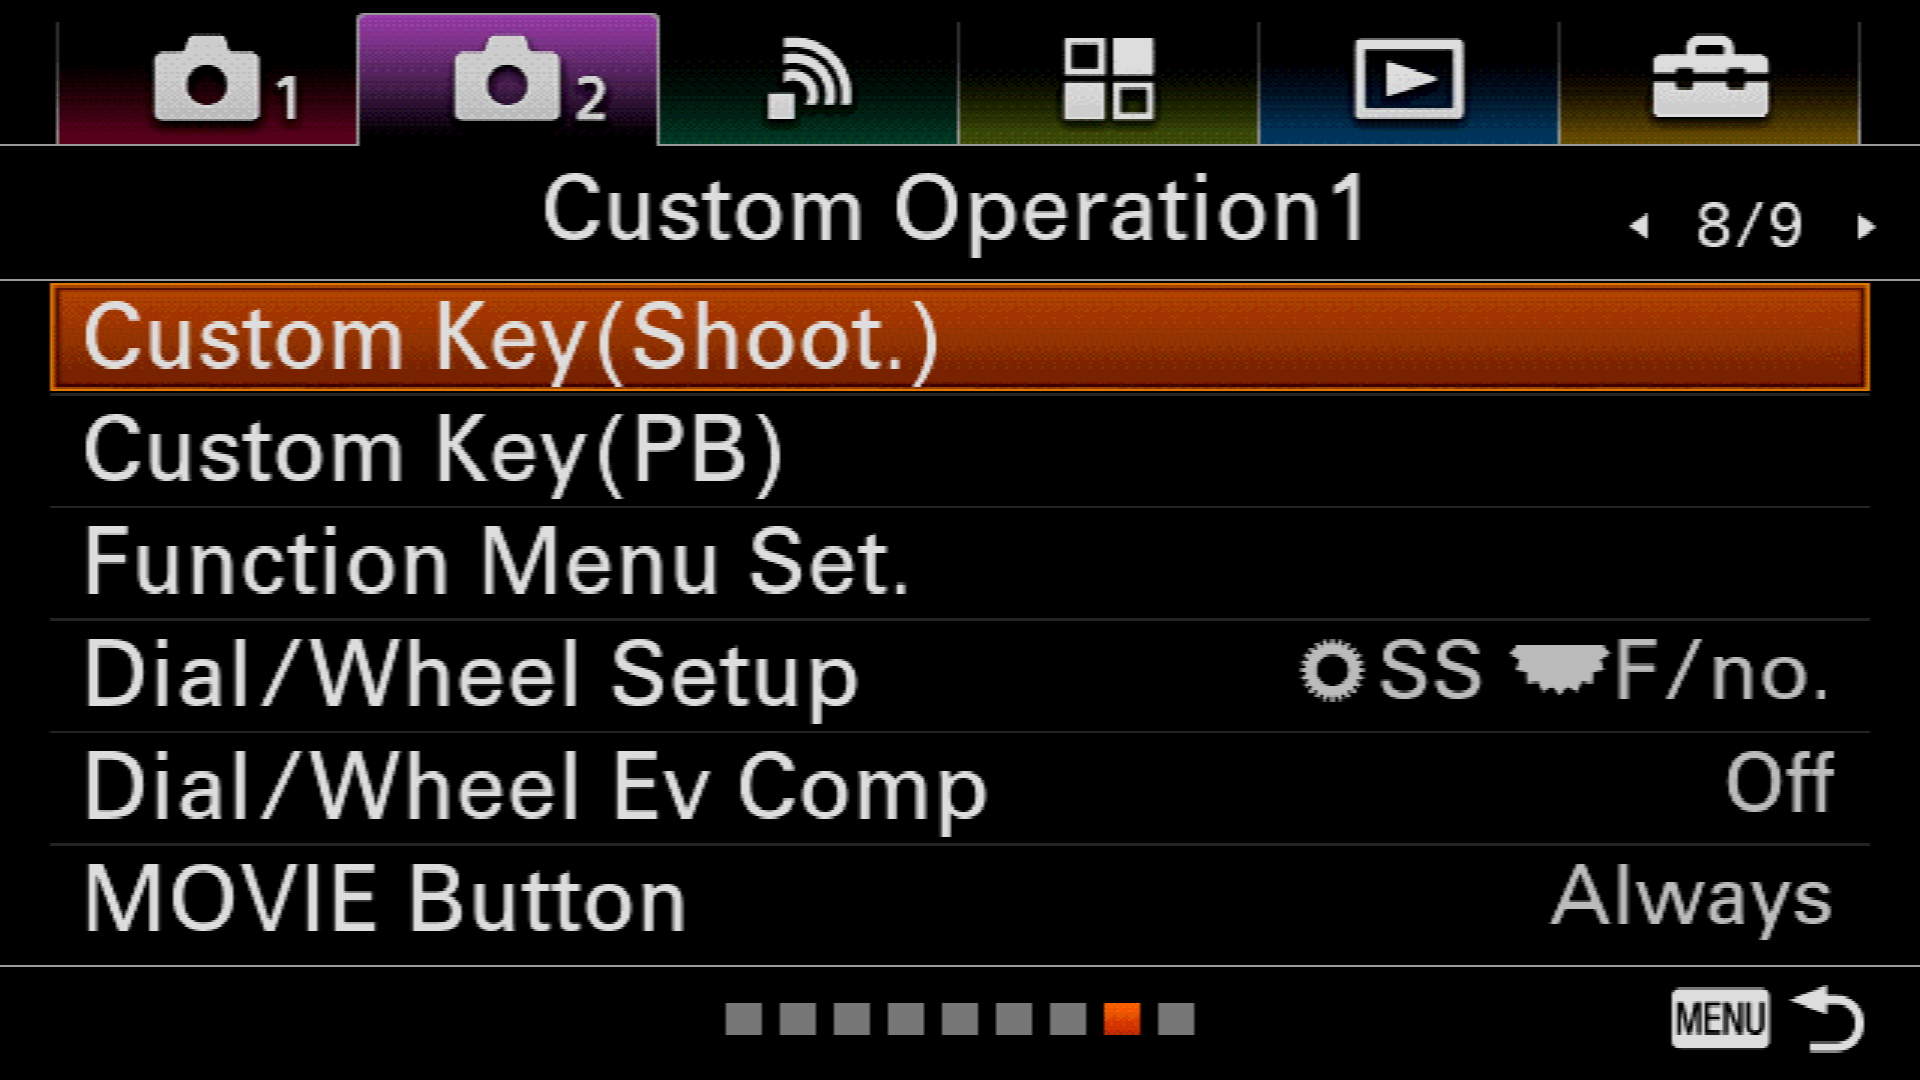
2) Select the Custom Button you want and Monitor Brightness.
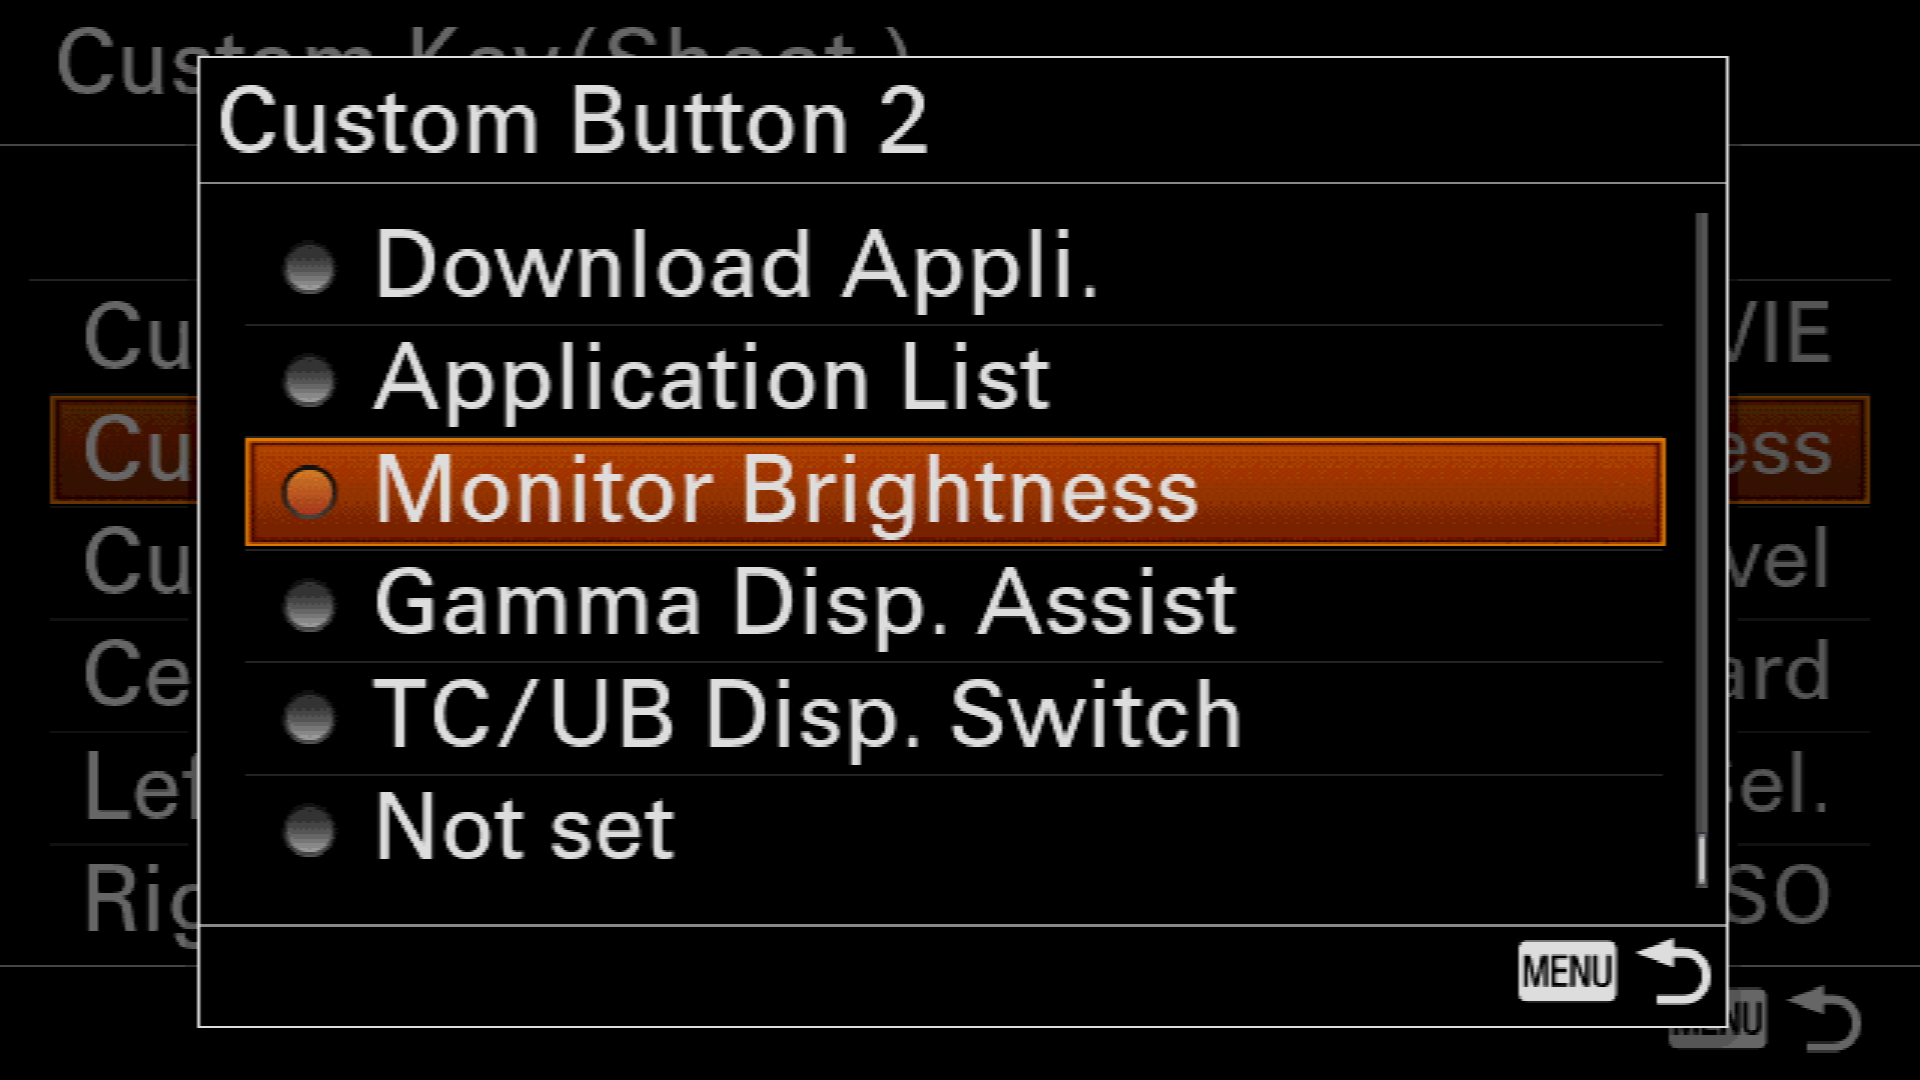
3) Activate Monitor Brightening to set it as a Custom Button.
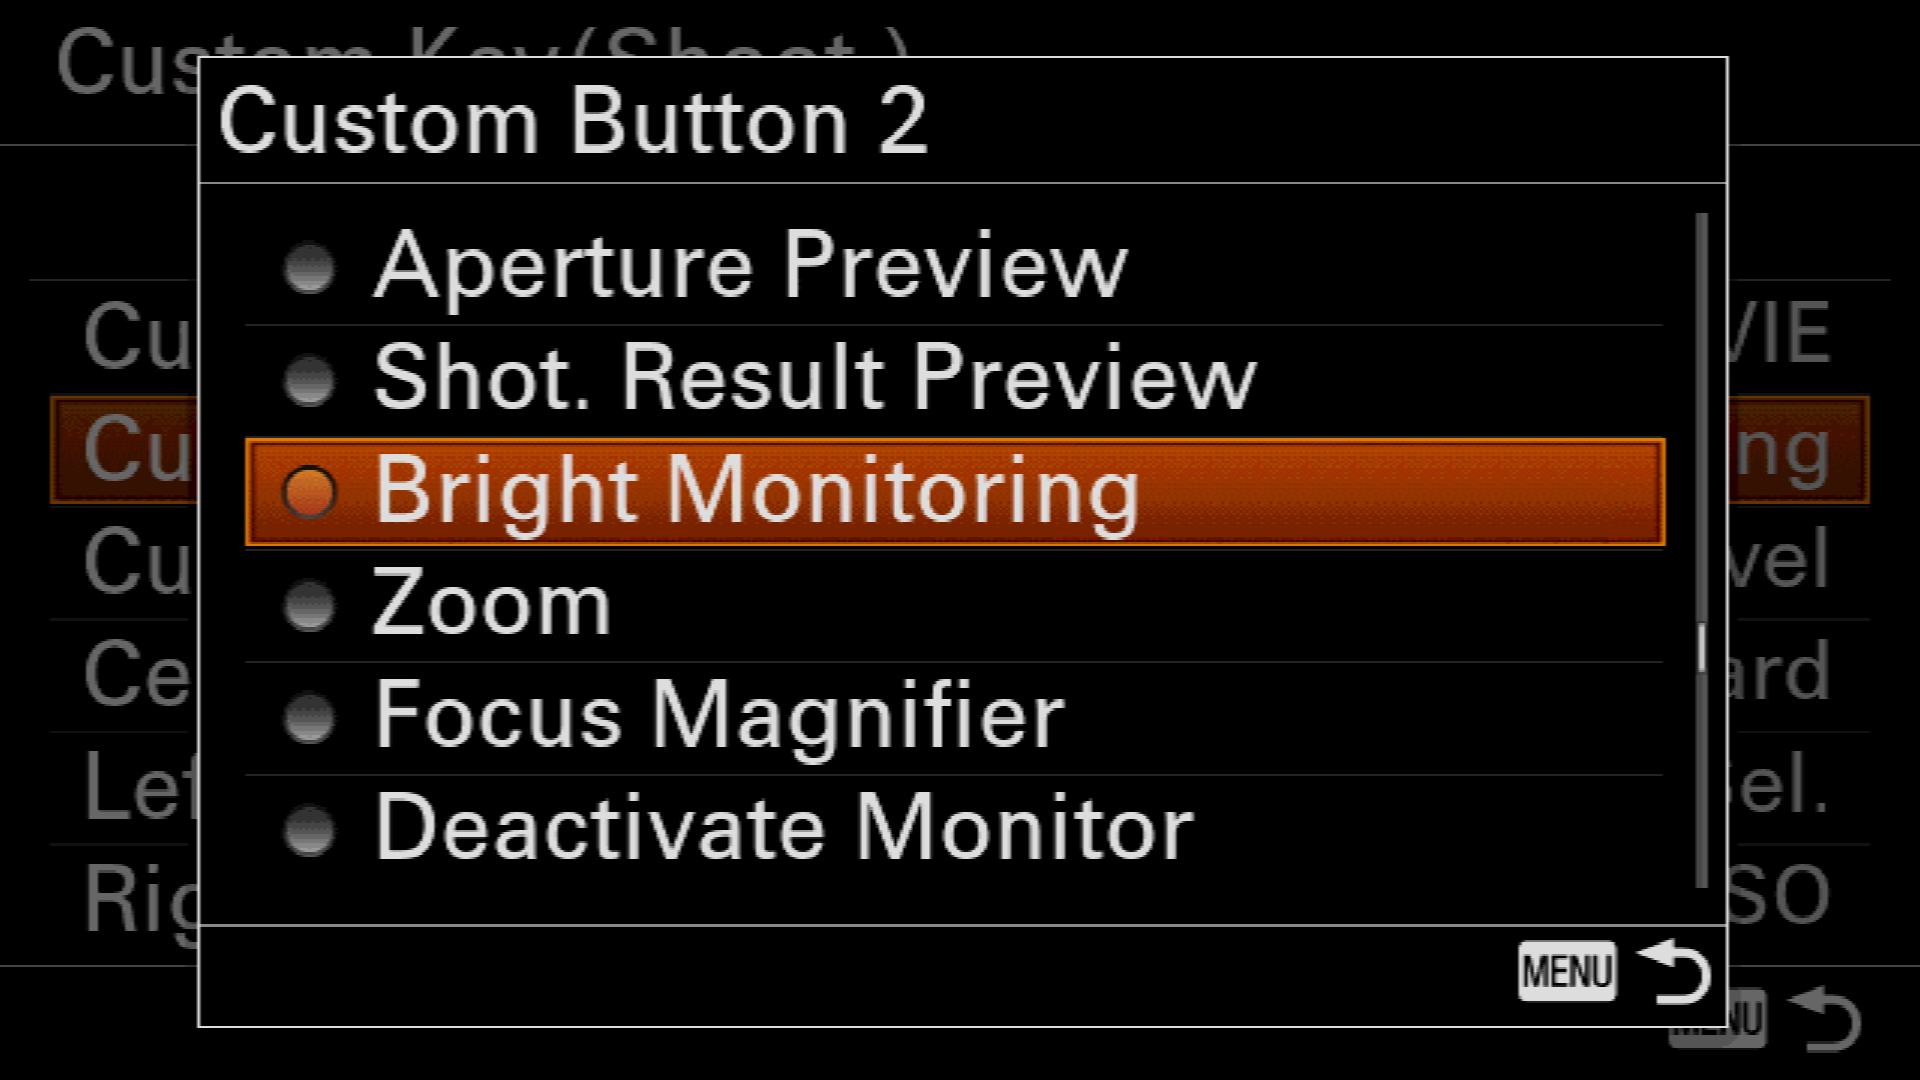
With this set, you can literally see in the dark. It’s absolutely crazy! I use Monitor Brightening for composing all of my night sky shots.
My Astroscape Gear
My cameras of choice are the high-resolution Sony α7R III and a Sony α7S that’s been modified by removing the IR filter and adding a custom filter for astrophotography. For my lens lineup, my go-to focal lengths are from 16 to 85mm.
If I had to choose just one lens, it would be the new Sony 24mm G Master, hands down! In my opinion, 24mm is a great focal length that will incorporate the night sky while maintaining a fair amount of landscape in the foreground. The 24mm f/1.4 G Master is simply a dream come true for any astrophotographer. I can shoot with confidence wide open which also makes it useful for astro time-lapses and the frequently unpredictable Northern Lights. This is the first lens I've used at f/1.4 that can produce pin-sharp points of light in the corners. I've been calling the 24mm G Master the King Of Night Photography for good reason.
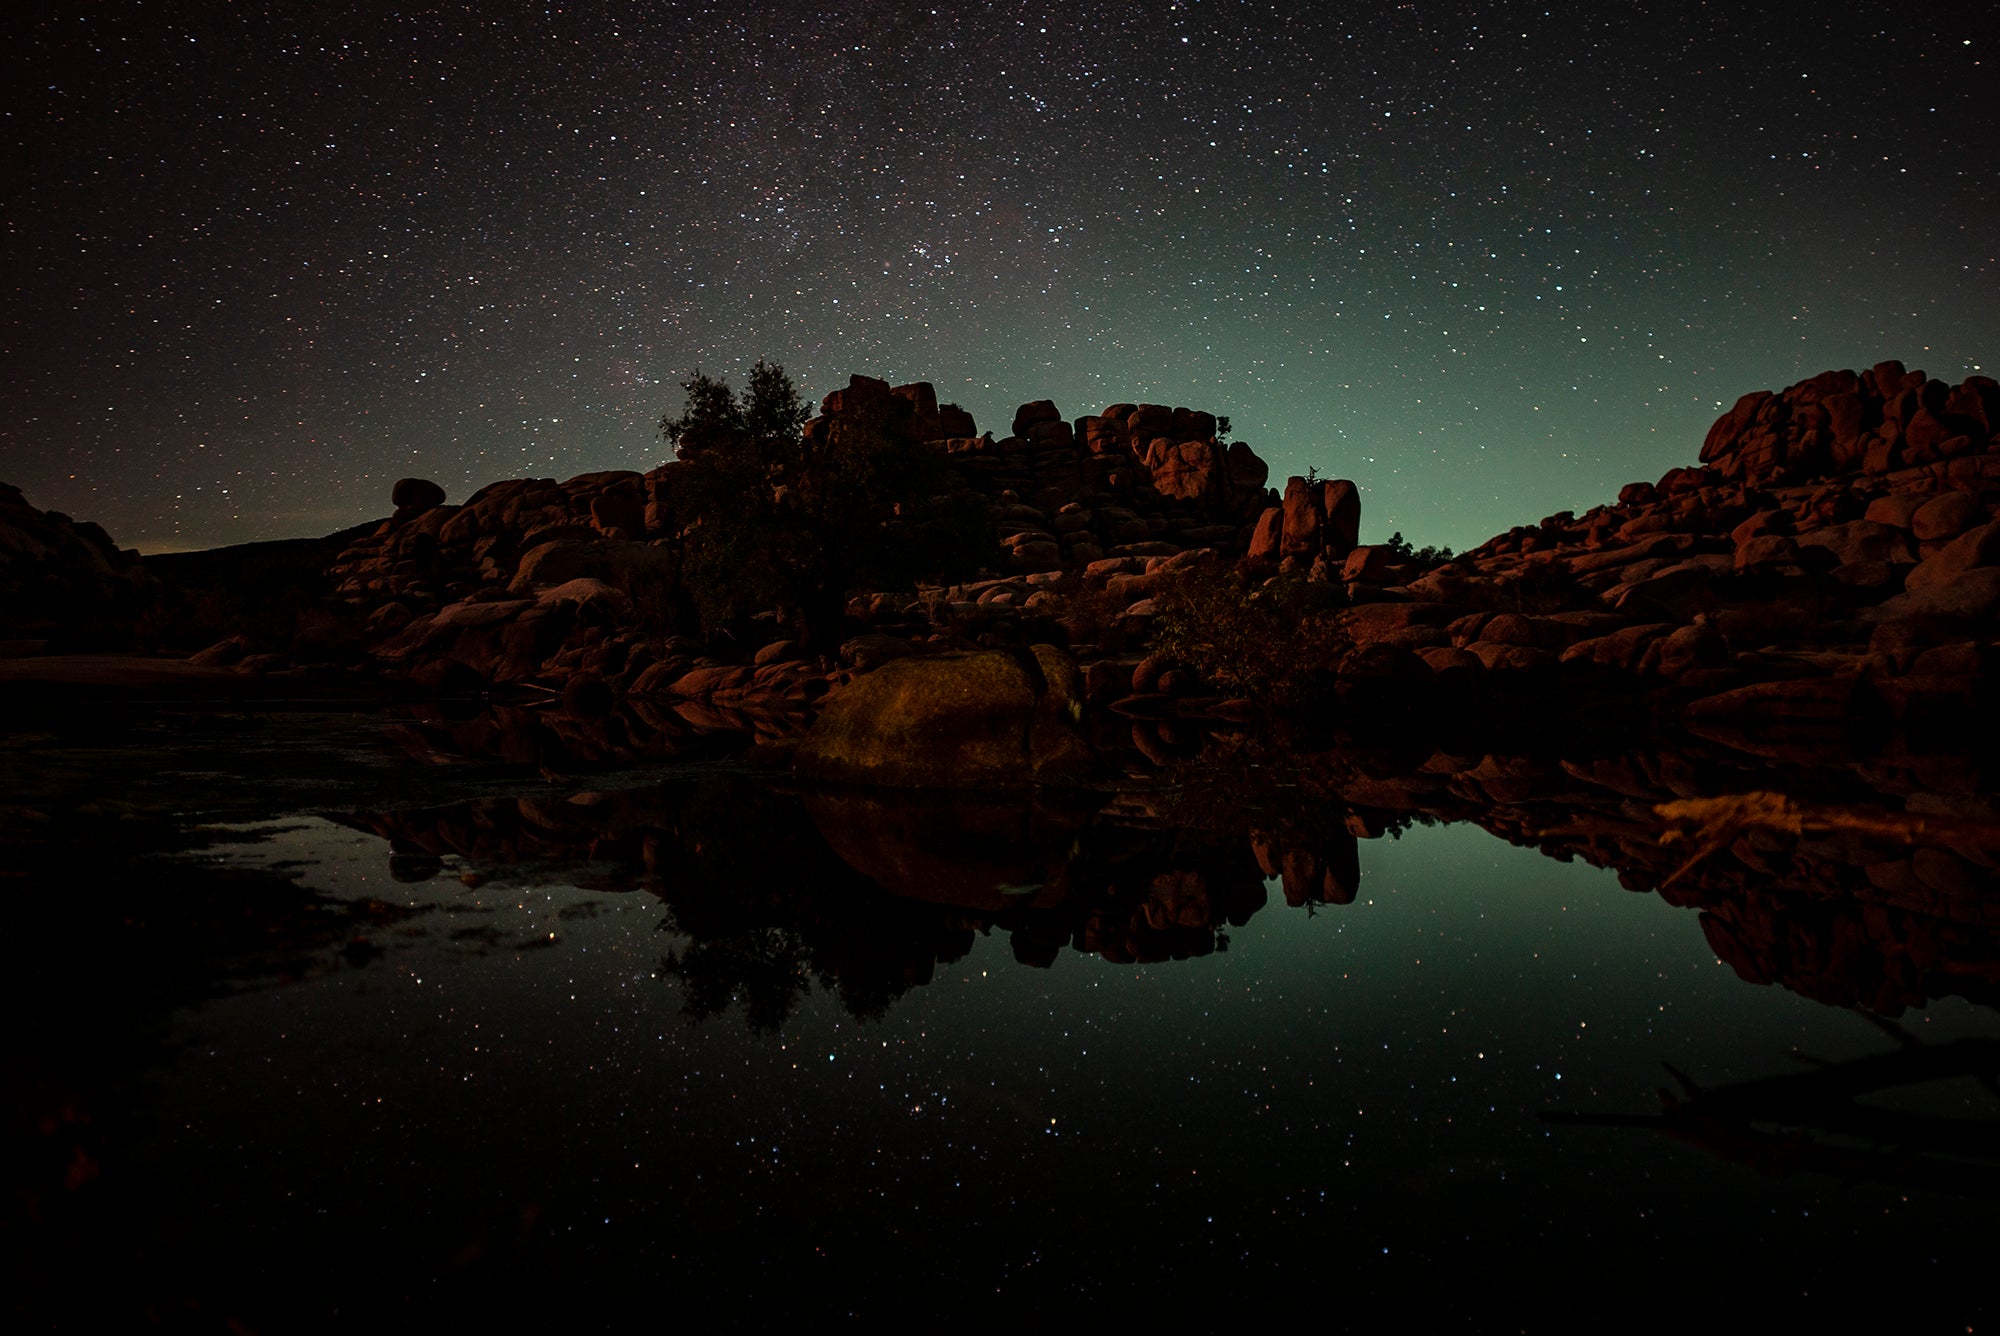
Sony α7S. Sony 24mm f/1.4 G Master. 20-sec., f/1.4, ISO 800
I also always have my Slik 420M tripod as it’s a great lightweight and sturdy tripod. My Black Diamond headlamp is a must and something I never leave home without. Lastly, I always have what I consider to be my secret weapon for astroscapes, the Hoya Intensifier! It’s a filter that I’ve been raving about for years. The filter cuts light pollution, providing a cleaner final image to work with in post.
You can sign up for Stan Moniz' workshops at his website, www.stanmoniz.com

