Nick de Jonge (@nick_skeyes) is a pilot and photographer with a passion for travel and exploring landscapes. We recently came across these colorful tulip field landscape photos on his Instagram and connected with him to learn more. “The tulip season in Holland is always a magical couple of weeks. Beautiful tulips will bloom for several weeks turning the Dutch countryside into all sorts of colors. It is a perfect time to go out and photograph!” Keep reading to see how he captures these images with the Sony Alpha 7R III and Sony 16-35mm f/2.8 G Master in both single shots and using focus stacking and exposure bracketing.

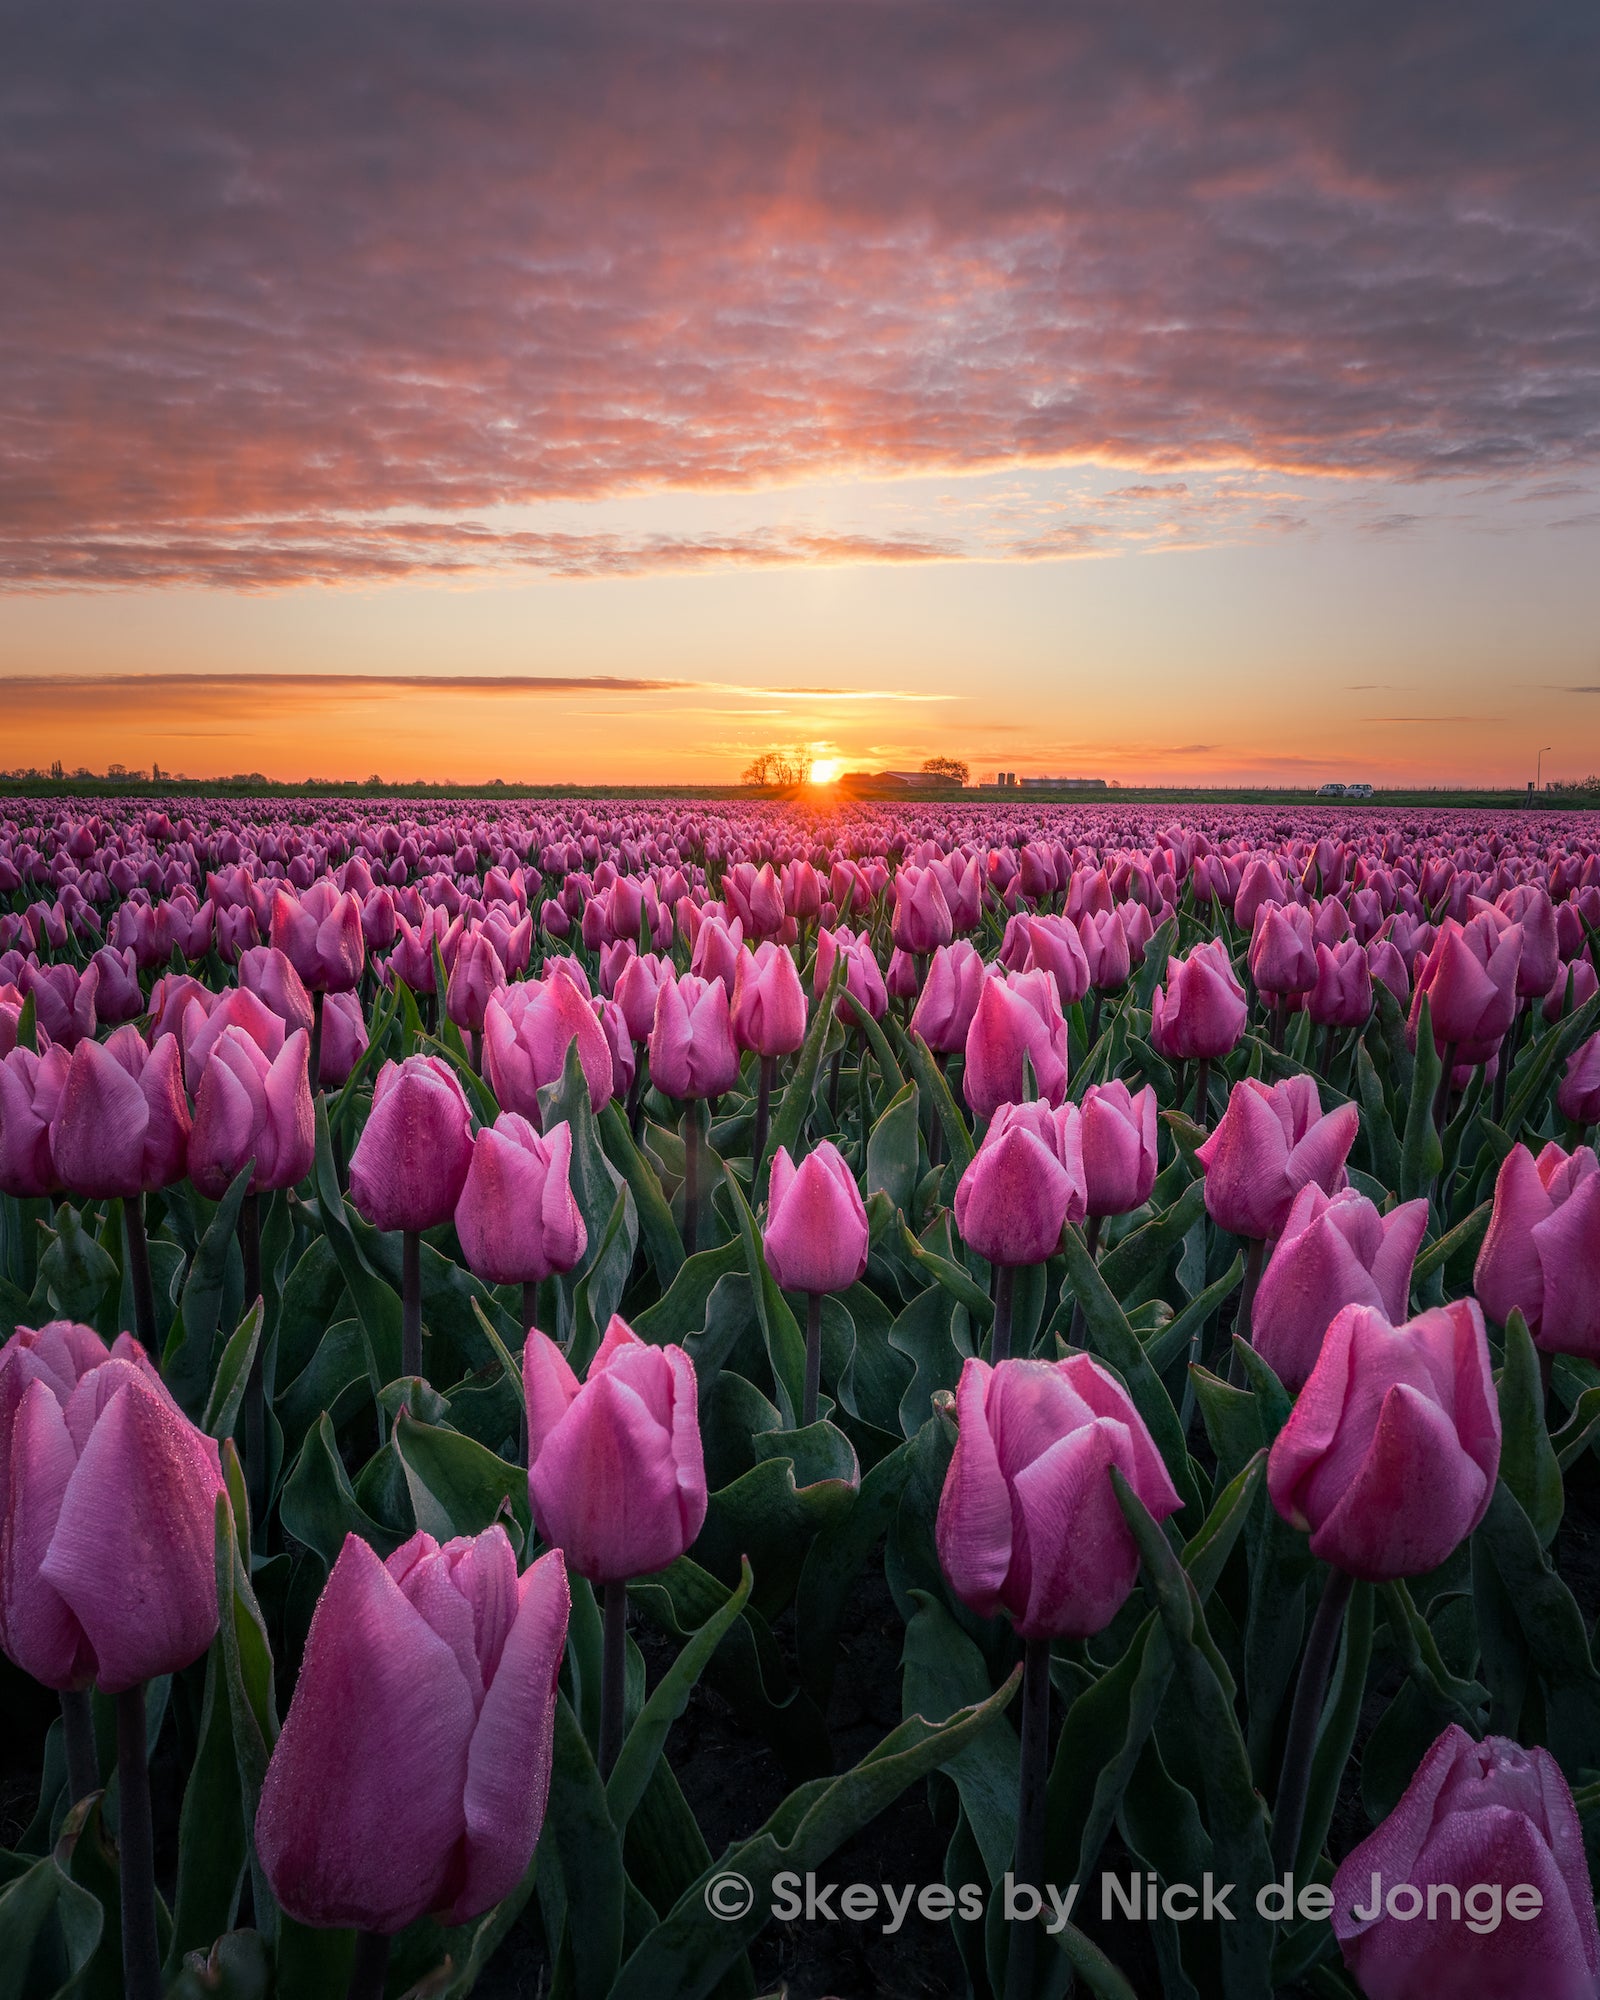
Photo by Nick de Jonge. Focus Stack/Exposure Bracketing. Sony α7R III. Sony 16-35mm f/2.8 G Master at 16mm. 1/30-sec., f/11 ISO 160
“Getting up early is important to get those beautiful colors during sunrise,” explains de Jonge. “If there is some shallow fog, that can also really help create a beautiful atmosphere. I had a project last year to film several tulip fields but also had enough time to photograph them. Near Alkmaar, North Holland, there were some great fields which I scouted several days before. Checking the weather the day before, it promised to be a beautiful sunrise so I set my alarm clock and the next day headed out.”
The Sony Alpha 7R III & Sony 16-35mm f/2.8 G Master For Landscape Photography
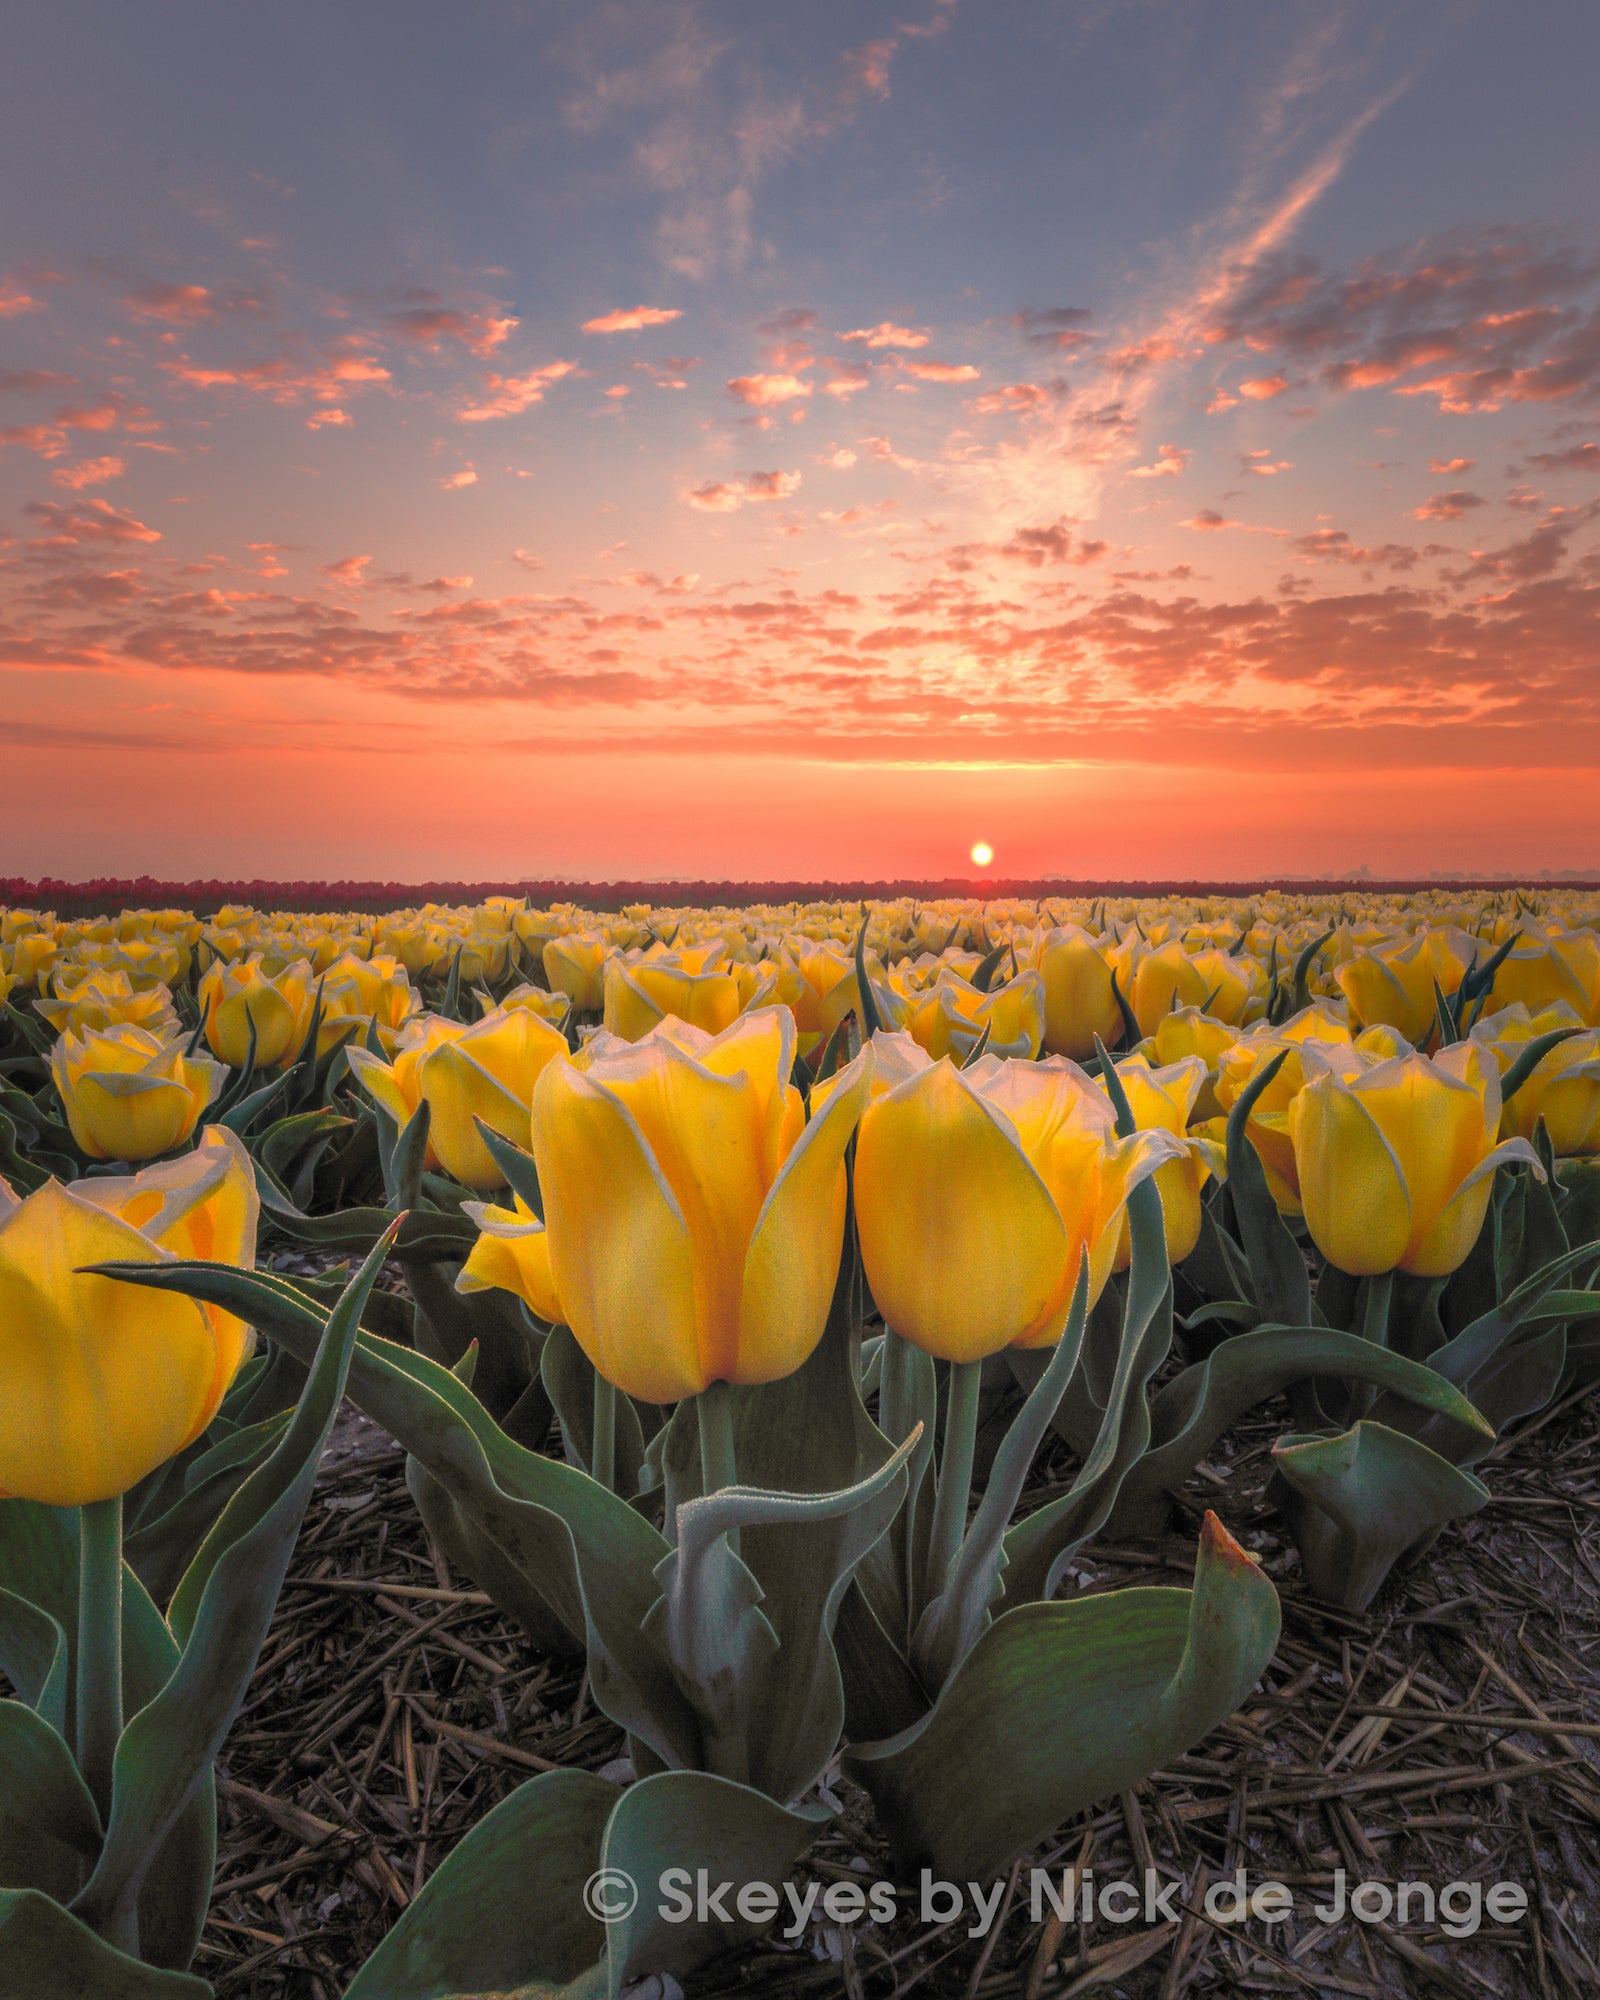
To capture the tulips, de Jonge used the Sony Alpha 7R III combined with the Sony 16-35mm f/2.8 G Master lens. “For me this is the perfect landscape photography setup,” he says. “Walking through the fields (please get permission from the farmer), I was looking for nice compositions when these yellow tulips stood out very nicely against the beautiful morning sky.”

Photo by Nick de Jonge. Single Shot. Sony α7R III. Sony 16-35mm f/2.8 G Master at 16mm. 1/15-sec., f/20, ISO 100
“Because it was a bit hazy/foggy, the sun was not very sharp once it started to rise. I chose to shoot with f/20 (in hindsight a focus stack would have been better) at 16mm and at 100 ISO. Because of the high dynamic range, I knew I would be able to get a lot of information back from the shadows. The shot was taken with a tripod to make sure everything was sharp and that way I could lower the ISO. In Adobe Lightroom I was able to adjust the brightness of the sky and make the foreground brighter, just like an HDR but then just with one shot, the power of the Alpha 7R III is amazing. I adjusted some colors and contrast and that was it!”

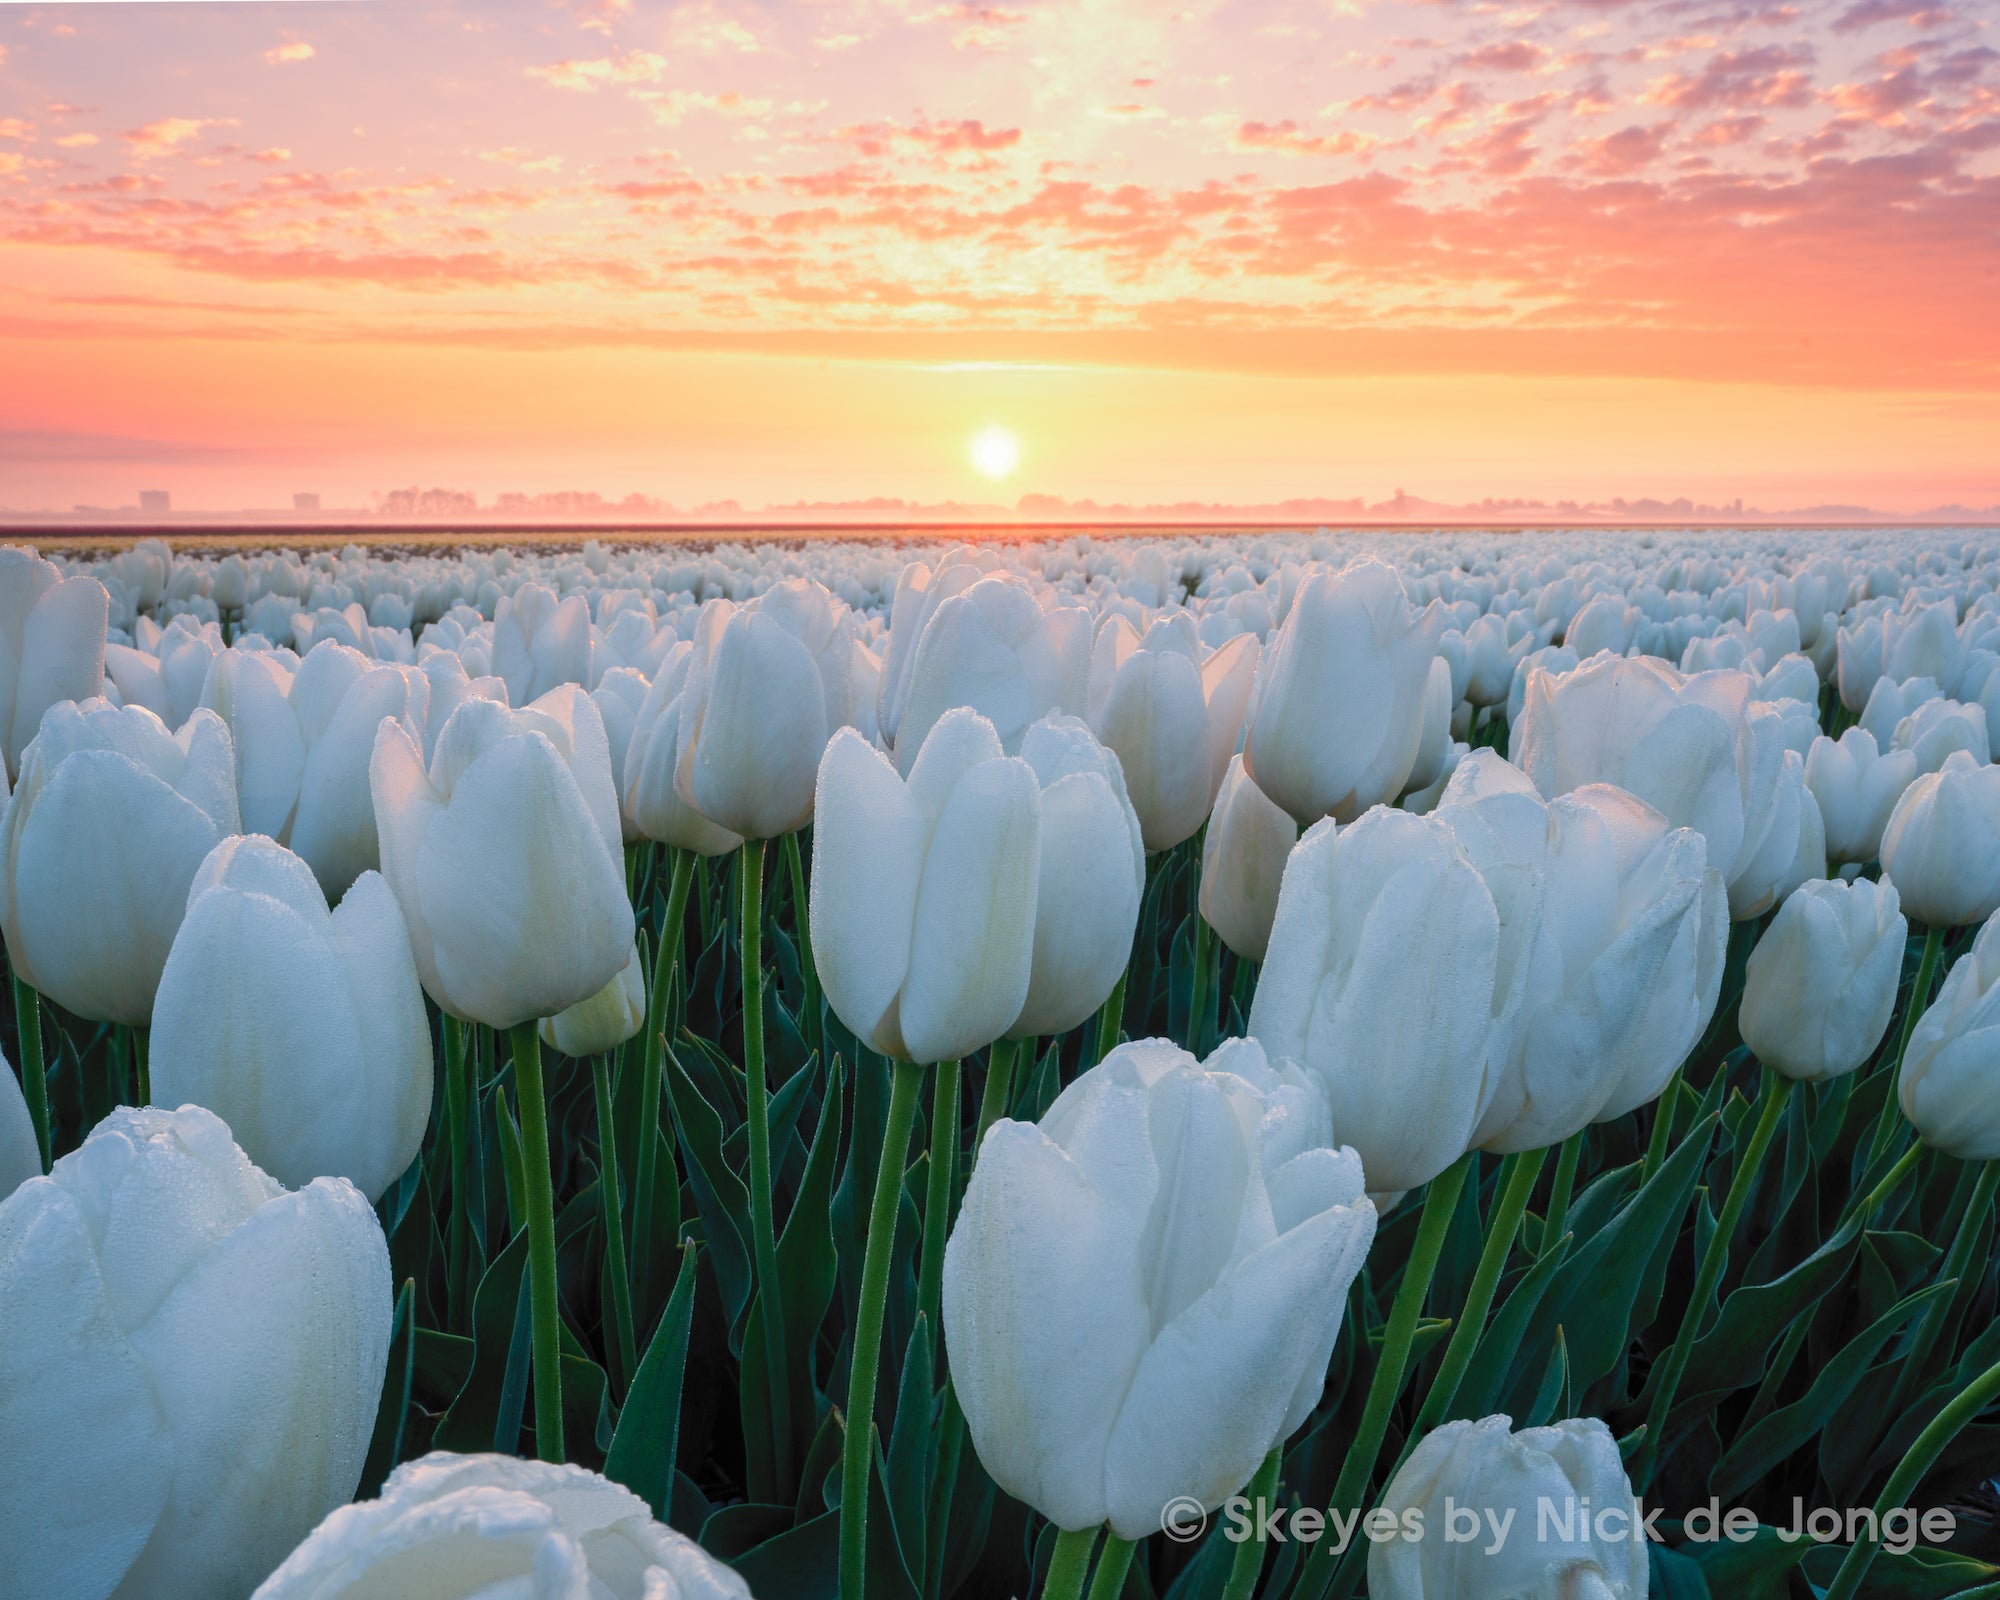
Photo by Nick de Jonge. Single Shot. Sony α7R III. Sony 16-35mm f/2.8 G Master at 23mm. 1/6-sec., f/20, ISO 100
Using Focus Stacking & Exposure Bracketing
This year de Jonge wanted to try a different approach and use more focus stacking and exposure bracketing to get more details out of every shot. “Shooting into the sun can be tricky because you can often over (or under) expose parts of your image,” explains de Jonge. “What you then need to do is something called exposure bracketing. You take several shots with the same focus point but then with several exposures. You can combine these shots into one so that you properly expose the sky and the shadows, known as HDR.”
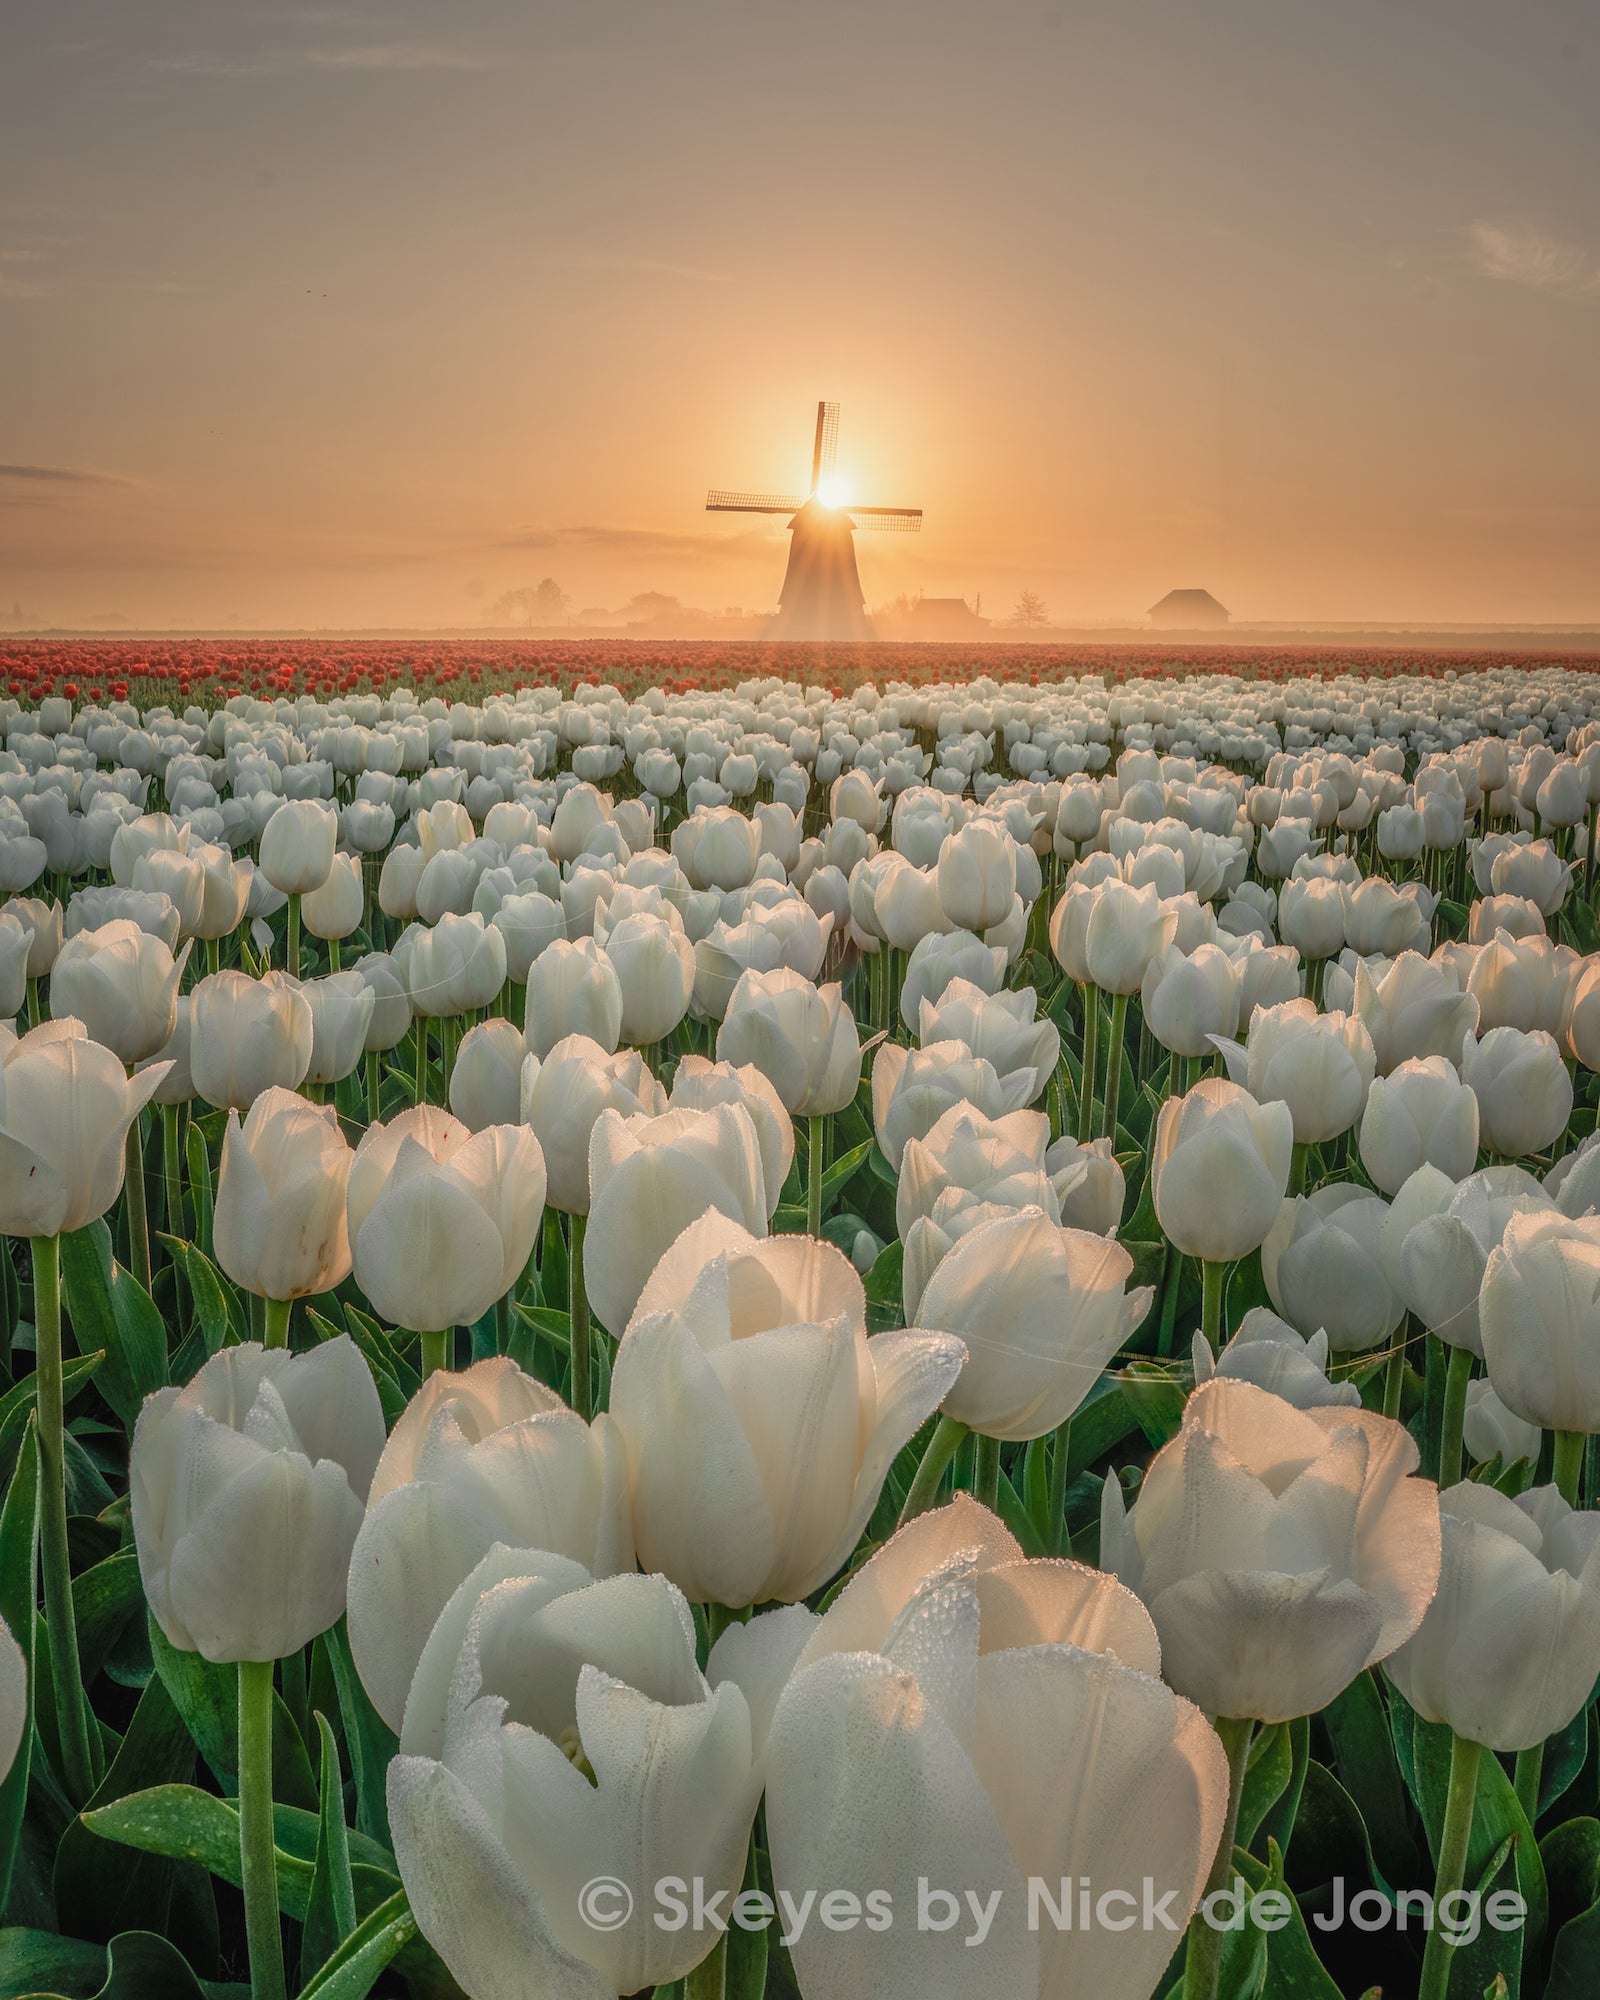
“I also had to do some focus stacking because I wanted to have the tulips in the foreground sharp as well as the mill in the background. For each focus shot (in my case, four focus points), I also took an exposure bracket. Although taking one shot is a lot easier, if you have the time then the results can be worth it to do focus stacking and exposure bracketing for the photo. Believe it or not, this white tulip image is made with 24 images combined into one shot!”

Photo by Nick de Jonge. Focus Stack/Exposure Bracketing. Sony α7R III. Sony 16-35mm f/2.8 G Master at 16mm. 1/40-sec., f/14 ISO 100
“Back in Lightroom, I would make an HDR image from the exposure brackets (ending up with 4 HDR images). After that is done, I make several simple adjustments to one of the HDR images so that the shot is properly exposed. I copy those adjustments to the other three HDR shots so that the adjustments are all the same. Select the four HDR images and from Lightroom we then go into Photoshop to align and blend the shots together. This resulted in a sharp and properly exposed image which you can now fine tune back in Lightroom.”
See more of Nick’s work on Instagram @nick_skeyes.

