With social distancing procedures and stay-at-home orders in effect across the world, many of us are spending our time getting creative in the kitchen. Trying new recipes is a great way to pass the time, and sharing photos of the results is a fun way to stay connected right now. We talked with food photographer and Alpha Collective member Jessica Hirsch (@cheatdayeats) for tips on perfectly capturing those scrumptious made-at-home meals.
Food photographer Jessica Hirsch (@cheatdayeats) shows us how you can create mouthwatering food photos from your own kitchen.
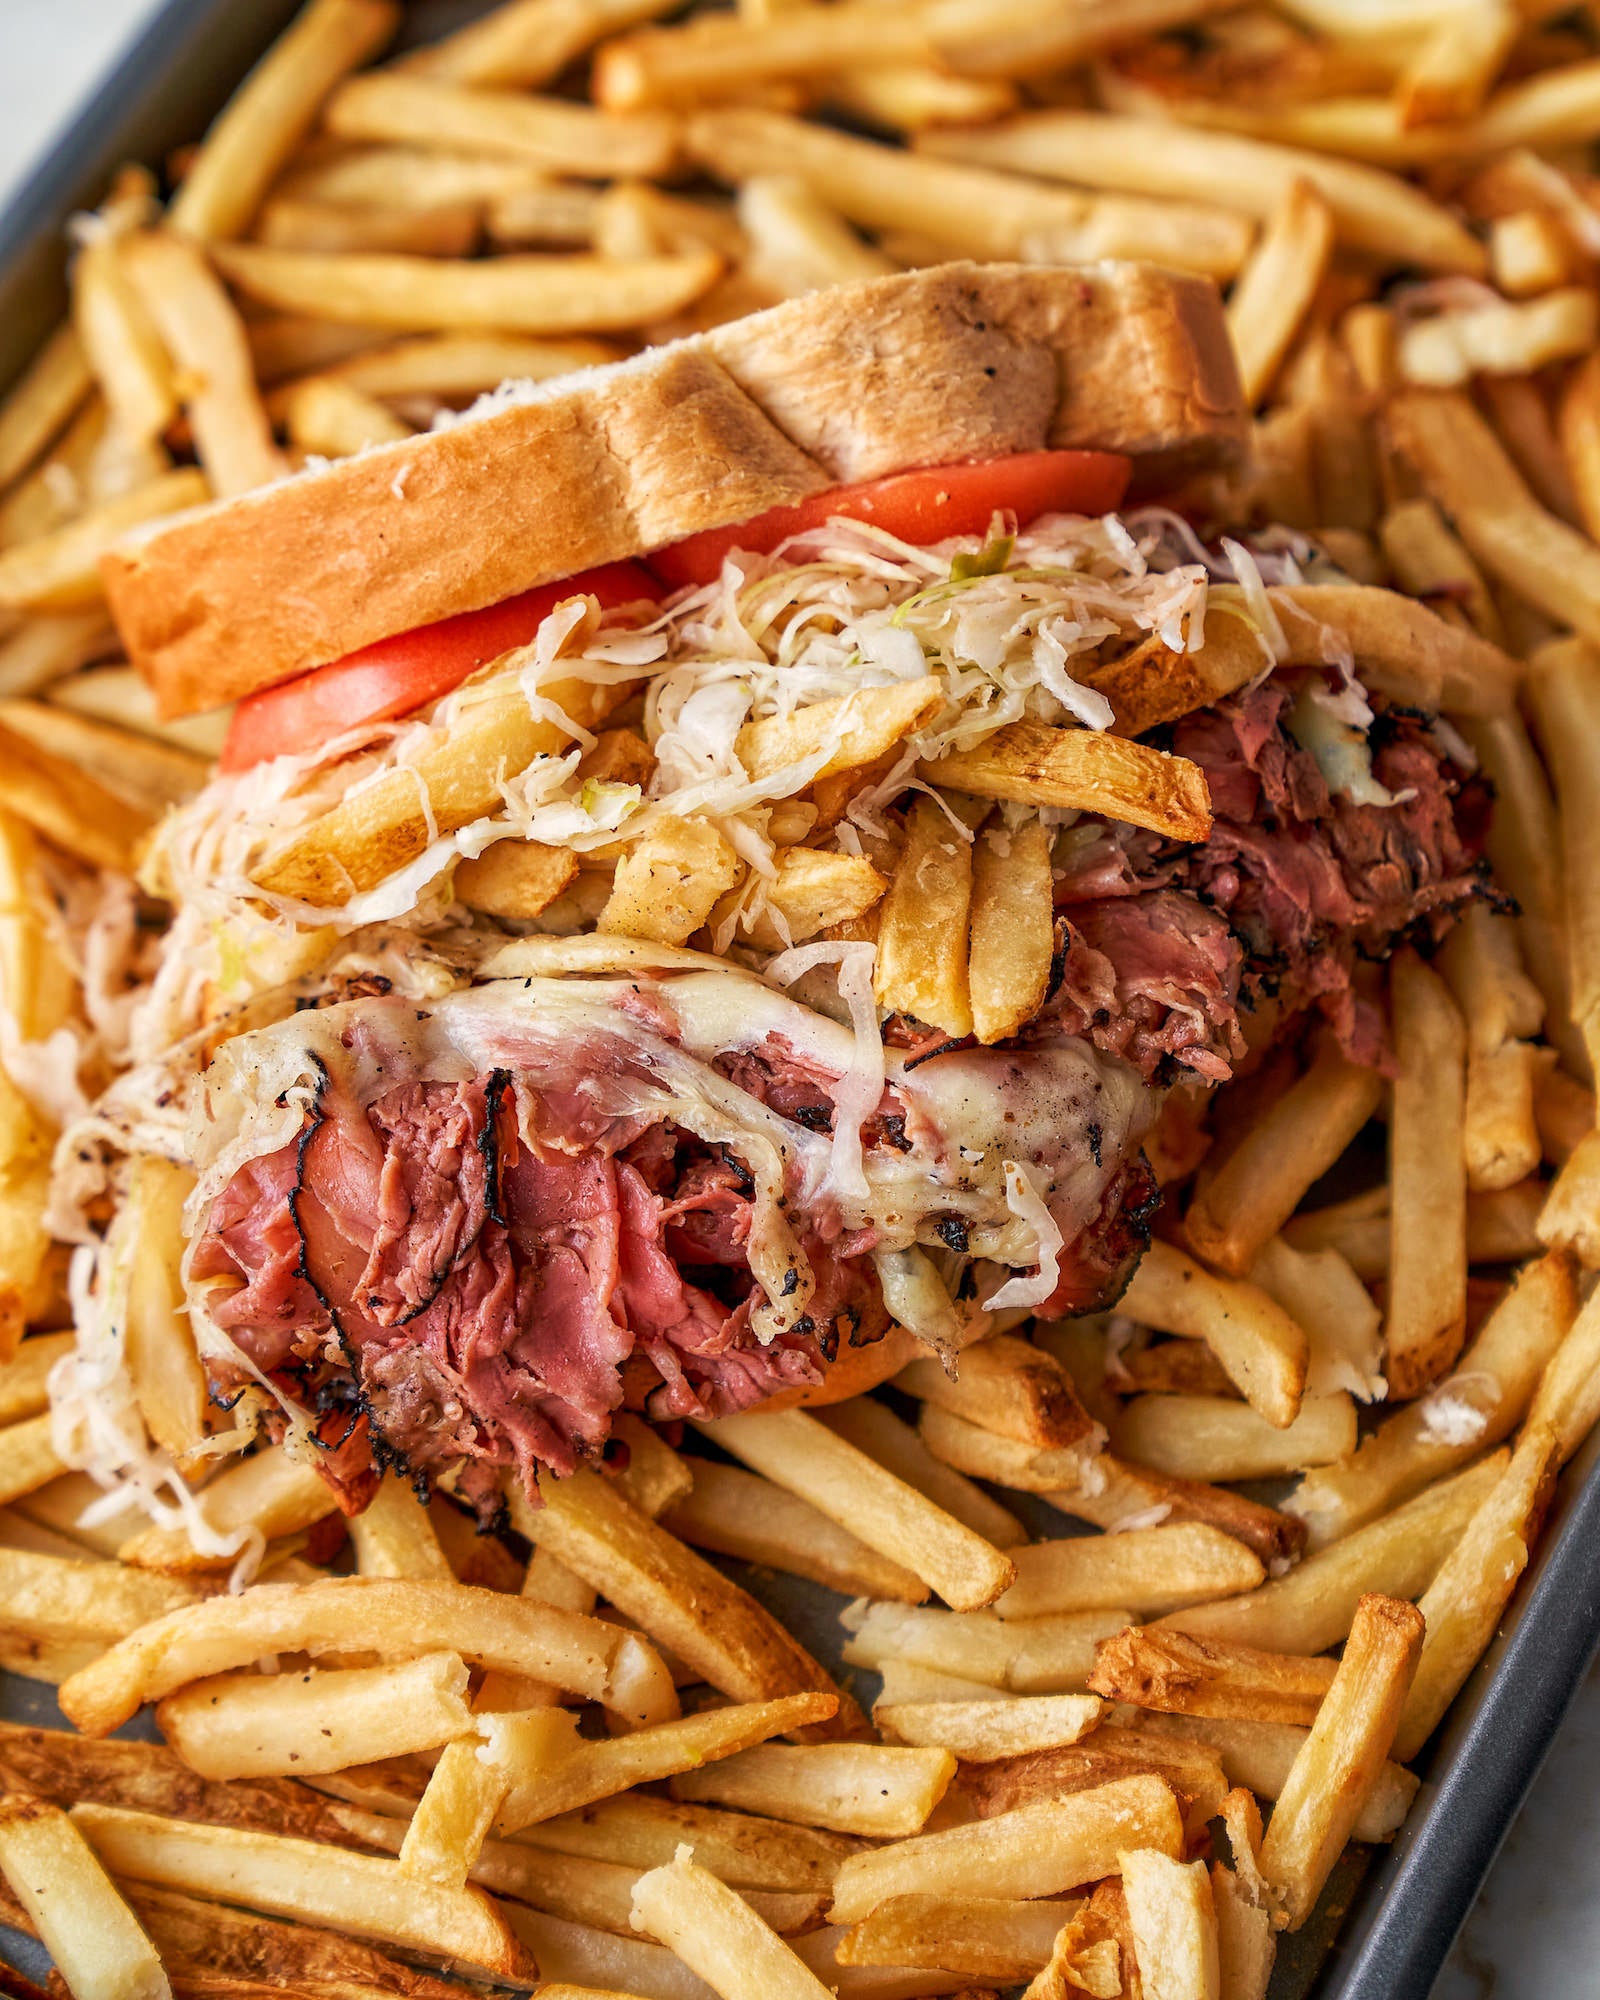
Sony α7 III. Sony 24-70mm f/2.8 G Master. 1/320-sec., f/4, ISO 400
Coronavirus has affected us all and we are all finding ourselves home more. Whether you are a content creator or someone who just loves photography, you might find your home to be new territory when it comes to taking photos. I have found that creating content at home leads to some of my favorite images because I am able to take my time and control the environment more so than if I were at a restaurant. I also tend to use the same setup, so it’s quick and easy to prepare and helpful when editing.
Create Your Own Mini Studio At Home
Creating a little studio for your food photography at home will have your food photos looking much more professional, and it doesn’t have to be hard to do. Here are the items you can use to create your own mini at-home studio.
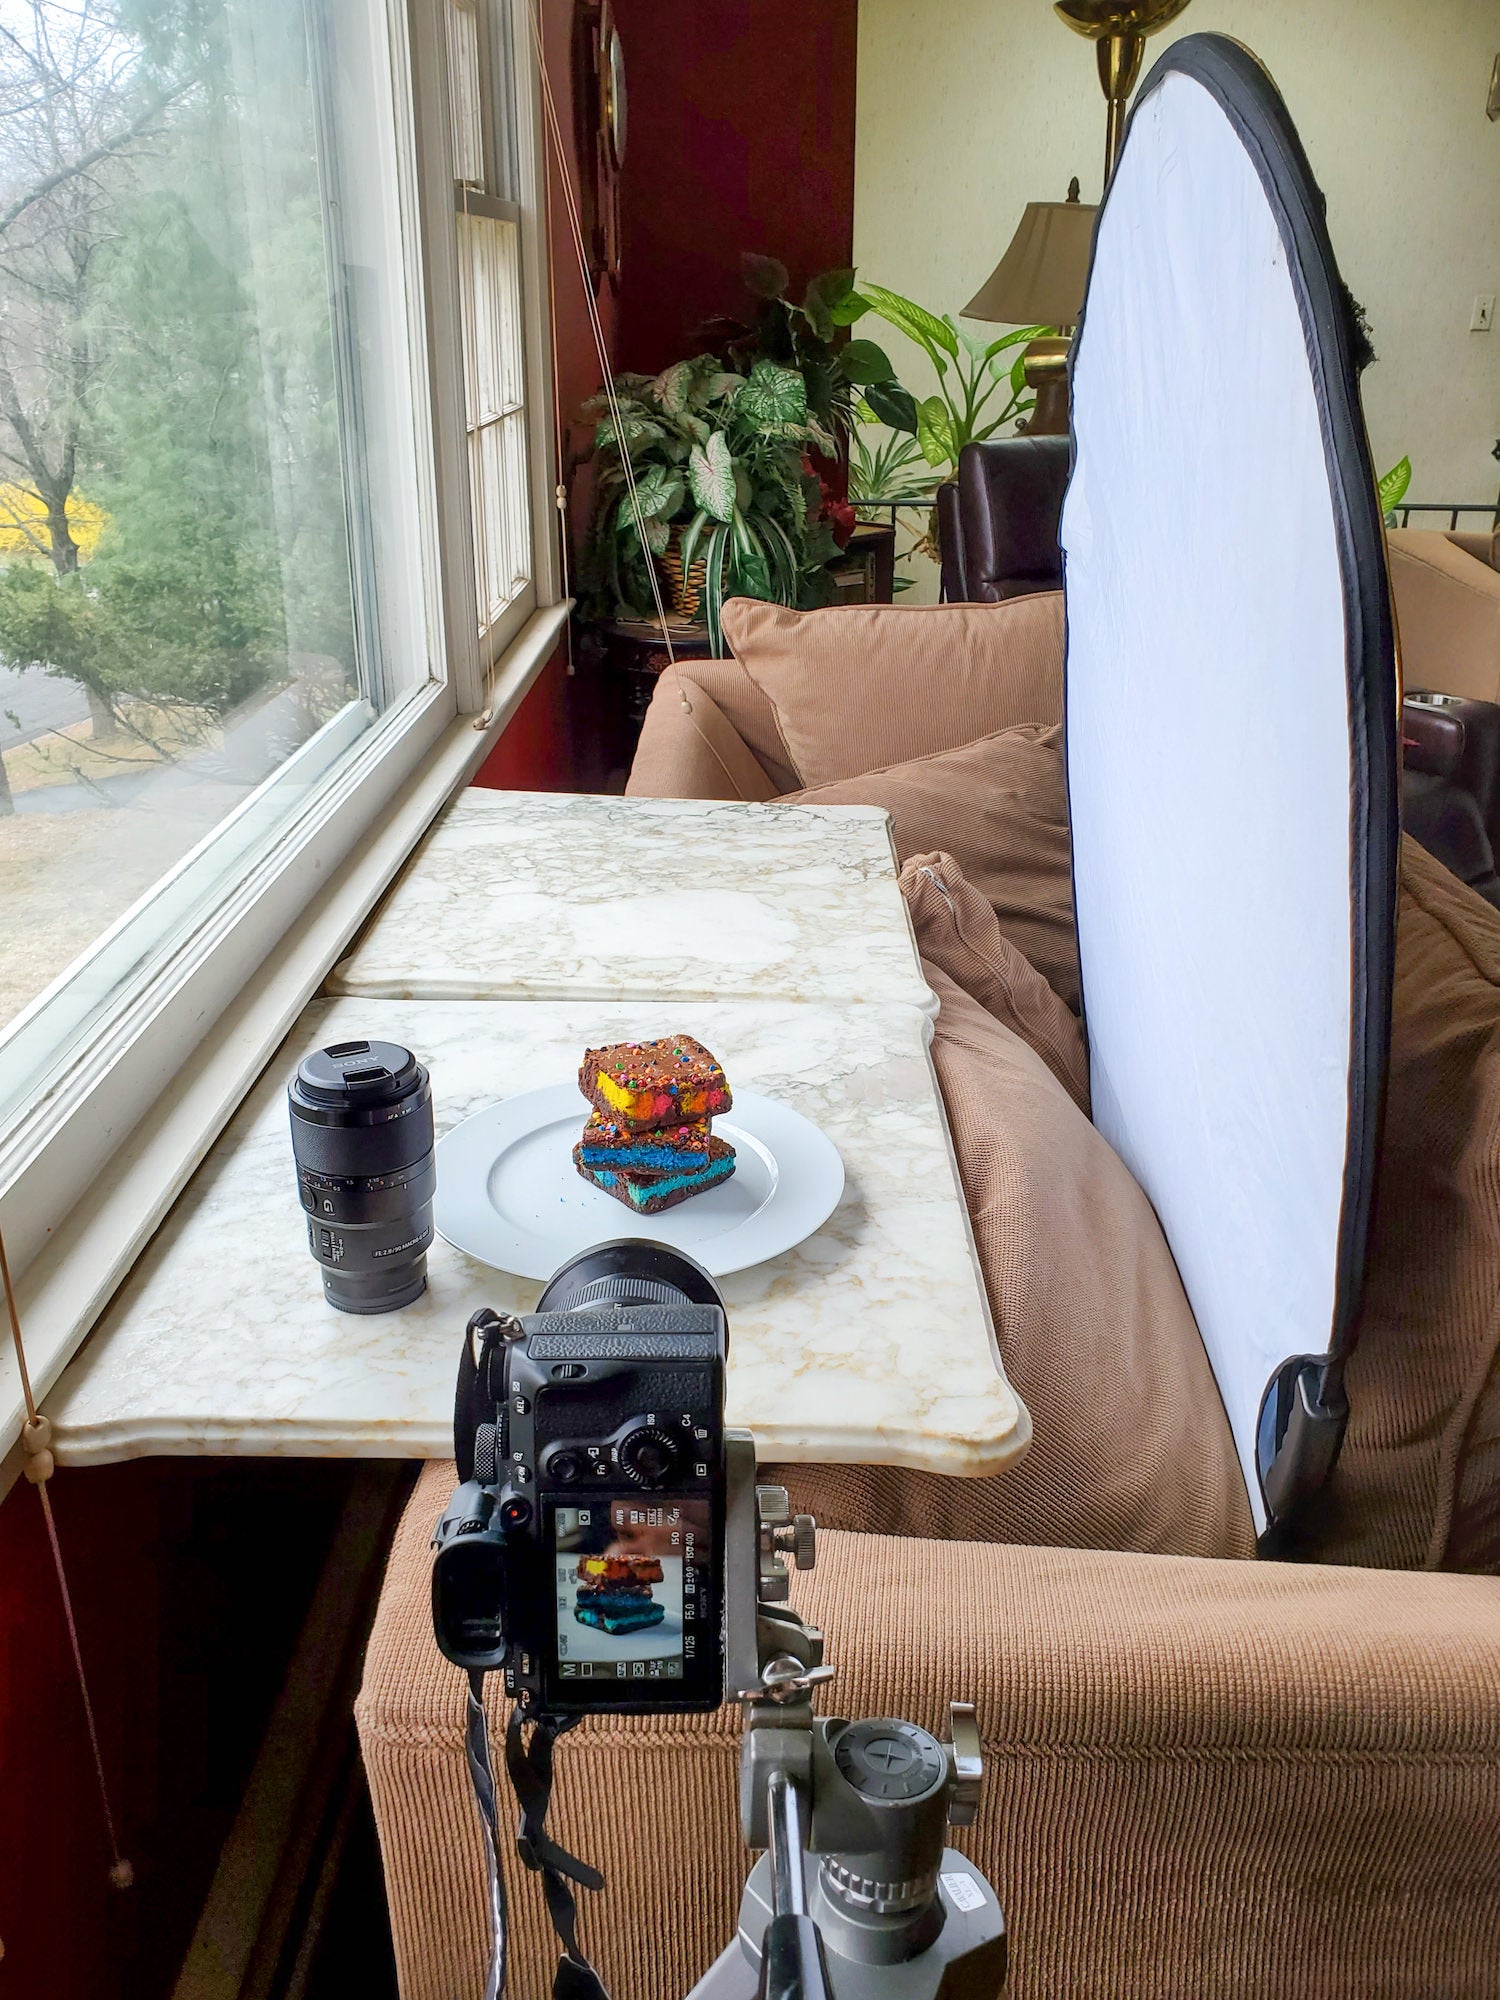
Sony Alpha Gear: You can see my usual full kit for food photography in my What’s In My Bag article. For my at-home studio, I have the Sony α7 III and then I recommend playing around with different lenses to see how it can really change the image. The Sony 24-70mm f/2.8 G Master is my go-to because it allows me to capture a number of shots with different looks all with one lens. Then I love to use the Sony 90mm f/2.8 Macro G lens for those close-up shots.
Tripod: I love movement in my shots and having a tripod is key for a number of reasons. It allows you to free up your hands so you can use them to create the movement whether that be pouring a sauce, dusting baked goods with powdered sugar, or just getting your hands in the shot to give it a real-life feel. It also ensures the camera is steady which is key in achieving a sharp image.
Lighting: Personally I love natural light and that is typically what I shoot with. With that in mind, test out a few different windows in your home to see what looks best to you. I do not want direct sun coming in because that will lead to harsh shadows and that is not the look I am going for. Diffused light is best and if you don't have a window that achieves this naturally, you can use a thin white sheet, or white shirt to help diffuse the light. I will also turn off all the lights in the room because different light bulbs will present different colors on your food and I want to prevent this. Depending on the look you are going for the direction of light hitting your subject can really change the image. I personally like light and airy photos with few shadows. Play with the light source and see what works for you. I recently invested in artificial lighting as well and this can be a great tool if you plan to shoot at night.
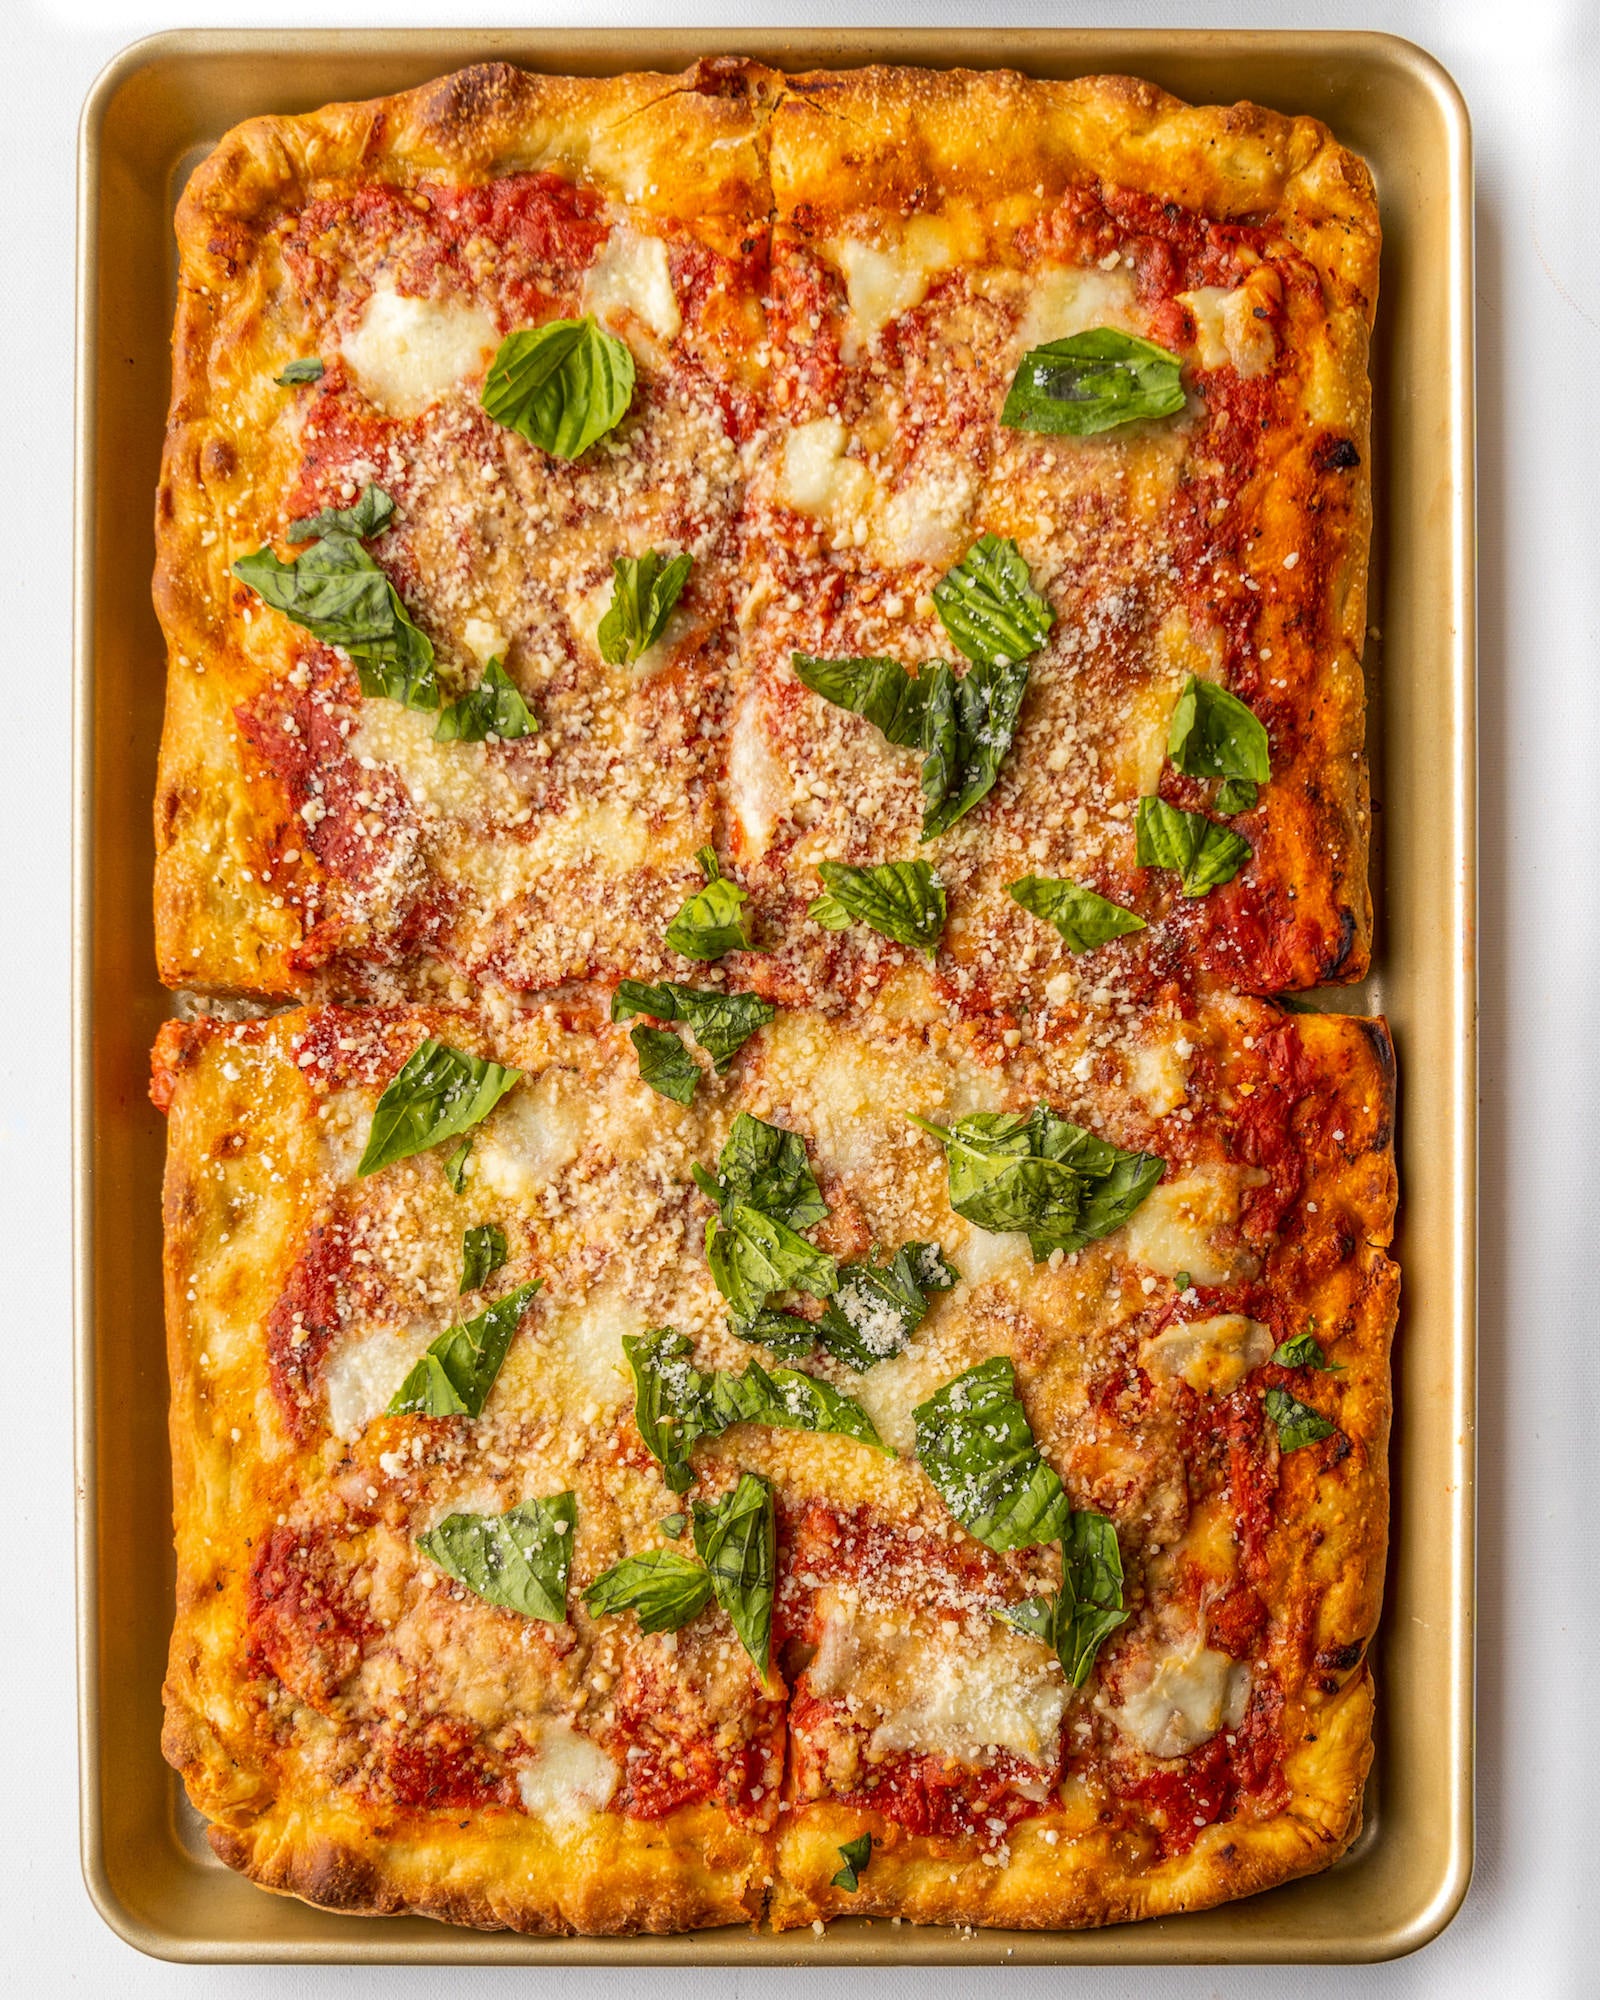
Sony α7 III. Sony 24-70mm f/2.8 G Master. 1/125-sec., f/4, ISO 200
Reflector: Place this directly across from the window to help bounce off light and fill in harsh shadows. Don't have a reflector? No problem, luckily you're at home and no one will judge you as you take any white surface (sheet, towel, board) to use to help you achieve this goal.
Table: I use a marble table that I have, but if you don't have a table at home that you want to use in all your photos, you can purchase backdrops online to lay over as the bottom and backdrop of your photos and videos.
Chair: You can stand on a chair, and no one will judge you, except your loved ones and pets maybe! Trying to achieve that overhead shot? Depending on your lens, getting a few feet higher might be necessary.
Props: This could be whatever plates and silverware you have in your house. I have a few white plates and lazy susans I purchased to use for my shoots. Then start to style your shot with elements that tie into your photo and bring it all together. Remember who the star of the show is and don't let your props take away from that.
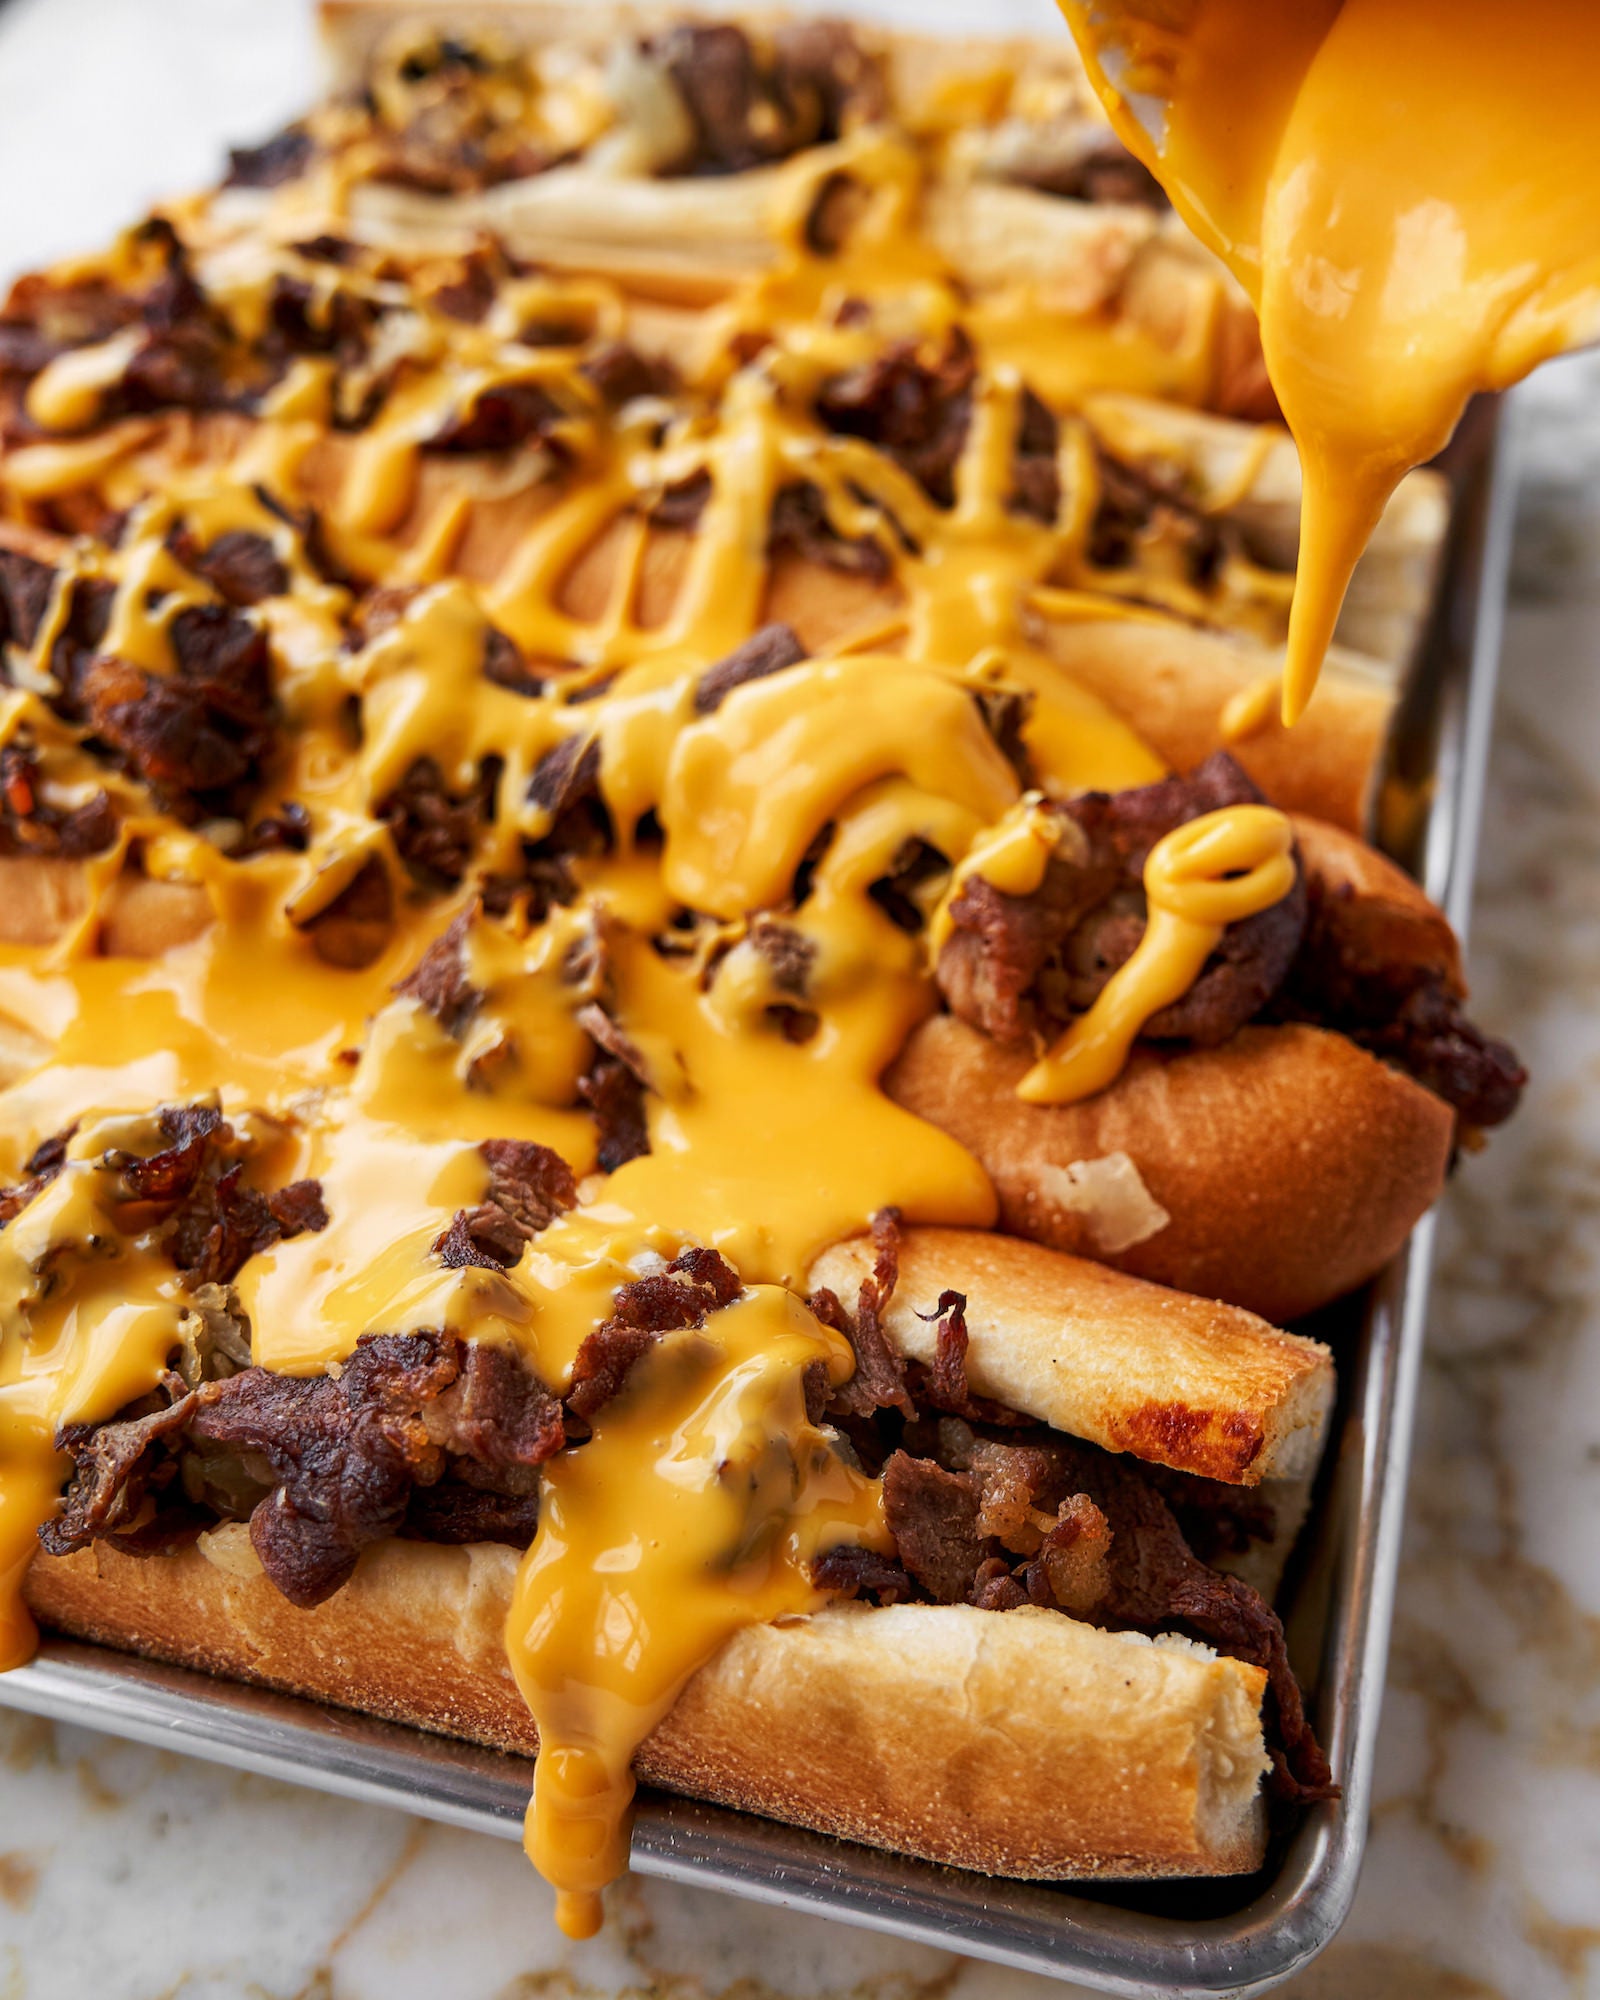
Sony α7 III. Sony 24-70mm f/2.8 G Master. 1/320-sec., f/4.5, ISO 500
Frame With Intention
It’s important that you have the food be the center of attention and the main focus. You don’t want a lot of distractions in the photo and you want it to be a generally noise-free background so that your audience can have all their attention towards the subject. And don’t forget that your personal style is key when creating these images. If you are new to creating content at home, think about what it is about your photos people relate to and try to bring those elements in here.
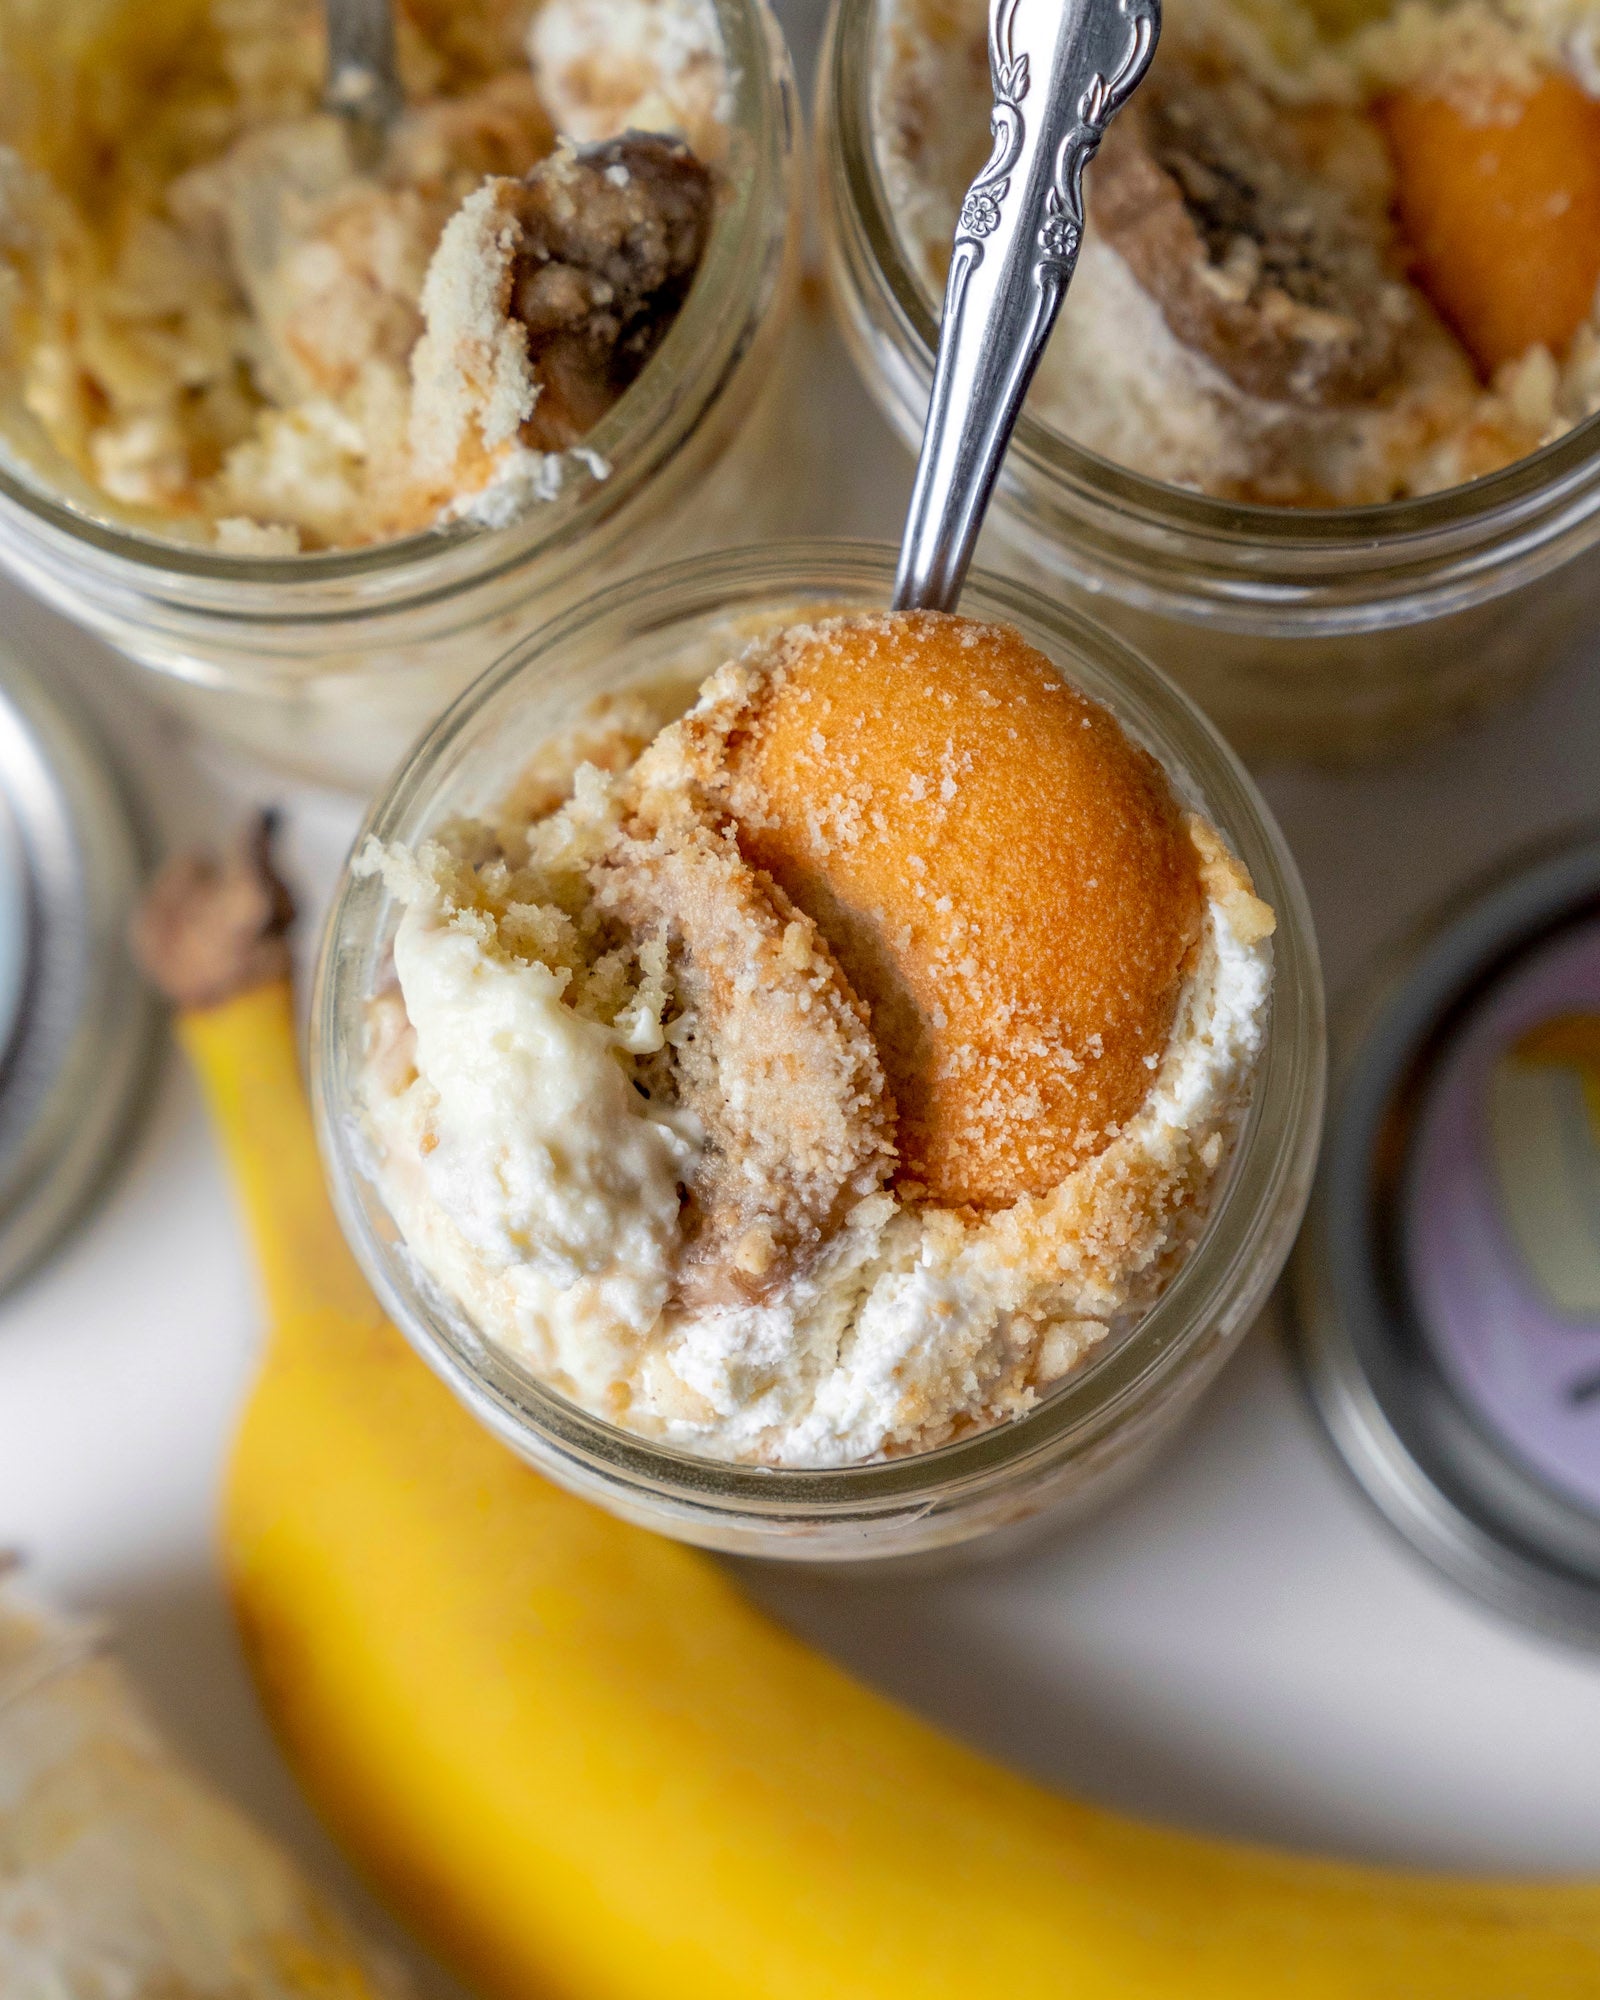
Sony α7 III. Sony 24-70mm f/2.8 G Master. 1/320-sec., f/4.5, ISO 500
Play With Your Food
Yep. You heard it right. Forget what your parents taught you. Think about how you can move your food around to get the best shot. Personally, I like a little action to have my audience feel like they are in the moment with me, whether that be pouring the syrup down the pancakes or getting that first forkful of pasta. I think it adds dimension to the photo and feels interactive. Be mindful of too much movement and figure out how to best compensate your shutter speed, depth of field and other exposure settings when factoring in motion. I’d advise to do things as slowly as possible as it’s going to be easier for any shooting device to keep up and stay in focus with the movement without having to lose depth of field in place of increasing your ISO which could cause more noise in your work.
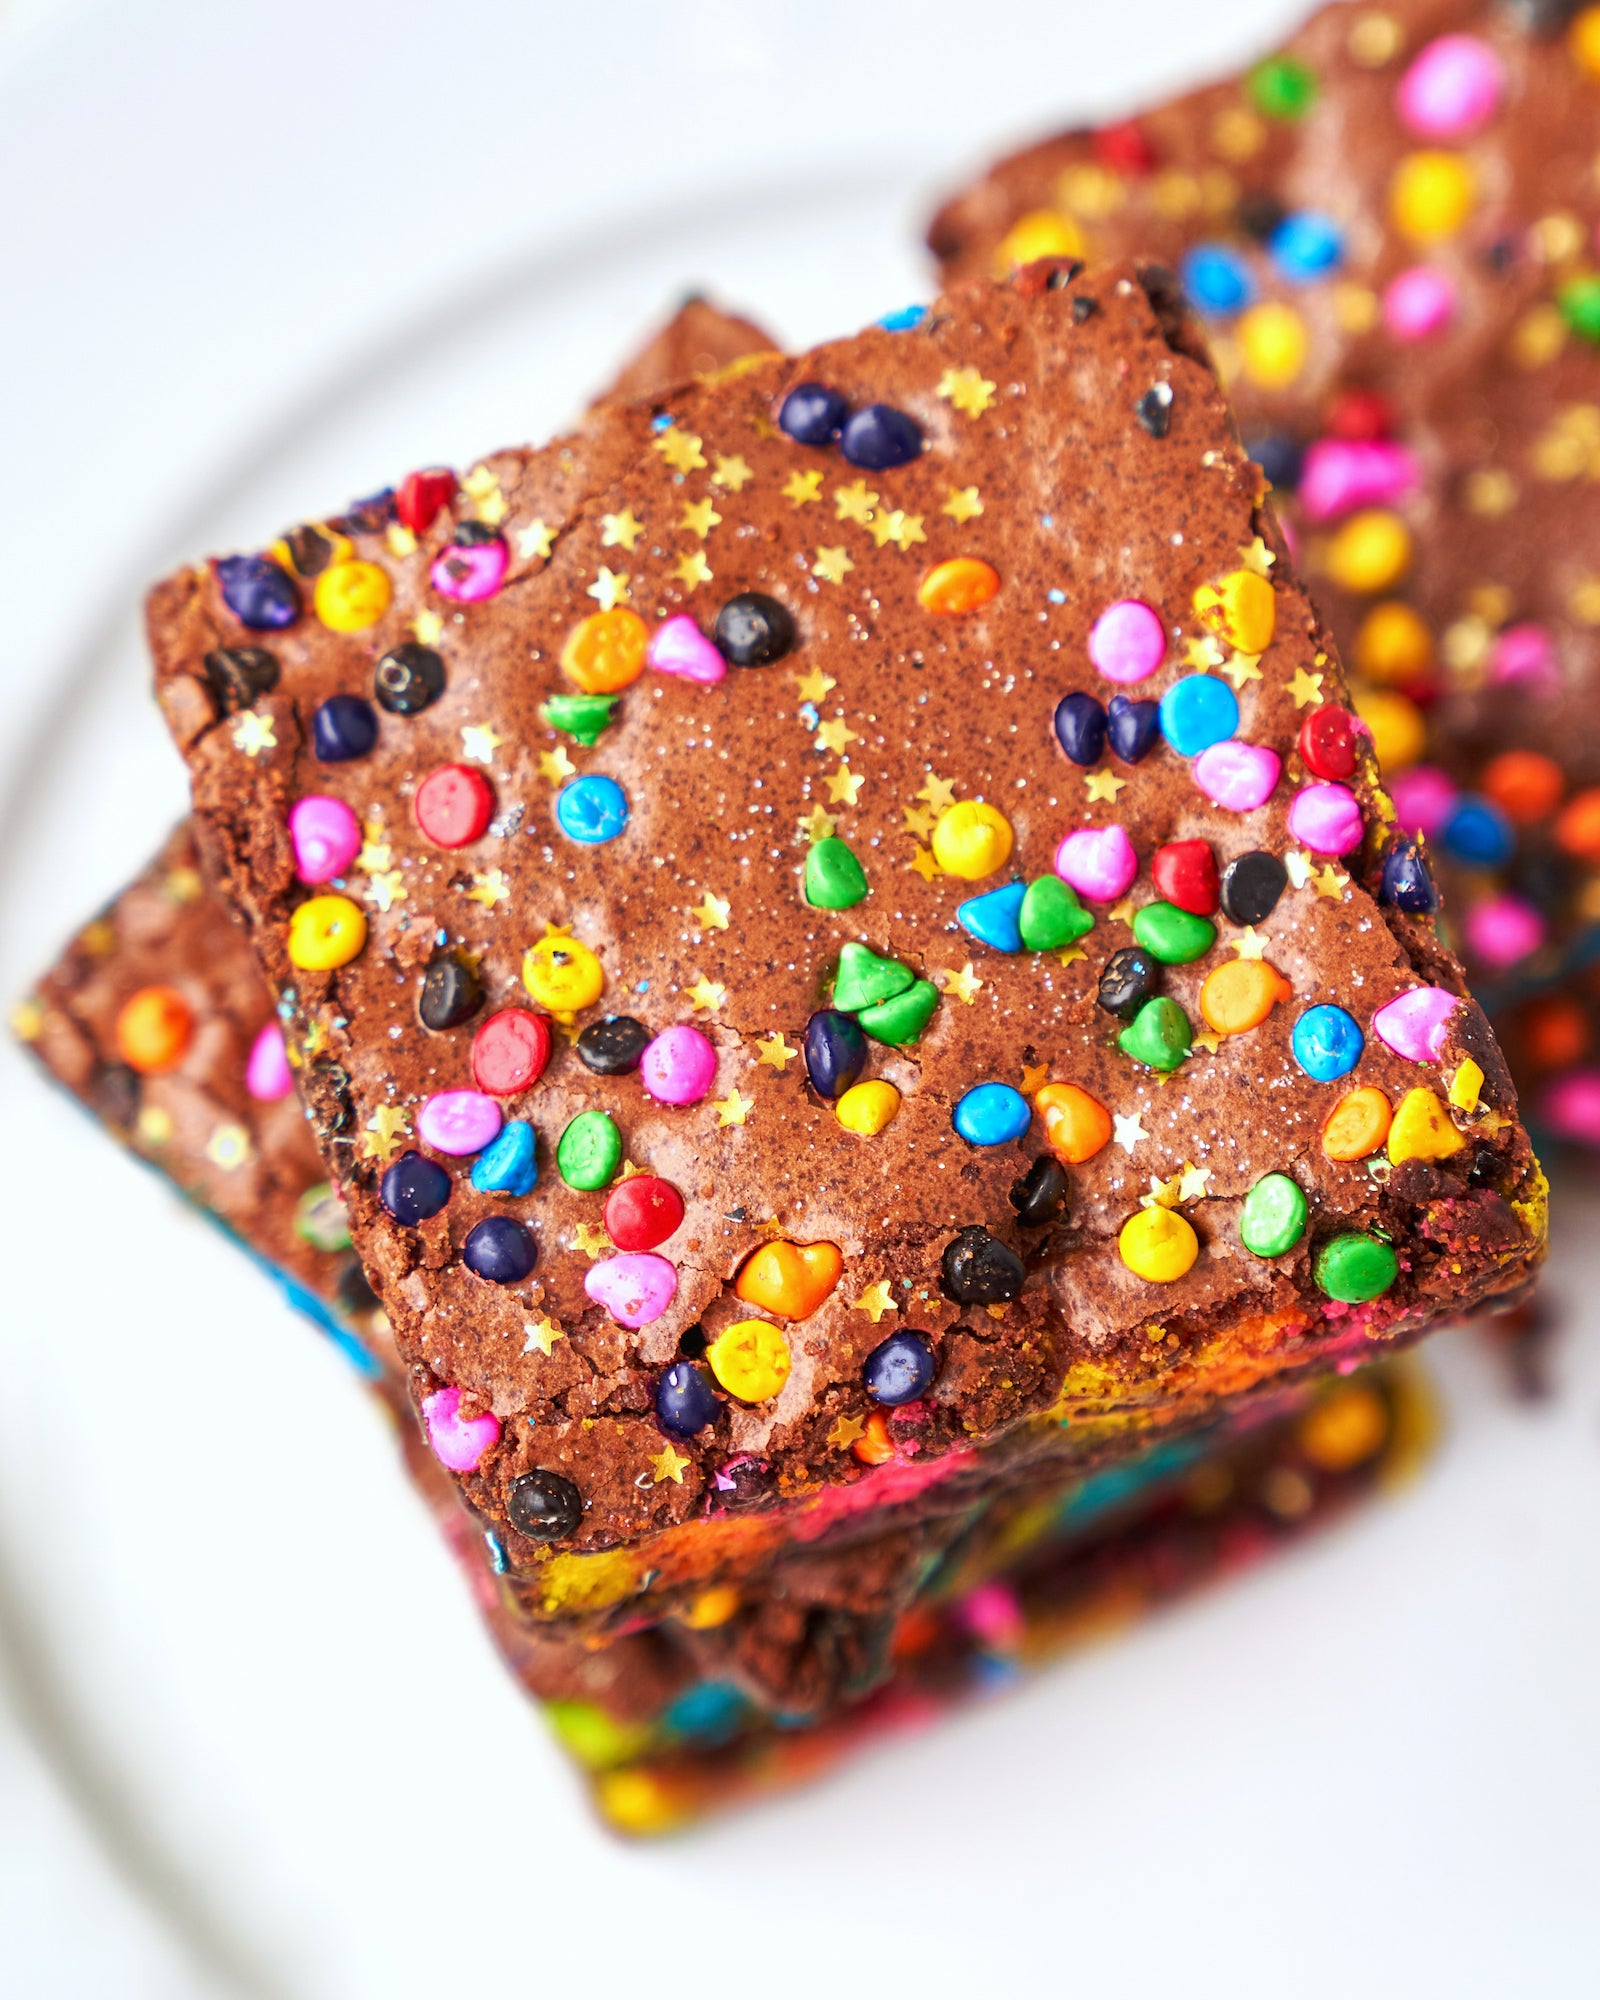
Sony α7 III. Sony 24-70mm f/2.8 G Master. 1/160-sec., f/4, ISO 250
The only unfortunate part about shooting at home? Unlike at a restaurant, you're the one who has to clean up all the dishes!

