On his blog, Nature's Best: Don Smith Photography, Sony Artisan Don Smith has been evaluating the new Sony α6300 in a variety of situations. Not content to simply evaluate image quality or the camera's fit and finish, Smith delves into real-world situations and describes how the camera performs and how he adjusts the menu settings for optimal performance in those real-world settings. What follows are his observations and on how the camera works for landscape photography as well as his guide to setting it up right:
Previously, I discussed my impressions of the new Sony α6300 as a sports camera.
In this blog, I switch gears and put it through its paces as a landscape camera. The image above was captured on a broken cloud morning during sunrise at Big Sur’s Garrapata State Beach with the Sony Vario-Tessar T* FE 16-35mm f/4 ZA OSS lens set at 16mm (with the look of a 24mm) on the Sony α6300.
My initial thought as a landscape shooter was, “what have they done with the sensor from the original α6000?” It’s still a 24.2MP APS-C sized Exmor CMOS sensor. However, Sony is claiming the “world’s fastest AF system utilizing a ‘4D Focus system’ with 425 phase detection AF points that are densely positioned over the entire image area.”
The new sensor is not the same found in the Sony α7R II, but it does utilize copper wiring that simultaneously reduces noise and increases dynamic range. For photographing sports and wildlife, the new AF is awesome; for landscape it helps, but perhaps is not as important – at least for me.
This new camera also sports 4K video with the ability to write straight to the card. I don’t shoot video so I’m not qualified to give an opinion here. Because the sensor is an APS-C size, there is a crop factor of 1.5x. This is awesome when using my longer glass, but not as welcomed when I want to go really wide. I was testing the new Sony G-Master 24-70mm f/2.8 and was extremely pleased with the sharpness.
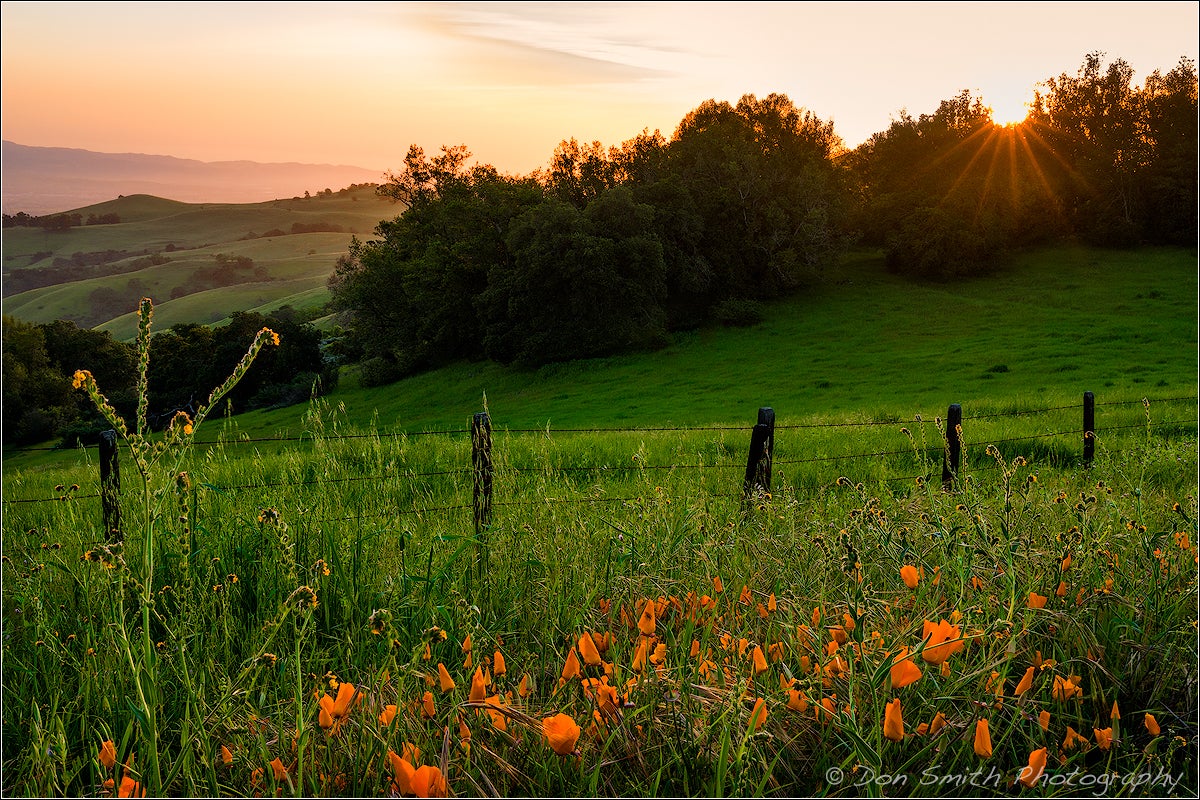
Poppies and setting sun, Southern Santa Clara Valley, Diablo Mountain Range, San Benito County, California. Sony α6300, Sony G Master 24-70mm at f/22, ISO 100
When I shoot with my Sigma 150-600mm Sport, I now have an optical zoom range of 225-900mm. That’s getting out there!
I captured this image (below) recently near my home in the Diablo coastal range of Southern Santa Clara Valley. Going long enabled me to isolate this Oak and compress it with the lush verdant hillside colored with Mustard and Owls Clover.
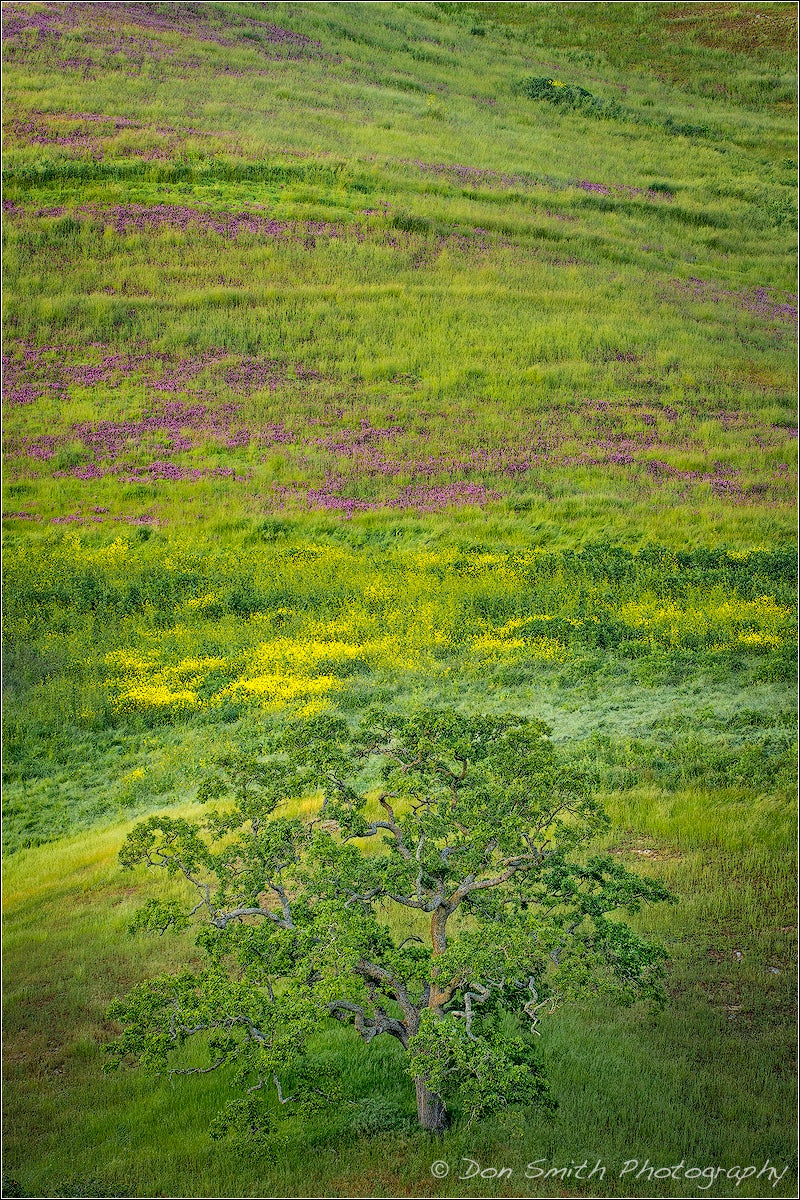
Oak and wildflowers, Southern Santa Clara Valley, Diablo Mountain Range, San Benito County, California. Sony α6300, Sigma 150-600mm Sport at f/11, ½-sec., ISO 100, Singh-Ray Neutral Polarizer
How Far Can I Push the ISO?
This is always one of the first tests I run with any new camera. It’s a simple test and provides me valuable information when I’m in the field and need to raise my ISO. I find that the acceptable noise threshold with the α6300 for me is ISO 3200, but I would not hesitate to go up to 6400 if needed and reduce the noise in Lightroom.
The α6300 allows an ISO range of 100 – 51,200. It also allows for AUTO ISO which I discuss in more detail in my post on photographing wildflowers. Here are 100% crops starting at the base ISO of 100. These are cropped RAW files with no processing:
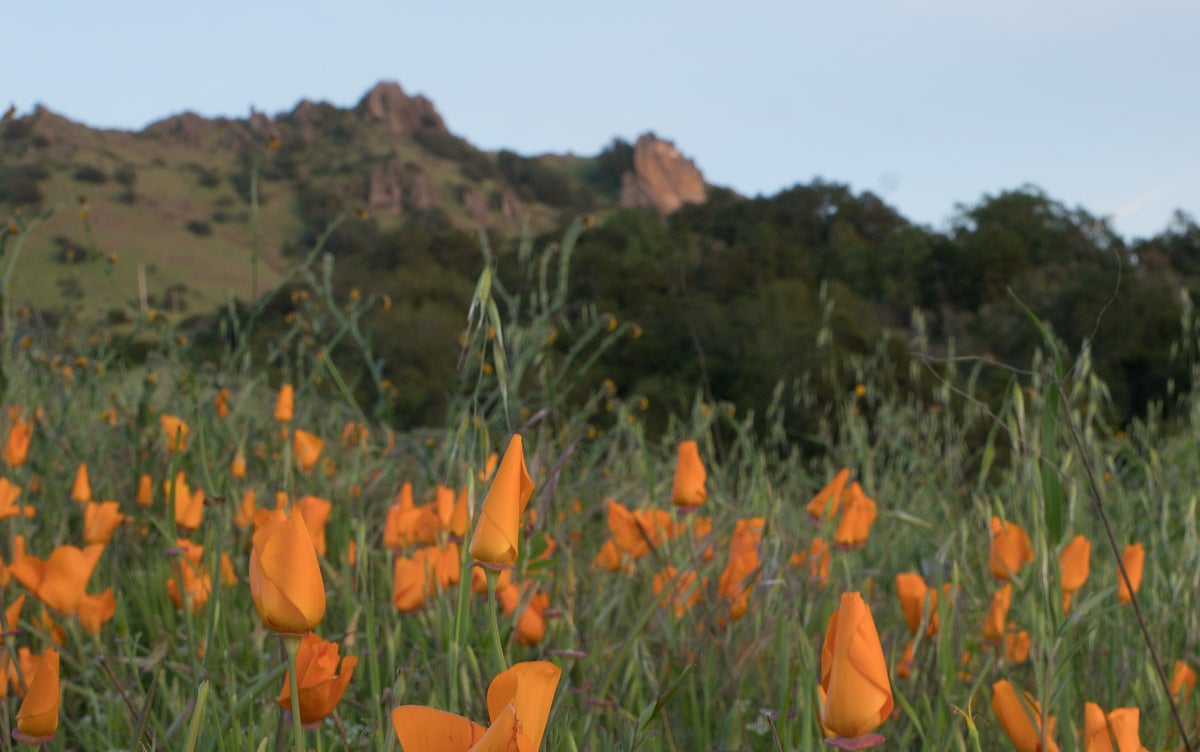
100 ISO
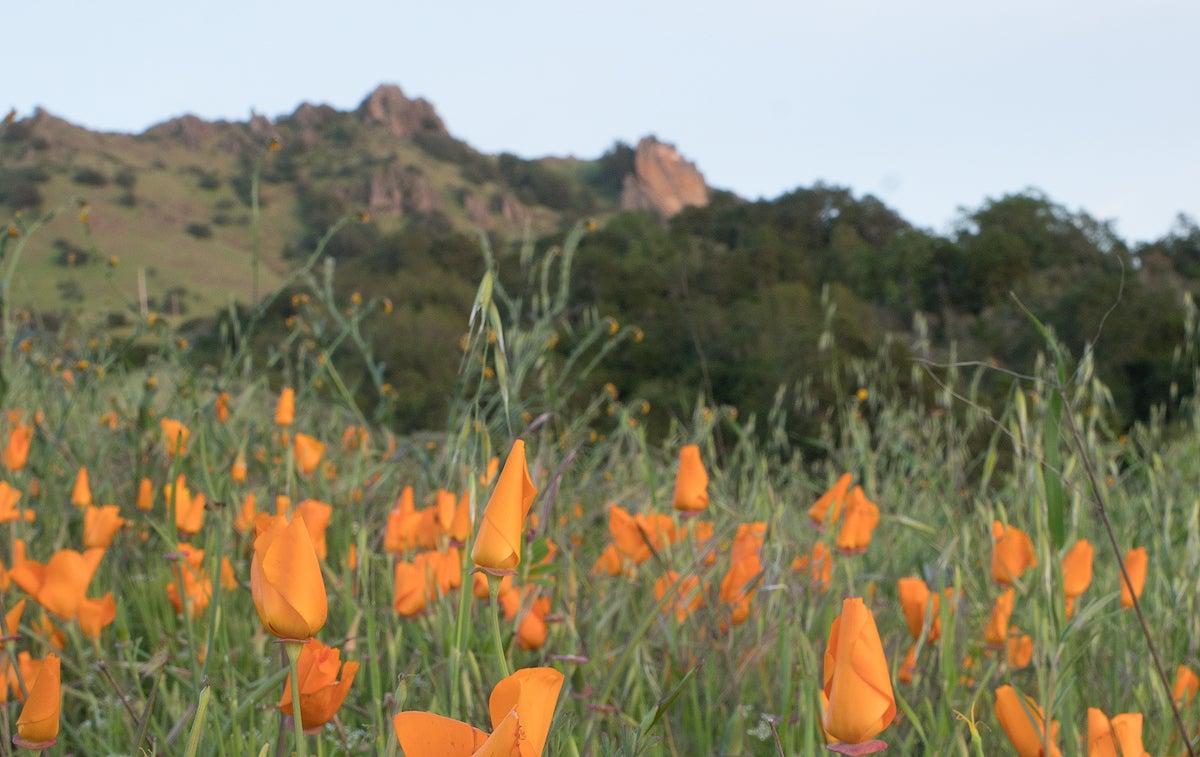
200 ISO
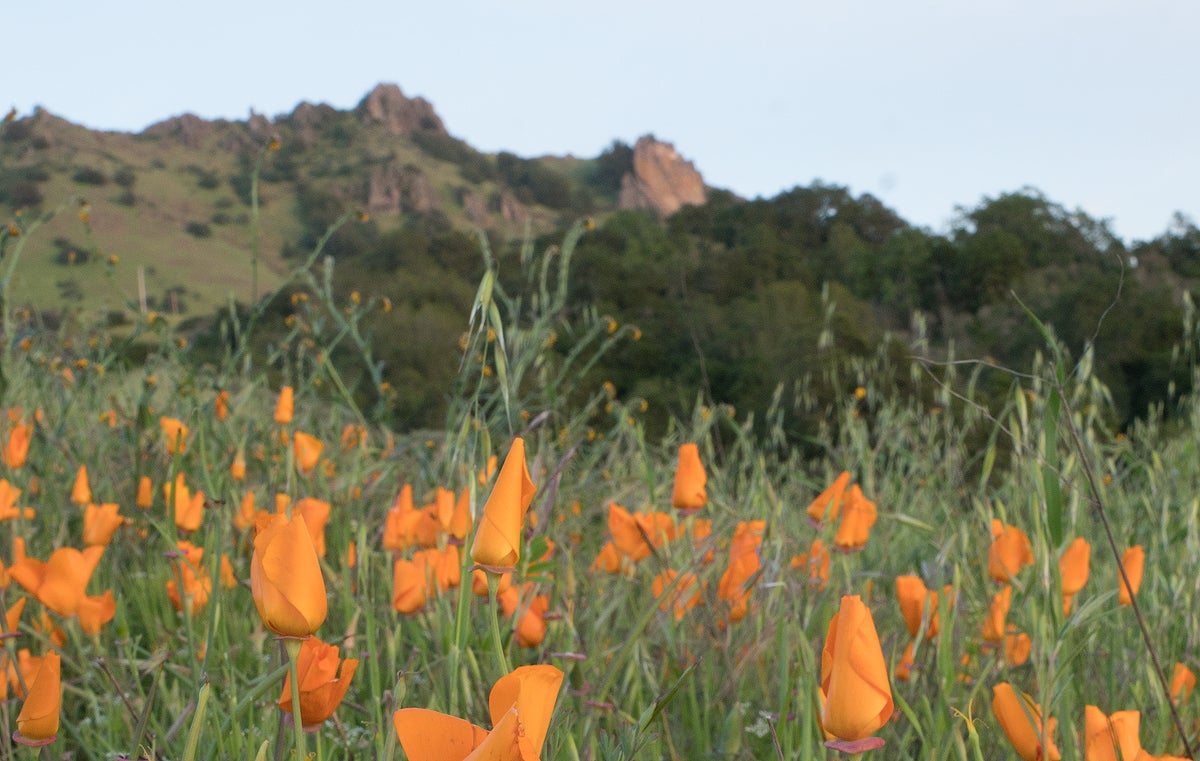
400 ISO
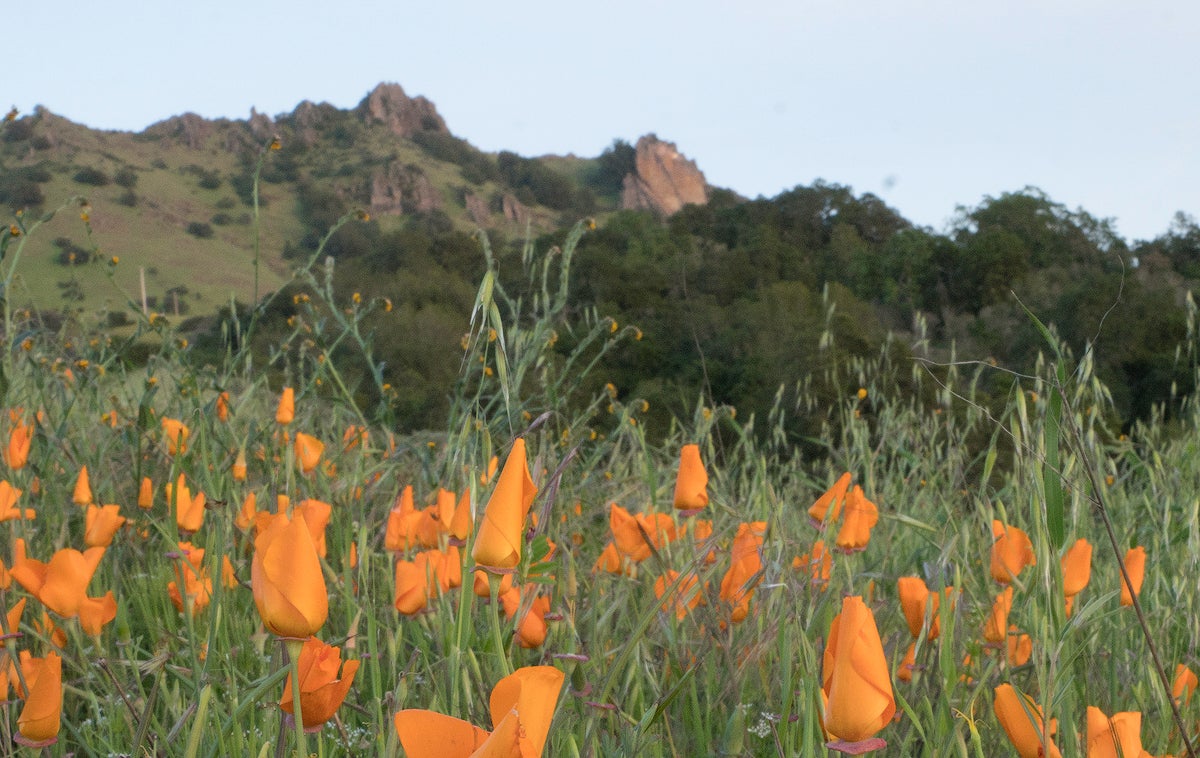
800 ISO
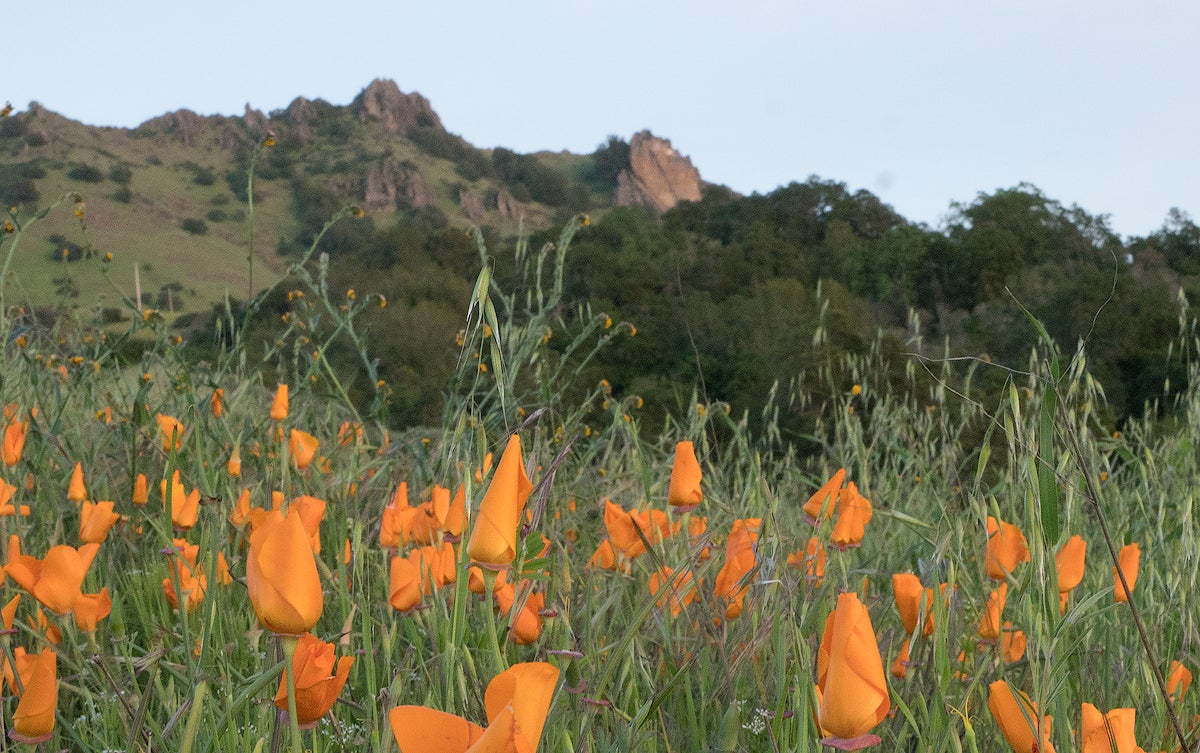
1600 ISO
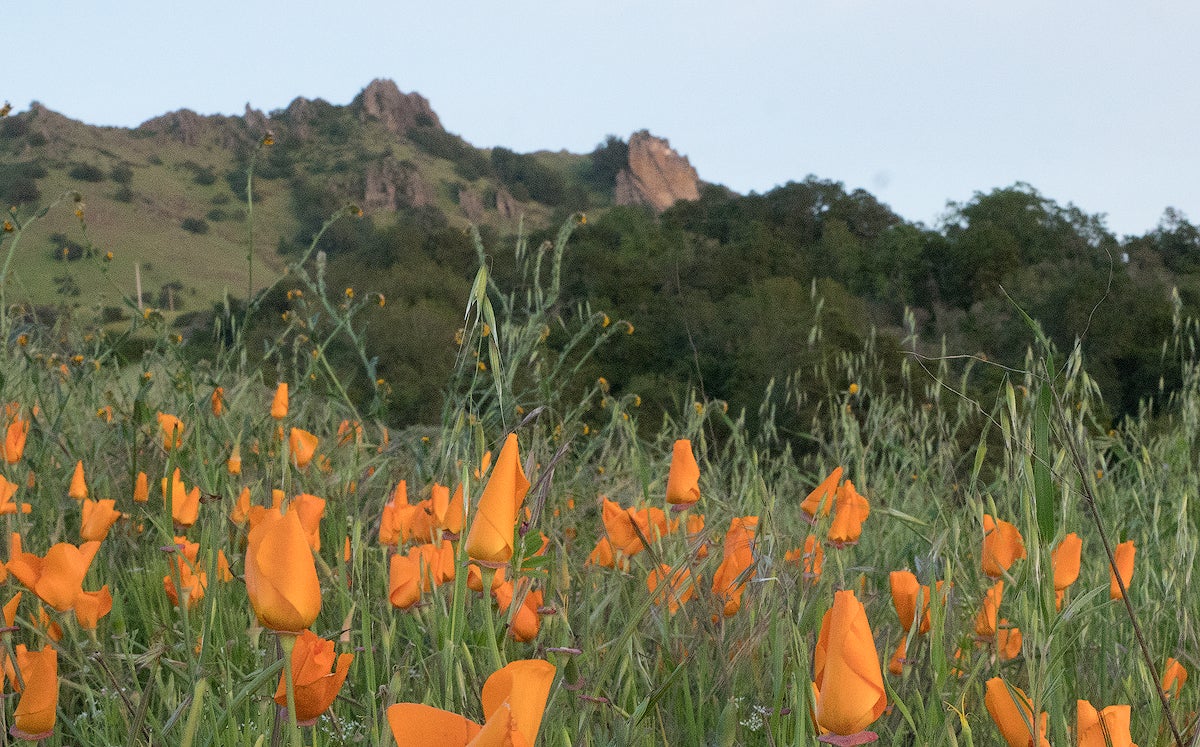
3200 ISO
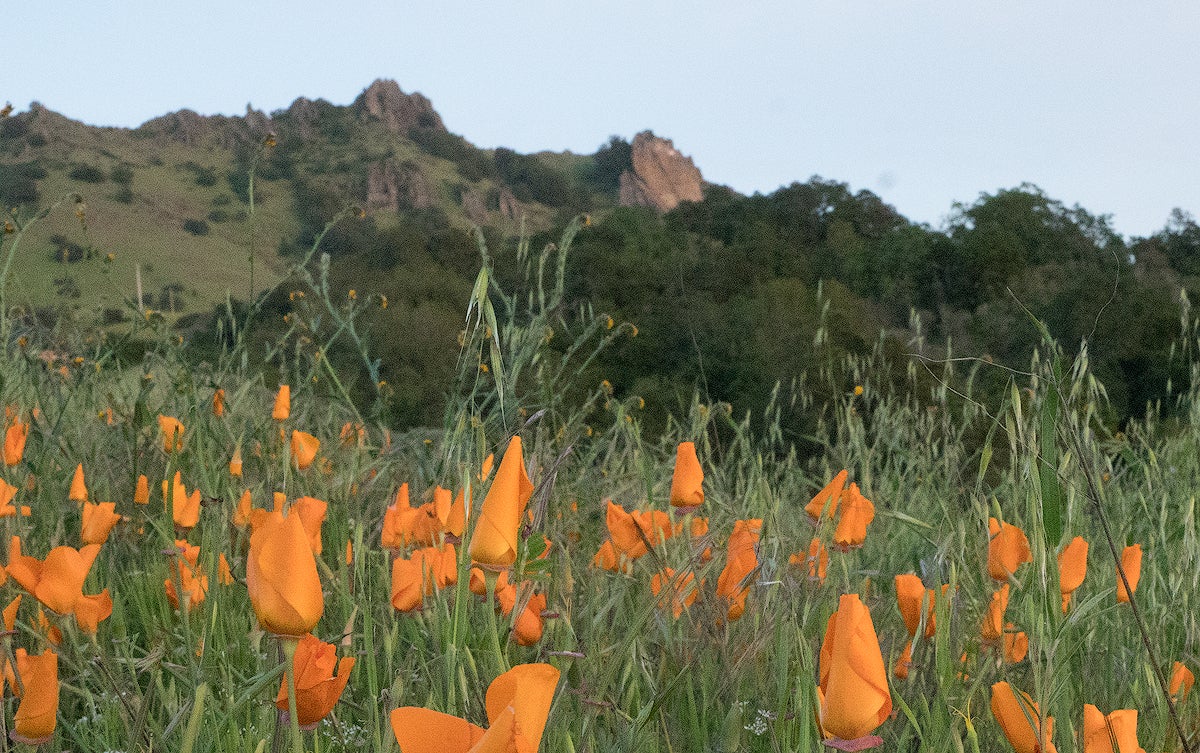
6400 ISO
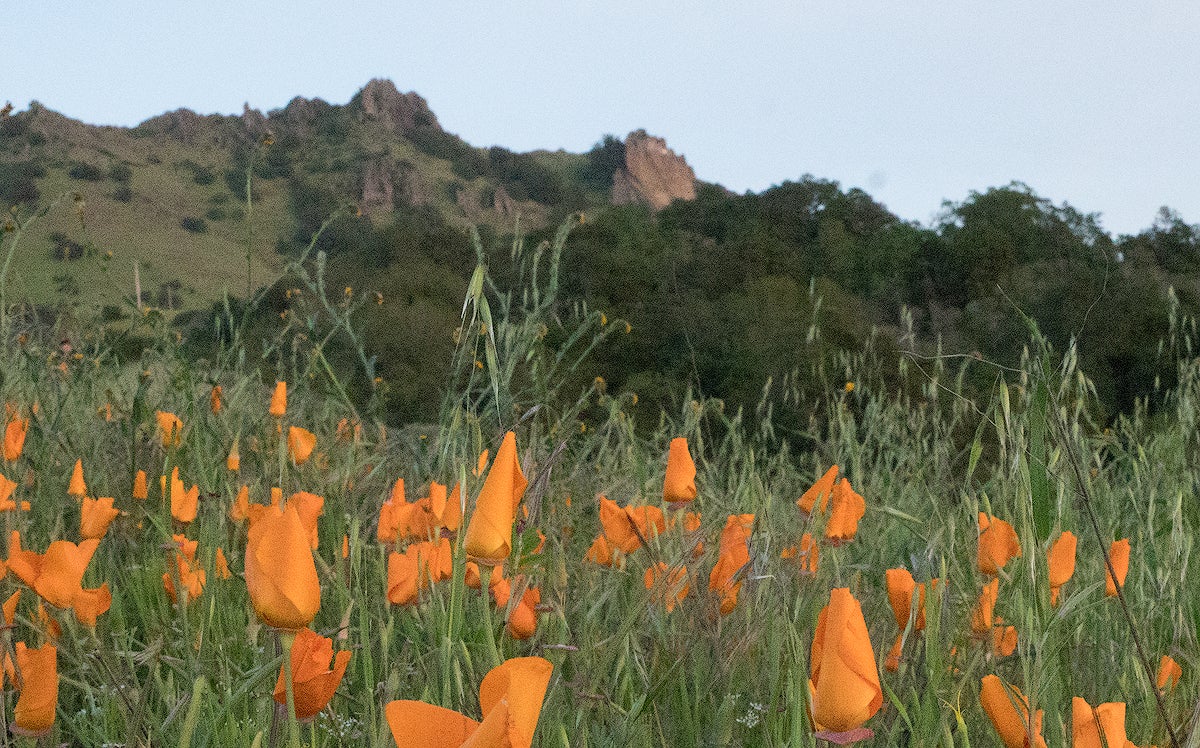
12,800 ISO
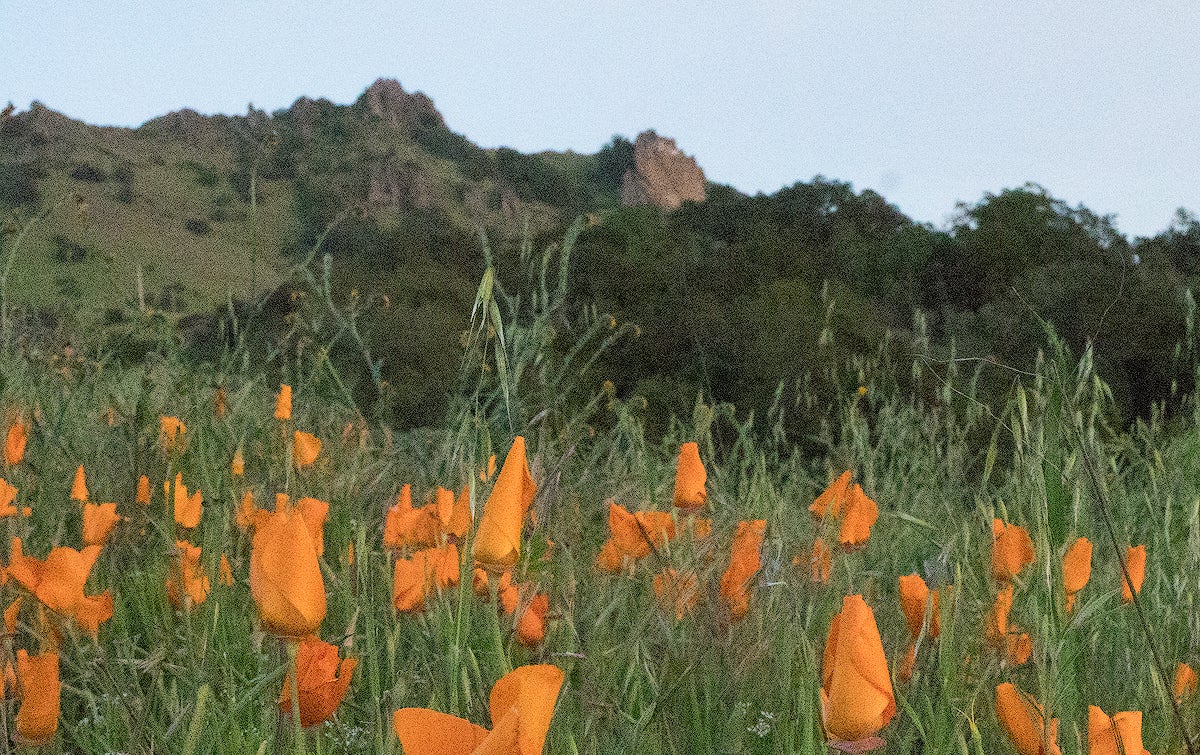
25,600 ISO
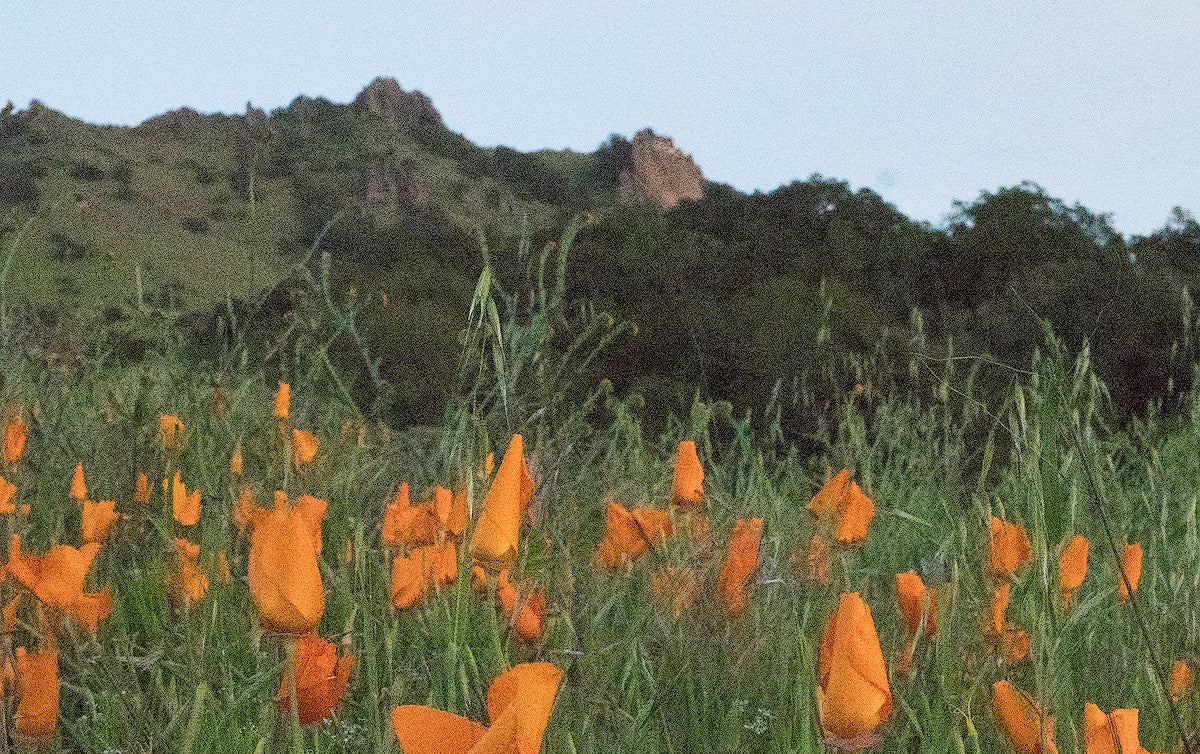
51,200 ISO
How Does The AF Perform In Low Light?
I just was asked this question on one of my FB posts so I thought I would address it here. In all my tests, and I shoot around the fringes of the day, the AF performed flawlessly in low light. Now, having said that, there would be a point where it would become too dark for the AF to work – this would be true with any camera; however, I have shot up to 30 minutes past sunset with no issues. Note: I really don’t rely on AF when capturing my landscape images. I may AF one time after I have composed my scene, but after that, I rely on enlarging the image (C1) button on the a6300, then toggling around at 100% to fine-tune my focus.
My Camera Settings for the Sony α6300
In my previous post, I showed you how I configured the α6300 for shooting sports under strobe lights at San Jose’s SAP Arena. Here is my configuration of the α6300 for capturing landscapes:
Camera Icon:
1.) Quality > RAW. I convert all of my images using Lightroom CC 2015 and Photoshop CC 2015.
2.) Drive Mode > Single Shooting. I would switch to Continuous if shooting moving subjects such as waves.
3.) Focus Mode > Manual / Focus Area > Wide.
4.) ISO > 100
5.) Metering Mode > Multi
5.) White Balance > Custom > Auto
6.) Long Exposure Noise Reduction > Off – when exposure is under 60 seconds, over that, I enable it.
8.) Color Space > AdobeRGB – Industry Standard for offset printing.
Gear Icon:
1.) Zebra > 100+
1.) MF Assist > Off – this is a personal choice but the default zoom is for center of frame and I’m usually focusing on a foreground subject in the lower portion of the frame.
1.) Grid Line > Rule of 3rds Grid
2.) Auto Review > 5 sec.
2.) Peaking Level > High
2.) Peaking Color > Red
3.) Live View Display > On
3.) Live View Display > Setting Affect On
4.) FINDER/MONITOR > Viewfinder Manual (helps save battery power – activates EVF only when eye is to viewfinder).
4.) Finder Frame Rate > 12ofps
4.) Release w/o Card > Disable – this is critical!
5.) Release Set in AF-S > Release and Release Set in AF-C > Release.
5.) AF W/Shutter > Off
5.) e-Front Curtain Shutter > On
7.) Custom Key (shoot.) > 2 > AF/MF Button > AF On. I back-button focus with all of my landscape cameras. Especially useful in low-light and night photography.
8.) Dial/Wheel Lock > Unlock
Suitcase Icon:
1.) Monitor Brightness > Manual.
1.) Viewfinder Brightness > Manual.
2.) Display Quality > High
2.) Pwr Save Start Time > 1 Min
Conclusion
For a camera retailing for $998.00, it offers a tremendous amount of options and image quality. My one wish would be to have a front dial for setting shutter speeds and not have to set them via the back wheel. By no means is this a huge problem and you can lock it down: Gear Icon > 8 > Dial/Wheel Lock > Lock (Note: after setting lock, back out of the Menu then hold down on the “Fn” button on back of camera until you see “Locked” appear in the LCD. Now you cannot accidentally bump your shutter. NOTE: I do switch to “Auto” when the camera is low to the ground. This allows me to compose with the articulating LCD.
This α6300 is such a small and lightweight camera that I hardly realize that it is in my bag. However, small size is not indicative of the powerhouse features this camera offers.
A sports, wildlife and landscape camera wrapped up in one small body – awesome!
See more of Don Smith's photographs taken with the Sony α6300 on his blog.
You can follow Smith on Insstagram @don_smith_photography

