I wanted to add a new spin to the typical “What’s In My Bag” article. As a storyteller wedding photographer, I typically spend about 10 hours on a wedding day capturing images and telling the story of my couple. These stories are usually broken down into sequences or chapters throughout the day, which was the inspiration for a new approach to my “Wedding Day What’s In My Bag” feature. I wanted to show my top three go-to lenses and the camera bodies I use for each chapter throughout the wedding day: Getting ready, family portraits, couples session, ceremony and reception. Here in the first installment of this article series I'll go over the gear I use for the first part of my day as a wedding photographer and in particular how and why I use each of my lenses (I shoot with a variety of Sony zoom and prime lenses throughout the day) to capture the wedding parties as they're getting ready.
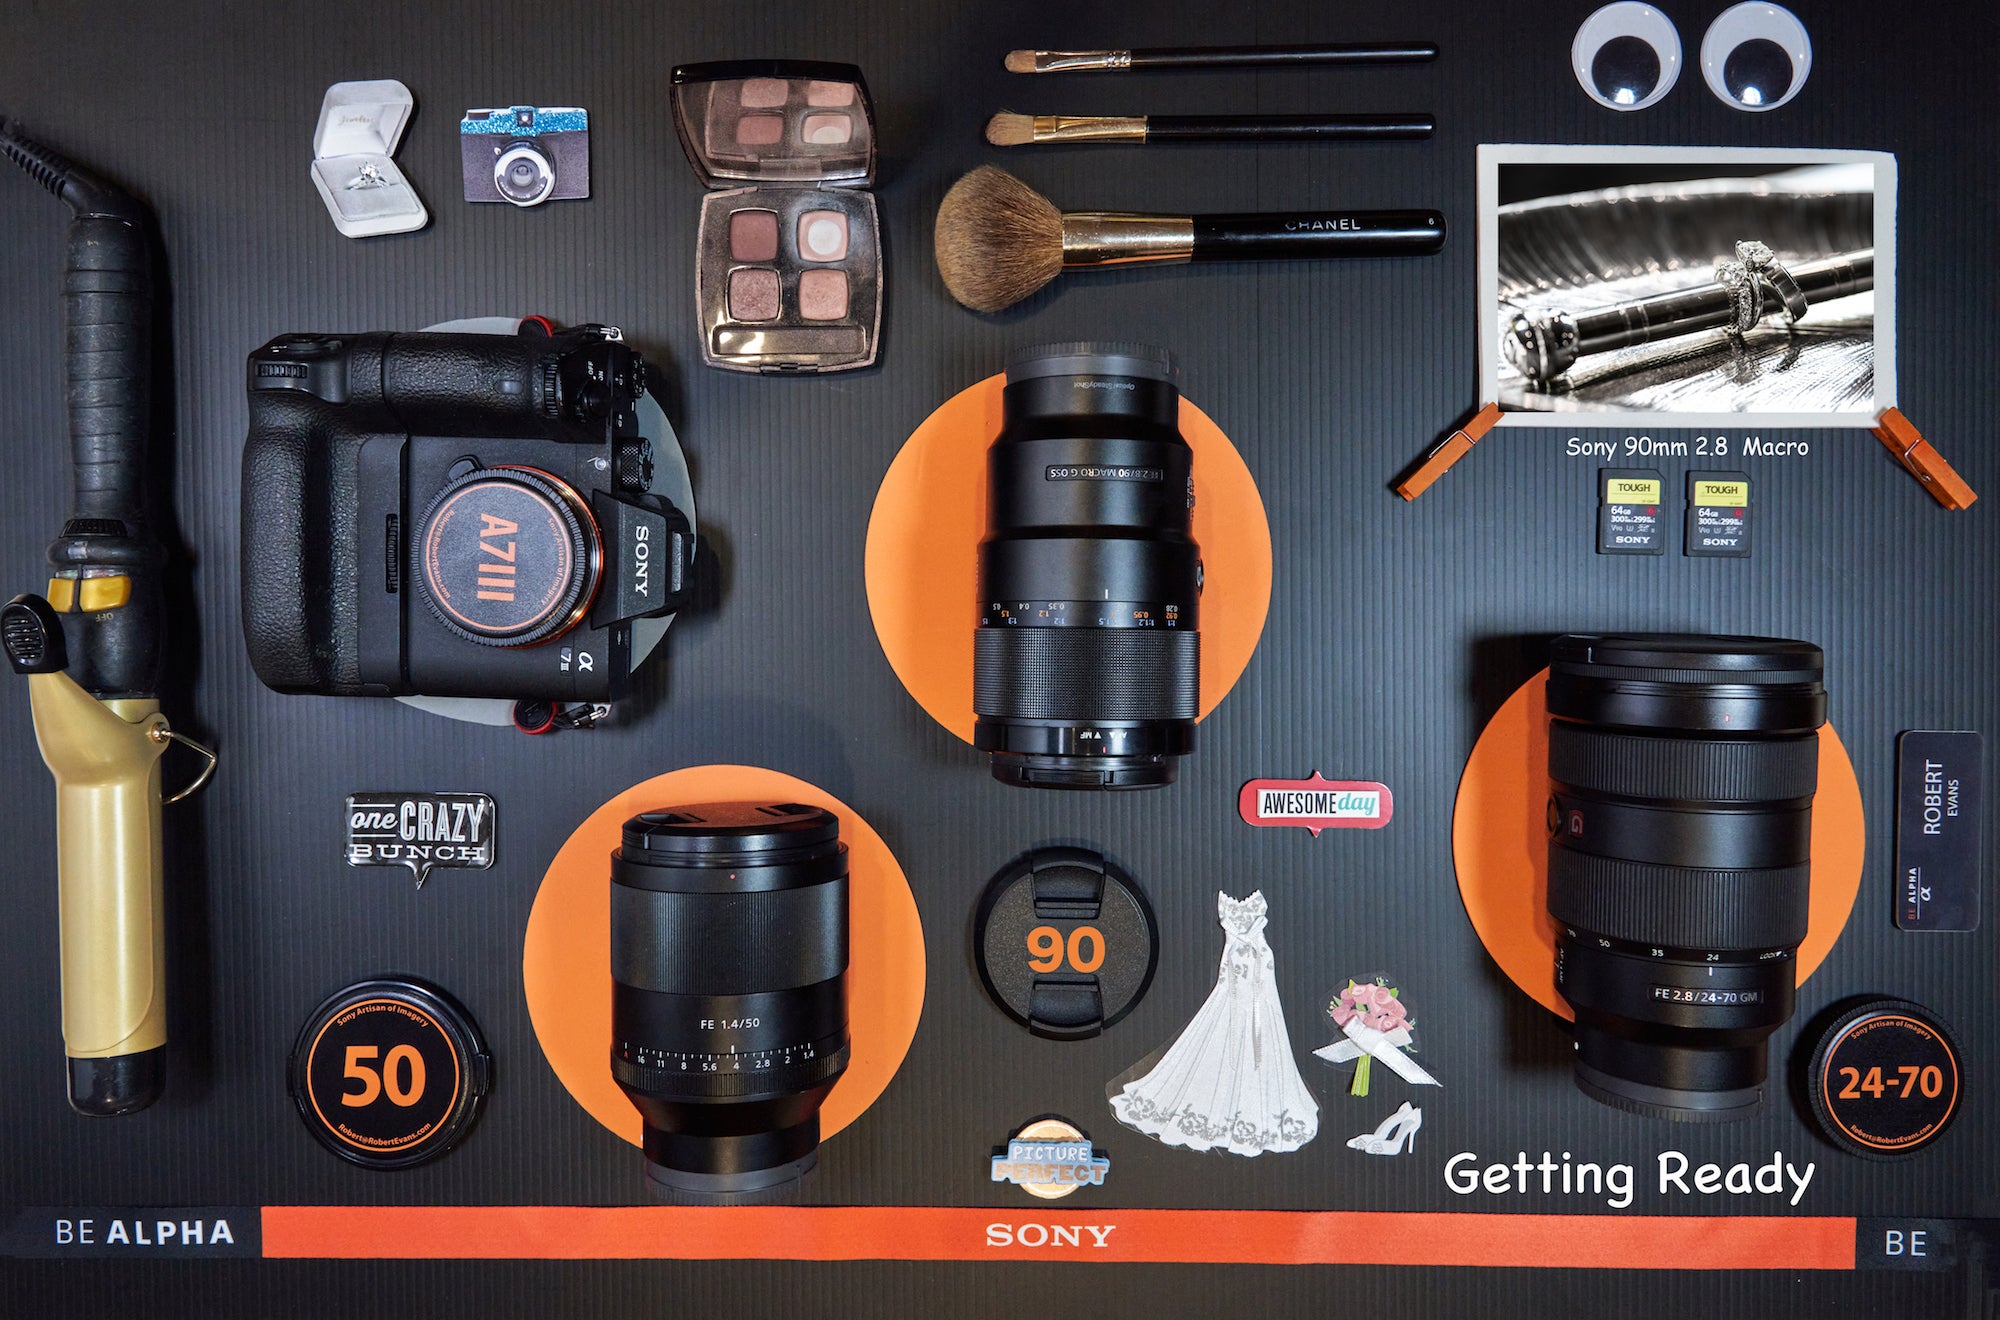
Let’s start at the beginning of my day.
Cameras
I am currently shooting with the Sony α7 III and the Sony α9 II camera bodies throughout the day. I switch back and forth between these two bodies and use them for specific reasons on the wedding day, which I will share as we go along. I like to start my day off using my Sony α7 III.
Lenses
My go-to lenses for “Getting Ready” are the Sony 24-70mm 2.8 G Master, Sony 50mm f/1.4 and Sony 90mm f/2.8 Macro G.
The Sony 24-70mm f/2.8 G Master is a great overall wedding lens. The f/2.8 aperture lends itself to capturing beautiful window light, which is often the case while the girls are having their hair and make up done. I often put my back to the window and shoot with the direction of the light coming in the doors and windows. With a 24-70mm focal range, this lens is very useful for wide shots to show the dress or the vibe of the room. I can also zoom when needed to capture portraits or individual candids while keeping a comfortable distance between myself and my subjects.
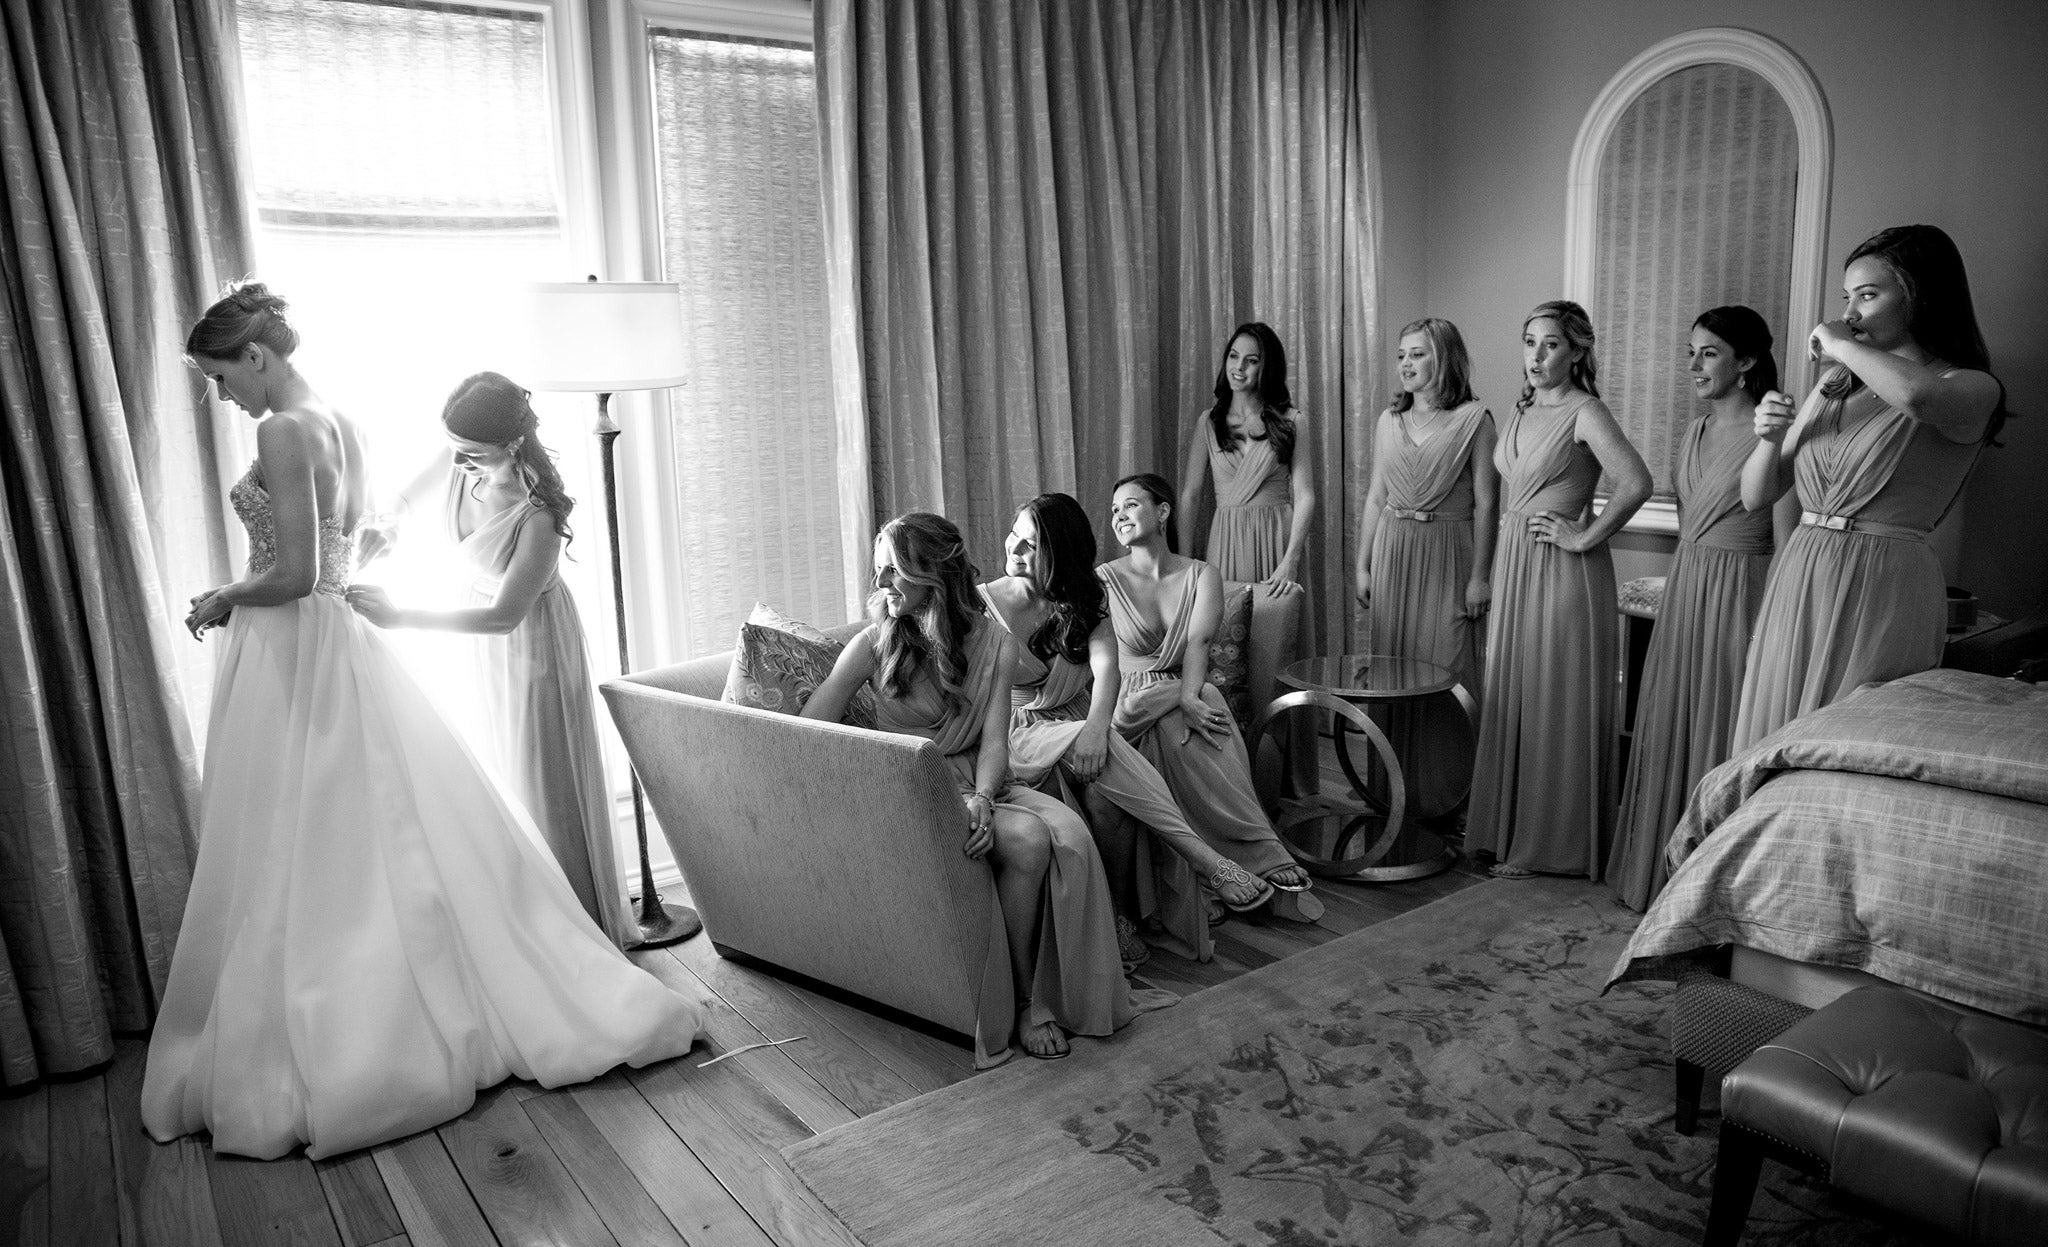
Photo by Robert Evans.
I am often asked, if I had to choose one lens to photograph the whole wedding, what would it be? The Sony 24-70mm f/2.8 G Master is the one lens I would have to choose when thinking about overall wedding coverage. (The Sony 24-105mm f/4 G would be a great alternative if you are looking to spend a bit less with similar results.) Both lenses are very sharp, however you will give up one stop with the 24-105mm f/4 G. The widest aperture is f/4.0, but with the great high ISO capabilities in Sony cameras I would not let that be a factor.
The Sony 50mm f/1.4 is a great focal length in a busy room full of people getting ready. It never seems to be too tight or too wide in these situations, and the f/1.4 aperture is very helpful in low light – especially when I have to use the ambient light from lamps or other non-daylight lighting in this environment. When this is true, and I have to rely on the ambient light in the room as opposed to daylight, I set the camera to the lowest ISO I can get away with and set my aperture to f/1.4. These images are often very contrasty, so in post I like to make them black and white instead of trying to take out the yellow and orange light from the various lights in the room.
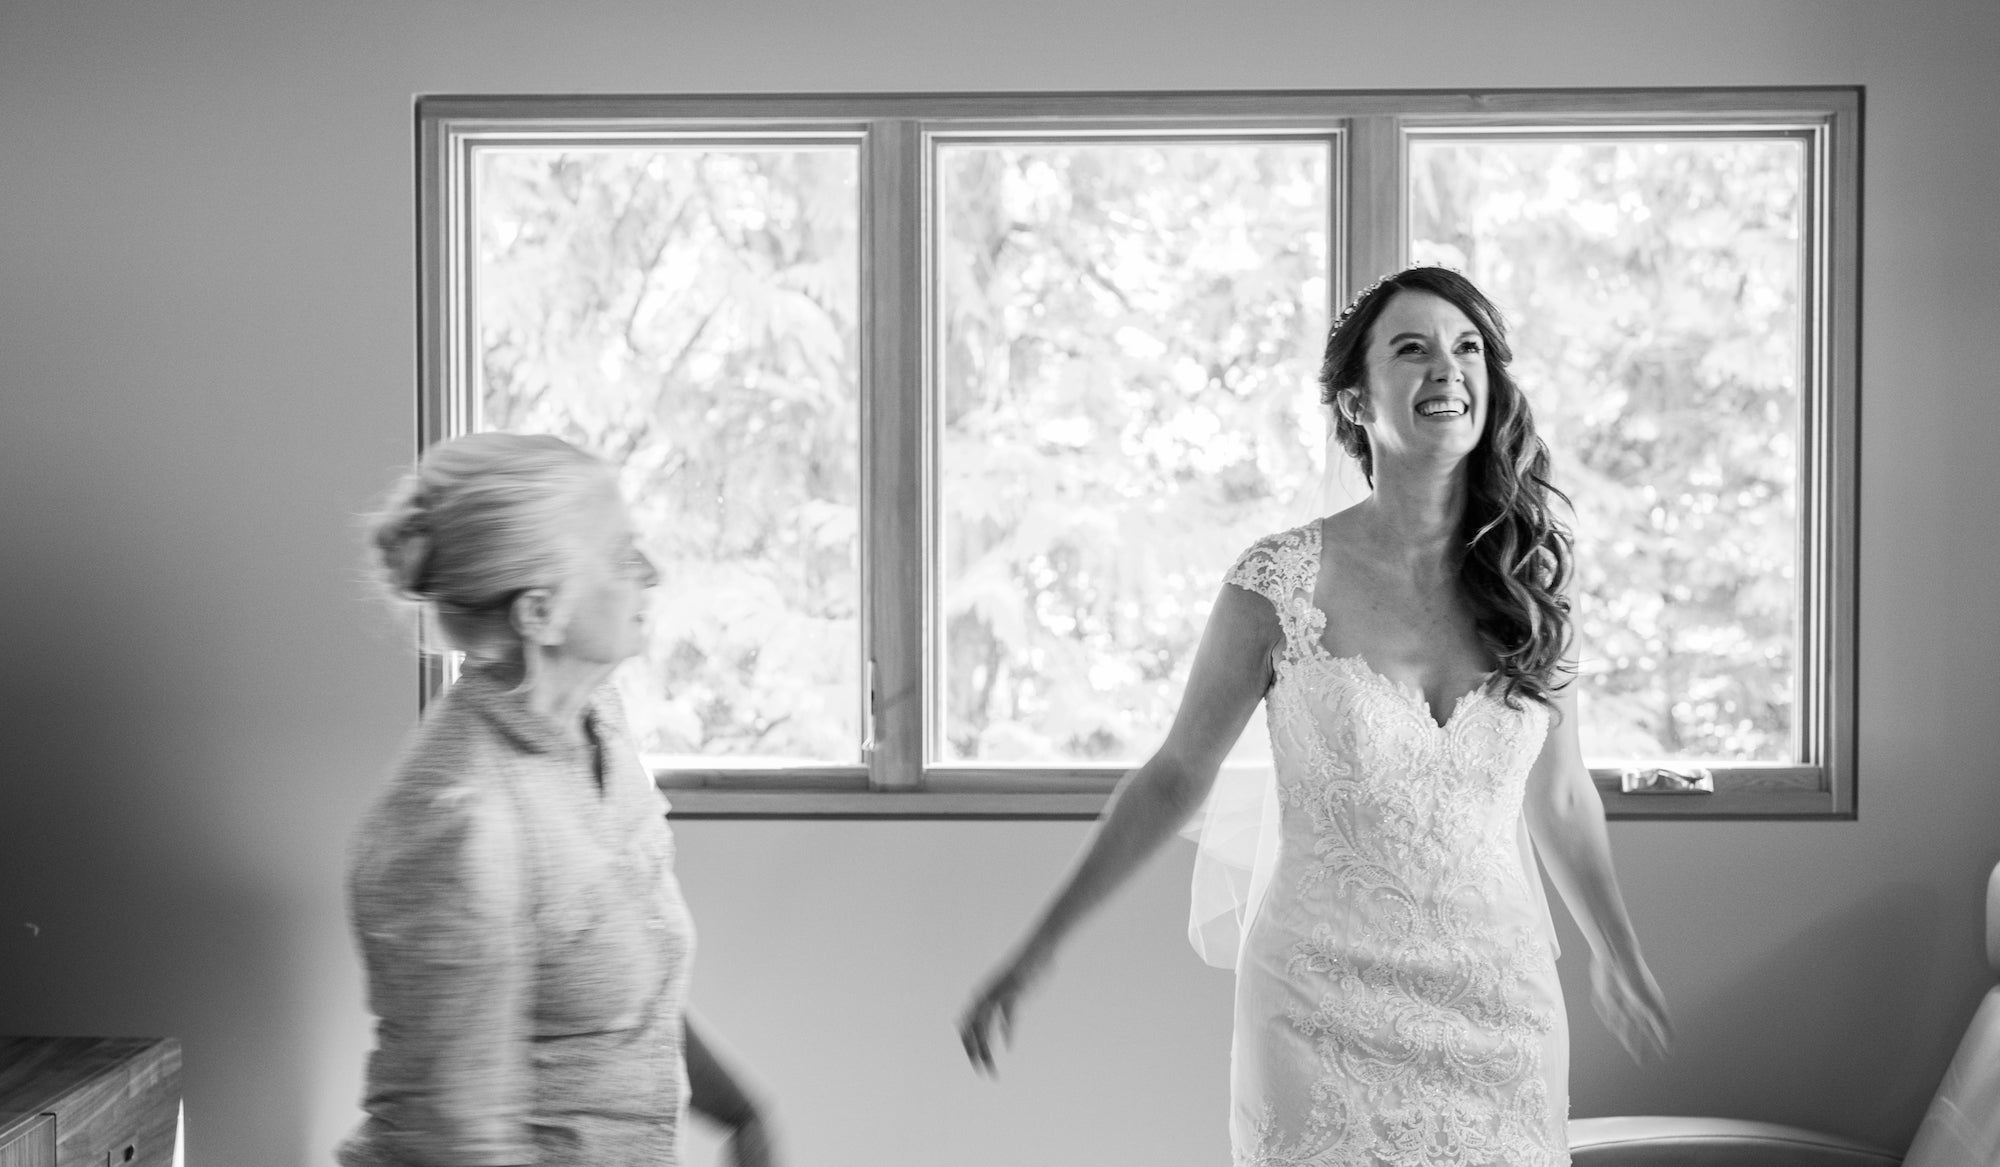
Photo by Robert Evans. Sony α9. Sony 50mm f/1.4. 1/30-sec., f/3.5, ISO 1600
The Sony 50mm f/1.4 is one of my most utilized lenses throughout the wedding day. The Sony 50mm f/1.8 would be a great alternative choice as well; one less stop, but a bit easier on the wallet and a bit lighter.
My Sony 90mm f/2.8 Macro G is always on hand for my close-up details such as the wedding rings. It’s really easy to use and the results are always crisp and clear. I usually only use the 90mm Macro for the ring shot however it is also a great portrait lens, especially for the groom or the bride alone.
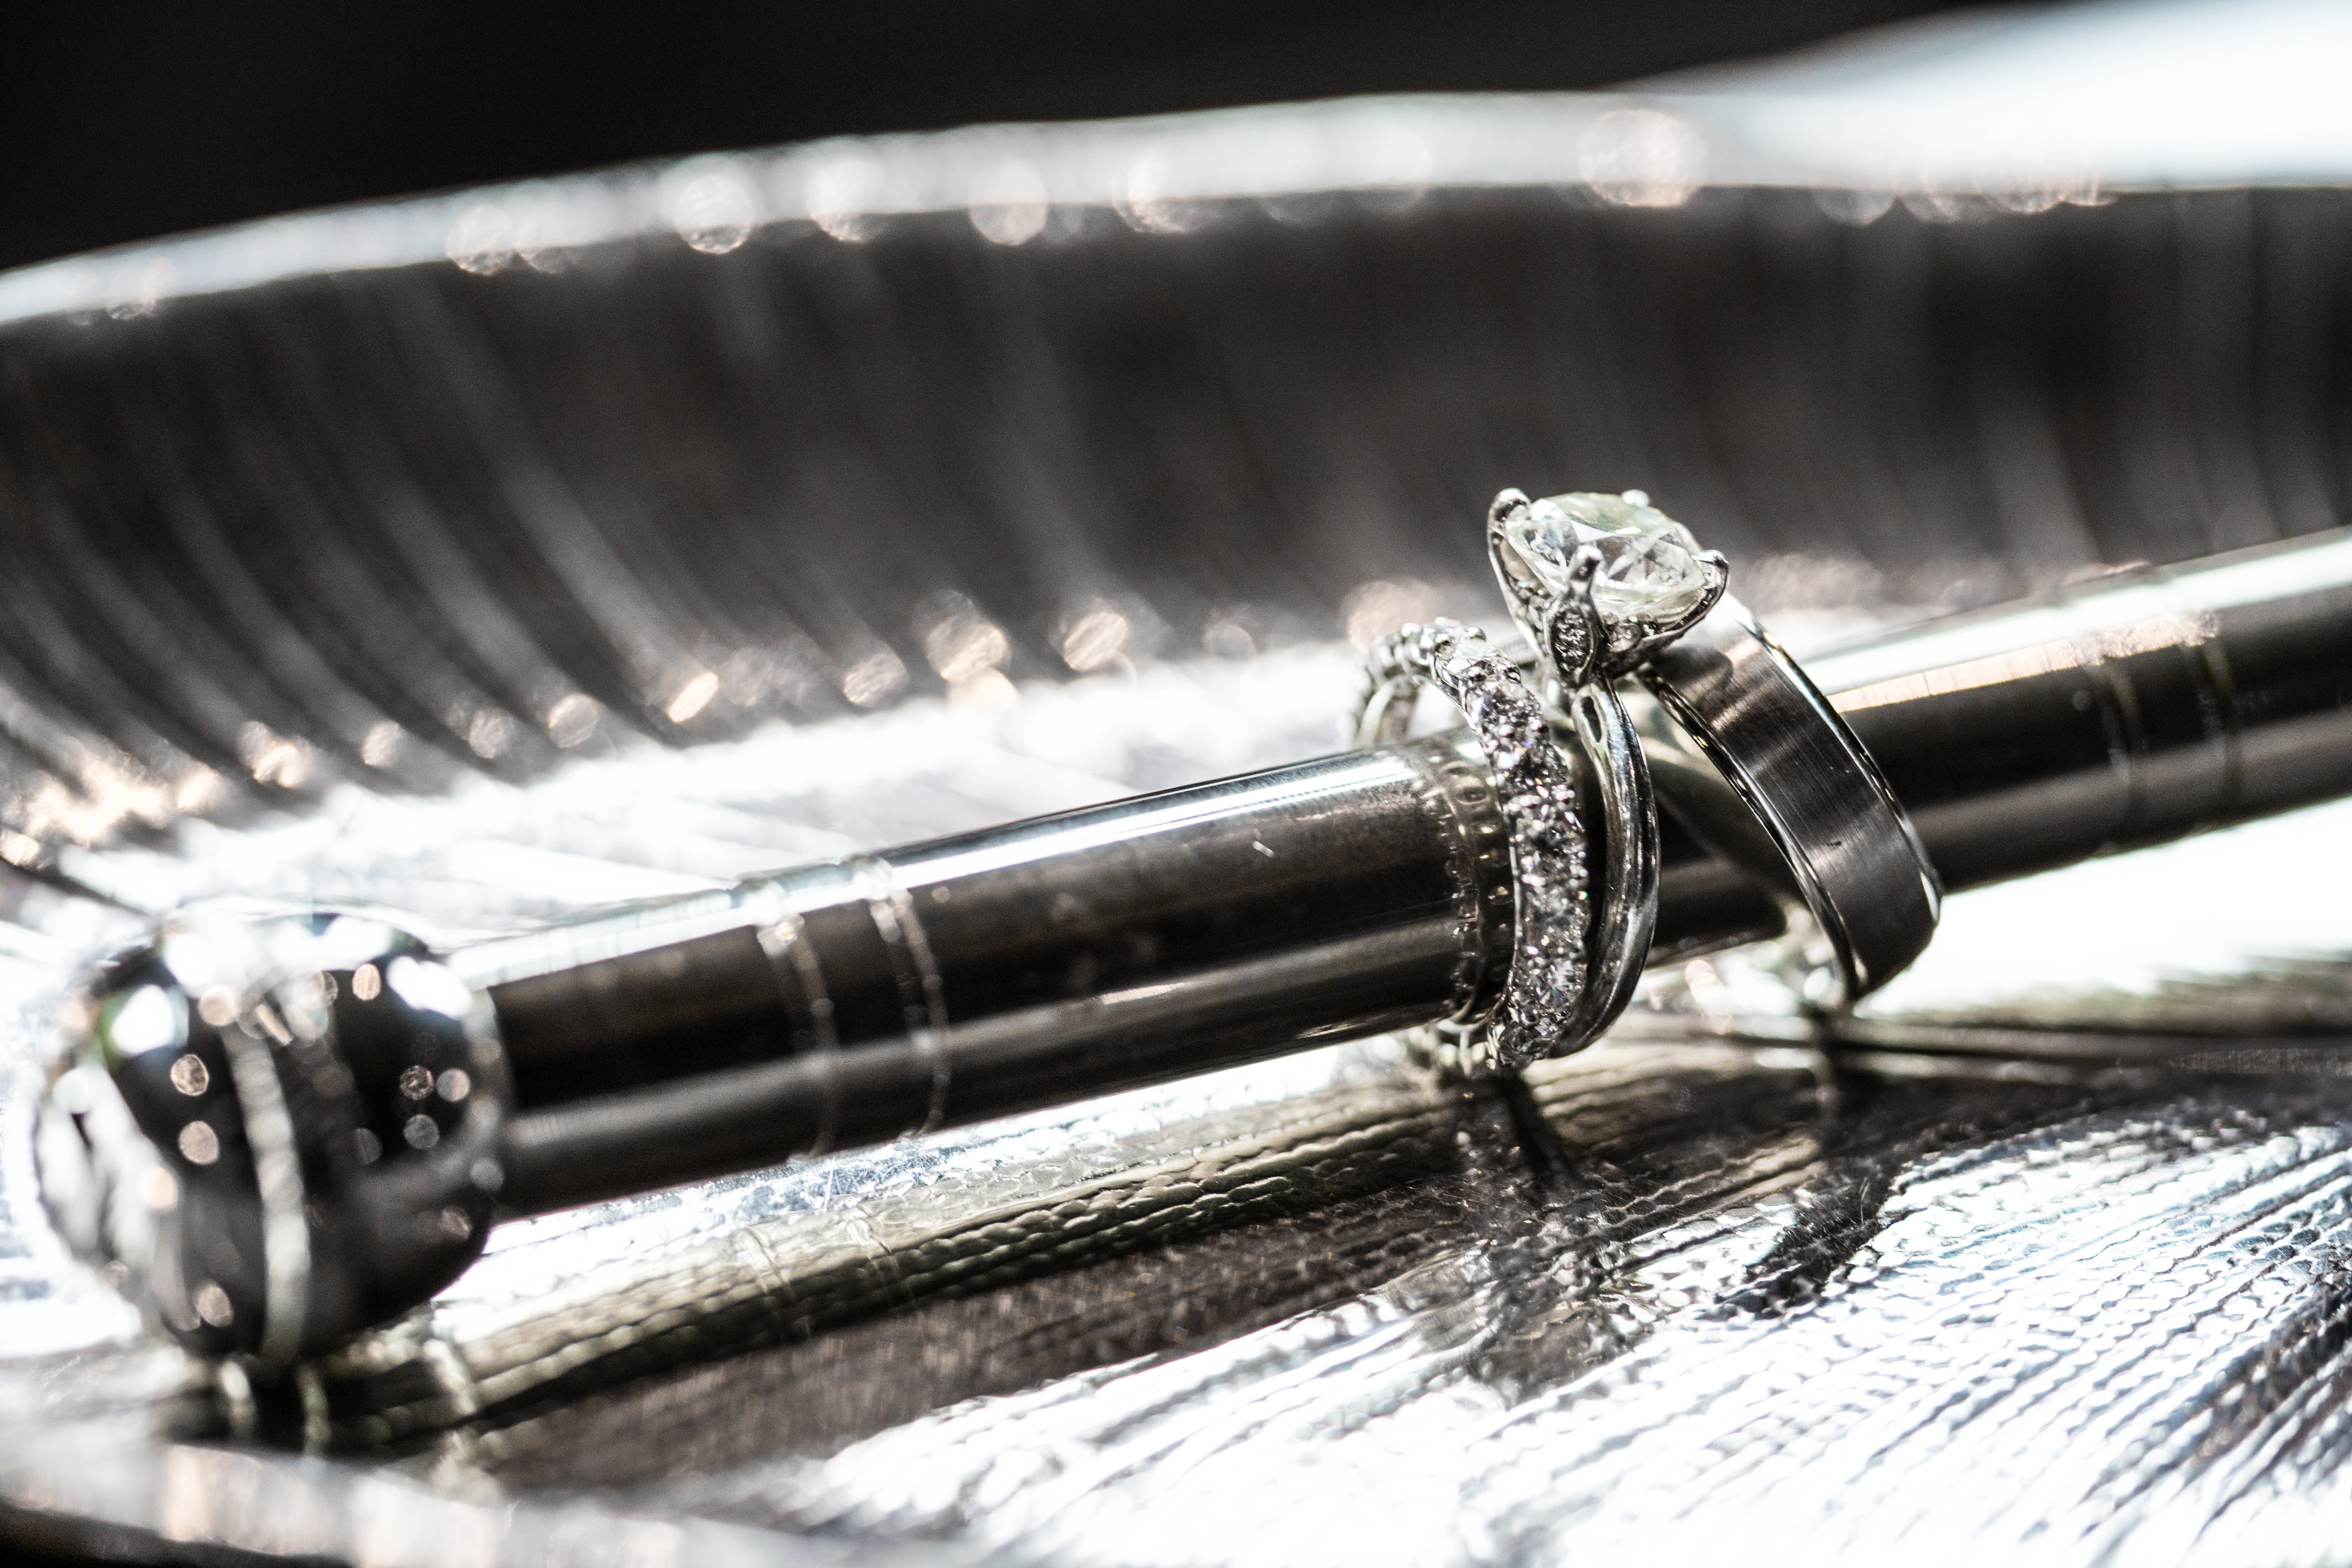
Photo by Robert Evans. Sony α9. Sony 90mm f/2.8 Macro G. 1/100-sec., f/2.8, ISO 800
Accessories
Finally, I wanted to give you a glimpse at the other accessories I bring along with me to a wedding. Because I find myself traveling to most of my weddings, I try to keep my gear as minimal and light as possible.
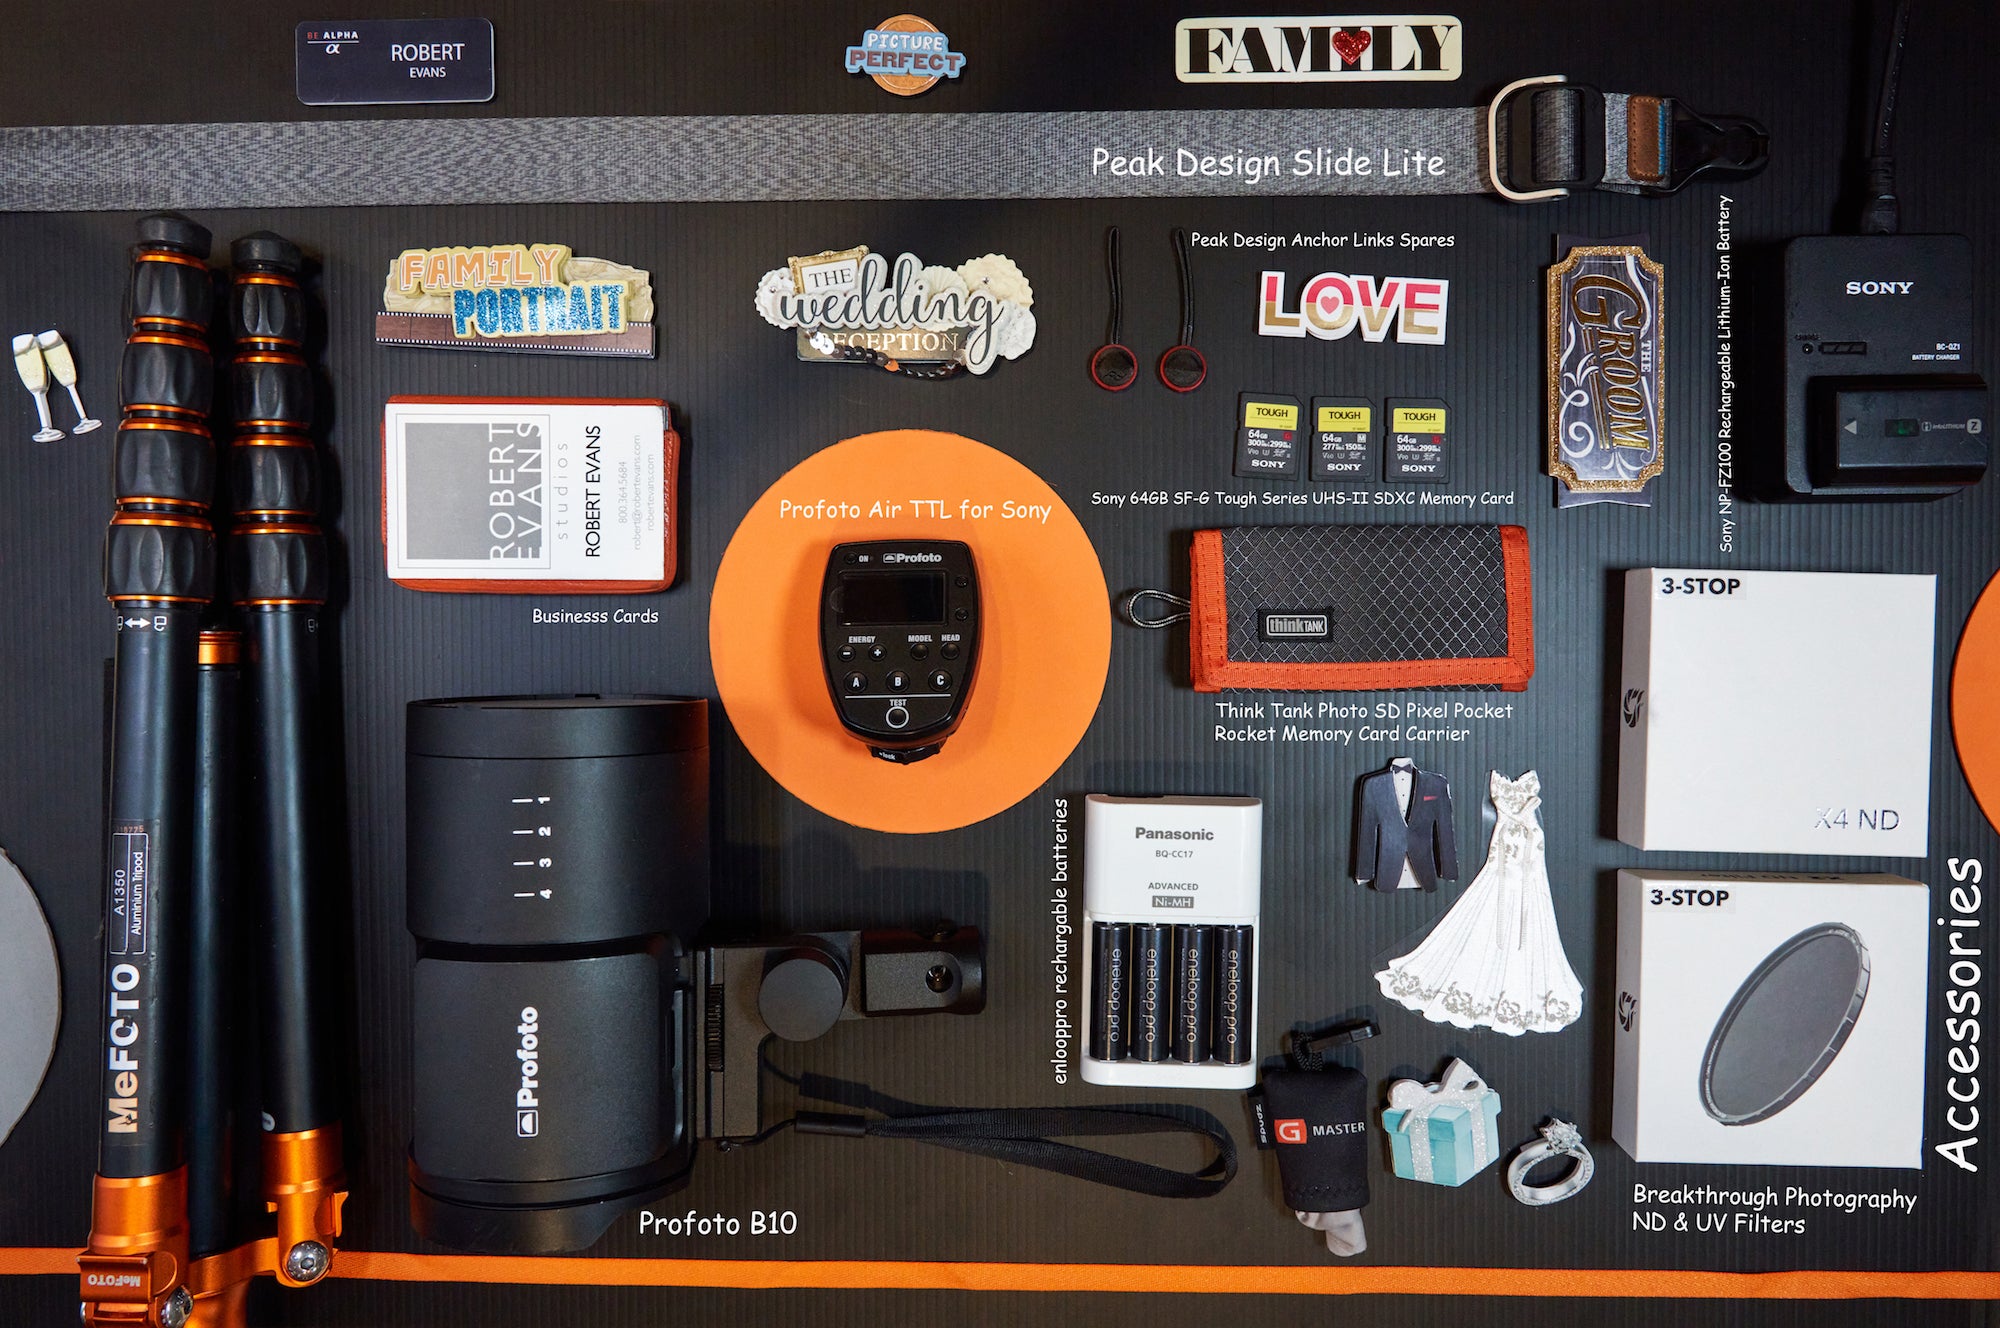
Of course I want to make sure I have the essentials, such as battery chargers for my Sony NP-FZ100 Rechargeable Batteries that fit in all my Sony Alpha bodies. I also bring plenty of SD Memory cards. I prefer the Sony TOUGH cards, SF-G TOUGH Series UHS-II SDXC Memory Card. I like the 64G capacity, and the fast write speed so I can capture 20FPS RAW when I need it along with the extra assurance that if I happen to drop a card, it will be OK.
Once I fill up a set of cards, I run one card in each slot recording RAW on both. I remove them from both slots and place them in my Think Tank memory card carry case. I keep it in the inside of my suit pocket. (Keep your cards on you at all times and at the end of the night empty your cameras and keep all the cards on your person. Should someone try to take your equipment, your clients' wedding images are safe in your pocket.)
AA Eneloop Pro Rechargeable Batteries For My Sony Flashes (I have two, one as back up): For a main flash I use and love the Profoto B10. There are two main reasons I love this flash: one, it’s small, light, and portable, and two, I can adjust the output for a tiny bit if flash at 1.0 or overpower the sun at 10.00 and anywhere in-between. As I mentioned earlier, I do not like my images to look like I have used flash in most cases, so 90 percent of the time I am using it to add just a touch of flash when shooting outside. Especially when I backlight my couples, I can add the perfect amount of flash to their faces to make it look like natural daylight – otherwise the skin tones come out looking muddy.
ND Filters: I keep several sizes of Breakthrough Photography ND filters with me as well. If I want to shoot my fast G Master lenses outside on a bright day wide open, I still can with a 3-stop ND Filter. You cannot shoot at f/1.4 or f/1.8 wide open even at ISO 50 on a bright sunny day. I like Breakthrough Photography filters because they do not change the color or cast on my images, especially when dealing with a white dress. It is also a great idea to keep UV filters on the front of your Sony lenses. We invest good money in our Sony glass, a UV filter helps protect the front element from scratches that can easily happen when working fast on the wedding day.
Tripod: I keep a MeFoto Tripod with me for the occasional motion blur exposure, or I sometimes use it for detail and décor images inside my reception rooms. It’s small, very light and easy to travel with.
Camera Straps: All my cameras are set up with Peak Design anchor links so I can quickly attach or remove any of my Peak Design camera straps. I absolutely love Peak Design camera straps – in my opinion the most innovative camera strap design on the market.
Business Cards: Finally, it’s always good business to keep business cards with you at all times. I have business cards in all my camera bags so no matter which bag I use, they are always on hand.
I think it is important to use the camera and lenses together with your favorite accessories that work best for you and make your job easy. These are my go-to choices but depending on the day I may use different lenses too. I have shared tips on how I use my Sony gear, hopefully my insight will help you improve your wedding photography and has given you some inspiration looking toward your next wedding. Check back to AlphaUniverse.com for Part 2 on the gear I use for wedding day family portraits.

